

Page 1
Page 2
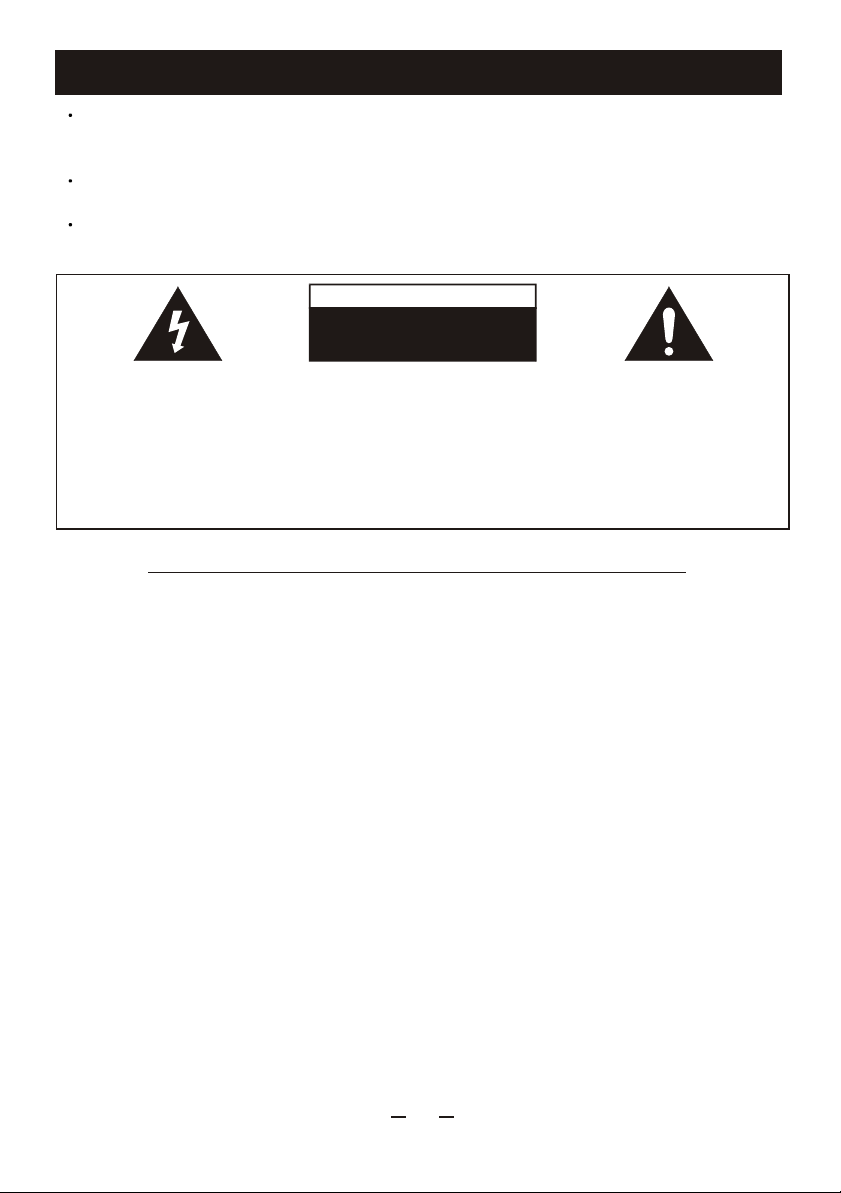
WARNING
To prevent fire or shock hazard, Do not use this plug with an
extension cord, Receptacle or other outlet unless the blades can
be fully inserted to prevent blade exposure.
To prevent fire or shock hazard. Do not expose this appliance
to rain or moisture.
To prevent electrical shock, Match wide blade plug to wide slot
fully insert.
CAUTION
RISK OF ELECTRIC SHOCKRISK OF ELECTRIC SHOCK
DO NOT OPENDO NOT OPEN
DO NOT OPEN
The lightning flash with arrowhead symbol,within an equilateral triangle is intended to
alert the user to the presence
of uninsulated' dangerous vo-
ltage' within the product's enclosure that may be of sufficient magnitude to constitute a
risk of electric shock to persons.
Warning : To reduce the risk of
electric shock, do not remove
cover (or back),no user serviceable parts inside. Refer servicing to qualified service personnel.
IMPORTANT SAFETY INSTRUCTIONS
1) Read these instructions.
2) Keep these instructions.
3) Heed all warnings.
4) Follow all instructions.
5) Do not use this apparatus near water.
6) Clean only with dry cloth.
7) Do not block any ventilation openings. Install in accordance
with the manufacturer's instructions.
8) Do not install near any heat sources such as radiators, heat
registers, stoves, or other apparatus (including amplifiers)
that produce heat.
9) Do not defeat the safety purpose of the polarized or
grounding type plug. A polarized plug has two blades with one
wider than the other. A grounding type plug has two blades
and a third grounding prong. The wide blade or the third prong
are provided for your safety. If the provided plug does not fit
into your outlet, consult an electrician for replacement of the
obsolete outlet.
10) Protect the power cord from being walked on or pinched
particularly at plugs, convenience receptacles, and the point
where they exit from the apparatus.
11) Only use attachments/accessories specified by the
manufacturer.
The exclamation point within
an equilateral triangle is intended to alert the user to the
presence of important operating and maintenance (servicing) instructions in the literature accompany-ing the applicance.
1
Page 3

12) Use only with the cart, stand, tripod, bracket, or table
specified by the manufacturer, or sold with the apparatus.
When a cart is used, use caution when moving the cart/
apparatus combination to avoid injury from tip-over.
13) Unplug this apparatus during lightning storms or when unused
for long periods of time.
14) Refer all servicing to qualified service personnel. Servicing is
required when the apparatus has been damaged in any way,
such as power-supply cord or plug is damaged, liquid has been
spilled or objects have fallen into the apparatus, the apparatus
has been exposed to rain or moisture, does not operate
normally, or has been dropped.
15) This appliance shall not be exposed to dripping or splashing
water and that no object filled with liquids such as vases shall
be placed on apparatus.
CAUTION: Changes or modifications not expressly approved
by the party responsible for compliance could void the
user's authority to operate the equipment.
NOTE: This equipment has been tested and found to comply
with the limits for a class b digital device, pursuant to part
15 of the fcc rules. These limits are designed to provide
reasonable protection against harmful interference in a
residential installation. This equipment generates, uses and
can radiate radio frequency energy and, if not installed and
used in accordance with the instructions, may cause harmful
interference to radio communications. However, there is no
guarantee that interference will not occur in a particular
installation. if this equipment does cause harmful
interference to radio or televison reception, which can be
determined by turning the equipment off and on, the user is
encouraged to try to correct the interference by one or more
of the following measures:
- Reorient or relocate the receiving antenna.
- Increase the separation between the equipment and
receiver.
- Connect the equipment into an outlet on a circuit different
from that to which the receiver is connected.
- Consult the dealer or an experienced radio/tv technician for
help.
C/N 5505.175.1862 CK CA (NP,GW) (DHH51733).
2
Page 4

Quick View
To get the maximum enjoyment and performance from this
product, please read this manual and familiarize yourself with
the functions and controls before attempting to operate it .
Correc usage will assure years of trouble free performance and
listening pleasure.
TABLE OF CONTENTS
Front View
Power
Display
Sensor
M-UP/Rep
Skip Back/
Tuning Down
Play/Pause
P.EQ
FM Antenna
Left
Speaker
socket
Right
Speaker
socket
Prog/Mem
Tuner
CD
Stop/Band Selection
Volume +
Skip Forward/
Tuning Up
Volume Mute
AM Antenna
socket
Mains Cable
3
Page 5
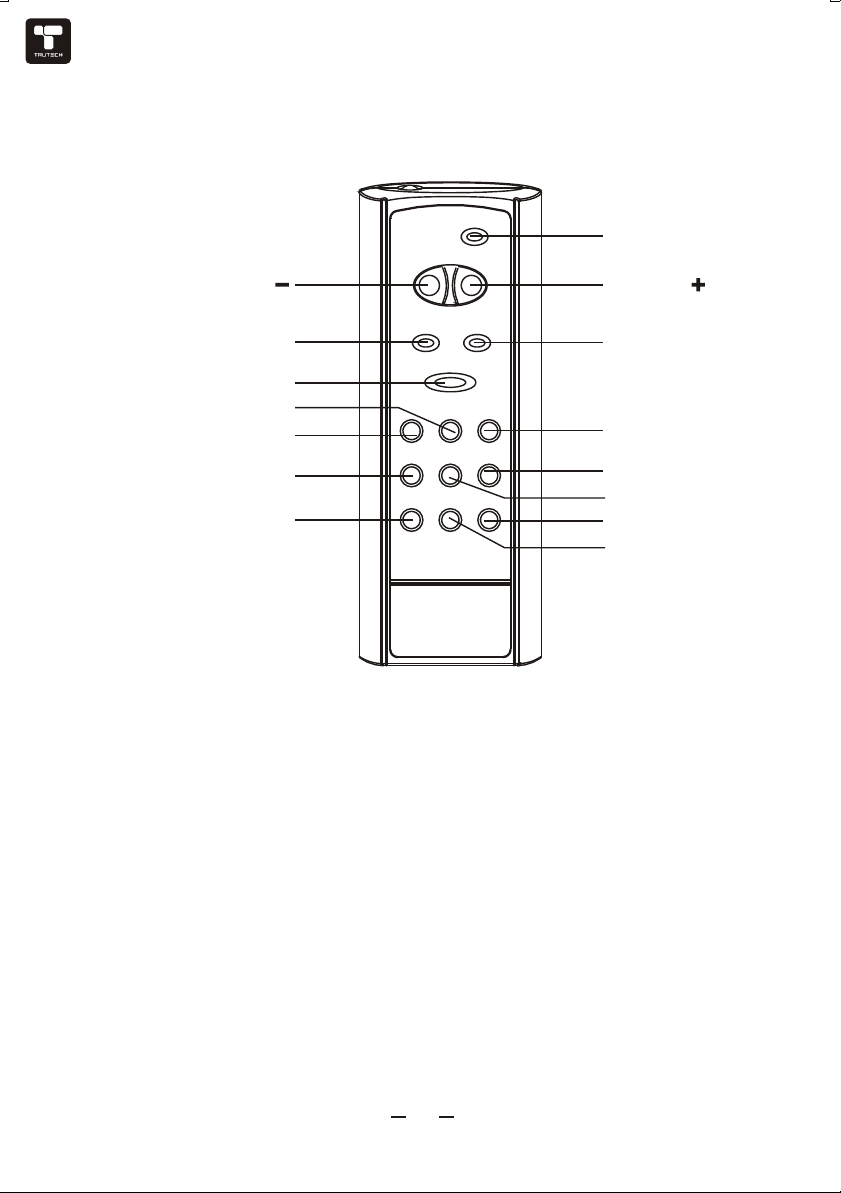
Remote Control
Volume Volume
Power
Mute
Band/Stop Selection
Skip Forward
Skip Back
M-UP/Repeat
Tuner/CD
EQ
Play/Pause
Random
Program/Clock
Sleep
Timer
4
Page 6
Getting Started
Unpacking your TRCD688 Micro System
Carefully remove your CD micro system from its packaging .You
may wish to store the packaging for future use.
Box Contents:
CD micro system
2 speakers (speaker cables attached)
Remote control
AM Loop Antenna
User Guide
Front View
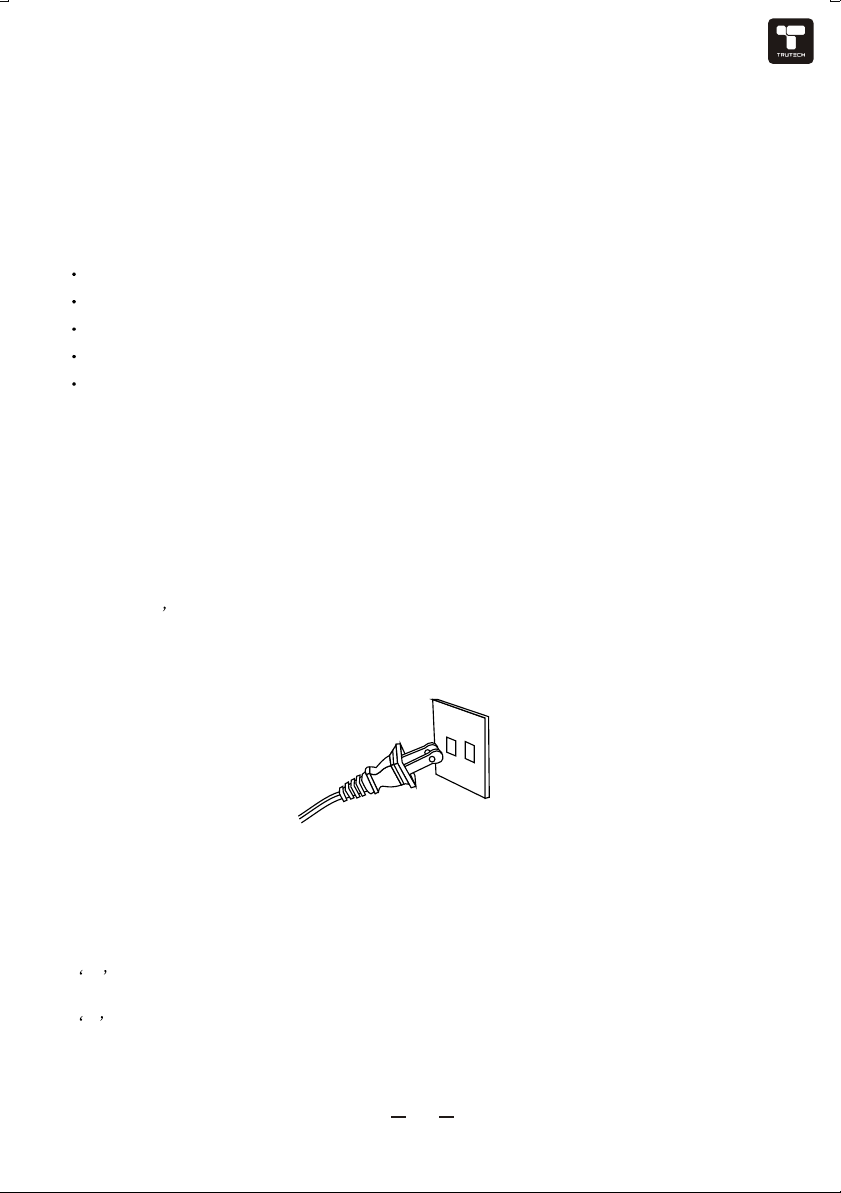
Plug the power cord into an AC outlet having 120V/60Hz only.
Connecting this unit to other power sources may damage the
unit.
NOTES:
*The AC polarized plug is to help to minimize the possibility of
electric shock. If the polarized plug dies not fit into a
nonpolarized AC outlet , to not file or cut the wide blade; it is
the user s responsibility to have an electrician replace the
obsolete outlet.
*The power cord should be unplugged from the outlet when the
unit is not going to be used for a long period of time.
Installation
Speaker Connection
1. Unwind the cable from each speaker.
2. At the rear of the CD micro system there are two speaker
sockets.
3. Plug the speaker located on the right into the socket marked
R and coloured red.
4. Plug the speaker located on the left into the socket marked
L and coloured white.
5. For optimal stereo effect, place the speakers approximately
1.5m apart.
5
Page 7

AC Power Connection
1. Connect the mains plug to a mains supply socket and switch
on the supply.
2. At the front of the CD micro system unit, press the POWER
button.
3. The LCD display will light up.
Antenna
The FM antenna is attached to the back of the unit. Unwind the
wire. Positioning is described in the Radio section.
The AM antenna is a separate loop aerial that plugs into the
back of the unit at the socket marked AM ANT. . Its
assembly is described in the Radio section.
Remote Control
1. Open the battery compartment cover.
2. Insert two AAA (Um4) batteries (not included )to match the
polarities as indicated inside the battery compartment.
3. Close the cover.
NOTE: When the batteries become too weak, the operating
distance of the remote controller is greatly reduced and you will
need to replace the batteries.
Operating the remote control
Point the remote control at the front of the CD micro system
to operate. The IR sensor is located below the LCD display.
Do not block the path of the beam from the remote control to
the unit . Dark walls, direct sunlight or very bright light will
reduce the sensitivity of the IR sensor.
6
Page 8

Setting the Clock
The clock can be set by using the buttons on the front of the
unit or the remote control.
Setting the Clock using the Unit Controls
1. At STANDBY mode press and hold the PROG/MEM button
for 3 seconds. The display will show either 24H or 12H .
2. Release the PROG/MEM button and use either of the
or buttons to select the clock mode you require, either 12
or 24 hour clock.
3. Press the PROG/MEM button. The display will show the time
with the hours flashing on and off.
4. Use either of the or buttons to select the hour and
press PROG/MEM the hour stops flashing and the minutes
start flashing. Note that for the 12 hour clock mode AM and
PM are displayed.
5. Use either of the or buttons to select the minutes and
press the PROG/ MEM button.
The clock is now set.
Setting the Clock using the Remote Control
1. At STANDBY mode press and hold the PROGRAM/CLOCK
button. The display will change to flash either 24H .
2. Release the PROGRAM/CLOCK button and use the
or buttons to select the clock mode you require.
3. Press the PROGRAM/CLOCK button. The display will show
the time with the hours flashing on and off.
4. Use the or buttons to select the hour and press the
PROGRAM/CLOCK button the hour ceases to flash and the
minutes start flashing.
5. Use the or buttons to select the minutes and press
the PROGRAM/CLOCK button.
The clock is now set.
7
Page 9

Operation
Now your CD micro system is installed and ready for use,
please refer to the following instructions for correct operation
AC Power Operation
The CD micro system will be in standby mode, when the AC
power supply is connected and switched on .
At the front of the CD micro system or using the remote
control, press POWER to switch the CD micro system on .The
LCD display will light up.
Volume Control
WARNING
Do not turn off the CD micro system when the volume is set at
high level. When it is subsequent turned on, a sudden blast of
sound may damage your hearing and the external speakers.
The volume level can be adjusted either using the controls on
the unit or by the remote control.
On the unit turn the volume control towards the sign to
increase the volume and to wards the sign to reduce the
volume. The volume level will be displayed while adjustments are
being made.
To adjust the volume level using the remote control, press the
VOLUME / buttons.
Press MUTE on either the unit or the remote control to mute
the sound. Press MUTE again to resume sound.
Note: Pressing any of the volume control buttons will also
resume sound.
P.EQ
This system has a 3 -Band Preset Electronic Equaliser that
allows you to adjust the tone output for the most popular types
of music. The settings are CLASSIC , ROCK , POP .
To change to EQ setting, press the EQ button on the front
panel or on the remote control until the desired setting appears
in the main display.
8
Page 10

Radio
Operation
At the front of the CD micro system or using the remote
control, press POWER, to switch the CD micro system on. The
LCD display will light up.
Press either the TUNER button on the remote control or the
TUNER button on the unit to select the radio tuner.
Tuning
Press either BAND/STOP on the remote control or
BAND/STOP on the unit to select between FM and AM bands.
Use the tuning buttons on the remote control or on the unit to
select the desired station. The frequency will display on the LCD
display.
Pressing any of the tuning buttons briefly will change the
frequency by one increment. Pressing and holding the button for
a couple of seconds will cause the tuner to search for the next
radio station.
Pressing any of the tuning buttons during a search will stop the
search.
FM
FM Antenna
Fully extend the FM antenna wire and position it to obtain the
best FM reception.
FM Stereo
The CD micro system is capable of receiving stereo FM
broadcasts. When you tuned to a stereo broadcasting,
STEREO will be displayed.
AM
AM Loop Antenna
For AM reception broadcasts are picked up through a loop
antenna that plugs into the back of the unit.
The antenna assembly has a fixing system attached that can be
folded to form either a stand or wall mounting as shown in the
figures opposite. The wall mounting has two holes for round
head screws. These are not supplied.
9
Page 11

Note: It is normal for the position of the antenna to be adjusted
to achieve the best reception. If selecting the wall mounted
option ensure that you can receive the radio stations you listen
to before fixing.
As supplied
Folded to
form a stand
Folded for
wall
mounting
Preset Memory Stations
Your CD micro system can store up to 20 preset radio stations,
10 FM and 10 AM.
Once a station is in a preset memory, it can be retuned by
pressing the M-UP/REPEAT button on either the remote control
or the front of the unit until the desired preset number is
displayed.
To Preset Stations using the Remote Control
1. Press the or buttons to select the desired frequency.
2. Press the PROGRAM/CLOCK button. MEMORY will on the
display.
3. Press the M-UP/REPEAT button until the desired preset
memory number is displayed.
4. Press the PROGRAM/CLOCK button to store the frequency
into the selected memory location. MEMORY will stop flashing
and remain on the display.
The frequency is now preset.
10
Page 12

To Preset Stations using the Unit Controls
1. Press the or buttons to select the desired frequency.
2. Press the PROG/MEM button. MEMORY will flash on the
display.
3. Press the M-UP/REPEAT button until the desired preset
memory number is displayed.
4. Press the PROG/MEM button to store the frequency into the
selected memory location. MEMORY will stop flashing and
remain on the display.
The frequency is now preset.
CD player
Operation
At the front of the CD micro system or using the remote
control, press POWER, to switch the CD micro system on.The
LCD display will light up.
Set the function switch to CD. The display will initially flash
zeros then show no disc .
Only use CDs that bear the CD logo.
Loading and Unloading CDs
1. Press the PUSH OPEN button on the CD door to open the
CD compartment.
Note: If using the CD micro system for the first time, remove
the protective sheet from inside the compartment before use.
2. Remove the CD from its case, place carefully into disc
compartment over the centre spindle and lock in place with the
label side up.
3. Press the OPEN/CLOSE button to close the CD door. The
display will show the total number of tracks.
11
Page 13

Please Note:
Do not place foreign objects into the CD compartment , this
may damage the mechanism.
Always keep the CD door shut, to prevent dust or dirt from
getting into CD mechanism.
Never place more than one CD into the CD compartment at
any time.
After CD door is closed,CD information may not appear on the
LCD display, this means the CD cannot be read by the CD mechanism. Refer to the Care and maintenance section.
Playing a CD
On CD micro system or remote control:
1. Press the PLAY/PAUSE BUTTON. The display will show the
track number and the elapsed playing time.
2. To pause playback, press the PLAY/PAUSE button. The
elapsed time will flash.
3. To resume playback press PLAY/PAUSE again.
4. To stop playback, press either BAND/STOP on the remote
control or on the unit.
Track Selection
Using the remote control:
1. Press either the or buttons to select the desired track
number.
2. Press PLAY/PAUSE, to start playing.
Using the unit controls:
1. Press either of the or buttons to select the desired
track number.
Track Selection During Play
Using the remote control:
1. During play, press either of the or buttons to select the
desired track number. The selected track will automatically
start to play.
12
Page 14

Using the unit controls:
1. During play, press either of the or buttons to select
the desired track number. The selected track will automatically
start to play.
Stop Play
1. Press BAND/STOP on the remote control or the unit. The
display will show the total number of tracks and total playing
time.
2. Press the OPEN/CLOSE button, to remove the CD from the
compartment.
Programmed Playback
Up to 20 tracks can be programmed for playback.
Using the remote control:
1. At stop mode press the PROG/MEM button. MEMORY will
flash on the display, the track number is shown on the left and
the program number on the right as below.
2. Use the or buttons to select the desired track number
to be played back first.
3. Press the PROGRAM/CLOCK button. The display will
increment the program playback number.
4. Use the or buttons to select the track number to be
played back second in the programmed sequence.
5. Press the PROGRAM/CLOCK button.
6. Repeat this process until you have entered all of the tracks
you wish to play back in the programmed sequence.
7. Press PLAY/PAUSE to start playback. Play back will start
with first track selected.
8. To stop playback press STOP/BAND.
9. Opening the CD door will clear program.
13
Page 15

Using the unit controls:
1. At stop mode press PROG/MEM, MEMORY will flash on the
display, the track number is shown on the left and the program
number on the right as above.
2. Use the or buttons to select the desired track number
to be played back first.
3. Press PROG/MEM. The display will increment the program
playback number.
4. Use the or buttons to select the track number to be
played back second in the programmed sequence.
5. Press the PROG/MEM button.
6. Repeat this process until you have entered all of the tracks
you wish to play back in the programmed sequence.
7. Press PLAY/PAUSE to start playback. Play back will start
with first track selected.
8. To stop playback, press the STOP/BAND button.
9. Opening the CD door will clear program.
Random Play
1. With the CD loaded, press RANDOM on the remote control.
The tracks will be played in a random order.
2. To cancel random play either press RANDOM or BAND/
STOP on the remote control, or STOP/BAND on the unit.
Repeat Play
1. Press the M-UP/REPEAT on either the remote control or the
unit once, to repeat playback of the same track. The REPEAT
indicator will flash on the display.
2. To repeat all tracks, press M-UP/REPEAT twice. The
REPEAT indicator will stop flashing and remain on.
3. To cancel, press M-UP/REPEAT on the unit until the REPEAT
indicator extinguishes.
14
Page 16

Timer
Setting the timer
1. At STANDBY mode press the TIMER button on the remote
control to turn the timer function on, TIMER will flash for a
short time.
2. While timer is flashing on the display, hold the PROG/MEM
button down for 3 seconds and then release. The display will
show the time with the hours flashing .
3. Use the or buttons to select the hour and press
PROG/MEM. The hour stops flashing and the minutes start
flashing.
4. Use either of the or buttons to select the minutes and
press the PROG/MEM button.
The timer is now set. TIMER will flash for a few seconds then
the display will revert to the previous mode.
Switching the timer off
1. Press the TIMER button to switch the timer off. TIMER will
disappear from the display.
Sleep Function
Your CD micro system can be set to switch off automatically
afer a preset period of between 10 and 90 minutes.
1. While the unit is on , press the SLEEP button on the remote
control. The display will show 90 and SLEEP will flash on and
off. This indicates that the system will switch off in 90 minutes.
2. Successive pressing of the SLEEP button reduces the time
by 10 minutes with each press. For example if you want the
system to switch off in 30 minutes press the SLEEP button
seven times.
3. Afer approximately five seconds the sleep function is
registered. The display reverts to its previous state, SLEEP
stops flashing and remains on .
Note: You have approximately five seconds between successive
pressing of the SLEEP button before the sleep function is
registered.
4. To remove the sleep setting press the SLEEP button again.
SLEEP will be removed from the display.
15
Page 17

Care and Maintenance
Compact Disc Care
CD Handling
When handling CDs:
Do not touch the recorded surface.
Do not stick paper, or write, on either side of the CD.
Do not bend the CD.
CD Storage
To avoid scratches/damage, always put CDs back in their cases,
after use.
Do not expose CDs to direct sunlight, high temperature/humidity,for long periods.
Cleaning CDs
When handling CDs:
Use a soft cloth, to wipe fingerprints and dust from the disc
surface.
Wipe in a straight line from the centre to the outside of the
disc. Small dust particles and light stains, will not affect playback.
Never use benzene, thinners, record cleaner fluid, or antistatic
spray to clean CDs.
Care of the CD micro system
Cleaning
Always unplug the product before you clean it.
Do not use liquid or aerosol cleaners.
Clean your product with a soft, damp(not wet ) cloth.
Ventilation
Do not block or cover ventilation slots. Blocking of ventilation
slots, may lead to overheating of the product.
Fault Finding
Product will not operate.
Ensure product is connected to the mains supply and switched
ON.
Ensure the POWER button has been pressed.
No sound
Ensure speakers are properly connected.
Adjust volume level.
16
Page 18

Poor radio reception
Ensure aerial is positioned to receive best signal.
Adjust tuning to improve reception.
Possible interference from electrical equipment (e.g. Television).
Reposition product, to reduce interference.
No sound/poor sound quality from CD play
Ensure CD is correctly loaded, label side up.
Ensure CD is free from dust, dirt or scratches. CD may require
replacement.
Condensation on optic lens. Wait 30 minutes, then retry operation.
CD skipping. Ensure CD is free from dust ,dirt or scratches,
clean CD.Ensure product is not subject to vibration.
Specification
POWER SUPPLY 120V~60Hz
Radio
FREQUENCY RANGE
FM 87.5 - 108MHz
AM 520 - 1710KHz
Laser
OPTICAL PICKUP Class 1 Laser
Note: Specification subject to change without notice.
17
Page 19

Customer Service and Limited Product Warranties are provided
by C.I. LTD.
For all customer service inquiries please contact our customer
care are department:
Toll Free Line: 1-800-968-9853
Email: customerservice@curtisint.com
 Loading...