

Page 1
INSTRUCTION MANUAL
PORTABLE CD STEREO RADIO
WARNING: TO REDUCE THE RICK OF FIRE OR ELECTRIC SHOCK, DO NOT EXPOSE THIS APPLIANCE
TO RAIN OR MOISTURE
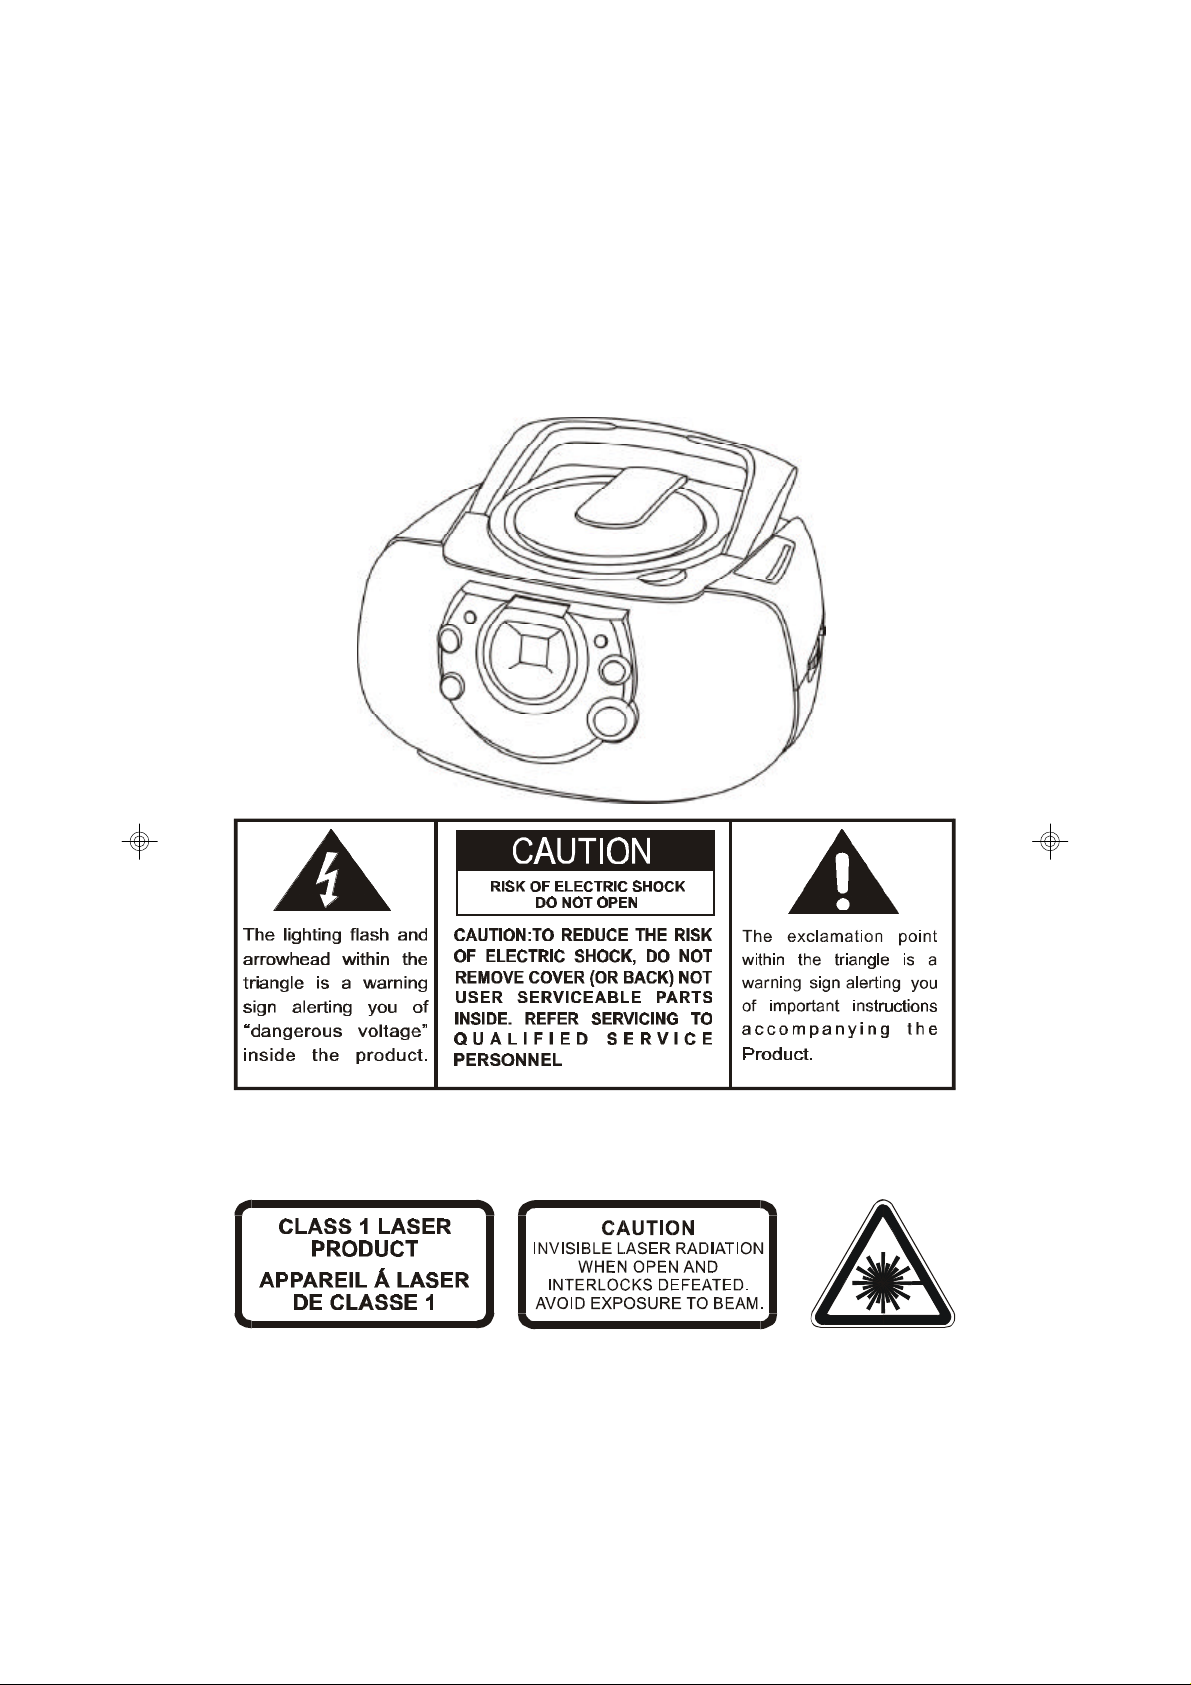
CLASS 1 LASER PRODUCT
This product contains a low power laser device.
Page 2
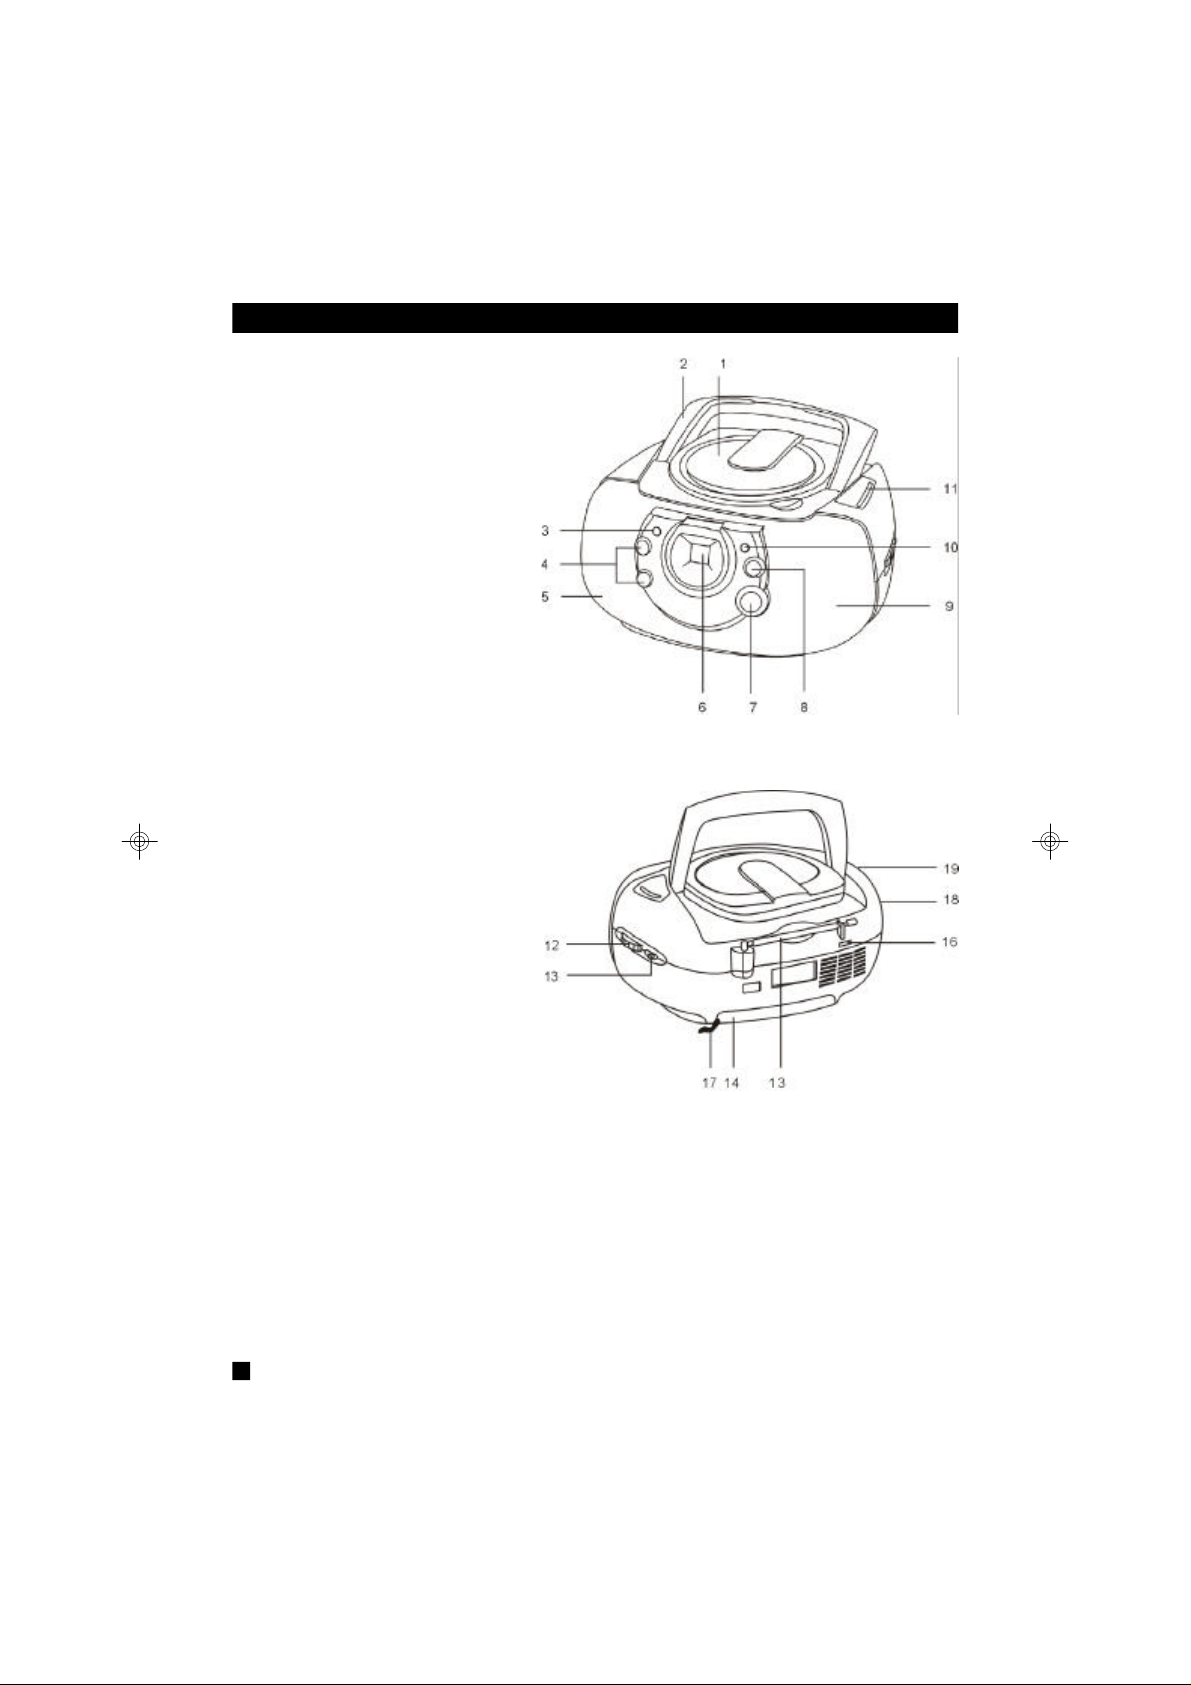
LOCATION OF CONTROLS
1. CD Door
2. Handle arm
3. CD Mode button
4. Skip / Search button
5. Left speaker
6. CD Display
7. Play / Pause button
8. CD Stop button
9. Right speaker
10. Random
11. Dial scale
12. Tuning button
13. Band Selector
14. Battery door
15. FM Antenna
16. AC / DC Power Switch
17. AC Cord
18. Function selector
19. Volume control
CAUTION
Usage of controls or adjustments or performance of procedures other than those specified herein
may result in hazardous exposure.
This unit should not be adjusted or repaired by anyone except qualified service personnel.
IMPORTANT:
Since movement of the CD mechanism and the sensitive circuity may cause interference to the radio
tuner nearby, switch this unit off while operating other radio devices.
1
:
Page 3

PREPARATION FOR USE
1. AC mains operation
• Set the power selector to AC position.
• Take out the built-in AC power cord which is located inside the battery line cord compartment.
Connect the corresponding end to AC household mains outlet.
Make sure the voltage is compatible.
2. Battery operation
• Set power selector to DC position.
• Remove battery compartment cover.
• Put in 8 Batteries (UM-2 or equivalent ) in correct polarity as indicated. ( Heavy duty batteries are
recommend )
• Replace the cover properly.
NOTE
: Check your batteries regularly. Old or discharged batteries should be replaced.
If the unit is not going to be used for some time or is being run exclusively on alternative
power. Take out the batteries to avoid leakage and damage.
E
Whenever convenient, use the AC power supply if you want to conserve battery life.
Make sure you remove the AC cord from wall socket before inserting batteries.
LISTENING TO RADIO
Operation
1. Set the function selector to “
2. Select the desired radio frequency with band selector.
3. Turn the Tuning control to set the Dial pointer against the station frequency as desired.
4. Adjust volume controls for the desired volume level.
TUNER
” position.
2
Page 4

PLAYING COMPACT DISC
•
Getting start
1. Set the Function selector to “CD” position.
Lift open the CD door.
Put a CD into the compartment and close the CD door.
PROG./CD PLAY
2. After a few seconds, the unit will scan the disc and
INDICATOR
the display will show the total number of tracks on the disc.
• PLAY / PAUSE MODE
1. If PLAY / PAUSE button is pressed during Stop mode, the first track will be played and the CD
PLAY indicator will be on.
2. If PLAY /PAUSE button is pressed during Play mode,
the track number will flash.
• STOP MODE
1. Press STOP button to stop play at any time.
when the last track has played, the player will antomatically stop.
• Selecting a desired track
Selecting a desired track in Stop mode
1. Press Skip or until the desired track appears on the LED display.
REPEAT
INDICATOR
2. Press PLAY / PAUSE to start play.
The selected track number appears on the LED display.
Selecting a desired track during Play mode
1. Press skip or until the desired track appears on the LED display.
The selected track number appears on the LED display.
• If you press Skip once it will skip to the beginning of the current track and play the track
again.
• searching for a particular passage during play
Press and hold Skip or until the desired passage is located. During the search the
sound is played faster than normal at a reduced volume. Play returns to normal when Skip
or is released.
• REPEAT MODE
1. In the play mode, press CD MODE button. A single track or all tracks can be repeated.
Each press switches the repeat mode.
3
Page 5

PROGRAMMED DISC PLAY
You can choose up to 16 tracks in any desired order for programmed play.
1. In the STOP position, press the CD MODE PROGRAM button.
- The program indicator will flash & display shows “P1”.
2. Press the or SKIP / SEARCH button to select the track number.
3. Press the CD MODE (PROGRAM) button once to store the track.
4. Repeat step 2 and 3 to program more tracks.
5. Press the PLAY / PAUSE button to start programmed play.
• Display indication for PROGRAM number.
Display Program number Display Program number
NOTE :
If you select more than 16 tracks, the first selected tracks are erased.
ERASING A PROGRAMME
• you can erase the contents of the memory by :
- Moving the source selector position.
- Opening the CD door will erase all the programmed tracks.
• RANDOM PLAY
- All the tracks on the disc can be played randomly.
- To cancel random play, press the button once.
4
 Loading...