

Page 1

Forensic Software utility
User Manual
Revised April 15, 2011
Thank you for purchasing a WiebeTech forensic product. Forensic Software Utility is a free software
application designed for optional usage with your write-blocker. This application is compatible with
Microsoft Windows XP, Vista, and Windows 7. If you have any difficulty using this application,
WiebeTech offers toll-free phone support at 1-866-744-8722, or email support at
support@wiebetech.com.
Table of Contents
1. Requirements
2. Installing WiebeTech Forensic Software Utility
2.1 Windows Installation
3. Using WiebeTech Forensic Software Utility
3.1 Drive Info Tab
3.1.1 Date/Time 3
3.1.2 Dock ID 3
3.1.3 Model Number 3
3.1.4 Serial Number 3
3.1.5 Revision 3
3.1.6 Capacity 3
3.2 Dock Info Tab
3.2.1 1394 Vendor ID 3
3.2.2 USB Vendor ID 3
3.2.3 USB Product ID 3
3.2.4 Manufacturer 3
3.2.5 Product 3
3.2.6 Serial Number 3
3.2.7 Revision 3
3.3 HPA/DCO Behavior Tab
3.3.1 Mode #1 4
3.3.2 Mode #2 4
3.3.3 Mode #3 4
3.3.4 Mode #4 4
3.4 Exit/Rescan/Save Info Buttons
3.4.1 Exit 5
3.4.2 Rescan 5
3.4.3 Save Info 5
3.5 Firmware Updates
4. Features by Connection Type
5. Frequently Asked Questions
6. License Agreement
2
2
2
2
3
3
4
5
5
6
6
7
U s e r M a n u al fo r F or e ns i c S o f t w a r e U t il i t y ( A9 -0 0 0 - 0 0 1 3 ) R E V 1 . 2
- 1 -
Page 2
CRU-WiebeTech
1. Requirements
Operating System: Windows XP (32-bit), Vista (32- or 64-bit), Windows 7 (32- or 64-bit)
Connections: USB, FireWire (1394a or 1394b), eSATA
Products: WiebeTech USB WriteBlocker, Forensic UltraDock, Forensic LabDock, and Forensic RTX
models
2. Installing Forensic Software Utility
Forensic Software utility can be found on the WiebeTech website
(http://www.wiebetech.com/software/Forensic_Software_Utility.php).
2.1 Windows Installation
After you’ve double-clicked the Forensic Software Utility install file, a Setup Wizard will appear on your
screen. Click “Next”. After you click “Next” it will take you to a licensed agreement for installing this
software. Read over the agreement and select “I accept the agreement”, then click “Next”. The Setup
Wizard will automatically create folders for Forensic Software Utility. If you would like to install it in a
different folder on your system that’s acceptable, just click “Browse” and select a new location. Once
you’ve decided on where to store the software click “Next”. Shortcuts will automatically be installed in the
Start Menu under a subfolder called WiebeTech. Again, if you’d like to install this in a different area
select “Browse” and choose a different location. After you’ve decided on where to store the program’s
shortcuts click “Next”. Then you can opt to have a desktop icon installed. Make your selection and click
“Next”. After that, the wizard will prompt you to install the software and will give a brief recap of the
different selections you made. Click “Install” and let the wizard complete your installation. Finally, you
can choose to launch the Utility. Click “Finish” and open up Forensic Software Utility.
3. Using Forensic Software Utility
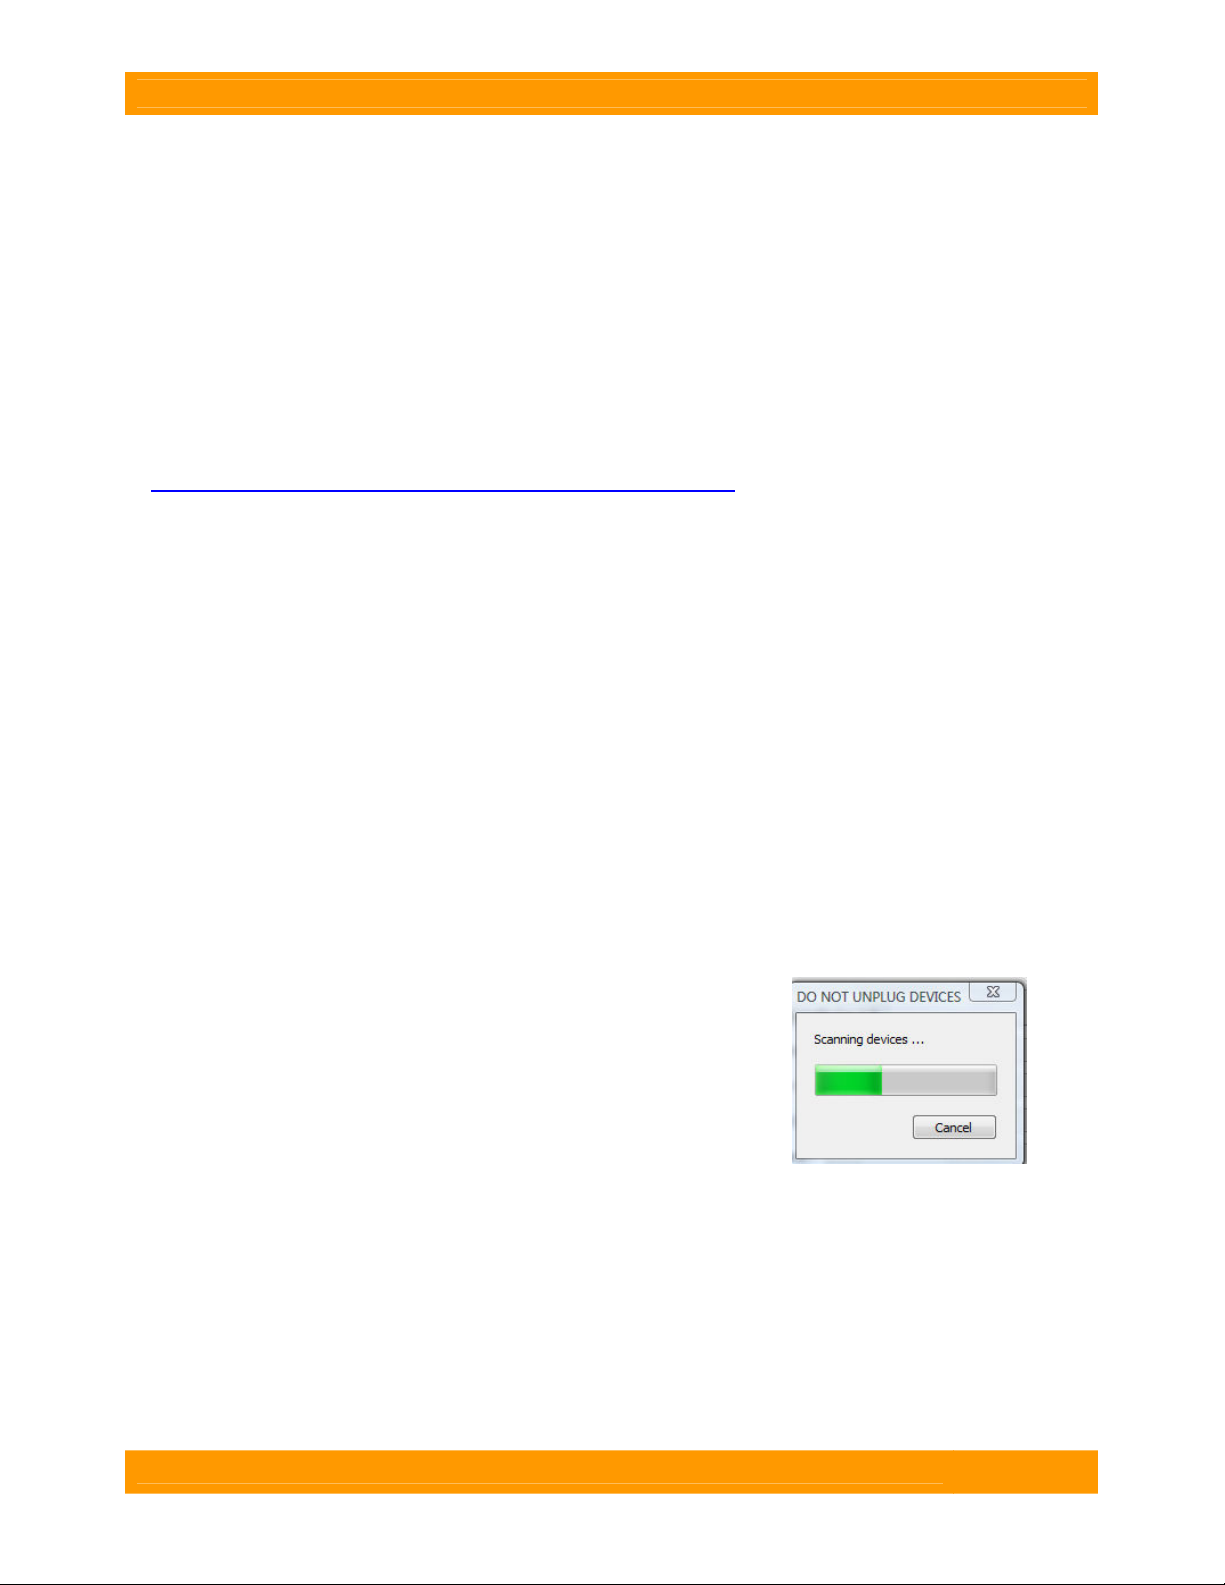
When you open WiebeTech Forensic Software Utility, it will perform an
initial scan for WiebeTech forensic devices.
• Do not unplug any devices while the utility is scanning.
• If the scan does not locate a device, click the rescan button.
When the scan is finished and the WiebeTech forensic device is detected, Forensic Software Utility is
ready for use. You can view and capture information regarding the WiebeTech Forensic product, the
drive attached to the forensic product, and any HPA and/or DCO regions found on the attached drive.
U s e r M an u a l f or F or e ns i c S o f t w a r e U t il i ty ( A9 -0 0 0 - 0 0 1 3) RE V 1 . 2
- 2 -
Page 3
CRU-WiebeTech
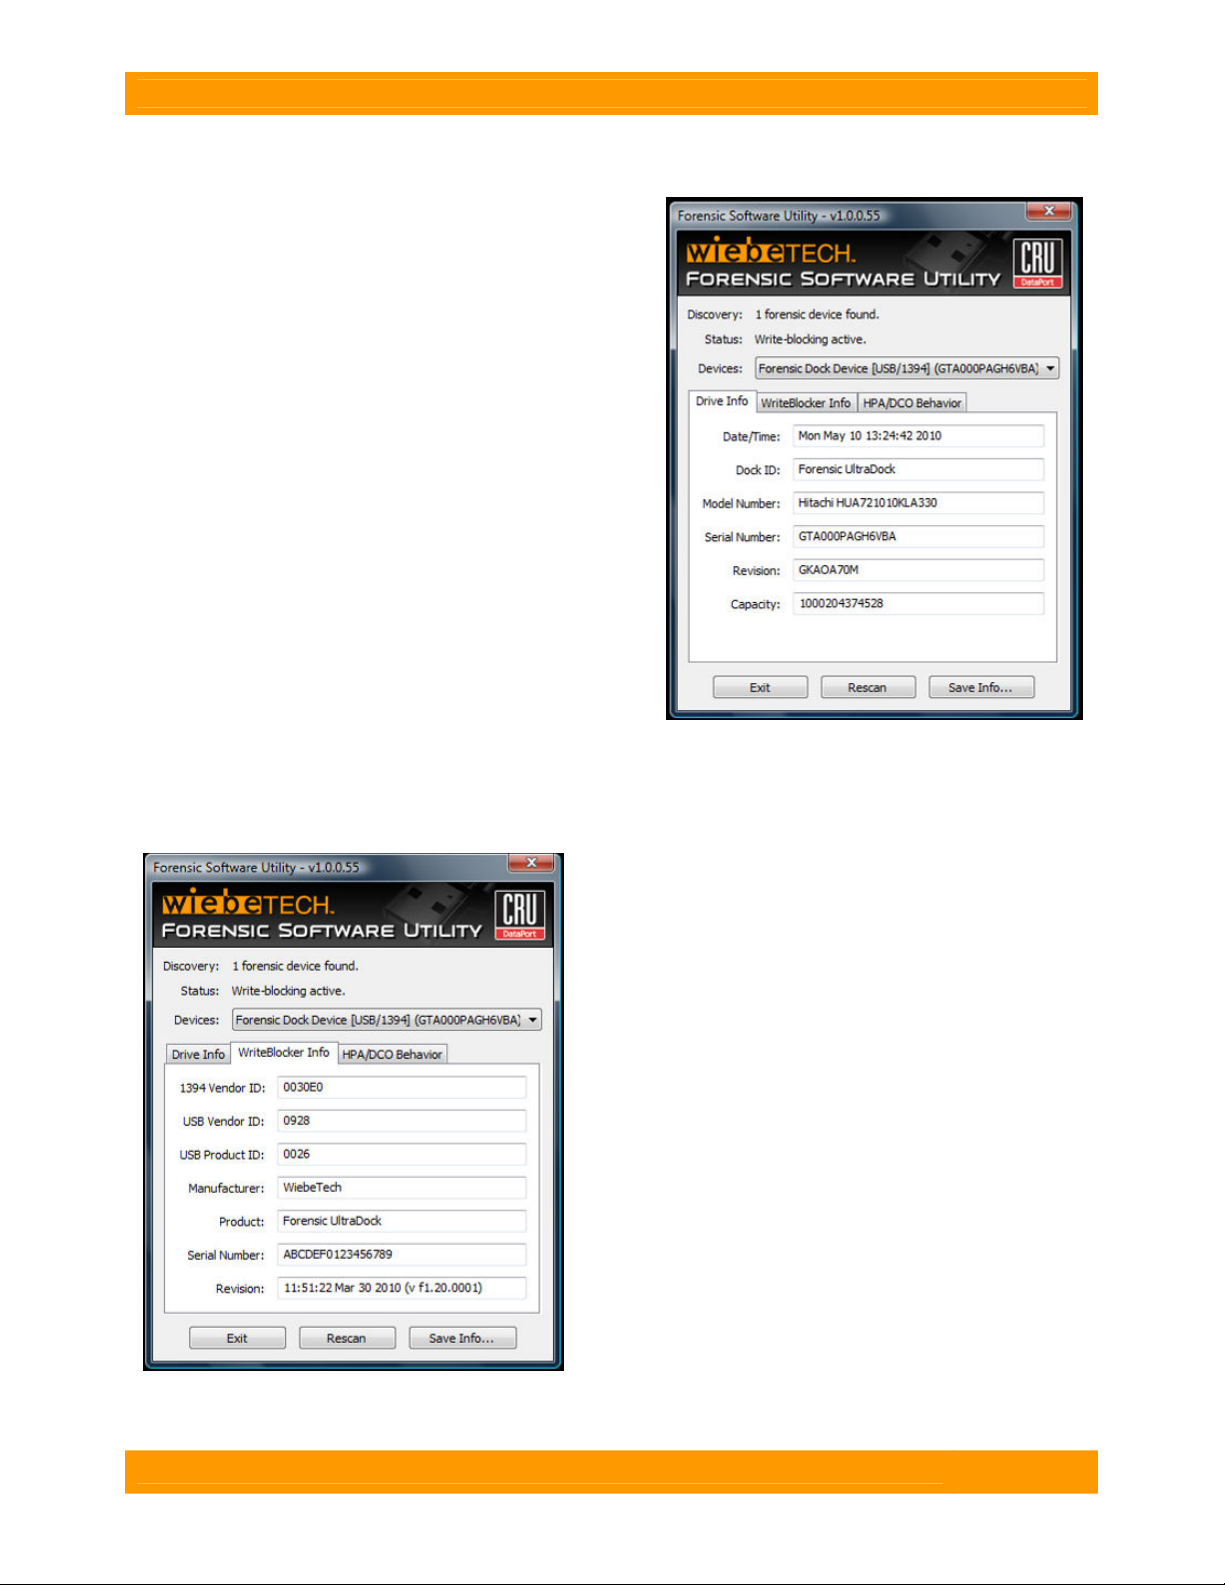
3.1 “Drive Info” Tab
This tab allows you to capture identification information
related to the “suspect drive” that is attached to the
WiebeTech Forensic Product.
3.1.1 Date/Time
This field displays the date and time that Forensic
Software Utility is accessed.
3.1.2 Dock ID
This field shows which WiebeTech Forensic Product is
connected.
3.1.3 Model Number
This indicates the Model Number of the attached drive.
3.1.4 Serial Number
This reports the Serial Number of the attached drive.
3.1.5 Revision
This field displays the firmware of the attached drive.
3.1.6 Capacity
Size of the drive (in bytes).
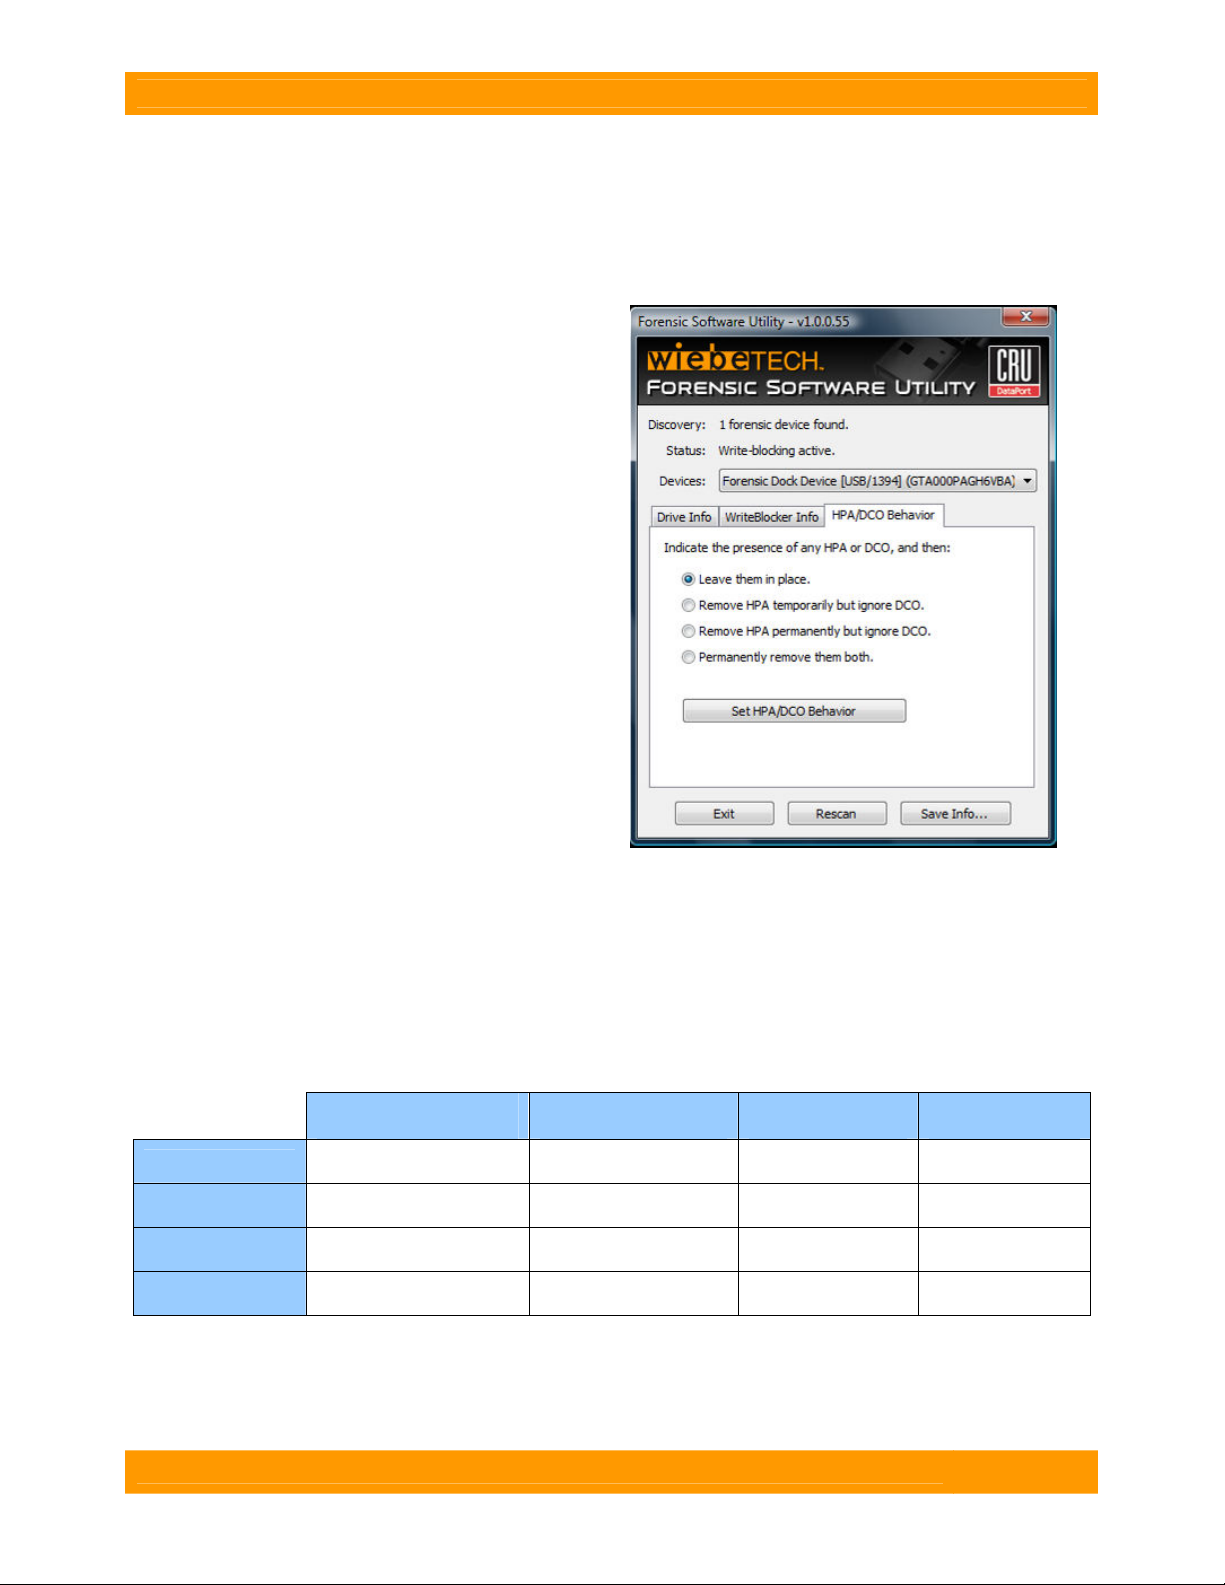
3.2 “Dock Info” Tab
This tab allows you to obtain identification information related to the WiebeTech Forensic product itself.
(Requires USB, FireWire, or eSATA connection)
(Requires USB or FireWire connection)
3.2.1 1394 Vendor ID
Vendor ID of the FireWire
3.2.2 USB Vendor ID
Vendor ID of the USB
3.2.3 USB Product ID
Product ID of the USB
3.2.4 Manufacturer
Maker of the forensic device
3.2.5 Product
Specific name of the WiebeTech forensic device
3.2.6 Serial Number
Serial number of the WiebeTech forensic device
3.2.7 Revision
Current firmware version on the WiebeTech forensic
device
U s e r M an u a l f or F or e ns i c S o f t w a r e U t il i ty ( A9 -0 0 0 - 0 0 1 3) RE V 1 . 2
- 3 -
Page 4
CRU-WiebeTech
3.3 “HPA/DCO Behavior” Tab
(Requires USB or FireWire connection)
This tab provides information related to any HPA and/or DCO regions found on the suspect drive. A Host
Protected Area (HPA) and Device Configuration Overlay (DCO) are reserved areas on a hard drive that
are not accessible by the BIOS or OS. Data can be hidden behind an HPA or DCO, like a stage hidden
behind a curtain.
Your WiebeTech forensic product will alert you to the
presence of any HPA or DCO. You may then use
Forensic Software Utility to manage the HPA/DCO
for imaging. There are four modes:
3.3.1 MODE #1: Leave them in place
The HPA and DCO areas will be left “as is” on the
hard drive. This is an “indication only” mode. Your
WiebeTech forensic device’s LED will blink to
indicate the HPA/DCO presence. No other action is
taken.
3.3.2 MODE #2: Remove HPA temporarily but
ignore DCO
This mode temporarily lets the user view information
hidden by an HPA (see behind the curtain). No
permanent changes are made to the hard drive.
When the hard drive is removed from the
WiebeTech forensic device, the HPA is reinstated.
Any DCO is left untouched.
3.3.3 MODE #3: Remove HPA permanently but
ignore DCO.
This mode completely removes the HPA, making the data behind it visible (permanently removes
the curtain). When the hard drive is removed from the WiebeTech forensic device, the HPA is NOT
reinstated. The DCO and data behind it are left untouched.
3.3.4 MODE #4: Permanently remove them both
The HPA and DCO are both completely removed, making all of the data behind them visible (the curtain
is removed from both permanently). When the drive is removed from the WiebeTech forensic device, the
HPA and DCO are NOT reinstated.
MODE #1
Indicates the presence
of HPAs or DCOs
●
Allows user to view
data within HPAs
Permanently
removes HPAs
Permanently
removes DCOs
MODE #2
MODE #3
MODE #4
U s e r M an u a l f or F or e ns i c S o f t w a r e U t il i ty ( A9 -0 0 0 - 0 0 1 3) RE V 1 . 2
● ●
● ● ●
● ● ● ●
- 4 -
Page 5
CRU-WiebeTech
3.4 Exit/Rescan/Save Info buttons
3.4.1 Exit
This will close down the software application.
3.4.2 Rescan
This will rescan the connections to check for any attached forensic device.
3.4.3 Save Info
Information from Forensic Software Utility can be saved as a text file for later viewing or inclusion into a
report. When you select “Save Info,” you will have the opportunity to name the .txt file and select where
you save it.
3.5 Firmware Updates
(Requires USB or FireWire connection)
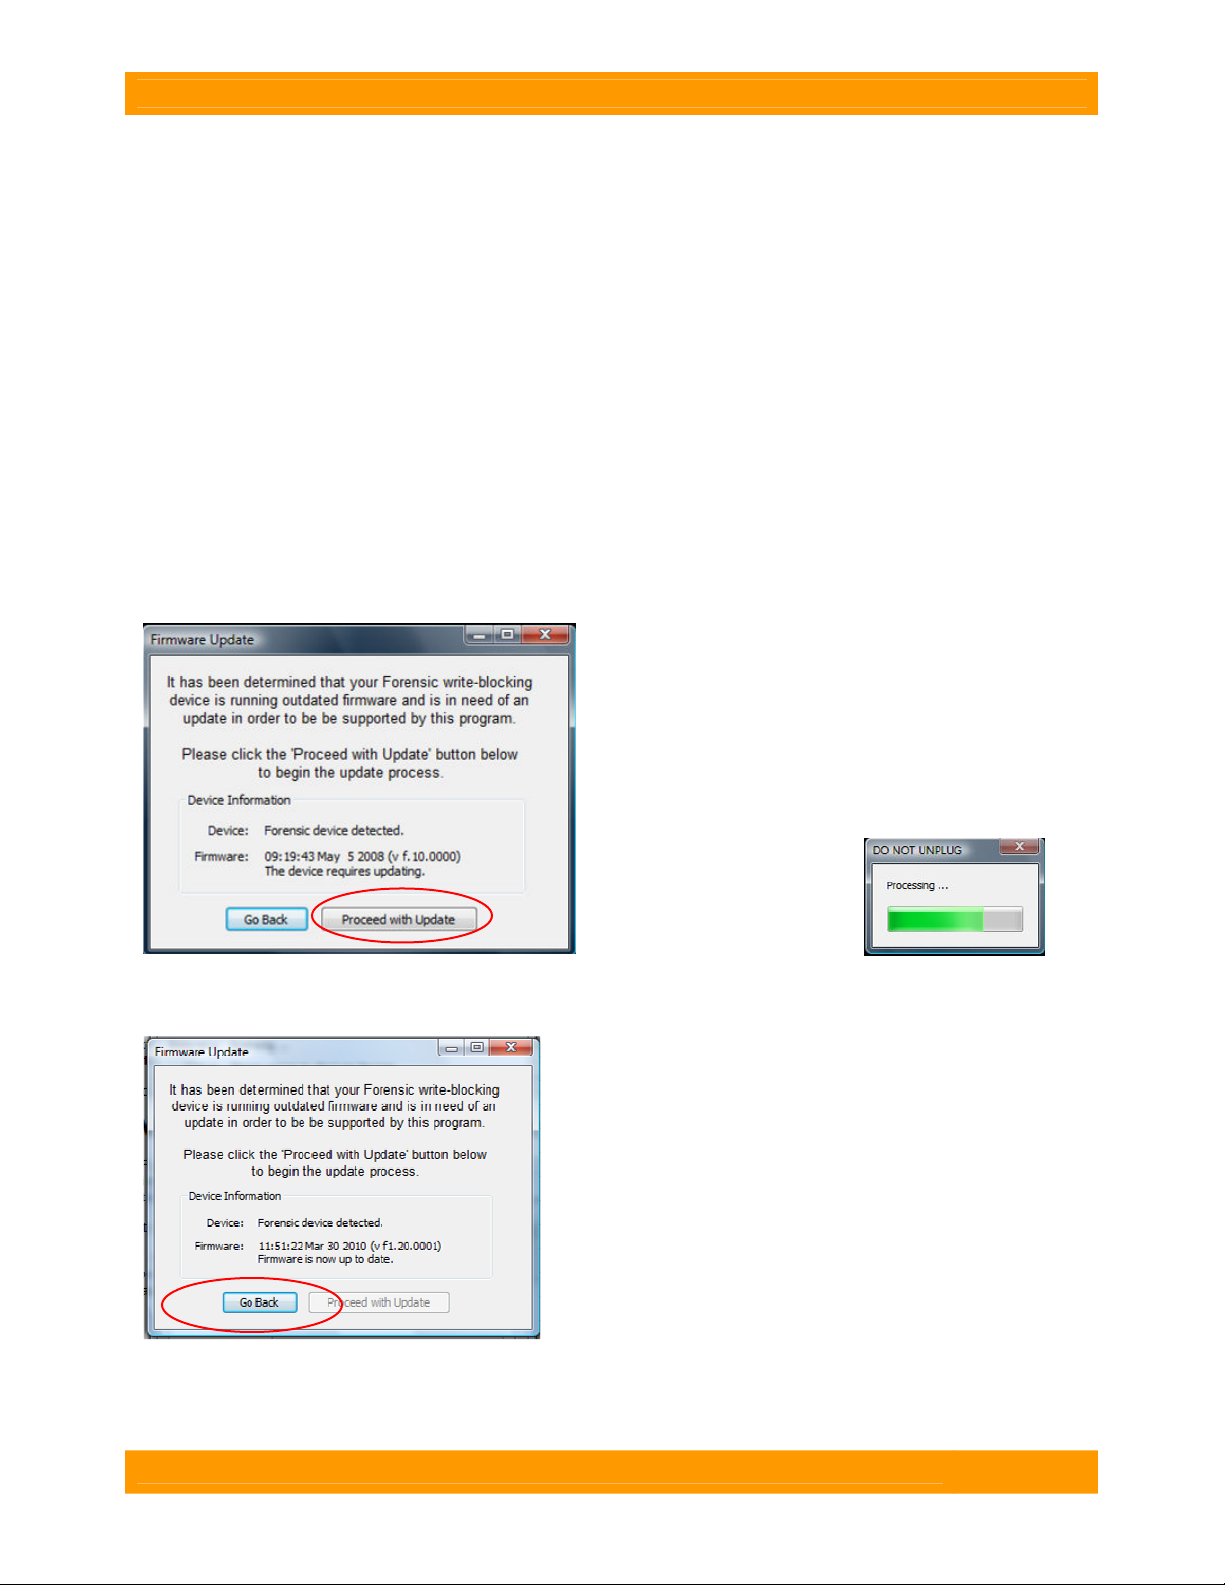
Your WiebeTech forensic product may require an update to its firmware. Forensic Software Utility can
recognize this and install the appropriate firmware on your device. If your product is using outdated
firmware, you will see the following message upon launching Forensic Software Utility:
1.
Click “Proceed with Update” to begin the update
process.
2.
You will see a status bar
showing the progress of the
update.
3.
When the update is complete, you will see a message
that says “Firmware is now up to date.”
Select “Go Back” to continue working with Forensic
Software Utility.
Note: For products with multiple interface boards such as
Forensic RTX (which has a separate board for each drive
bay), you must repeat the steps above for each board.
Only one board should be connected to the computer at a
time. After changing the connection from one board to
another, click “rescan.”
U s e r M an u a l f or F or e ns i c S o f t w a r e U t il i ty ( A9 -0 0 0 - 0 0 1 3) RE V 1 . 2
- 5 -
Page 6

CRU-WiebeTech
4. Features by Connection Type
Forensic Software Utility has a number of features for the user to utilize. However, due to limitations in
operating systems, chipsets, and bus protocols, not all features are available with every bus type.
Feature USB FireWire eSATA
Firmware
Reconfiguration
Real-time
information
display
Firmware updating Yes Yes
HPA/DCO Mode setting Yes Yes
Drive info Yes
Dock (Product) info Yes
Max USB WriteBlockers
on system
Maximum Forensic
UltraDocks, Forensic
LabDocks, or FRTX
10 n/a n/a
10 10 10
Yes
Yes
No
No
Yes
No
5. Frequently Asked Questions (FAQ)
Q:
What are HPA and DCO?
A:
A Host Protected Area (HPA) and Device Configuration Overlay (DCO) are reserved areas on a hard
drive that are not accessible by the BIOS or OS. Data can be hidden behind an HPA or DCO.
WiebeTech forensic devices will alert you if there is an HPA or DCO so that you are aware of it and can
take the necessary steps to retrieve the hidden data.
Q:
Forensic Software Utility is not displaying the Drive Info, Dock Info, or HPA/DCO Behavior tabs.
What is wrong?
A:
If the hard drive is not properly connected to your WiebeTech forensic device, the “drive info” tab will
not appear in Forensic Software Utility. If your WiebeTech forensic device is connected via eSATA, you
will only see the “drive info” tab. HPA/DCO mode setting and Dock Info require FireWire or USB
connection.
Q:
Why is it necessary to update the firmware of my WiebeTech forensic device?
A:
Firmware relates to the programs and data that control electronic products. Firmware is enhanced
over time, usually to add new features or increase compatibility. Updating firmware can improve the
functionality and dependability of your product. If your WiebeTech forensic device is using outdated
firmware, the WiebeTech Forensic Software Utility can recognize this and implement up to date firmware
on your device. See section 3.5 above.
For additional FAQs, please visit www.wiebetech.com/support.php
U s e r M an u a l f or F or e ns i c S o f t w a r e U t il i ty ( A9 -0 0 0 - 0 0 1 3) RE V 1 . 2
- 6 -
Page 7

CRU-WiebeTech
6. License Agreement
This License Agreement (the “License”) is a binding agreement between you (either an individual or an
entity) and CRU Acquisitions Group, LLC (“CRU”) that specifies approved usage of this software product
(the “Software”). By clicking “Accept” below, you indicate your full agreement with the following provisions.
1. This computer Software product may only be used in conjunction with registered WiebeTech brand hardware
products. You may use this Software only on a temporary 7-day “trial” basis with WiebeTech hardware
products that are not yet registered. Registration can be completed at the WiebeTech website
(www.wiebetech.com/registration.php). Usage of this Software with non-WiebeTech branded products is
expressly forbidden.
2. This computer Software product and all accompanying materials are COPYRIGHT © 2008 CRU Acquisitions
Group, LLC. Unauthorized duplication or alteration is prohibited. You may not decompile, disassemble, or
reverse engineer the Software. CRU retains all rights to ownership of this Software including all applicable
rights in patents, copyrights and trade secrets contained therein.
3. Unless specifically approved in writing by an authorized CRU representative, you may not distribute or make
available this software to any third party. Any unauthorized copying, alteration, or distribution of the Software,
written materials, or other materials accompanying the Software may be criminal and/or civil offenses for which
you may be liable for fines, damages, and legal fees.
4. You retain full control over the use of the Software and you assume all risks and liability for results obtained by
the use of the Software. CRU SHALL HAVE NO LIABILITY OR RESPONSIBILITY TO YOU OR ANY OTHER
PERSON OR ENTITY WITH RESPECT TO ANY LIABILITY, LOSS OR DAMAGE CAUSED DIRECTLY OR
INDIRECTLY BY USE OR PERFORMANCE OF THE SOFTWARE PRODUCT OR ARISING OUT OF ANY
BREACH OF THIS LICENSE, INCLUDING, BUT NOT LIMITED TO, ANY DAMAGES RESULTING FROM
LOST OR CORRUPTED DATA, INCONVENIENCE, LOSS OF TIME, PROPERTY, REVENUE, OR PROFIT
OR ANY INDIRECT, SPECIAL, INCIDENTAL, OR CONSEQUENTIAL DAMAGES, EVEN IF CRU HAS BEEN
ADVISED OF THE POSSIBILITY OF SUCH DAMAGES.
5. Your right to use this product may not be transferred. You shall not assign or sublicense your rights or
obligations under this License.
6. The term of this license agreement extends from the moment of your acceptance until you such time as you
uninstall the Software product. However, failure to comply with the conditions of this License may result in
termination of the License by CRU at any time. In such an event, you shall immediately uninstall the Software.
The provisions of this License that protect the proprietary rights of CRU shall continue in force after termination
of the License.
7. LIMITED WARRANTY: CRU warrants that the Software will perform substantially in accordance with the
accompanying written materials for a period of thirty (30) days from the date of distribution by CRU. Since
some states and countries do not allow limitations on duration of an implied warranty, the above limitation may
not apply to you. No other warranties, either express or implied, including those of merchantability and fitness
for a particular purpose, apply to this Software product or accompanying materials.
8. If the software fails to perform in accordance with the accompanying written materials within the limited
warranty period, CRU will, at CRU’s option, either (a) replace the Software, which must be returned to CRU, or
(b) return any money paid to CRU by you in the purchase of the product. CRU may, at its discretion, require
you to furnish proof of purchase for the Software product before providing the remedies listed above.
9. This License constitutes the entire agreement between CRU and you relative to this License. Any change
hereto shall be effective only if in writing and signed by both you and a duly authorized agent of CRU.
10. If any portions of this License are held to be invalid, void, or unenforceable, the remaining provisions of this
License shall remain in full force and effect and shall in no way be affected, impaired, or invalidated.
11. This License agreement is governed by the laws of the state of Washington.
WiebeTech, USB WriteBlocker, UltraDock, LabDock, and RTX are trademarks of CRU Acquisitions Group, LLC.
Other marks are the property of their respective owners.
© 2010 CRU Acquisitions Group, LLC. All rights reserved.
U s e r M an u a l f or F or e ns i c S o f t w a r e U t il i ty ( A9 -0 0 0 - 0 0 1 3) RE V 1 . 2
- 7 -
 Loading...