

Page 1
RTX220 QR - Manual
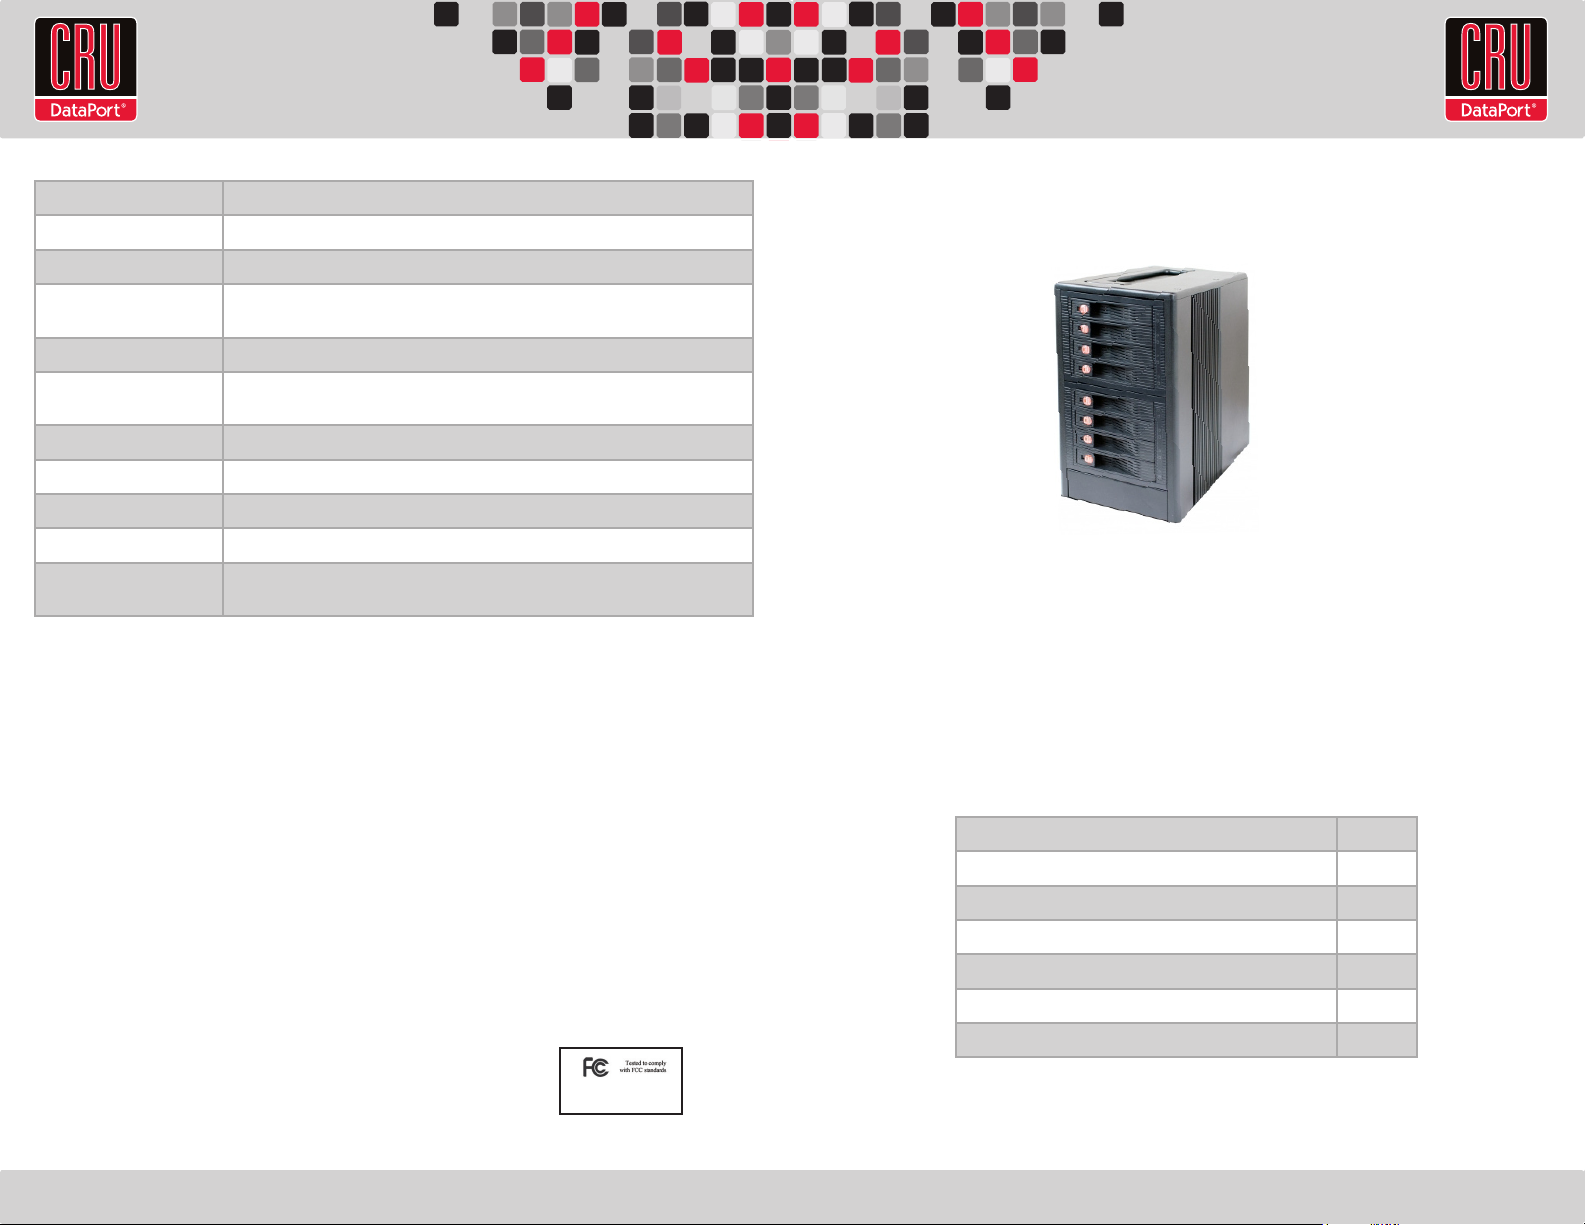
Product Name RTX800-XJ
Host Interface Multi-lane SAS/SATA (SFF-8088)
Drives Supported 3.5-inch SATA or SAS hard drives up to 3TB
Operating System
Windows XP, Vista, Windows 7, Mac OS X
Requirements
Power Switch 2 position: On / Off
Power Supply Input: 100-240VAC
Output: 350 Watts
Cooling Fan Dual 8cm Ball Bearing Fans
External Material Aluminum alloy case
Shipping Weights 24 pounds without drives, 36 pounds with drives
Dimensions 180mm W x 270mm D x 315mm H
Support Technical Support is standing by and ready to help. Contact Technical Support through
cru-dataport.com/support or call (800) 260-9800.
RTX and TrayFree are trademarks of CRU Acquisitions Group, LLC. Other marks are the property of their respective owners. © 2012 CRU Acquisitions
Group, LLC. All rights reserved.
Limited Product Warranty
CRU-DataPort (CRU) warrants RTX800-XJ to be free of signicant defects in material and workmanship for a period of one year (three years for
RTX800-NJ Bundle) from the original date of purchase. CRU’s warranty is nontransferable and is limited to the original purchaser.
Limitation of Liability
The warranties set forth in this agreement replace all other warranties. CRU expressly disclaims all other warranties, including but not limited to, the
implied warranties of merchantability and tness for a particular purpose and non-infringement of third-party rights with respect to the documentation
and hardware. No CRU dealer, agent, or employee is authorized to make any modication, extension, or addition to this warranty. In no event will CRU
or its suppliers be liable for any costs of procurement of substitute products or services, lost prots, loss of information or data, computer malfunction,
or any other special, indirect, consequential, or incidental damages arising in any way out of the sale of, use of, or inability to use any CRU product
or service, even if CRU has been advised of the possibility of such damages. In no case shall CRU’s liability exceed the actual money paid for the
products at issue. CRU reserves the right to make modications and additions to this product without notice or taking on additional liability.
FCC Compliance Statement: “This device complies with Part 15 of the FCC rules. Operation is subject to the following two conditions: (1) This device
may not cause harmful interference, and (2) this device must accept any interference received, including interference that may cause undesired
operation.”
This equipment has been tested and found to comply with the limits for a Class A digital device, pursuant to Part 15 of the FCC Rules. These limits are
designed to provide reasonable protection against harmful interference when the equipment is operated in a commercial environment. This equipment
generates, uses, and can radiate radio frequency energy and, if not installed and used in accordance with the instruction manual, may cause harmful
interference to radio communications. Operation of this equipment in a residential area is likely to cause harmful interference in which case the user
will be required to correct the interference at this own expense.
In the event that you experience Radio Frequency Interference, you should take the following steps to resolve the problem:
1) Ensure that the case of your attached drive is grounded.
2) Use a data cable with RFI reducing ferrites on each end.
3) Use a power supply with an RFI reducing ferrite approximately 5 inches from the DC plug.
4) Reorient or relocate the receiving antenna.
FOR OFFICE OR COMMERCIAL USE
RTX™ 800-XJ Quick Start Guide
Visit www.cru-dataport.com to download the complete User Manual.
Models Covered:
RTX800-XJ
1. Pre-Installation Steps
1.1 RTX800-XJ Accessories
Check the accessories with your RTX800-XJ. Please contact CRU if any parts are
missing or damaged. The box should contain the following items:
Accessories Quantity
RTX800-XJ unit 1
Power Cord 1
Quick Start Guide and warranty information 1
Multi-lane SAS/SATA cable (RTX800-XJ bundles only) 2
ATTO R680 Adapter (RTX800-XJ bundle only) 1
RedPort SAS 6G card (RTX800-XJ forensic bundle only) 1
A9-800-0002-1 Rev. 1
Page 2
RTX220 QR - Manual
2. Installation Steps
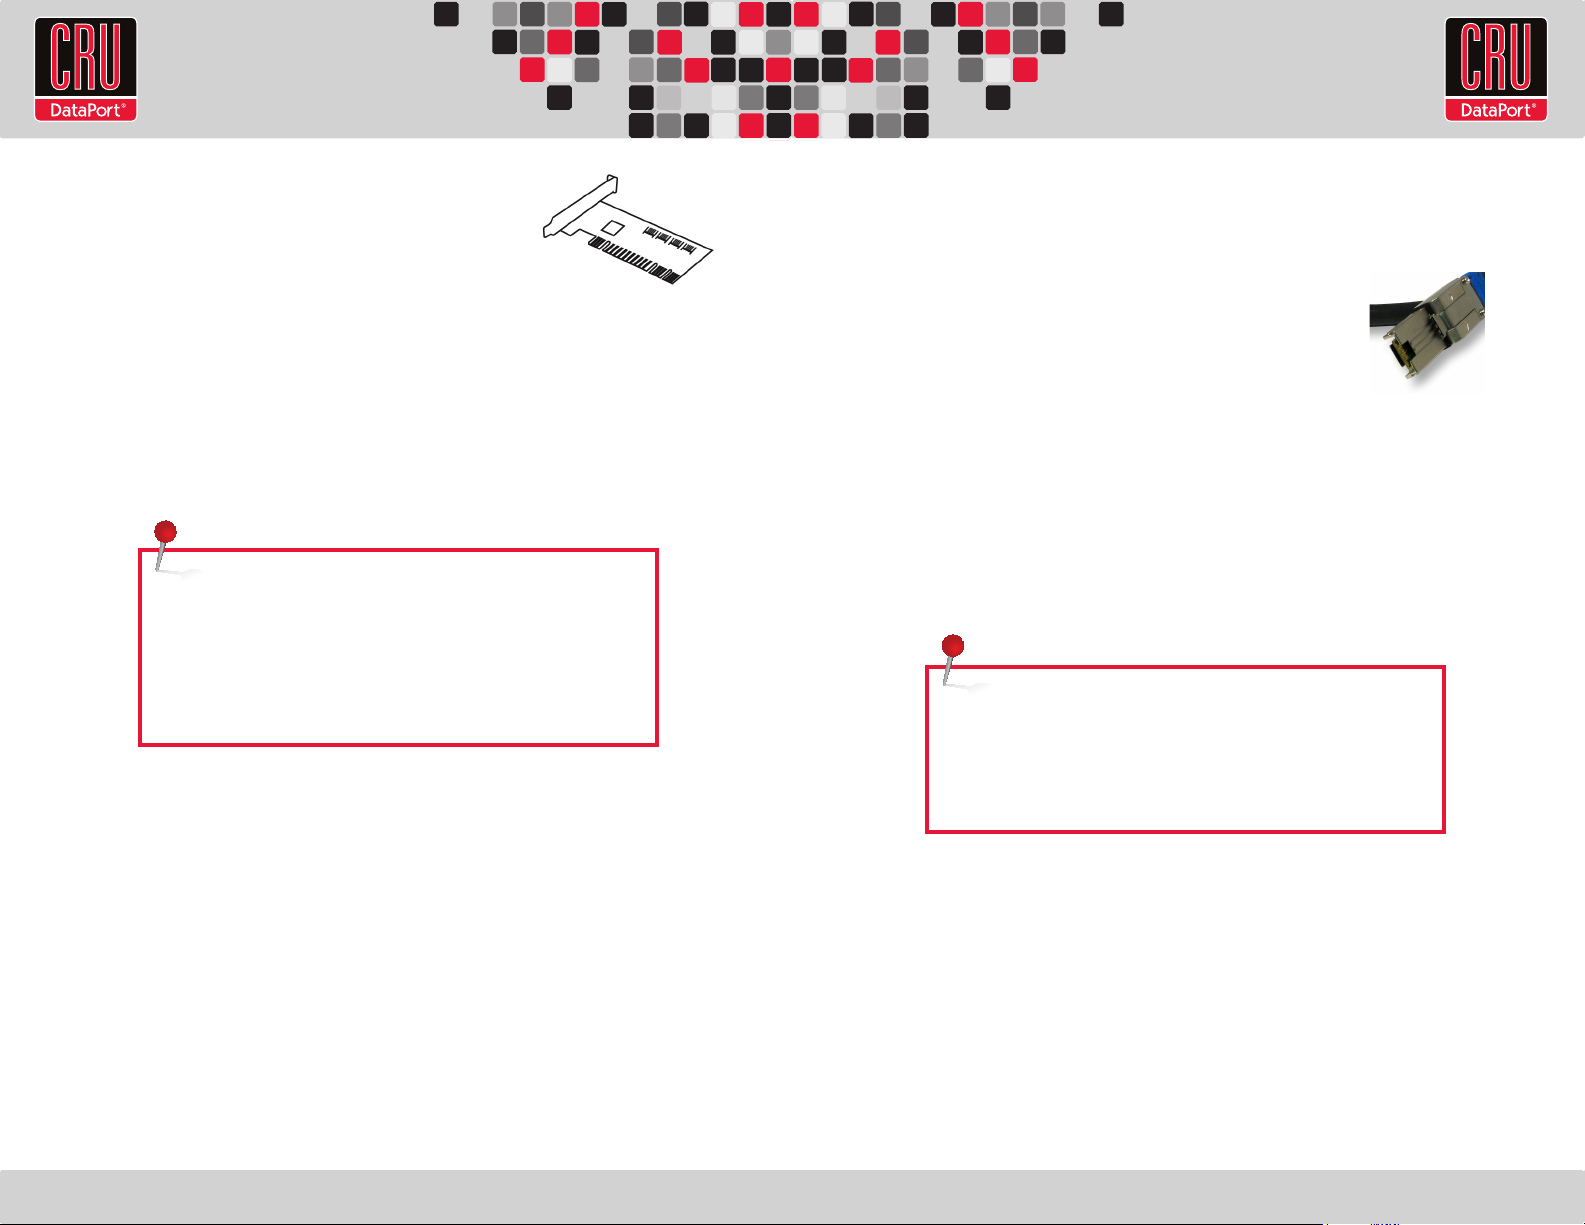
2.1 Installing a Host Bus Adapter (optional)
The following general steps will work for most cards.
Instructions for individual cards may vary, so consult your card’s user manual.
a. Power down the computer system.
b. Insert the adapter card into a compatible slot. Do not force it, but it will take rm
pressure to fully seat the interface. It may help to gently rock the card back and
forth as you apply pressure.
c. Once the card is fully seated in the slot, secure it in place with a screw.
d. Turn the computer back on.
NOTE: Drivers for the R680 that comes with the RTX800-XJ
Bundle can be found at ATTO’s website: www.attotech.com.
Drivers for the REDPort SAS 6G card are also found at the
ATTO website. Use the drivers for the ATTO ExpressSAS
H644. RedPort SAS 6G was designed in partnership with
ATTO, and is based on ATTO’s H644 hardware.
2.2 Hard Drive Installation
a. Pull on the ejection handle and open the door.
b. Slide in your SAS or SATA hard drive, connector-end rst. The drive’s label should
be facing up.
c. Shut the door.
2.3 Connecting and powering RTX800-XJ
RTX800-XJ has two multi-lane SAS/SATA (SFF-8088) connections on the rear of
the unit. These connections can go to any host bus adapter so long as the proper
converter cable is attached. (RTX800-XJ Bundle includes
the appropriate cables.)
Plug in the SAS/SATA cable from your computer to the
RTX800-XJ. Plug in the power cord. With hard drives in
the unit, turn it on. RTX800-XJ is ready to use!
Multi-lane SAS/
SATA connection
(SFF-8088)
If the hard drives are already formatted, RTX can be used right away. If the hard
drives are brand new, or the formats are not compatible with your computer, the
drives will need to be formatted before being used.
NOTE: If any of the drives are inaccessible after powering on
the unit, try the following steps:
1. Turn off the power.
2. Remove the drive(s) in question.
3. Reinsert the drive(s).
With RTX800-XJ, you can lock the bay for additional security, but make sure to unlock
it before pulling on the ejection handle again.
 Loading...