

Page 1
Protecting Your
Digital Assets
™
Protecting Your
Digital Assets
™
Product Models DataPort 25 USB 3.0 Carrier
Host Interfaces • USB 3: up to 5 Gbps
• USB 2: up to 480 Mbps
• SATA: up to 6 Gbps
Drive Types Supported 2.5-inch SATA hard drives
Data Connectors • One (1) USB 3.0 connector (backward compatible)
• One (1) DataPort 25 Floppy Bay Frame connector
Operating System
Requirements
• Windows 8, 7, Vista, or XP
• Windows Server 2012, 2008, and 2003 product families
• Mac OS X
• Linux distributions that support the connection type used
Connector Insertion Rating 25,000+ Carrier-to-Frame
Torque 2.5-inch hard drives, M3 screws: 4 inch-pounds max.
Compliance EMI Standard: FCC Part 15 Class B, CE
EMC Standard: EN55022, EN55024
Shipping Weight 2.00 pounds (includes accessories)
Dimensions Complete Assembly: 4.02” x 6.10” x 1.02” (102mm x 155mm x 26mm)
Removable Carrier: 3.11” x 5.24” x 1.02” (79mm x 133mm x 26mm)
Technical Support Contact us at www.cru-inc.com/support. We also offer phone support at
(800) 260-9800 or (360) 816-1800.
DataPort is a trademark of CRU Acquisitions Group, LLC. Other marks are the property of their respective owners. © 2013 CRU Acquisitions
Group, LLC. All rights reserved.
Product Warranty
CRU-DataPort (CRU) warrants this product to be free of signicant defects in material and workmanship for a period of two years from the original
date of purchase. CRU’s warranty is nontransferable and is limited to the original purchaser.
Limitation of Liability
The warranties set forth in this agreement replace all other warranties. CRU expressly disclaims all other warranties, including but not limited
to, the implied warranties of merchantability and tness for a particular purpose and non-infringement of third-party rights with respect to the
documentation and hardware. No CRU dealer, agent, or employee is authorized to make any modication, extension, or addition to this warranty.
In no event will CRU or its suppliers be liable for any costs of procurement of substitute products or services, lost prots, loss of information or data,
computer malfunction, or any other special, indirect, consequential, or incidental damages arising in any way out of the sale of, use of, or inability
to use any CRU product or service, even if CRU has been advised of the possibility of such damages. In no case shall CRU’s liability exceed the
actual money paid for the products at issue. CRU reserves the right to make modications and additions to this product without notice or taking on
additional liability.
FCC Compliance Statement: “This device complies with Part 15 of the FCC rules. Operation is subject to the following two conditions: (1) This
device may not cause harmful interference, and (2) this device must accept any interference received, including interference that may cause
undesired operation.”
This equipment has been tested and found to comply with the limits for a Class A digital device, pursuant to Part 15 of the FCC Rules. These limits
are designed to provide reasonable protection against harmful interference when the equipment is operated in a commercial environment. This
equipment generates, uses, and can radiate radio frequency energy and, if not installed and used in accordance with the instruction manual, may
cause harmful interference to radio communications. Operation of this equipment in a residential area is likely to cause harmful interference in
which case the user will be required to correct the interference at this own expense.
In the event that you experience Radio Frequency Interference, you should take the following steps to resolve the problem:
1) Ensure that the case of your attached drive is grounded.
2) Use a data cable with RFI reducing ferrites on each end.
3) Use a power supply with an RFI reducing ferrite approximately 5 inches from the DC plug.
4) Reorient or relocate the receiving antenna.
FOR OFFICE OR COMMERCIAL USE
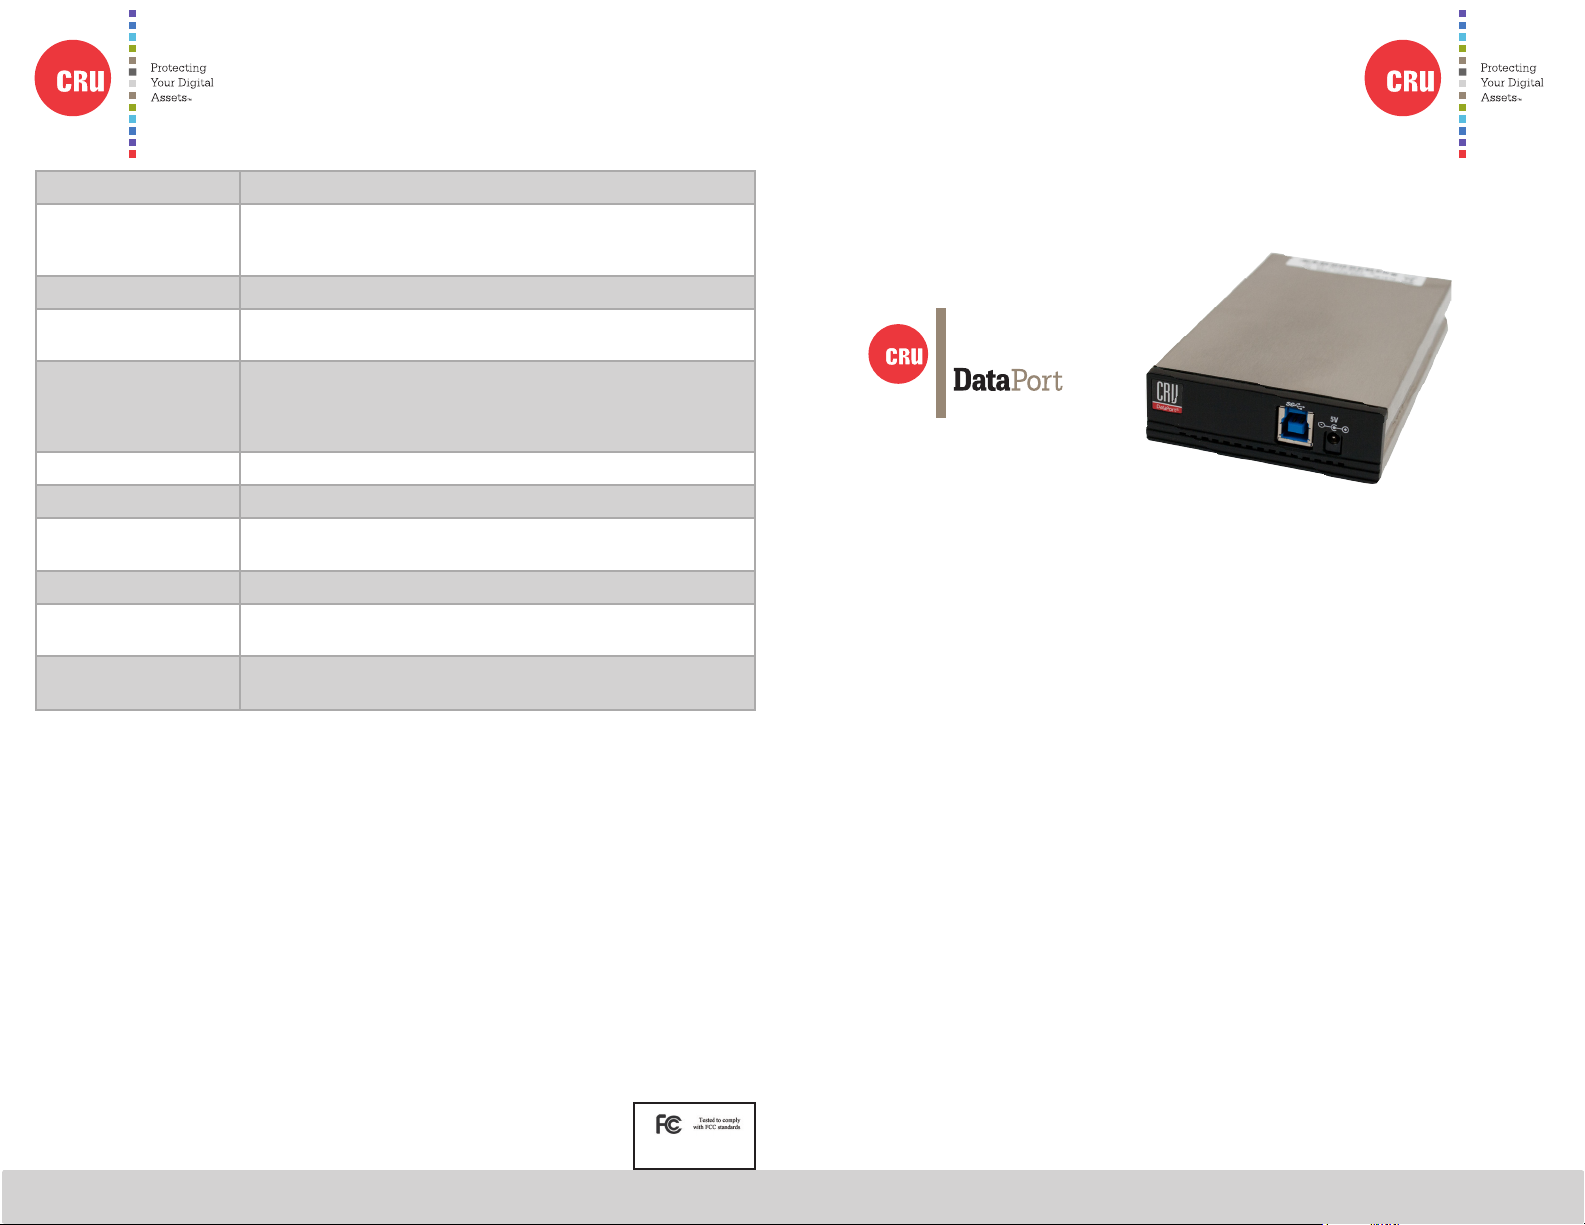
CRU DataPort®25 USB 3.0 Carrier
Thank you for purchasing CRU’s DataPort 25 USB 3.0 Carrier. The DataPort
25 USB 3.0 Carrier is designed to provide users with the ultimate in data
access exibility. It can be used as a portable stand-alone external hard drive,
and when inserted into the DataPort 25 frame it will operate at the full SATA
6Gbps transfer rate. The power supply is not required if your system provides
standard USB bus power, freeing you from the tether of a power cord and
providing access to your data anywhere.
Features
• Access data anywhere via USB 3.0
• Supports 6Gbps transfer speeds when connected into a DataPort 25
receiving frame
• Removable carrier for one 2.5-inch SATA Revision 3.0 compatible
hard drive
• Backwards compatible with previous SATA Revision hard drives
• Backwards compatible with USB 2.0
• Heavy-duty stainless steel construction
A5-025-0018-1 Rev. 2.0
Page 2

CRU Mark
1 Installation Steps
1.1 Floppy Bay Frame Installation
a. Slide the receiving frame into an open 3.5” Floppy Drive bay.
b. Secure the receiving frame to the chassis with the mounting screws provided.
c. Attach a SATA data cable to the SATA connector on the rear of the frame
and attach the other end to the appropriate SATA port on the computer’s
motherboard. Port JP4 connects to the bottom hard drive in the carrier and
JP5 connects to the top hard drive. For SAS, JP4 is the primary channel and
JP5 is the secondary.
d. Attach a 4-pin Floppy power cable to the power connector on the rear of the
Floppy Drive bay. The frame requires both +12VDC and +5VDC to operate.
Most oppy connectors fulll this requirement.
1.2 Hard Drive Installation
a. If the carrier is bundled with a frame, press the Eject button once to release
the button, and again to eject the carrier from the frame. If the lock is engaged
and the eject button will not release the carrier, insert the provided Dataport
Key into the frame and turn it 90 degrees counterclockwise to release the
lock so that you can eject the carrier.
b. Slide the cover of the carrier back and off.
c. Remove the screw kit from the carrier.
d. Insert a 2.5” SAS or SATA hard drive, with the top label facing up, into the
unied power and data connector inside the carrier.
e. Secure the hard drive to the carrier by using the mounting screws provided.
f. Replace the cover and secure it by inserting two screws from the screw kit
into the rear of the carrier.
1.4 Operating Your DataPort 25 with USB 3
a. Insert a USB 2.0 or USB 3.0 cable into the front of the DP25 and connect
the other end to your computer. When using a USB 2.0 cable you will be
limited to the USB 2.0 transfer speed of up to 480Mbps, and you may have
to use the provided power supply to power the unit. If you are operating
on USB 3.0 with bus power, the drive will power up automatically and be
detected by your computer.
NOTE: Do not operate the DP25 in a DP25 Floppy Bay Frame while
using USB 3.0.
b. If you are not able to operate on bus power, plug the DataPort 25 into AC
power using the provided power plug. The drive should then power up and
be detected by your computer.
When any hard drive is rst used with the DataPort 25 it will show up as a blank,
unallocated drive and you’ll need to format the drive inside the enclosure before
you can use it. Note that formatting a drive will erase all data on the
drive, so be sure to back up your data before beginning this operation.
1.3 Operating Your DataPort 25 in a Floppy Bay Frame
a. Slide the DataPort 25 carrier into the frame.
b. Insert the provided key into the keylock and turn it 90 degrees clockwise to
secure the carrier into the frame and power it on.
c. When any hard drive is rst used with the DataPort 25 it will show up as
a blank, unallocated drive and you’ll need to format the drive inside the
enclosure before you can use it. Note that formatting a drive will
erase all data on the drive, so be sure to back up your data before
beginning this operation.
 Loading...