

Crosley Conservator CEDS563MQ, Conservator CEDX463MQ, Conservator CEDS774MQ User Instructions
Page 1
ICONSERVATOR
By CROSLEY ®)
DRYERUSERINSTRUCTIONS
Table of Contents
ASSISTANCE OR SERVlCE ............................. 1
DRYER SAFETY ............................................... I
DRYER USE ...................................................... 3
DRYER CARE ................................................... 5
TROUBLESHOOTING ...................................... 6
WARRANTY ...................................................... 8
AssistanceorService
Ifyou need assistance or service, first see the "Troubleshooting"
section. Additional help is available by calling our Customer
Interaction Center at 1-800-253-1301 from anywhere in the
U.S.A., or write:
Crosley Corporation
c/o Customer Service
675 North Main Strest
Winston-Salem, NC 27102-2111
To order parts and accessories, call 1-800-442-9991.
Please include a daytime phone number in your correspondence.
Keep this book and your sales slip together for future
reference. You must provide proof of purchase or installation
date for in-warrenty service.
Write down the following information about your appliance to help
you obtain assistance or service if you ever need it. You will need
to know your complete model number and serial number. You can
find this information on the model and serial number label, located
at the top inside dryer door well.
Dealer name
Serial number
Address
Phone number
Model number
Purchase date
DRYERSAFETY
Your safety and the safety of others are very important.
We have provided many important safety messages in this manual and on your appliance. Always read and obey all safety
messages.
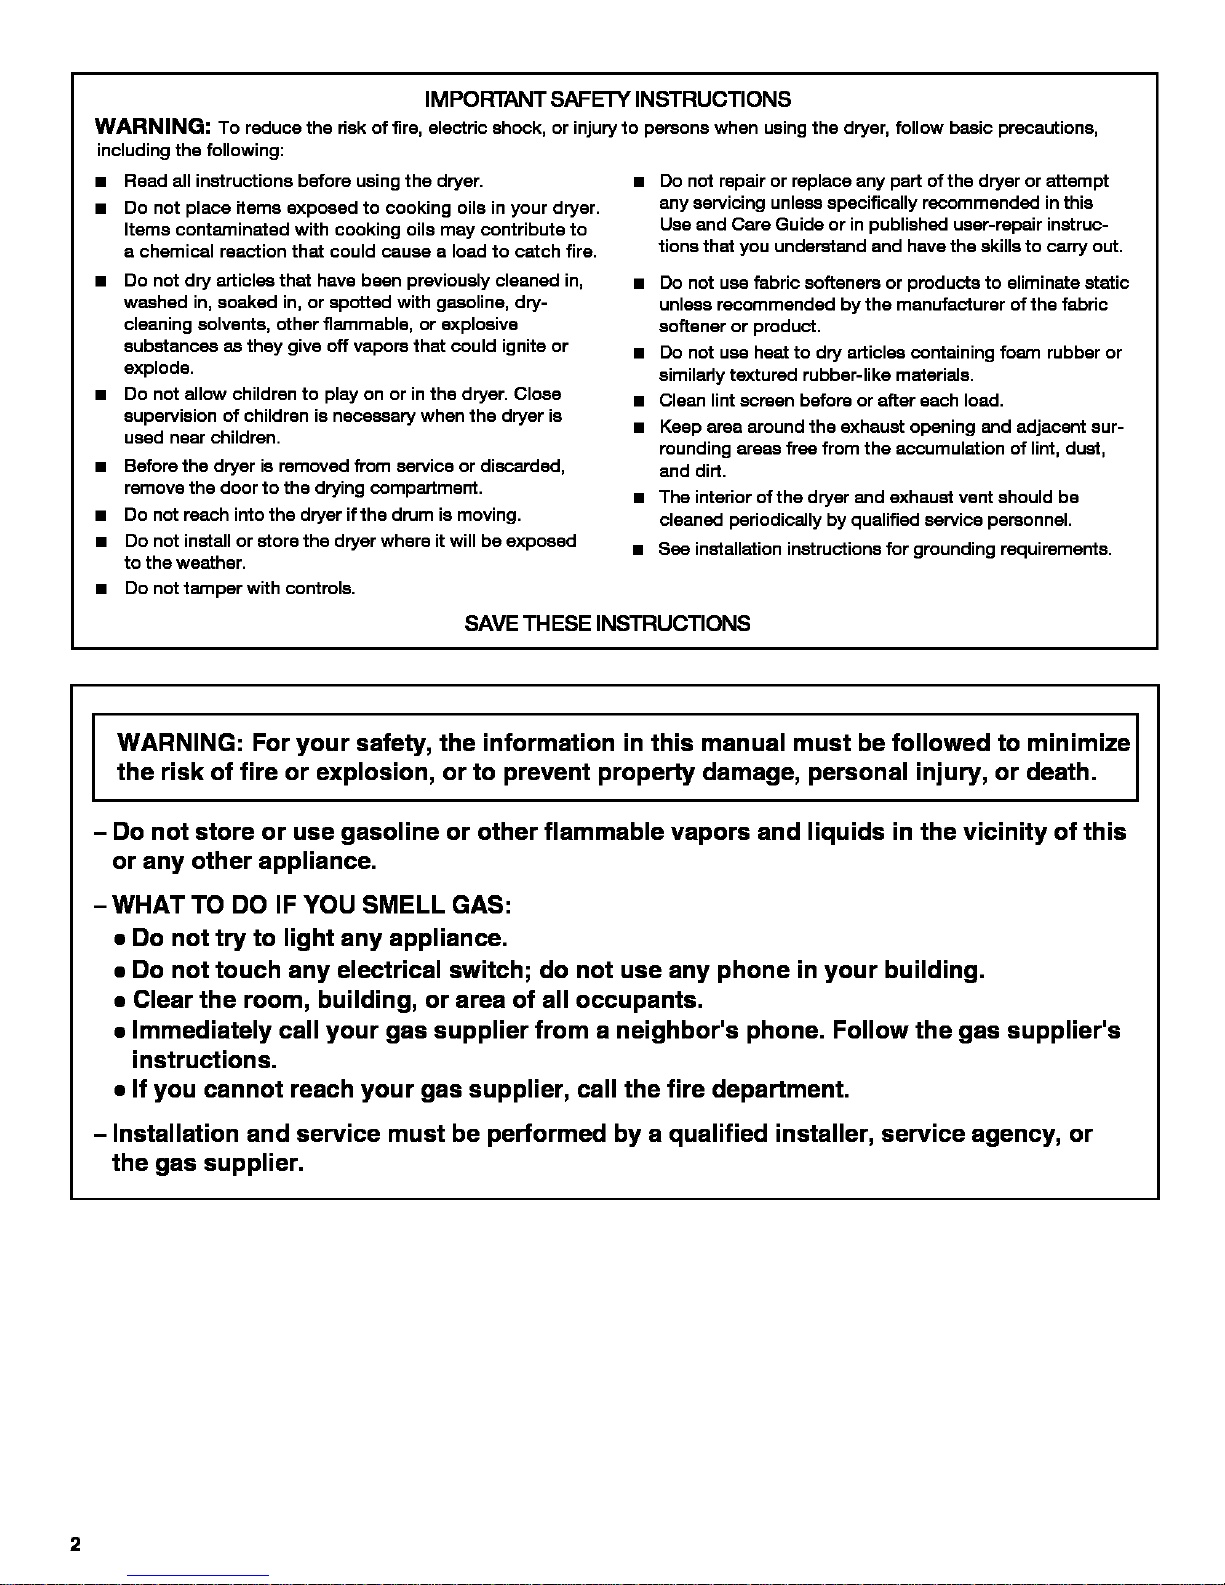
This is the safety alert symbol.
This symbol alerts you to potential hazards that can kill or hurtyou and others.
All safety messages will followthe safety alert symbol and either the word "DANGER" or "WARNING."
These words mean:
You can be killed or seriously Injured If you don't Immedlatel_
follow Instructions,
You can be killed or seriously Injured If you don't follow
Instructions,
All safety messages will tell you what the potential hazard is, tell you how to reduce the chance or injury, and tell you what can
happen if the instructions are notfollowed.
8535912
Page 2
IMPORTANT SAFETY INSTRUCTIONS
WARNING: To reduce the dsk of fire, electric shock, or injury to persons when using the dryer, follow basic precautions,
including the following:
• Read all instructions before using the dryer.
• Do not place items exposed to cooking oils in your dryer.
Items contaminated with cooking oils may contribute to
a chemical reaction that could cause a load to catch fire.
• Do not dry articles that have been previously cleaned in,
washed in, soaked in, or spotted with gasoline, dry-
cleaning solvents, other flammable, or explosive
substances as they give off vapors that could ignite or
explode.
• Do not allow children to play on or in the dryer. Close
supervision of children is necessary when the dryer is
used near children.
• Before the dryer is removed from service or discarded,
remove the door to the drying compartment.
• Do not reach into the dryer if the drum is moving.
• Do not install or store the dryer where it will be exposed
to the weather.
• Do not tamper with controls.
Do not repair or replace any part of the dryer or attempt
any servicing unless specifically recommended in this
Use and Care Guide or in published user-repair instruc-
tions that you understand and have the skills to carry out.
• Do not use fabric softeners or products to eliminate static
unless recommended by the manufacturer of the fabric
softener or product.
• Do not use heat to dry articles containing foam rubber or
similarly textured rubber-like materials.
• Clean lint screen before or after each load.
• Keep area around the exhaust opening and adjacent sur-
rounding areas free from the accumulation of lint, dust,
and dirt.
• The interior of the dryer and exhaust vent should be
cleaned periodically by qualified service personnel.
• See installation instructions for grounding requirements.
SAVETHESE INSTRUCTIONS
WARNING: For your safety, the information in this manual must be followed to minimize
the risk of fire or explosion, or to prevent property damage, personal injury, or death.
- Do not store or use gasoline or other flammable vapors and liquids in the vicinity of this
or any other appliance.
- WHAT TO DO IF YOU SMELL GAS:
• Do not try to light any appliance.
• Do not touch any electrical switch; do not use any phone in your building.
• Clear the room, building, or area of all occupants.
• Immediately call your gas supplier from a neighbor's phone. Follow the gas supplier's
instructions.
• If you cannot reach your gas supplier, call the fire department.
- Installation and service must be performed by a qualified installer, service agency, or
the gas supplier.
2
Page 3
Checking YourVent
Your dryer must be propedy installed and vented to achieve
maximum drying efficiency and shorten drying times. Use the
minimum recommended installation clearances (found in your
Installation Instructions) to avoid blocking the flow of combustion
and ventilation air. See the Installation Instructions for more
information.
Fire Hazard
Use a heavy metal vent.
Do not use a plaatlc vent.
Do not use a metal foil vent.
Failure to follow these Inatructlons can result In death
or fire.
Ifthe dryer isnot properly installed and vented, it will not be
covered under the warranty.
NOTE: Service calls caused by improper venting will be paid for
by the customer, whether itwas a paid installation or self-
installed.
1. Do not use plastic vent or metal foil vent. Use 4 in. (10.2 cm)
metal orflexible metal vent. Do not kink or crush flexible metal
vent. It must be completely extended to allow adequate
exhaust air to flow. Check vent after installation. Refer to your
Installation Instructions for proper length requirements of vent.
2. Use a 4 in. (10.2 cm) exhaust hood.
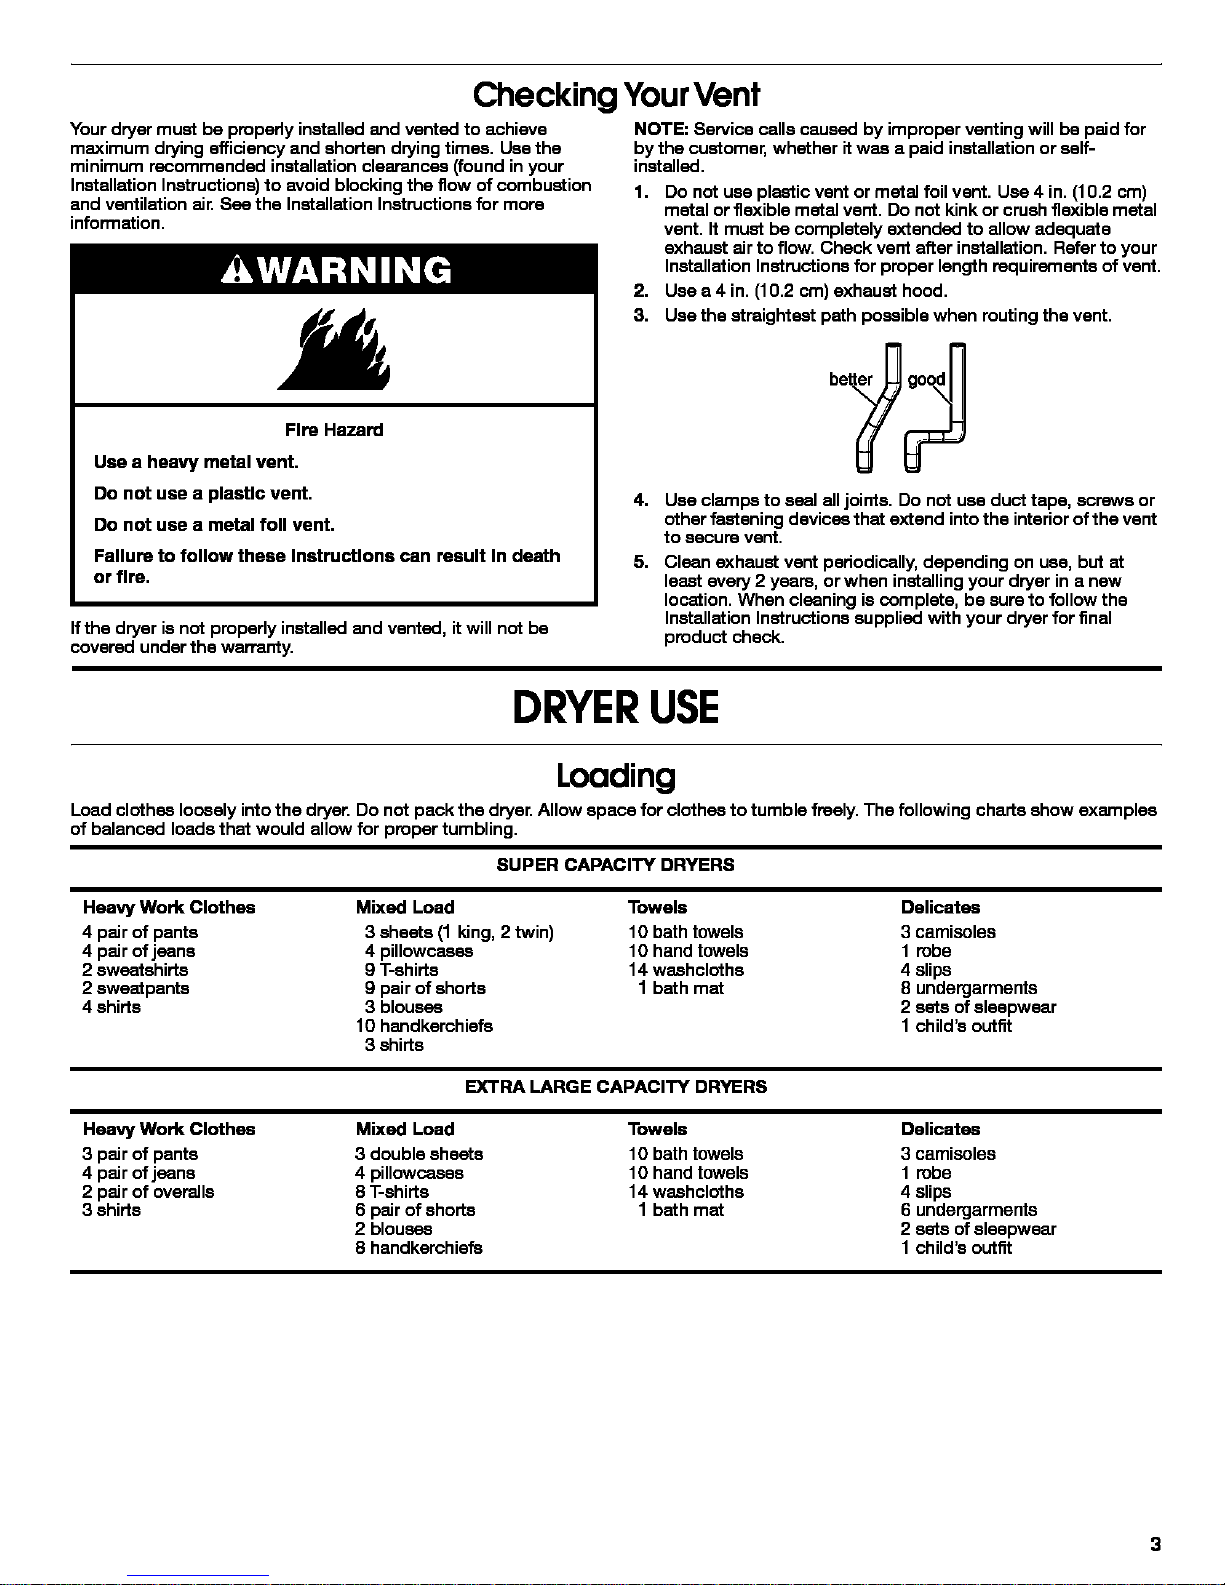
3. Use the straightest path possible when routingthe vent.
4. Use clamps to seal alljoints. Do not use duct tape, screws or
other fsstaning devices that extend intothe interior of the vent
to Secure vent.
5. Clean exhaust vent periodically, depending on use, but at
least every 2 years, or when installing your dryer in a new
location. When cleaning is complete, be sure to follow the
Installation Instructions supplied with your dryer for final
product check.
DRYERUSE
Loading
Load clothes loosely into the dryer. Do not pack the dryen Allow space for clothes to tumble freely. The following charts show examples
of balanced loads that would allow for proper tumbling.
SUPER CAPACITY DRYERS
Heavy Work Clothes Mixed Load Towels Delicates
4 pair of pants 3 sheets (1 king, 2 twin) 10 bath towels 3 camisoles
4 pair of jeans 4 pillowcases 10 hand towels 1 robe
2 sweafshirts 9 T-shirts 14 washcloths 4 slips
2 swestpants 9 pair of shorts 1 bath mat 8 undergarments
4 shirts 3 blouses 2 sets of slespwear
10 handkerchiefs 1 child's outfit
3 shirts
EXTRA LARGE CAPACITY DRYERS
Heavy Work Clothes Mixed Load Towels Delicates
3 pair of pants 3 double sheets 10 bath towels 3 camisoles
4 pair of jeans 4 pillowcases 10 hand towels 1 robe
2 pair of overalls 8 T-shirts 14 washcloths 4 slips
3 shirts 6 pair of shorts 1 bath mat 6 undergarments
2 blouses 2 sets of slespwear
8 handkerchiefs 1 child's outfit
Page 4

StorlingYourDryer
Explosion Hazard
Keep flammable materials and vapors, such as
gasoline, away from dryer.
Do not dry anything that has ever had anything
flammable on It (even after wsehlng).
Failure to follow these Inatructlons can result In death,
explosion, or firs.
Fire Hazard
No washer can completely remove o11.
Do not dry anything that has ever had any type of oll on
It (Including cooking oils).
Items containing foam, rubber, or plaatlc must be dried
on a clothesline or by using an Air Cycle.
Failure to follow these Instructions can result In death
or fire.
This booklet covers several different models. Your dryer may not
have all of the cycles and features described.
Before using your dryer, wipe the dryer drum with a damp cloth to
remove duet from storing and shipping.
1. Load clothes loosely into the dryer and close the door. Do not
pack the drye_ Allow space for clothes to tumble freely.
2. Turnthe Cycle Control knob to the recommanded cycle for the
type of load being dried. Use the Energy Preferred Automatic
Setting (*) to dry most heavy to medium weight fabrics.
3. (OPTIONAL) Ifyour dryer hes a Temperature selector, set it to
the recommended setting forthe type offabric being dried.
See "Dryer Cycle Descriptions" (separate sheet) for
temperature suggestions. On some models, temperature is
included inthe cycle selections.
4. (OPTIONAl_) Your dryer may have a WRINKLE PREVENT TM
setting. When you are unable to remove a load from the dryer
as soon as it stops, wrinkles can form. This feature
periodically tumbles, rearranges and fluffs the load without
heat to help avoid wrinkling.
5. (OPTIONAL) Your dryer may have an End of Cycle Signal as
part of the Push To Start button. This signal is helpfulwhen
drying items that should be removed from the dryer as soon
as it stops. Turn the PUSH TO START button to ON or OFF
The signal will sound only ifthe selector isset to On.
6. If desired, add fabdc softaner sheat. Uea only ones labaled es
dryer safe. Follow package instructions.
7. Press the PUSH TO START button.
Stopping and Restarting
You can stop your dryer anytime during a cycle.
To stop your dryer
Open the dryer door or turn the Cycle Control knob to OFF
NOTE: The Cycle Control knob should point to an Off area when
the dryer is not in use.
To restart your dryer
Close the door. Select a new cycle and temperature (if desired).
Press PUSH TO START.
Drying Rock Option
Use the Drying Rack to dry items such as sweaters and pillows
without tumbling. The drum turns, but the rack does not move.
Ifyour model does not have a drying rack, youmay be able to
purchese onefor your model. Tofind out whether yourmodel allows
drying rack usage and for orderinginformation, please refer to the
front page of yourmanual or contact the dealer from whom you
purchased your dryer,
NOTE: The rack must be removed for normal tumbling, Do not
use the automatic cycle with the drying rack,
To use the drying rack
1, Place drying rack in dryer,
Style 1:Your drying rack has front legs, Slide rear pegs into
the dimples on the back wall of the dryer, Lower the front legs
to rest on the dryer opening,
2,
3.
Style 2: Your drying rack does NOT have front legs. Do not
remove the lintscreen. Slide drying rack over the bottom of
the dryer door opening. Push down to secure rack on frame.
Put wet items on top of rack, leaving space between items.
Do not allow items to hang over the edge of the rack. Close
the door.
Select atimed drying cycle and temperature, or an air cycle.
Items containing foam, rubber, or plastic must be dried on a
clothesline or by using an air cycle. Refer to the following
table.
4. Start the dryen Reset cycle to complete drying, if needed.
Rack Dry Cycle Temp "13roe
Washable wool items (block "rimed Low 60 rain.
to shape, lay fiat on rack)
Stuffed toys/pillows (cotton "rimed Low 60 min.
or polyester filled)
Stuffed toys/pillows Air N/A 90 rain.
Foam rubber filled (no heat)
4
Page 5

DRYERCARE
Cleaning the Dryer Location
Keep dryer areaclear and free from items that would obstruct the
flow of combustion and ventilation al_
Explosion Hazard
Keep flammable materials and vapors, such as
geaollne, away from dryer.
Place dryer at least 18 Inches (46 cm) above the floor
for a garage Installation,
Fallura to do so can result In death, explosion, or flra,
Cleaning the LintScreen
Clean the lint screen before each load. A screen blocked by lint
can increase drying time.
IMPORTANT:
a Do not runthe dryer with the lint screen loose, damaged,
blocked, or missing. Doing so can cause overheating and
damage to both the dryer and fabrics.
m If lint falls off the screen into the dryer during removal, check
the exhaust hood and remove the lint.
Every Load Cleaning
Style 1:
1. The lintscreen is located on top of the dryer. Pull the lint
screen toward you. Roll lint off the screen with your fingers.
Do not rinse or wash screen to remove lint. Wet lint is hard to
remove.
2. Push the lint screen firmly back into place.
Style 2:
1. The lint screen is located inthe door ofthe dryer. Pullthe lint
screen straight up. Roll lint offthe screen with your fingers. Do
nat rinse or wash screen to remove lint. Wet lint is hard to
remove.
2. Push the lint screen firmly back into place.
As Needed Cleaning
1. Roll lint off the screen with your fingers.
2. Wet both sides of lint screen with hat waten
3. Wet a nylon brush with hat water and liquid detergent. Scrub
lint screen with the brush to remove residue buildup.
4. Rinse screen with hot water.
5. Thoroughly dry lintscreen with a clean towel. Replace screen
in dryer.
Cleaning the DryerInterior
1. Apply a non-flammable houeehold cleaner to the atalned area
of the drum and rub with a soft cloth untilstain is removed.
2. Wipe drum thoroughly with a damp cloth.
3. Tumble a load of cleen cloths or towels to dry the drum.
NOTE: Garments which contain unstable dyes, such as denim
blue jeans or brightly colored cotton items, may discolor the dryer
interior.These stains are not harmful to your dryer and will not
stain future loads of clothes. Dry unstable dye items inside-out to
prevent dye transfer.
RemovingAccumulated Lint
From Inside the Dryer Cabinet
Lintshould be removed every 2 years, or more often, depending
on dryer usage. Cleaning should be done by a qualified person.
From Inside the Exhaust Vent
Lint should be removed every 2 years, or more often, depending
on dryer usage.
Changing the Drum Light
1. Unplug dryer or disconnect powen
2. Open the dryer dooc Locatethe light bulb cover on the back
wall of the dryer. Remove the screw located in the lower right-
hand corner of the cover. Remove the coven
3. Turn bulb counterclockwiee. Replsce the bulb with a lO-watt
appliance bulb only. Replace the cover and secure with the
screw.
4. Plug in dryer or reconnect powen
Page 6

TROUBLESHOOTING
FirsttW the solutions suggested here and possibly avoid the cost of a service call...
DryerOperation
Dryer will not run
• Check the following:
Isthe power cord plugged in?
Has a fuse blown, or has a circuit breaker tripped? There
may be 2 fuses or circuit breakers for the dryer. Check to
make sure both fuses are intact and tight, or that both circuit
breakers have not tripped.
Was a regular fuse used? Use a time-delay fuse.
Isthe dryer door firmly closed?
Was the Start button firmly pressed?
Isa cycle selected?
No heat
• Has a fuse blown, or a circuit breaker tripped? Electric
dryers use 2 household fuses or breakers. The drum may be
turning, but you may not have heat.
• Has an air dry cycle bean selected? Select the right cycle
for the types of garments being dried,
• For gas dryers, is the valve open on the supply line?
Unusual sounds
• Has the dryer had a pedod of non-use? Ifthe dryer hasn't
been used for a while, there may be a thumping sound during
the first few minutes of operation,
Is it a gas dryer?. The gas valve clicking is a normal operating
sound,
Dryer Results
Clothes are not drying satiefaotodly
Check the following:
Isthe lint screen clogged with lint?
Isthe exhaust vent or outside exhaust hood clogged with lint,
restricting air movement? Run the dryer for 5-10 minutes.
Hold your hand under the outside exhaust hood to check air
movement. Ifyou do not feel air movement, clean exhaust
system of lint or replace exhaust vent with heavy metal or
flexible metal vent. See your Installation Instructions.
Isthe exhaust vent crushed or kinked? Replace with heavy
metal or flexible metal vent. See your Installation Instructions.
Are fabric softener sheets blocking the grille? Use only one
fabric softener sheet, and use it only once.
Is the dryer located in a room with temperature below
45°F ('PC)? Proper operation of dryer cycles requires
temperatures above 45°F (7°C).
• Was a cold dnse water used? Was the load very wet?
Expect longer drying times with items rinsed in cold water and
with items that hold moisture (cottons),
• Isthe load too large and heavy to dry quickly?. Separate the
load to tumble freely.
Unt on load
Is the lint screen clogged? Clean lint screen. Check for air
movement.
Is the load properly sorted? Sort lint givers (towels, chenille)
from lint takers (corduroy, synthetics). Also sort by color.
Is the load too big or too heavy?. Dry smaller loads so lint
can be carried to the lint screen.
Was the load overdded? Use correct dryer settings for load
type. Overdrying can cause lint-attracting static electricity.
See "Dryer Cycle Descriptions" (separate sheet).
Was paper or tissue left in pockets?
Is pilling being mistaken for lint? Pilling(surface fL_z) is
caused by normal wear and laundering,
Stains on load or color change
• Was dryer fabdc softener properly used? Add dryer fabric
softener sheets at the beginning of the cycle, Fabric softener
sheets added to a partially-dried load can stain your
garments,
• Were items soiled when placed in the dryer?. Items should
be clean before being dried.
• Were items properlysorted? Sortlightcolorsfromdark
colors.Sortcolorfast itemsfromnoncolorfast items.
Items shdnldng
• Was the dryer overloaded? Dry smaller loads that willtumble
freely,
• Did the load overdry?. Check the manufacturer's care label.
Match dryer setting to load type.
Loads are wrinkled
• Was the load removed from dryer at the end of the cycle?
• Was the dryer ovedoaded? Dry smaller loads that can
tumble freely.
• Did the load overdry?. Check the manufacturer's care label.
Match dryer setting to load type.
Odors
Have you recently been painting, staining or varnishing in
the area where your dryer is located? If so, ventilate the
area. When the odors or fumes are gone from the area, re-
wash and dry the clothing.
If the dryer is electric, is it being used for the first time?
The new electric heating element may have an odor. The odor
will be gone after the first cycle.
Garment damage
• Check the following:
Were zippers, snaps, and hooks left open?
Were strings and sashes tied to prevent tangling?
Were care label instructions followed?
Were items damaged before drying?
6
Page 7

Notes
7
Page 8

CROSLEY®DRYERWARRANTY
ONE-YEAR FULL WARRANTY
For one year from the date of purchase, when this dryer is operated and maintained according to instructions attached to or furnished
with the product, Whirlpool Corporation will pay for Factory Specified Parts and repair labor to correct defects in materials or
workmanship. Service must be provided by a Whirlpool designated service company.
Whirlpool Corporation will not pay for:
1. Service callsto correct the installation of your dryer, including venting. Heavy 4 in. (I 0.2 cm) metal exhaust vent must be used. Refer
to the venting section of this manual and your Installation Instructions.
2. Service calls to instruct you how to use your dryer, to replace house fuses or correct house wiring or reset circuit breakers, or to
replace owner accessible light bulbs.
3. Repairs when your dryer is used in other than normal, single-family household use.
4. Damage resulting from accident, alteration, misuse, abuse, fire, floods, acts of God, improper installation (including, but not limited
to, venting with plastic or flexible foil), installation not in accordance with local electrical and plumbing codes, or use of products not
approved by Whirlpool Corporation.
5. Replacement parts or repair labor costs for units operated outside the United States.
6. Pickup and delivery. This product is designed to be repaired in the home.
7. Repairs to parts or systems resulting from unauthorized modifications made to the appliance.
WHIRLPOOL CORPORATION SHALL NOT BE LIABLE FOR INCIDENTAL OR CONSEQUENTIAL DAMAGES.
Some states do not allow the exclusion or limitation of incidental or consequential damages, so this exclusion or limitation may not
apply to you. This warranty gives you specific legal rights and you may also have other rightswhich vary from state to state.
Outside the 50 United States, this warranty does not apply. Contact your authorized Whirlpool dealer to determine if another
warranty applies. 1/03
Replacement parts
If you need to order replacement parts, we recommend that you
only use Factory Specified Parts. These parts will f'it right and
work right because they are made with the same precision used
to build every new CROSLEY ° appliance.
To locate replacement parts in your area:
Call the Customer Interaction Center at 1-800-253-1301, or your
nearest designated service center.
For information on how to contact the Crosley Distribution Center,
please see front page of this document.
8535912 ® Registered Trademark of The Crosley Group, Inc. 2/03
© 2003. All rights reserved. TM WRINKLE PREVENT isa Trademark of Whirlpool, U.S.A. Printed in U.S.A.
 Loading...