

Craftsman 390303302 Owner’s Manual
OWNER'S
MANUAL
Model No.
390.303302
390.303491
CAUTION:
Read and Follow
All Safely Rulesand
Operating Instructions
Before FirstUse of
ThisProduct.
Save ThisManual For
FutureReference.
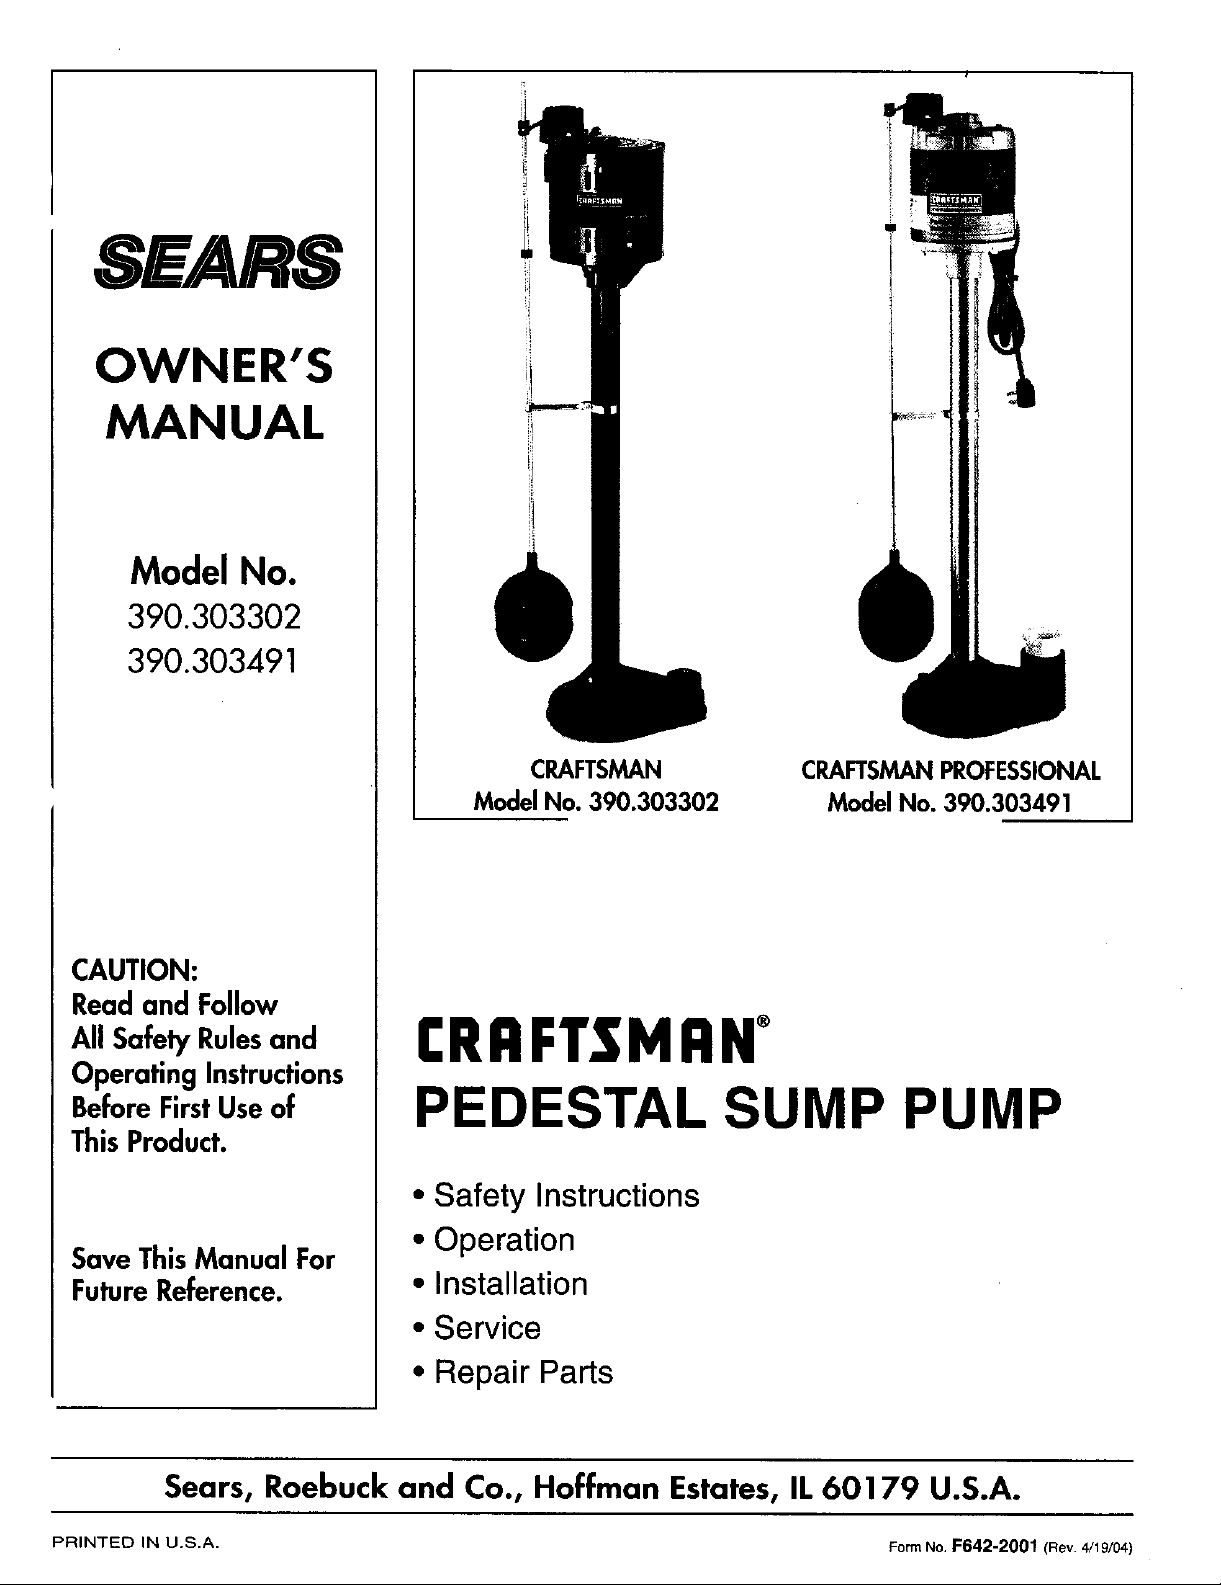
CRAFTSMAN
Model No. 390.303302
CRAFTSMANPROFESSIONAL
Model No. 390.303491
CRAFTSMAN+
PEDESTAL SUMP PUMP
• Safety Instructions
• Operation
• Installation
• Service
• Repair Parts
Sears, Roebuck and Co., Hoffman Estates, IL 60179 U.S.A.
PRINTED IN U.S.A. Form No. F642-2001 (Rev. 4/19/04)
CONTENTS
INTRODUCTION
Introduction ........................................................................ 2
Warranty .............................................................................. 2
Safety Rules .......................................................................... 2
Installation ........................................................................ 3-5
Service ................................................................................. 5
Repair Parts ....................................................................... 6-7
Please read our instructions before you install and use your
new pump; this will help you obtain full value and good ser-
vice from it. It will also help you avoid needless service costs
that result from causes we cannot control and cannot cover
in our warranty.
+ • • •
RULES FOR SAFE INSTALLATION AND OPERATION
Carefully read and follow all safety instructions in this 1. Read these Instructions and Safety Rules carefully.
manual or on pump.
This is the safety alert symboL When you see this
symbol on your pump or in this manual, look for one of the
following signal words and be alert to the potential for per-
sonal injury!
warns about hazards that will cause serious
personal injury, death or major property damage if ignored.
[&WARNING t warns about hazards that can cause serious
personal injury, death or major property damage if ignored.
[& CAUTION ] warns about hazards that will or can cause
minor personal injury or property damage if ignored.
The word NOTICE indicates special instructions which are
important but not related to hazards.
Electrically powered sump pumps normally give many years
of trouble-free service when correctly installed, maintained,
and used. However, unusual circumstances (interruption of
power to the pump, dirt/debris in the sump, flooding that ex-
ceeds the pump's capacity, electrical or mechanical failure in
the pump, etc.) may prevent your pump from functioning
normally. To prevent possible water damage due to flooding,
consult your local Sears store about installing a secondary
sump pump or a DC backup sump pump. See "Service",
Page 5, for information about common sump pump prob-
lems and remedies.
NOTICE: This unit is not designed for applications involving
salt water or brine! Use with salt water or brine will void
warranty.
Failure to follow them could cause serious bodily injury
and!or property damage.
2,
Check your local Electrical and Plumbing Codes before
installing pump. You must comply with their rules.
['_WARNING_DO not use in explosive atmospheres.
Pump water only with this pump.
Do not touch an operating motor. Modern motors are de-
signed to run at high temperatures.
[.&WARNING] Risk of electric shock. Proceed as fol-
lows if pmnp needs servicing:
A. Disconnect power to pump outlet box before
pulling pump cord plug! After plug is pulled, let
pump cool for 20 minutes before attempting to work
on it.
B. Take extreme care when changing fuses. To re-
duce the chance of fatal electrical shocks, DO NOT
stand in water or put your finger in the fuse socket.
C. Ground the electrical outlet box.
D.Use only a grounded outlet for cord plug.
E. Do not handle pump motor with wet hands or when
standing on wet or damp surface, or in water.
3.
Never run pump dry. To do so can damage internal parts,
overheat the pump (which can cause burns to people han-
dling or servicing the purnp), and will void the warranty!
[.&WARNING IFIRE HAZARD - Do not store or rest ob-
jects on or near motor or switch linkage. Keep all
flamLmmble objects or liquids away from motor.
2
4. This pump is recommended for use in permanent instal-
lations only. Do not install on clay, earth, or sand surfaces.
CAUTION
A j Pump must be level (column must be verti-
cal) when operating. If motor is tilted, internal start/run
switch may overheat and damage motor.
1
ADDITIONAL INSTALLATION
MATERIALS
SumpFLTtility Pump Hose Kit, SEARS Stock No. 27909, con-
taining 24' of 1-1/4" flexible plastic pipe, a 1-1/4" plastic
adapter and a stainless steel clamp.
Check Valve, SEARS Stock No. 2789 or 2792.
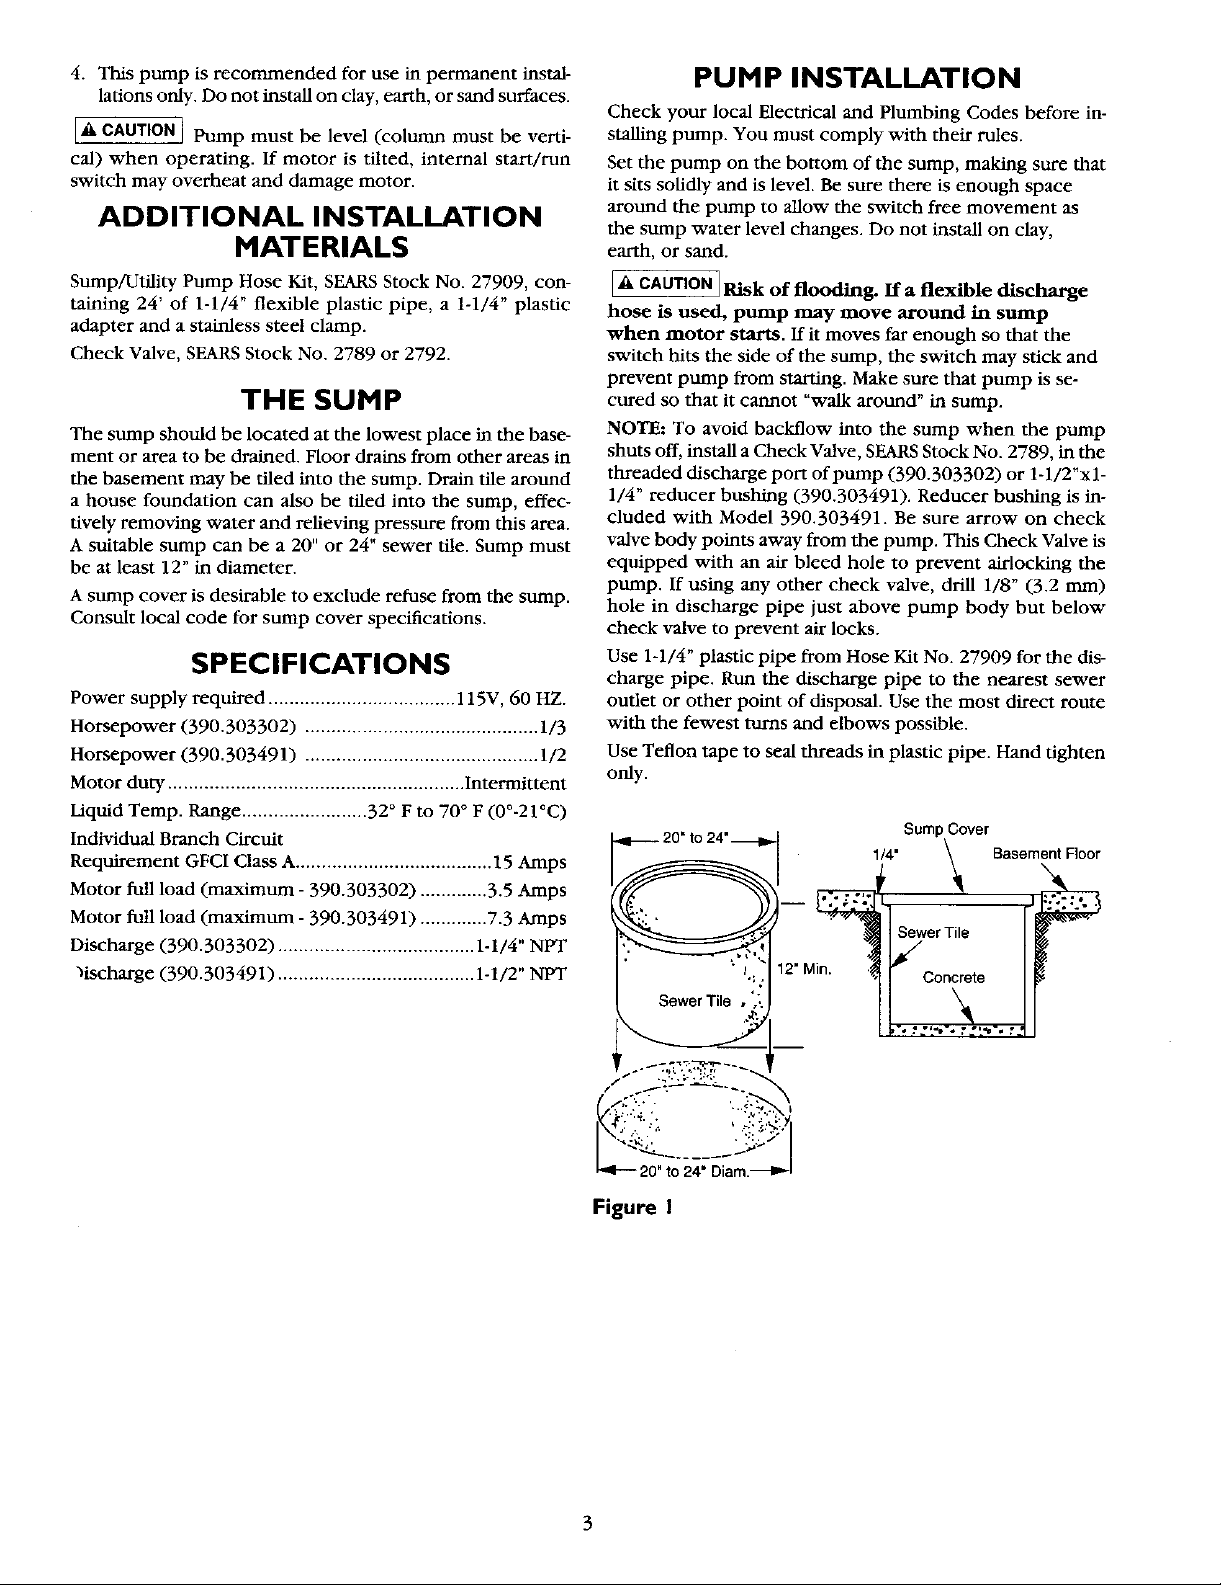
THE SUMP
The sump should be located at the lowest place in the base-
ment or area to be drained. Floor drains from other areas in
the basement may be tiled into the sump. Drain tile around
a house foundation can also be tried into the sump, effec-
tively removing water and relieving pressure from this area.
A suitable sump can be a 20" or 24" sewer tile. Sump must
be at least 12" in diameter.
A sump cover is desirable to exclude refuse from the sump.
Consult local code for sump cover specifications.
SPECIFICATIONS
Power supply required .................................... 115V, 60 HZ.
Horsepower (390.303302) ............................................. 1/3
Horsepower (390.303491) ............................................. 1/2
Motor duty ......................................................... Intermittent
Liquid Temp. Range ........................ 32 ° F to 70 ° F (0°-21°C)
Individual Branch Circuit
Requirement GFCI Class A...................................... 15 Amps
Motor full load (maximum - 390.303302) ............. 3.5 Amps
Motor full load (maximum - 390.303491) ............. 7.3 Amps
Discharge (390.303302) ...................................... 1-1/4" NPT
"_ischarge (390.303491) ...................................... 1-1/2" NPT
PUMP INSTALLATION
Check your local Electrical and Plumbing Codes before in-
stalling pump. You must comply with their rules.
Set the pump on the bottom of the sump, making sure that
it sits solidly and is level. Be sure there is enough space
around the pump to allow the switch free movement as
the sump water level changes. Do not install on clay,
earth, or sand.
[A _ Risk of flooding. If a flexible discharge
hose is used, pump may move around in sump
when motor starts. If it moves far enough so that the
switch hits the side of the sump, the switch may stick and
prevent pump from starting. Make sure that pump is se-
cured so that it cannot "walk around" in sump.
NOTE: To avoid backflow into the sump when the pump
shuts off, install a Check Valve, SEARSStock No. 2789, in the
threaded discharge port of pump (390.303302) or 1-1/2"xl-
1/4" reducer bushing (390.303491). Reducer bushing is in-
cluded with Model 390.303491. Be sure arrow on check
valve body points away from the pump. This Check Valve is
equipped with an air bleed hole to prevent airlocking the
pump. If using any other check valve, drill 1/8" (3.2 ram)
hole in discharge pipe just above pump body but below
check valve to prevent air locks.
Use 1-1/4" plastic pipe from Hose Kit No. 27909 for the dis-
charge pipe. Run the discharge pipe to the nearest sewer
outlet or other point of disposal. Use the most direct route
with the fewest turns and elbows possible.
Use Teflon tape to seal threads in plastic pipe. Hand tighten
only.
20=to 24"
12"Mm _ Concrete
SewerTile , ',',,
Sump Cover
1/4" \ BasementFloor
SewerTile
+g
20"to24"Diam.
Figure I
 Loading...