

Craftsman 351.264271 Operator's Manual
Operator's Manual
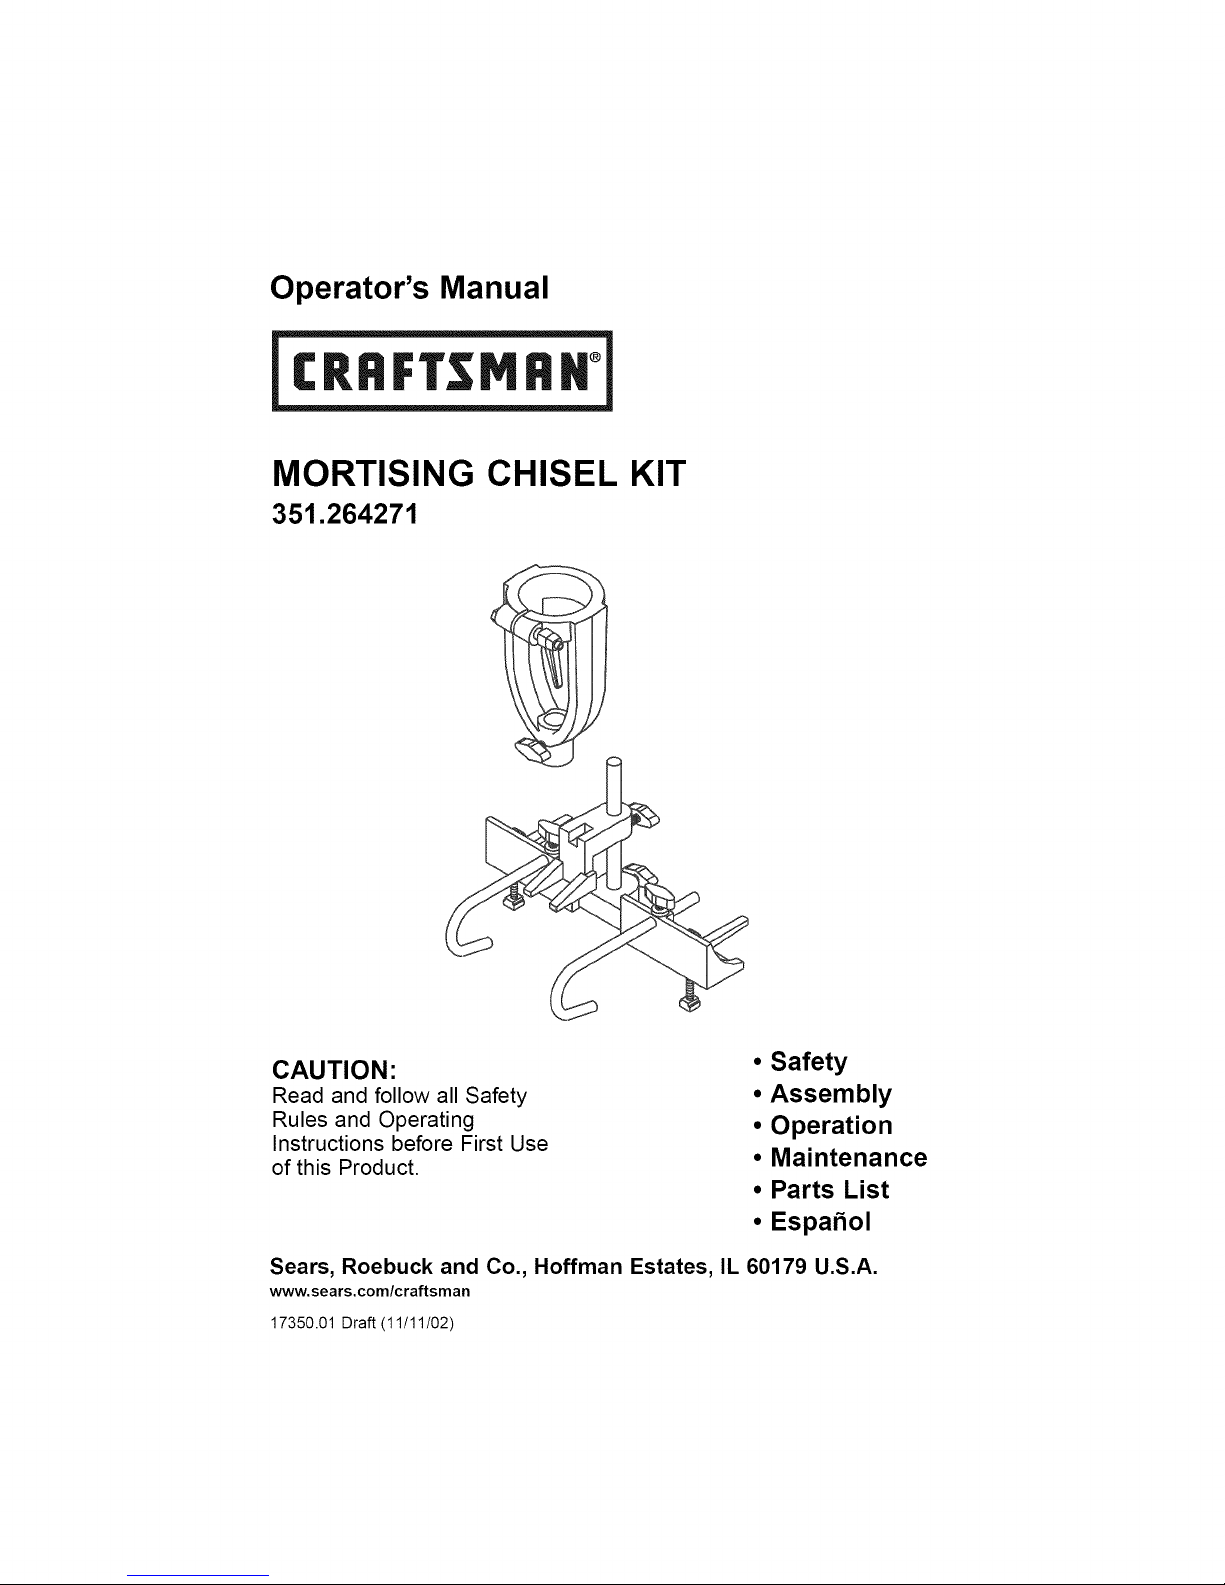
MORTISING CHISEL KIT
351.264271
CAUTION:
Read and follow all Safety
Rules and Operating
Instructions before First Use
of this Product.
Sears, Roebuck and Co., Hoffman Estates, IL 60179 U.S.A.
www.sears.com/craftsman
17350.01 Draft (11/11/02)
• Safety
• Assembly
• Operation
• Maintenance
• Parts List
• Espahol
Warranty ....................... 2
Safety Rules .................. 2-3
Assembly ...................... 3
Installation .................... 3-4
Operation .................... 4-5
Maintenance .................... 5
Parts Illustration and List ........ 6-7
EspaSol ..................... 8-11
FULL ONE YEAR WARRANTY
If this product fails due to a defect in material or workmanship within one year from
the date of purchase, Sears will at its option repair or replace it free of charge.
Contact your nearest Sears Service Center (1-800-4-MY-HOME) to arrange for
product repair, or return this product to place of purchase for replacement.
If this product is used for commercial or rental purposes, this warranty will apply for
90 days from the date of purchase.
This warranty applies only while this product is used in the United States.
This warranty gives you specific legal rights and you may also have other rights
which vary from state to state.
Sears, Roebuck and Co., Dept. 817WA, Hoffman Estates, IL 60179
WARNING: For your own safety, read
all of the instructions and precautions
before operating tool.
CAUTION: Always follow proper operat-
ing procedures as defined in this manual
even if you are familiar with use of this or
similar tools. Remember that being care-
less for even a fraction of a second can
result in severe personal injury.
BE PREPARED FOR JOB
• Wear proper apparel. Do not wear
loose clothing, gloves, neckties,
rings, bracelets or other jewelry
which may get caught in moving
parts of machine.
° Wear protective hair covering to
contain long hair.
° Wear safety shoes with non-slip soles.
° Wear safety glasses complying with
United States ANSI Z87.1. Everyday
© Sears, Roebuck and Co. 2
glasses have only impact resistant
lenses. They are NOT safety glasses.
Wear face mask or dust mask if
operation is dusty.
Be alert and think clearly. Never
operate power tools when tired,
intoxicated or when taking medica-
tions that cause drowsiness.
PREPARE WORK AREA FOR JOB
° Keep work area clean. Cluttered
work areas invite accidents.
° Work area should be properly lighted.
° Keep visitors at a safe distance from
work area.
° Keep children out of workplace.
Make workshop childproof. Use pad-
locks, master switches or remove
switch keys to prevent any uninten-
tional use of power tools.
KNOW HOW TO USE TOOL
• Use right tool for job. Do not force
tool or attachment to do a job for
which it was not designed.
• Do not force tool. It wilt work most
efficiently at the rate for which it was
designed.
• Keep hands away from moving parts
and cutting surfaces.
• Know your toot. Learn the tool's
operation, application and specific
limitations.
• Use of improper accessories may
cause risk of injury to persons.
• Handle workpiece correctly. Protect
hands from possible injury.
• Turn machine off if it jams. Chisel or
bit jams when it digs too deeply into
workpiece. (Motor force keeps it
stuck in the work.)
CAUTION: Think safety! Safety is a
combination of operator common sense
and alertness at all times when tool is
being used.
Refer to Figure 1.
• Insert thumb screw (Key No. 6) into
housing (Key No. 1).
• Insert rod (Key No. 9) into fence
(Key No. 10) and secure in position
with thumb screw.
WARNING: Disconnect drill press
from power source until all assembly
steps are complete.
Refer to Figures 1 and 2.
• Lower drill press spindle 2 to 3 inches.
Lock spindle in position.
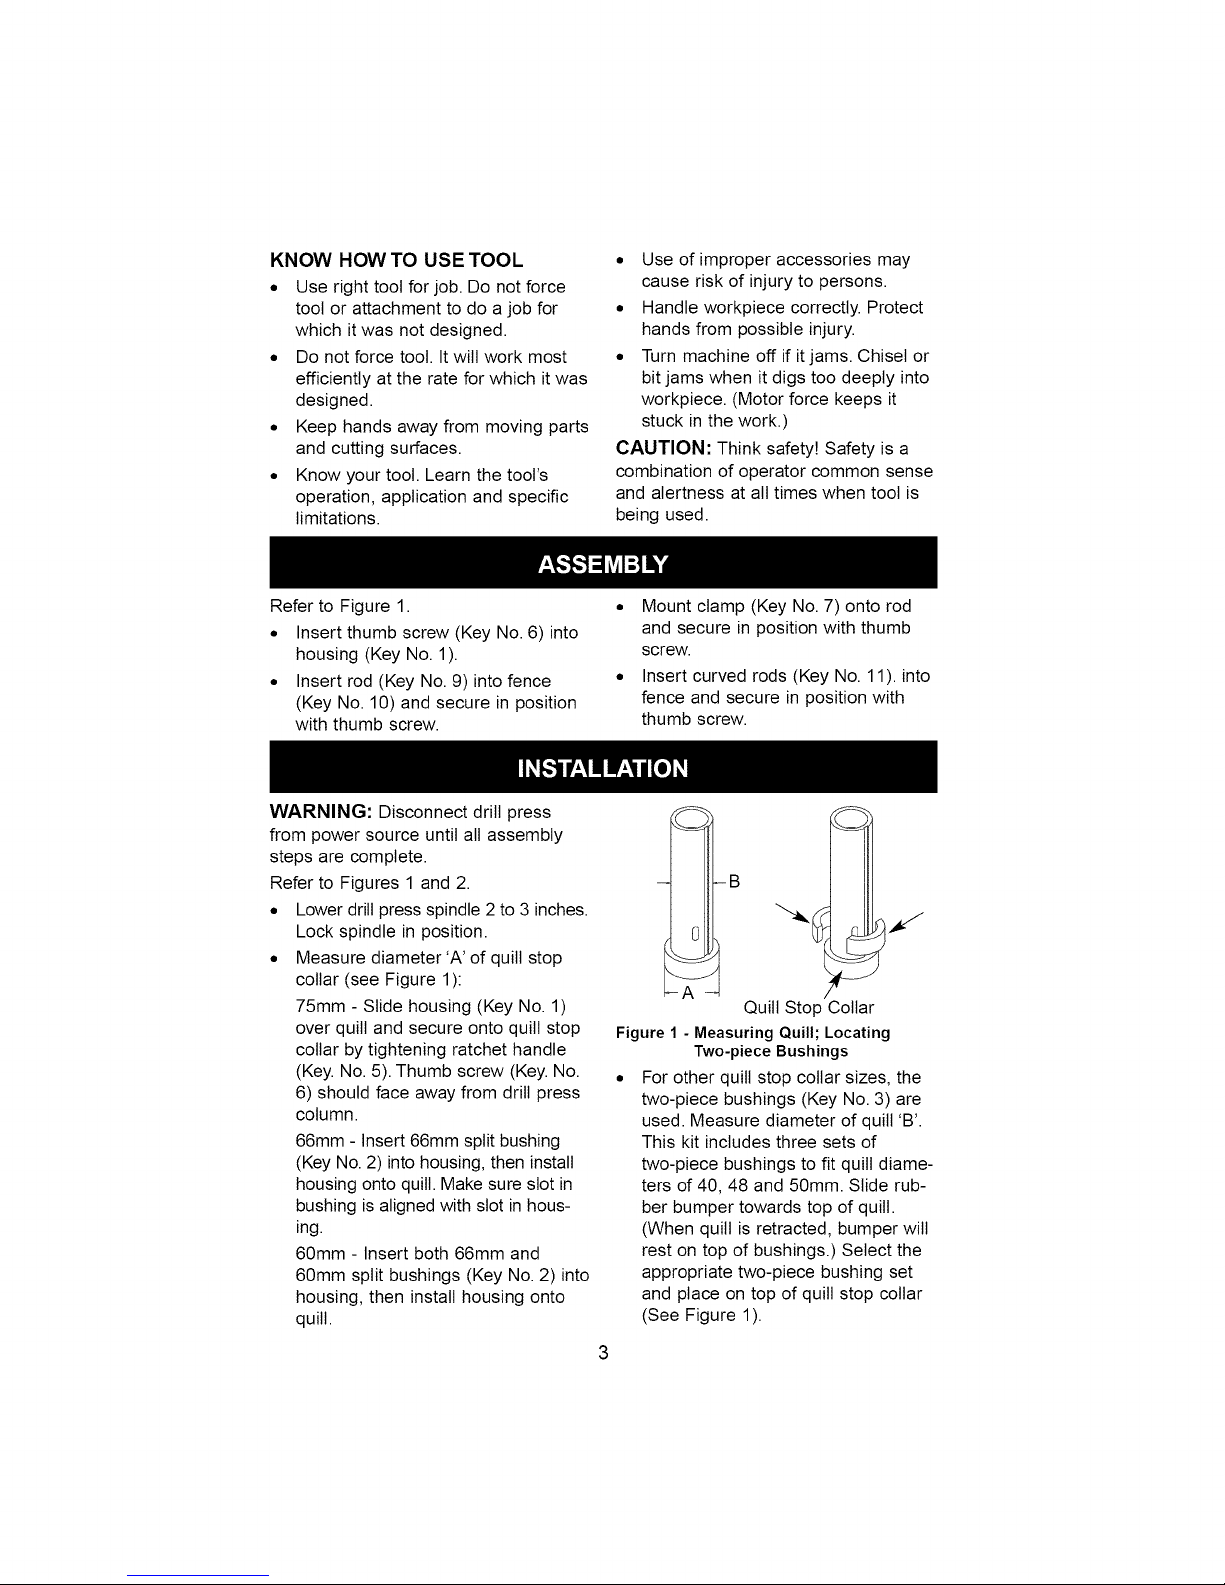
• Measure diameter'A' of quill stop
collar (see Figure 1):
75mm - Slide housing (Key No. 1)
over quill and secure onto quill stop
collar by tightening ratchet handle
(Key. No. 5). Thumb screw (Key. No.
6) should face away from drill press
column.
66mm - Insert 66mm split bushing
(Key No. 2) into housing, then install
housing onto quill. Make sure slot in
bushing is aligned with slot in hous-
ing.
60mm - Insert both 66mm and
60mm split bushings (Key No. 2) into
housing, then install housing onto
quill.
• Mount clamp (Key No. 7) onto rod
and secure in position with thumb
screw.
• Insert curved rods (Key No. 11). into
fence and secure in position with
thumb screw.
- B
1
Quill Stop Collar
Figure 1 - Measuring Quill; Locating
Two-piece Bushings
• For other quill stop collar sizes, the
two-piece bushings (Key No. 3) are
used. Measure diameter of quill 'B'.
This kit includes three sets of
two-piece bushings to fit quill diame-
ters of 40, 48 and 50mm. Slide rub-
ber bumper towards top of quill.
(When quill is retracted, bumper will
rest on top of bushings.) Select the
appropriate two-piece bushing set
and place on top of quill stop collar
(See Figure 1).
3
 Loading...