

Craftsman 351183220 Owner’s Manual
SAVE THiS MANUAL
FOR
FUTURE REFERENCE
OWNER'S
MANUAL
MODEL NO.
351.183220
4"
FIN®
CAUTION:
READ ALL
INSTRUCTIONS
CAREFULLY!
Sold by SEARS, ROEBUCK AND CO., Chicago, IL 60684 U.S.A. ©
Part No. 75_3.01 SEPTEMBER 1993
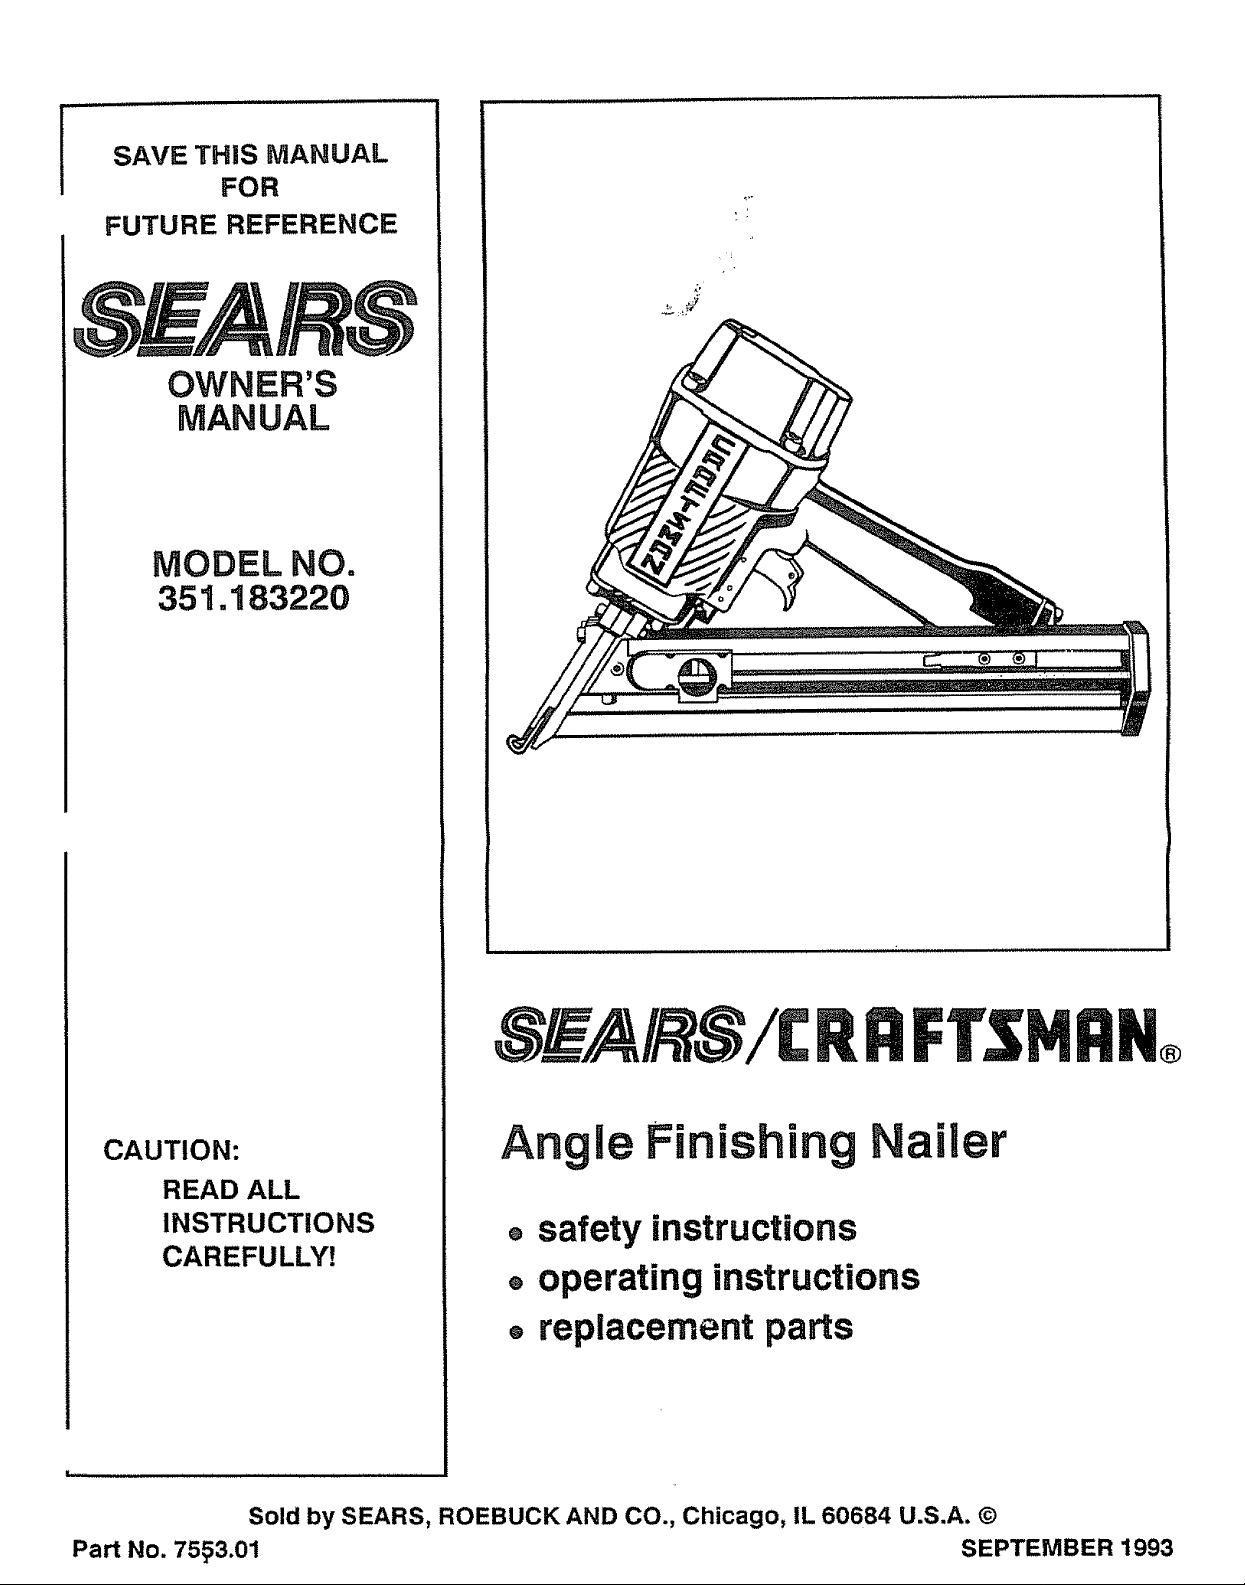
An le Finishin ailer
®safety instructions
• operating instructions
®replacement parts
DESCRIPTION
The Sears Angle Finishing Nailer drives 15 gauge nails
from 1 1/2 to 2 1/4" long and 14 gauge nails 2 1/2" long
Magazine is angled for nailing in tight spots.. Tapered
nose makes precise nail placement easy. Die cast
aluminum body is light weight and balanced to reduce
operator fatigue_ Contact safety disables nailer uritil
nosepiece is in contact with workpiece. Convenient
rear load magazine makes loading nails easy. The
Sears Angle Finishing Nailer-is ideal for interior and
exterior molding, furniture making and cabinetry°
SPECIFICATIONS
Capacity ...................... I00 nails, 15 gauge
.................................... 90 nails, 14 gauge
Finish nail lengths ..................... 1 1/2 to 2 1/2"
Operating pressure ....................... 60-100 PSIG
Air inlet .................................. 1/4" N..RTE
Length ..................................................... 13"
Height ........................................ 11 1/2"
Width .......................................... 3 3/4"
Weight .......................................... 5 3/4 tbs.
Always disconnect tool from air supply when servicing
or adjusting tool and when tool is not in use,,
Do not operate tool when contact trip is not in contact
with work
Never load the tool untUyou are ready to use it,,
Never depress tool trigger when Ioading_
Always load tool with tool pointing away from you arid
others.
Never' point tool at yourself or others.
Never carry tool with trigger depressed.
Do not use oxygen, combustible gases or high pres-
sure compressed gas as the air'supply for the toot,
Always use tool at safe distance from other people in
work area,,
Do not attempt to discharge fastener into hard or brittle
materials such as concrete, steel or tile.
Do not connect female quick-disconnect coupling to
tool side of air'line_
Connect male free-flow nipple to tool side of air line so
that tool is depressurized when disconnected from
hose°
Use Sears recommended fasteners only,
FINISH NAILS
918348 ................ 15 gauge finish nails, 1 t/2" long
9.18349 .................. 15 gauge finish nails, 2" long
918350 .............. 14 gauge finish nails, 2 1/2" long
SAFETY INSTRUCTIONS
Air tool operators and all others in work area should
always wear safety goggles (must comply with ANSI
Z87.t) to prevent eye injury from fasteners and flying
debris when loading, operating or unloading this tool
Never exceed operating pressure of 100 PSIG (7.1
kg/cm3).
Always keep hands and body away from the fastener
discharge area when air' supply is connected to tool
OPERATING INSTRUCTIONS
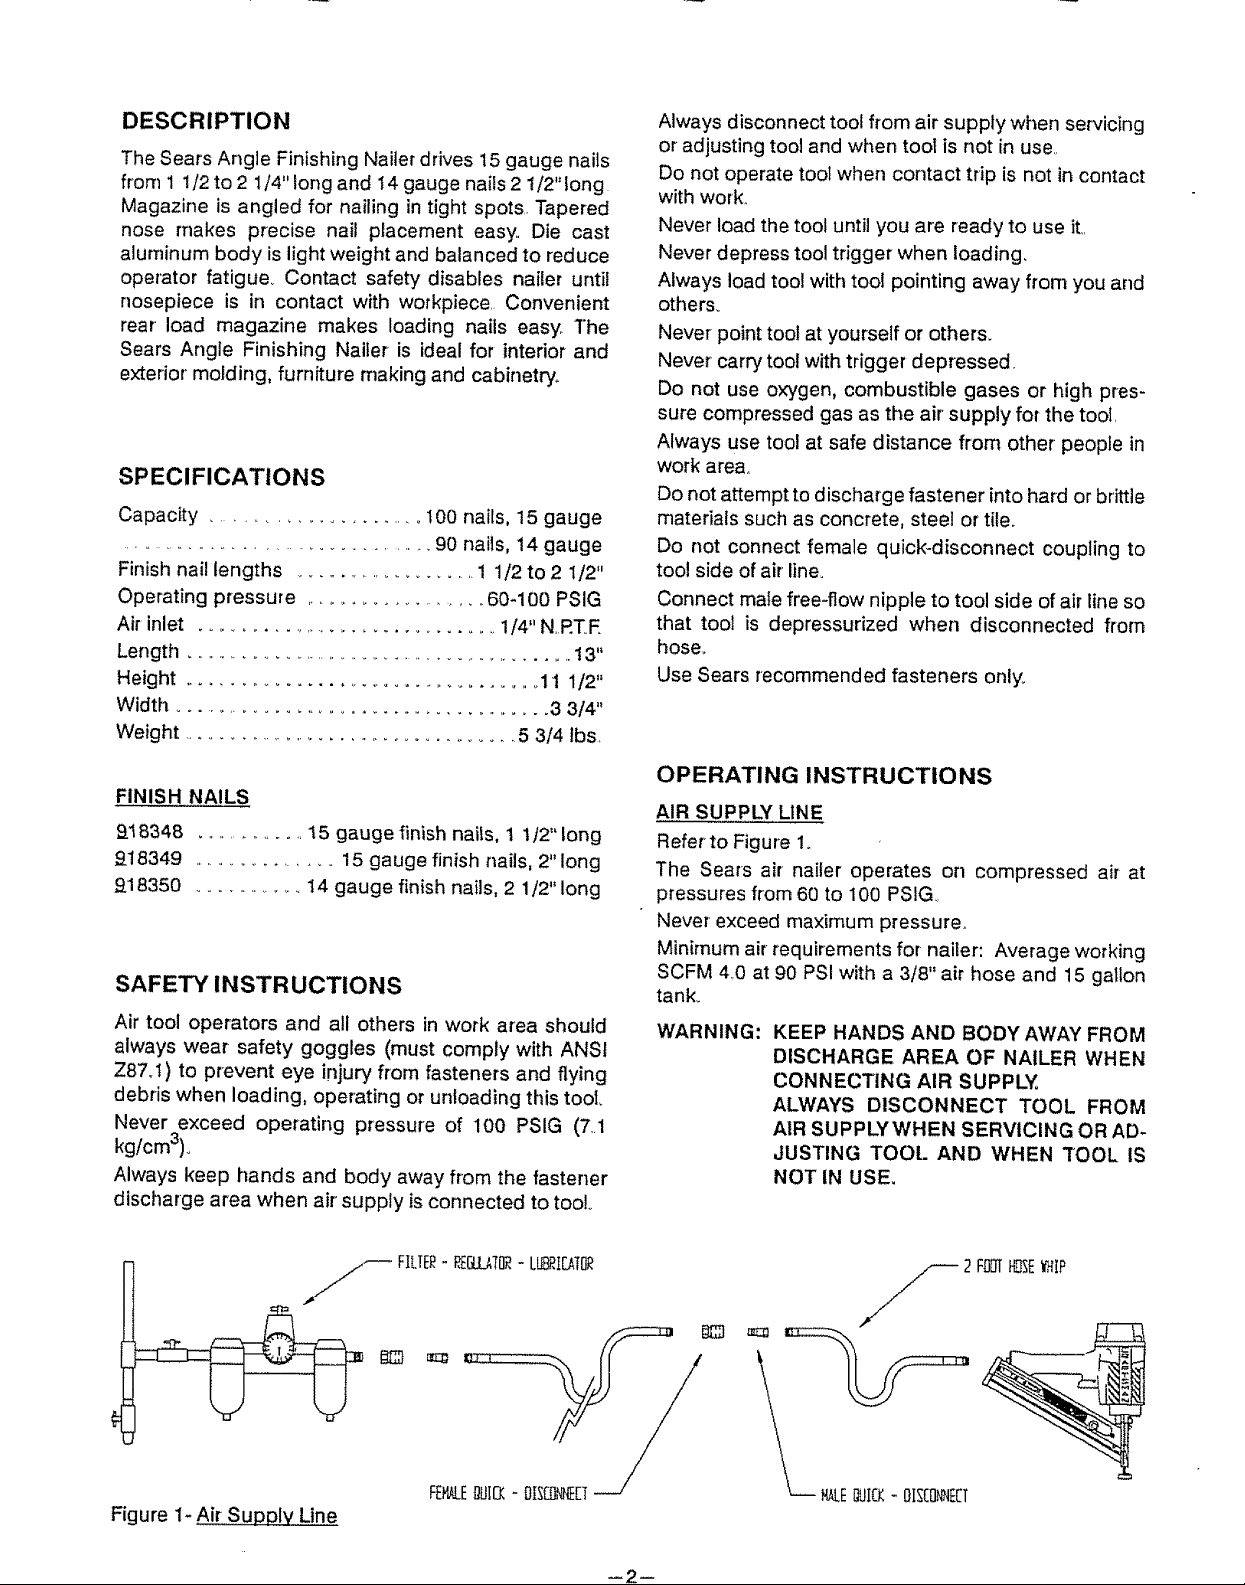
AIR SUPPLY LINE
Refer to Figure I.
The Sears air nailer operates on compressed air at
pressures from 60 to 100 PSIG.
Never exceed maximum pressure.
Minimum air requirements for nailer: Average working
SCFM 40 at 90 PSI with a 3/8" air hose and 15 gallon
tank..
WARNING:
KEEP HANDS AND BODY AWAY FROM
DISCHARGE AREA OF NAILER WHEN
CONNECTING AIR SUPPLY.
ALWAYS DISCONNECT TOOL FROM
AIR SUPPLY WHEN SERVICING OR AD-
JUSTING TOOL AND WHEN TOOL IS
NOT IN USE,
Figure 1-
_j_ FILTE_- P,EELLAI_- LL(BP,I_IOR
FEHkLEDUI_- OISCI)N)IE[T
HALEOUICK-OISCOhrrECT
--2--
OPERATING INSTRUCTIONS (Continued)
AIR SUPPLY LINE (Continued)
Clean dry air is essential to the operation of the Sears
nailer, Air operated tools require clean, dry, lubricated
compressed air to ensure top performance, tow main-
tenance and long life.
Dirt and abrasive materials present in all air lines will
damage tool O-rings, valves and cylinders,
Moisture wilt reduce tool performance and life if not
removed from compressed air,.
A _ter-regulator-lubricator system is required and
should be located as close to tool as possible (see
Figure 1), a distance of less than 15 feet is recom-
mended.
Keep air filter clean. A dirty filter will reduce the air
pressure tothe nailer causing a reduction in power and
efficiency.
The air supply system must be able to provide air
pressure of 60 to 100 pounds per square inch at tool..
The lubricator should be filled with a nomdetergent air
tool oil.
All hoses and pipes in the air supply system must be
clean and free of all moisture and foreign particles,.
Never connect a female quick-disconnect coupling
to the tool side of air system. A male, free-flow cou -
piing should be connected to the tool side of air
system° The female coupling provides a sea! prevent-
ing loss of compressed air frorn compressor tankwhen
disconnected from male coupling.. If connected to tool
side of air supply, the female coupling could seal a
compressed air charge in the naiter which could dis-
charge ifthe tool trigger is actuated,
The air pressure should be properly regulated_ Do not
mount swivel connector in air suppiy line.
Different workpiece materials and different nail lengths
will require different operating pressure..
Be sure all connections in air supply system are sealed
to prevent air Iosso
LOADING
Refer to Figures 2 and 5,.
WARNING; DISCONNECT TOOL FROM AIR SUP-
PLY.ALWAYS LOAD NAILER WITH NOSE OF TOOL
POINTING AWAY FROM YOU AND OTHERS. AL_
WAYS WEAR SAFETY GOGGLES THAT COMPLY
WITH ANSI Z87°1.
1. Insert nails into rear of magazine with heads of
nails in top of slot (see Figure 2a below)..
2_ Slide nails to front of magazine past nail stop
bracket (Key No_ 40, Figure 5).. See Figure 2b
below.
Figure 2b - LoadinCl
3. Slide pusher (Key Noo31, Figure 5) over nails and
nail stop bracket to rear of magazine_ Slide pusher
forward against nails_See Figure 2c below.
Figure 2c - Loadinq .....
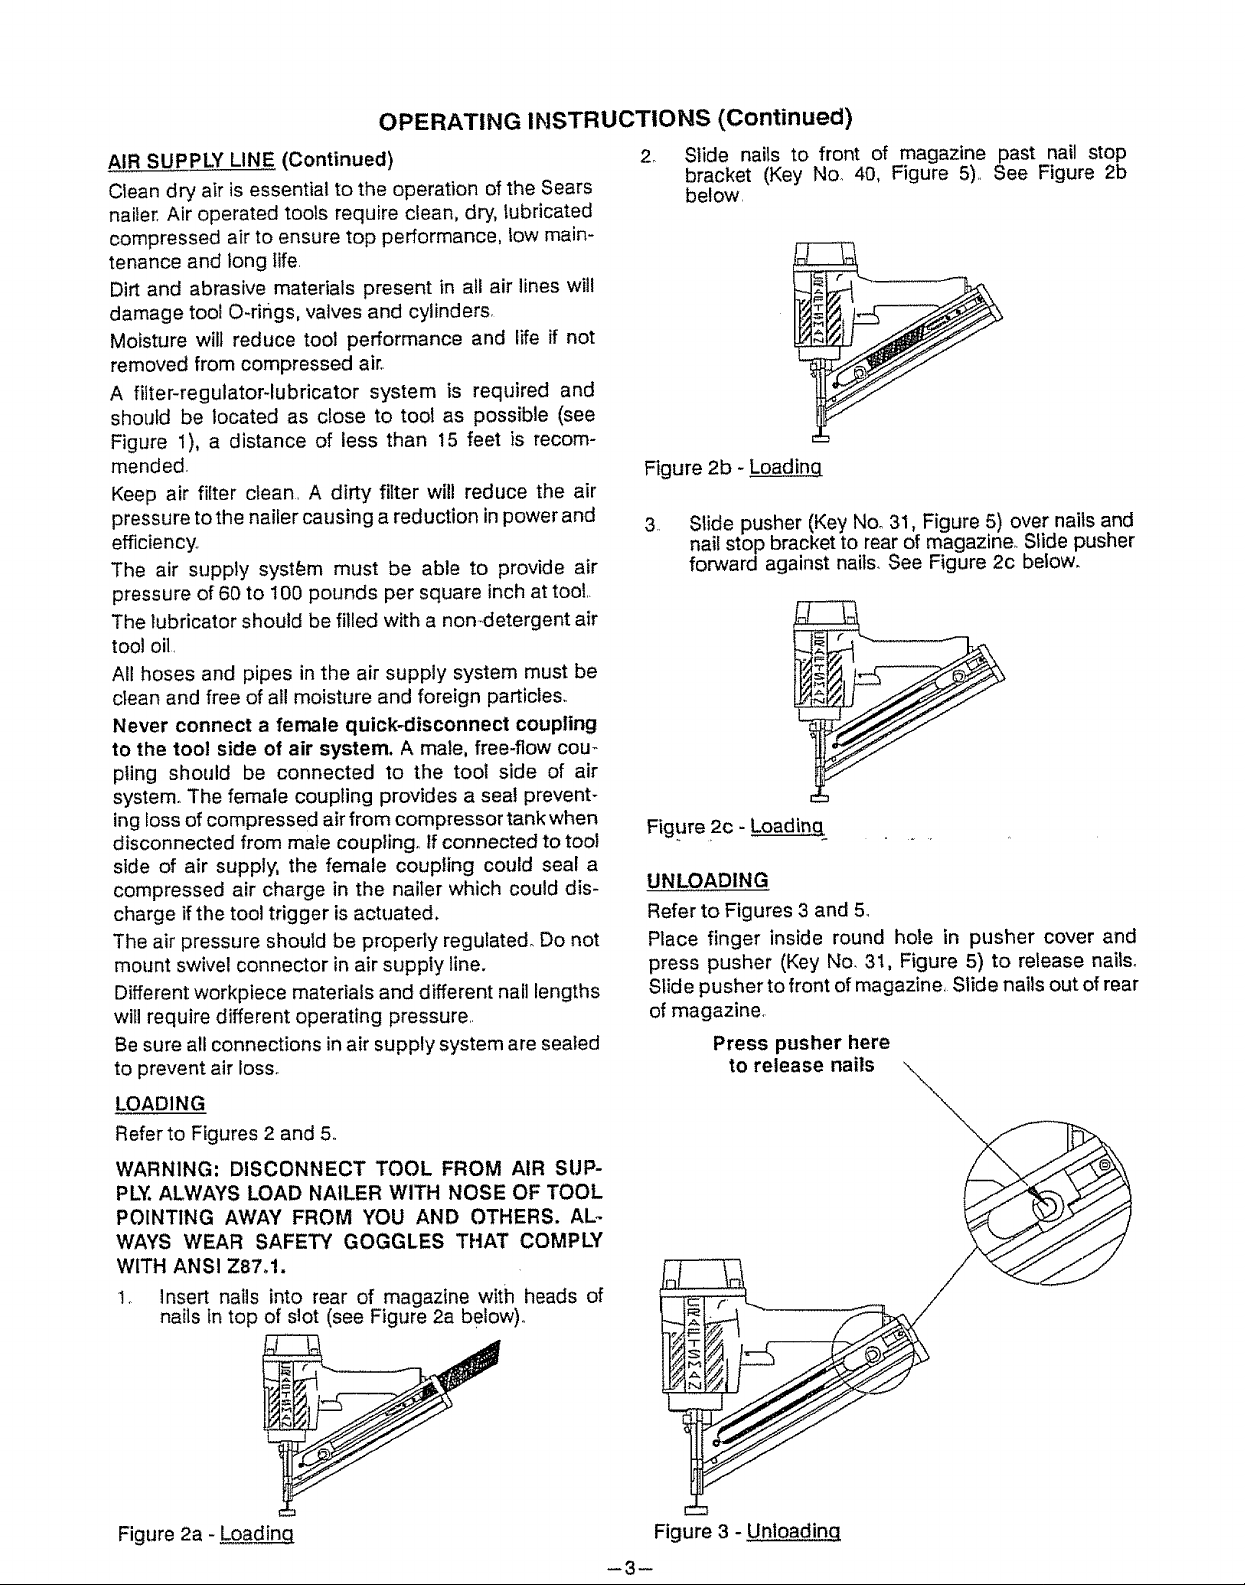
UNLOADING
Refer to Figures 3 and 5.
Place finger inside round hole in pusher cover and
press pusher (Key No. 31, Figure 5) to release nails_
Slid e pusher to front of magazine, Slide nails out of rear
of magazine_
Press pusher here
to release nails
Figure 2a - Loadinq
Figure 3 - Unloadinq
-3-
 Loading...