

Craftsman 320.48252 Owner's Manual
LASE GUHDED
_OOL with LASE
EASU
Model No.
320.48252
CAUTION: Read, understand and follow
all Safety Rules and Operating Instructions
in this manual before using this product.
oSAFETY
oOPERATION
• MAINTENANCE
• ESPAI_OL,PAGINA 11
Sears, Roebuck and Co., Hoffman Estates, iL 60179 U.S.A.
Warranty. ................................................................................ Page 2
Safety Instructions ............................................................... Pages 2-3
Description ............................................................................. Page 3-4
Operation ........................................................................... Pages 5-7
Maintenance .......................................................................... Page 7-8
Trouble Shooting .................................................................... Page 8
Notes ...................................................................................... Page 9-10
Service Numbers ................................................................... Back Cover
ONE FULLYEAR WARRANTY ON CRAFTSMAN TOOL
tf this Craftsman Tool fails due to a defect in material or workmanship within
one year from the date of purchase, RETURN ITTO THE NEAREST SEARS
SERVICE CENTER IN THE UNITED STATES, and Sears will repair it, free
of charge.
If this Craftsman Tool is used for commercial or rental purposes, this warranty
applies for only 90 days from the date of purchase°
This warranty gives you specific legal rights, and you may also have other
rights which vary from state to state.,
Sears, Roebuck and Co., Dept. 817 WA, Hoffman Estates, IL 60179
SAVETHESE RNSTRUCTIONS!
READ ALL INSTRUCTIONS!
/_ WARNING: BE SURE io read and understand all instructions inthis manual before
using this product.Failureto followall instructions may resuItin hazardous radiation exposure,
_ CAUTION: DO NOT attempt to modify the performanceof this laser device inany way.
This may result in a dangerous exposure to laserradiation_
I _ CAUTION: The use of anyoptical instrumentwith this product will increase the possibility
of an eye hazard.
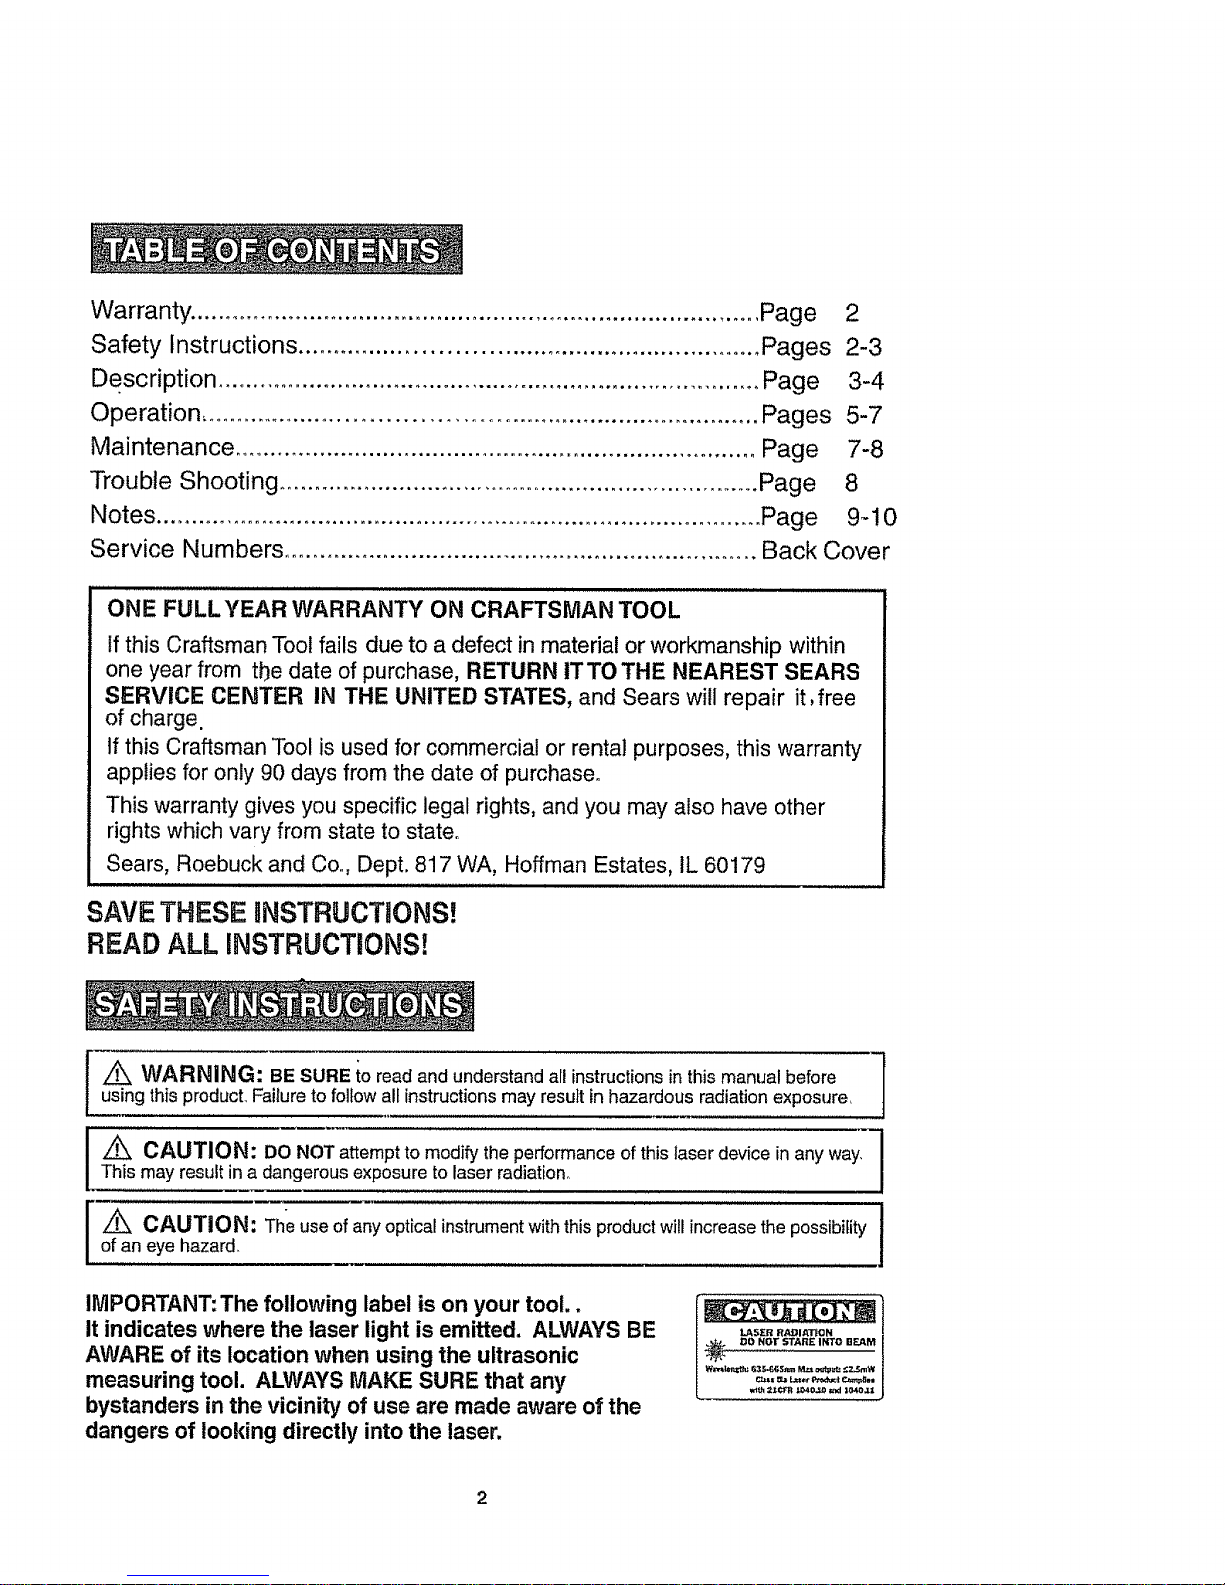
IMPORTANT: The following label is on your tool,.
It indicates where the laser light is emitted. ALWAYS BE
AWARE of its location when using the ultrasonic
measuring tool, ALWAYS MAKE SURE that any
bystanders in the vicinity of use are made aware of the
dangers of looking directly into the laser,
LAS£R RADIATION
,_ DO NOT STARE INTO BEAM
_k 2J:¢_ _040.,_ ==xl|040.11
J^_,,_,,,,,_.tl_w_nr_uu_lLASER LIGHT. LASER RADIATION Avoid Direct Eye Exposure.
Do Not Stare into beam. Class ilia Laser Product
1. DO NOT remove or deface any product labels,, Removing product labels
increase the risk of exposure to laser radiation,
2. DO NOT stare directly at the laser beam or project the laser beam directly
into the eyes of others. Serious eye injury could result.
3. DO NOT place the ultrasonic measuring tool in a position that may cause
anyone to stare into the laser beam intentionally or unintentionally° Serious
eye injury could result°
4. DO NOT use any magnifying optical tools such as, but not limited to
telescopes or transits to view the laser beam. Serious eye injury could result,,
5. DO NOT operate the ultrasonic measuring tool around children or allow
children to operate the tool. Serious eye injury, could result°
6. ALWAYS use only the accessories that are recommended by Sears for use
with this product.
7. Keep the tool dry and do not place in direct sunlight,
8. ALWAYS turn the tool off when not in use,
KNOW YOUR TOOL
This laser guided measuring tool is used for measurement of distance., It emits a laser
beam which projects a visible spot (_ on the target surface_ The tool generates ultrasound
to permit easy floor to ceiling and wall to wall measurement. Use to measure distances
to the object, calculate area in square feet and volume in cubic feet.
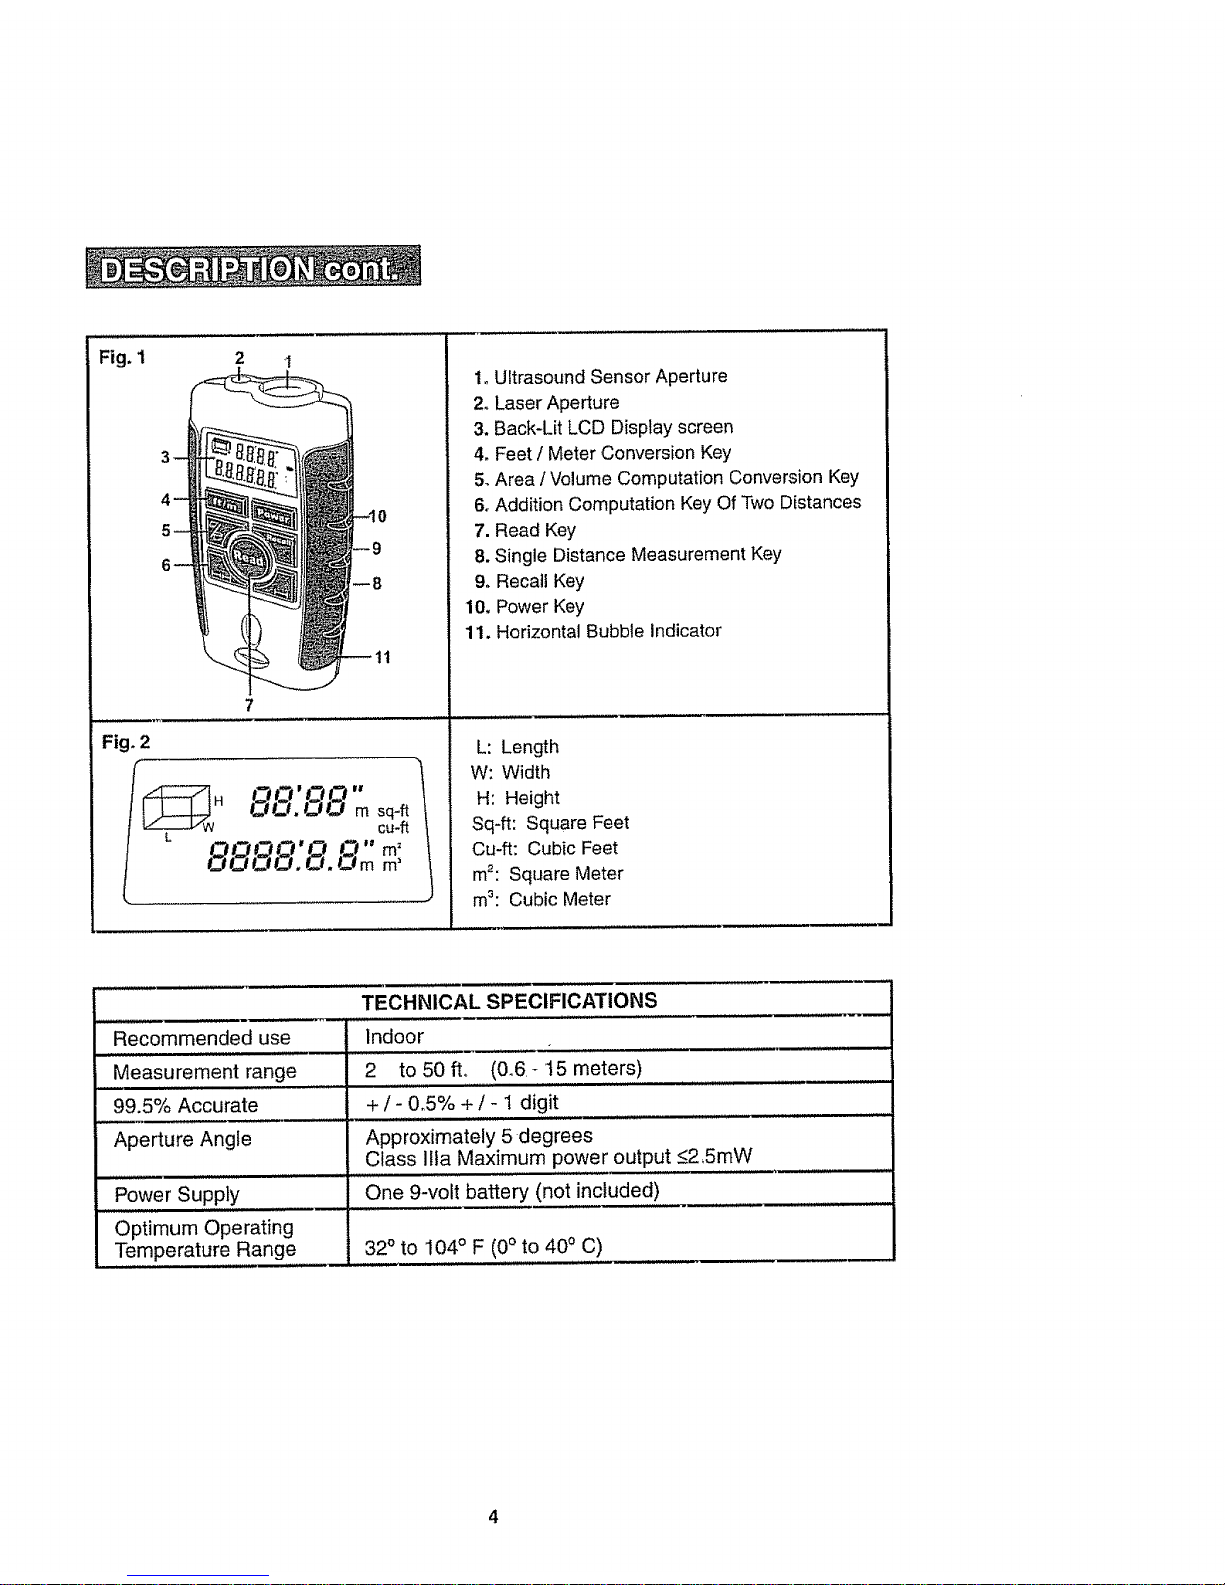
Fig. 1 2 _1
Fig. 2
0.!3!30'1T# L_" m'
tJ IJ 0 0, iZi, iZim m'
O.'OO"
IZ.I.I:t#_ m sq-ft
cu-ft
1, Ultrasound Sensor Aperture
2_Laser Aperture
3. Back-Lit LCD Display screen
4, Feet / Meter Conversion Key
5, Area / Volume Computation Conversion Key
6, Addition Computation Key Of Two Distances
7. Read Key
8. Single Distance Measurement Key
9oRecall Key
10, Power Key
11, Horizontal Bubble Indicator
L: Length
W: Width
H: Height
Sq-ft: Square Feet
Cu-ft: Cubic Feet
m2: Square Meter
m_: Cubic Meter
Recommended use
Measurement range
99.5% Accurate
Aperture Angle
TECHNICAL SPECIFICATIONS
indoor
2 to 50fro (0.6-15meters)
+ / - 015% + / - 1 digit
H,,,. ,, i ii
Approximately 5 degrees
Class Ilia Maximum power output <_2,5roW
One 9-volt battery (not included)
IH .,,.,,
I......
Power Supply
Optimum Operating
Temperature Range 32 ° to 104 ° F (0° to 40° C)
4
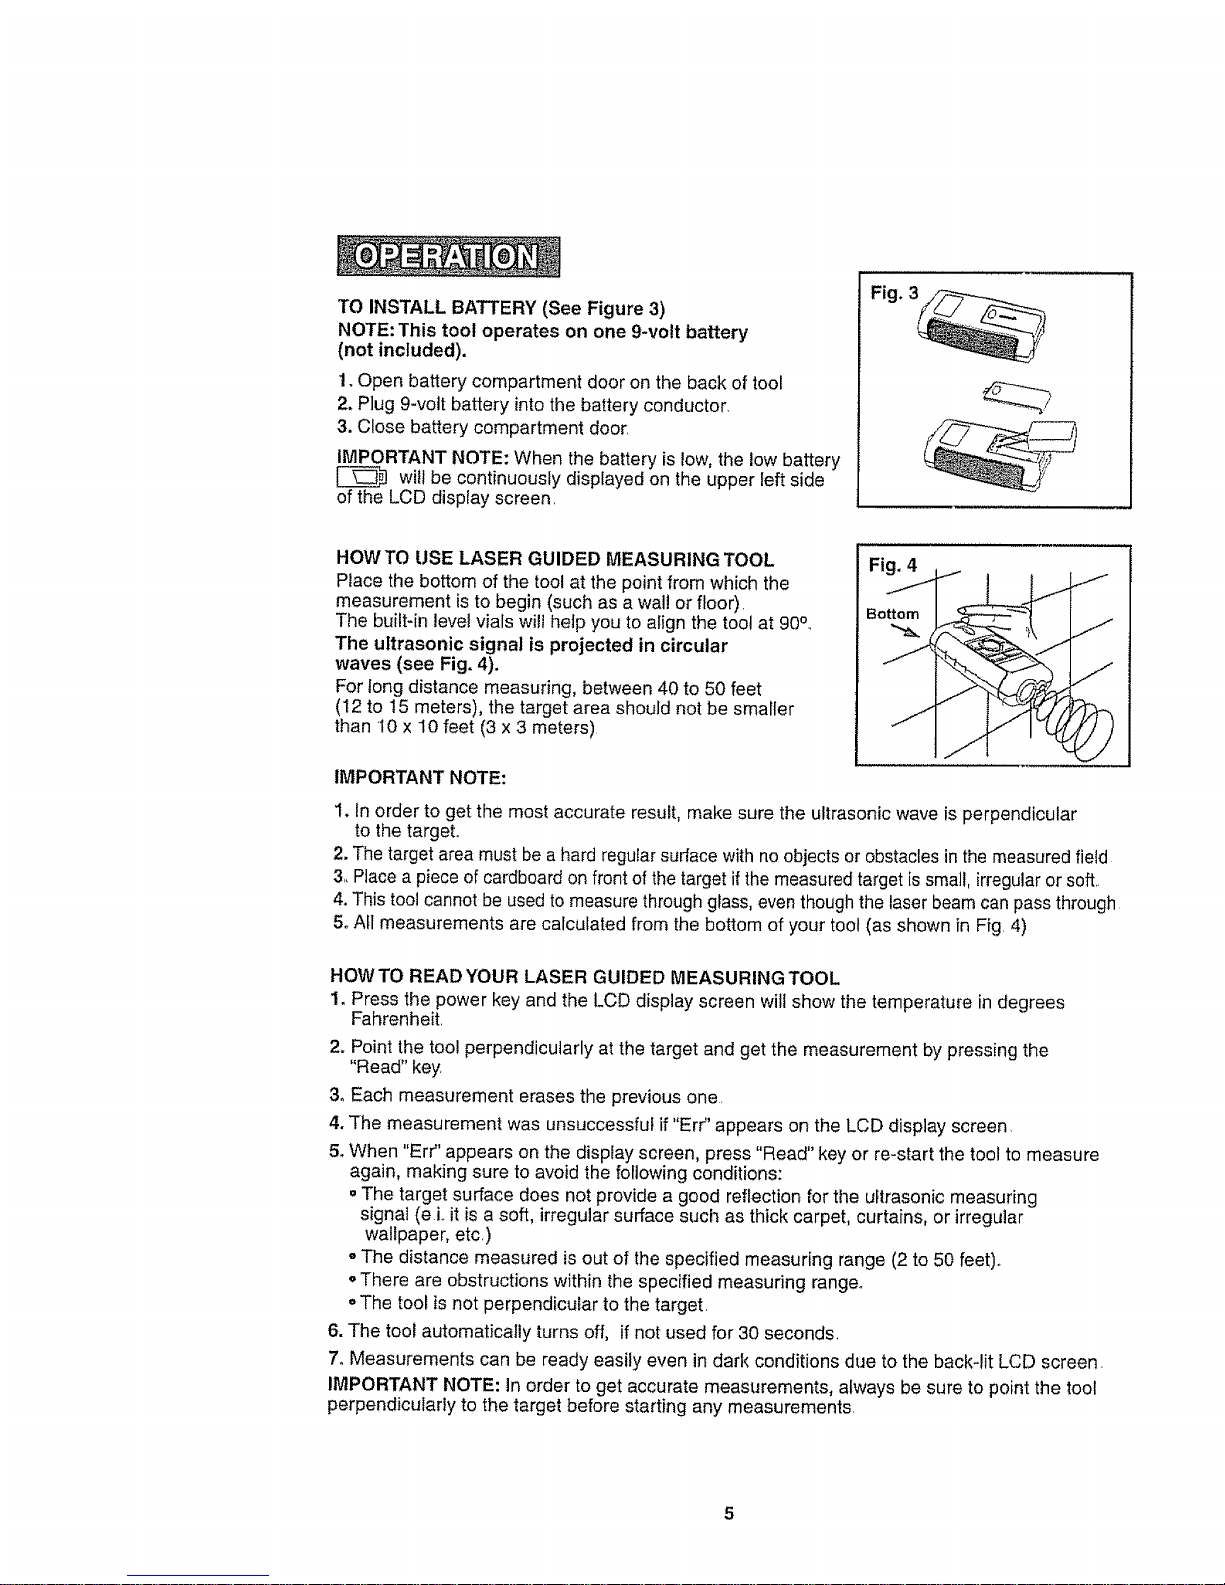
TOINSTALL BATTERY (See Figure 3)
NOTE: This tool operates on one 9-volt battery
(not included).
1. Open battery compartment door on the back of tool
2. Plug 9-vott battery into the battery conductor,
3. Close battery compartment door_
IMPORTANT NOTE: When the battery is low,the low battery
[_ will be continuously displayed on the upper left side
of the LCD display screen,
HOWTO USE LASER GUIDED MEASURING TOOL
Place the bottom of the tool at the point from which the
measurement is to begin (such as a wall or floor),
The built-in level vials will help you to align the tool at 90°.,
The ultrasonic signal is projected in circular
waves (see Fig. 4).
For tong distance measuring, between 40 to 50 feet
(12 to t5 meters), the target area should not be smaller
than 10 x 10 feet (3 x 3 meters)
IMPORTANT NOTE:
Fig, 4
Bottom
J
J
1. In order to get the most accurate result, make sure the ultrasonic wave is perpendicular
to the target,,
2. The targetarea must bea hard regularsurface with no objects or obstacles in the measured field
3, Placea piece of cardboard on front of the target ifthe measured target is small, irregularor soft_,
4.This tool cannot be usedto measurethrough glass, eventhough the laser beam can pass through
5. All measurements are calculated from the bottom of your tool (as shown in Fig, 4)
HOWTO READYOUR LASER GUIDED MEASURINGTOOL
1. Press the power key and the LCD display screen will show the temperature in degrees
Fahrenheit,
2. Point the toolperpendicularlyat the target and get the measurement by pressing the
"Read" key,
3oEach measurement erases the previous one.
4. The measurement was unsuccessful if "Err" appears on the LCD display screen
5_When "Err" appears on the display screen, press "Read" key or re-start the tool to measure
again, making sure to avoid the following conditions:
,,The target surface does not provide a good reflection for the ultrasonic measuring
signal (e i.,it isa soft, irregular surface such as thick carpet, curtains, or irregular
wallpaper, etc)
oThe distance measured is out of the specified measuring range (2 to 50 feet),,
oThere are obstructions within the specified measuring range°
=The tool is not perpendicular to the target
6. The tool automatically turns off, if not used for 30 seconds,
7oMeasurements can be ready easily even in dark conditions due to the back-lit LCD screen.
IMPORTANT NOTE: in order to get accurate measurements, always be sure to point the tool
perpendicularly to the target before starting any measurements,
5
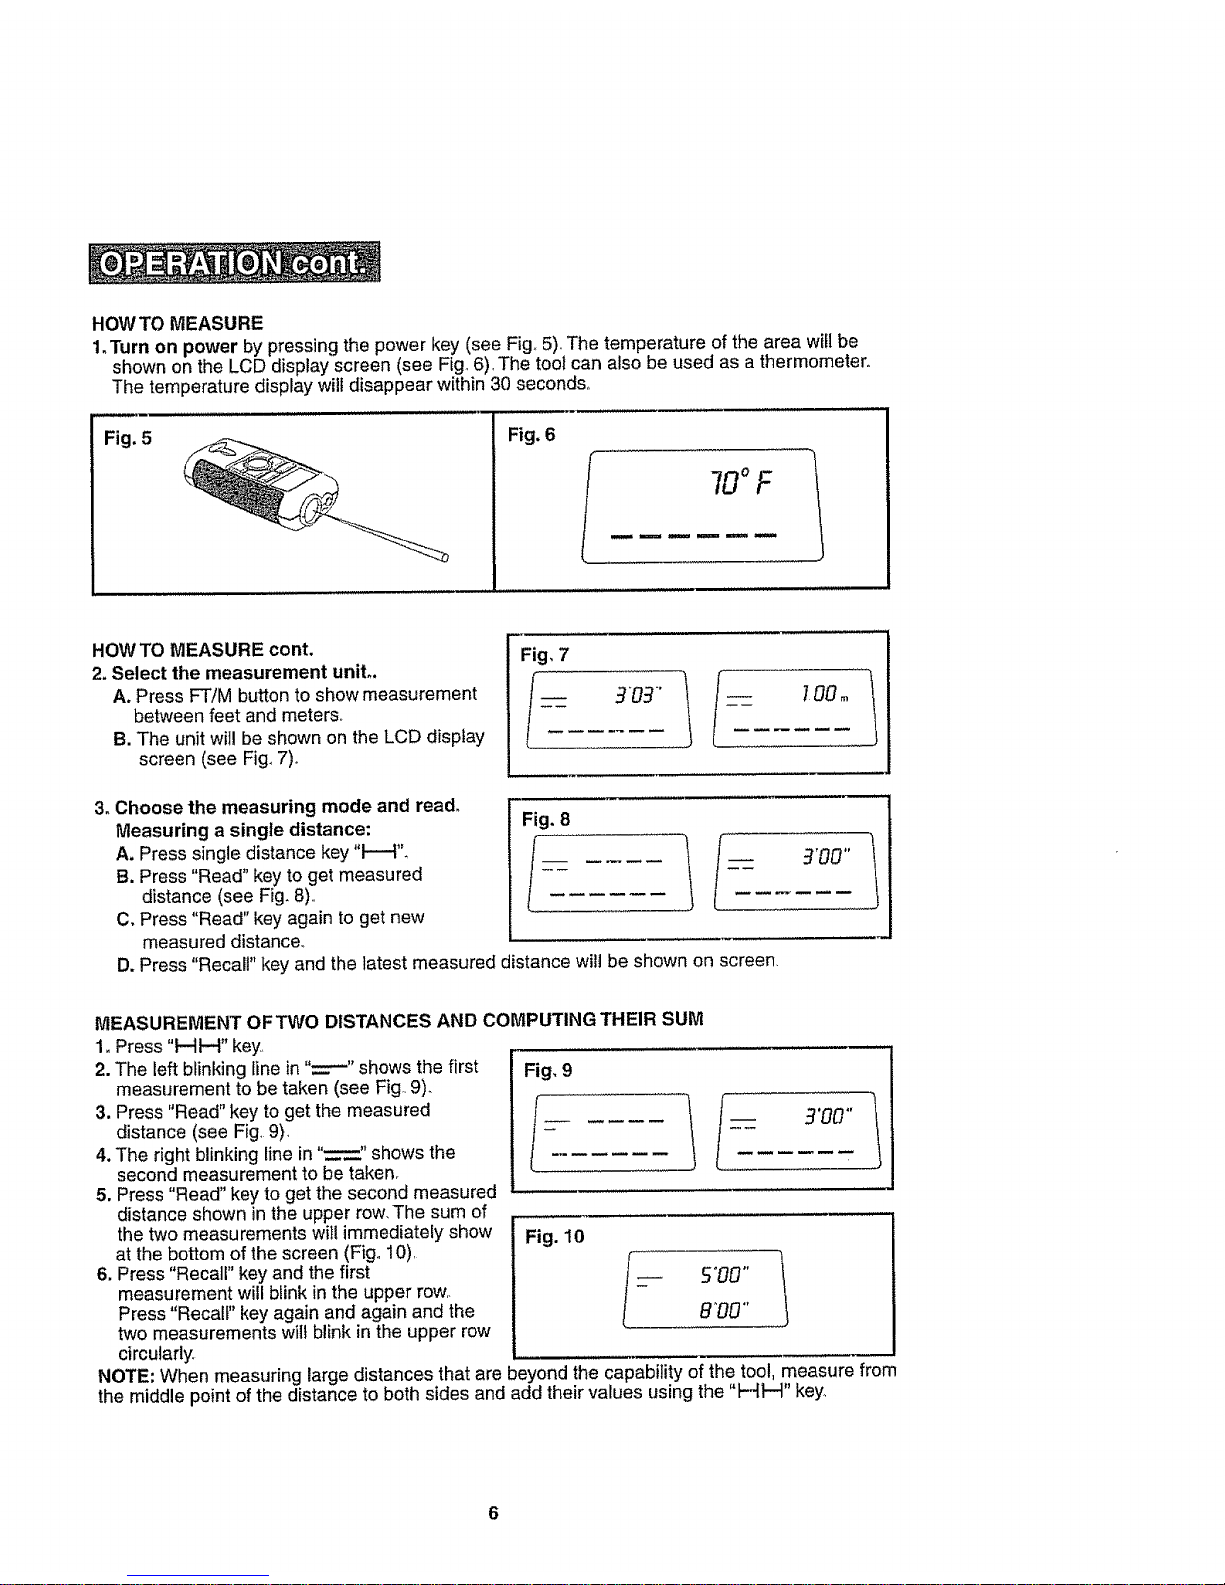
HOW TO MEASURE
1.Turn on power by pressing the power key (see Fig° 5)_The temperature of the area will be
shown on the LCD display screen (see Fig 6)_The tool can also be used as a thermometer,
The temperature display will disappear within 30 seconds°
Fig, 5 Fig. 6
HOWTO MEASURE cont.
2, Select the measurement unit°.
A. Press FT!M button to showmeasurement
between feet and meters
B. The unit will be shown on the LCD display
screen (see Fig, 7),
lOOm
3. Choose the measuring mode and read.
Measuring a single distance:
A. Press single distance key "t-----t",
B. Press "Read" key to get measured
distance (see Fig. 8)
C, Press "Read" key again to get new
measured distance_
D, Press "Recall" key and the latest measured distance will be shown on screen
MEASUREMENT OFTWO DISTANCES AND COMPUTING THEIR SUM
1. Press "HH" key
2. The left blinking line in "_----" shows the first
measurement to be taken (see Fig 9),
3. Press "Read" key to get the measured
distance (see Fig. 9),
4.The right blinking line in "__" shows the
second measurement to be taken,
5. Press "Read" key to get the second measured
distance shown in the upper row,The sum of
the two measurements will immediately show
at the bottom of the screen (Fig°10)
6, Press "Recall" key and the first
measurement will blink inthe upper row
Press "Recall" key again and again and the
two measurements wilt blink in the upper row
circularly
Fig, 9
Fig. 10
NOTE; When measuring large distances that are beyond the capability of the tool, measure from
the middle point of the distance to both sides and add their values using the "t--Ill" key_
6
 Loading...