

Craftsman 32028060 Owner’s Manual
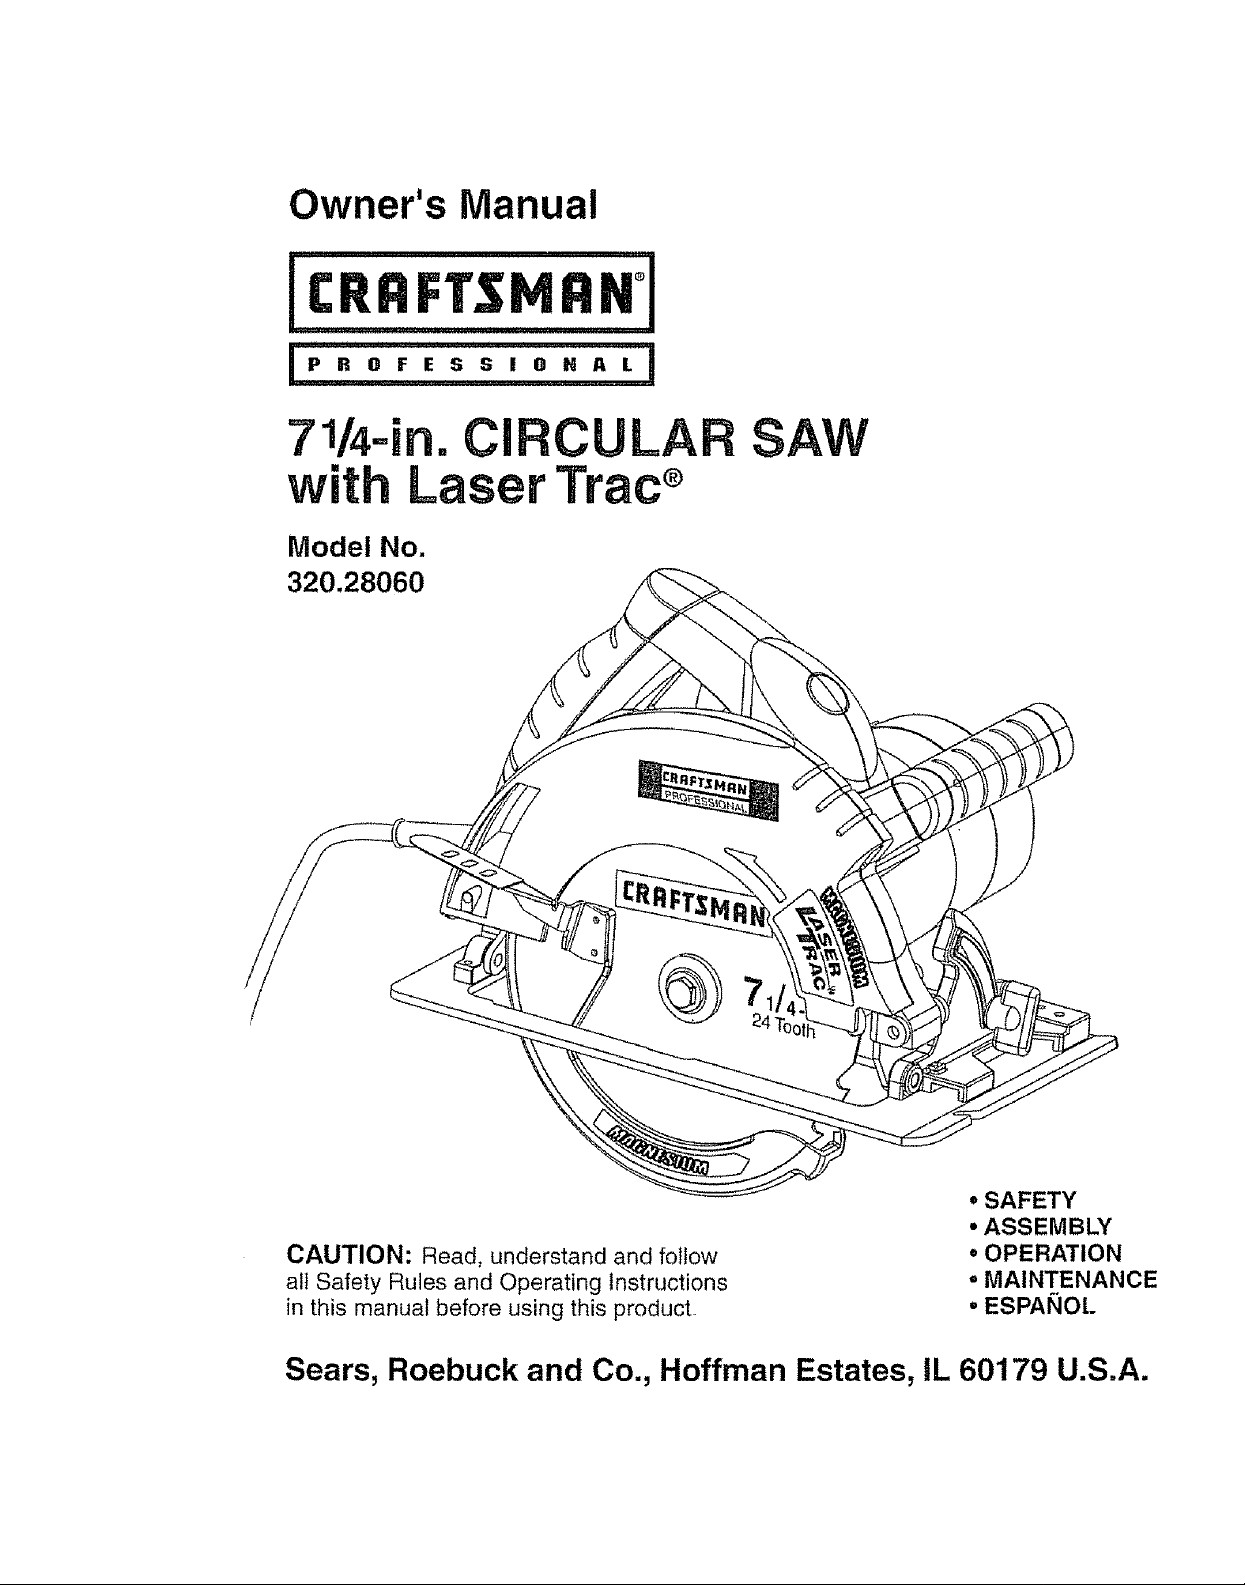
Owner's Manual
CRRFTSMR
LL I ' _ IL _ L :
P R 0 F E S S ! O H A L
71/4=in. CIRCULAR
with Laser Trac ®
Model No.
320.28060
SAW
• SAFETY
° ASSEMBLY
CAUTION: Read, understand and follow
alt Safety Rules and Operating instructions
in this manual before using this product
• OPERATION
° MAINTENANCE
• ESPA_IOL
Sears, Roebuck and Co., Hoffman Estates, IL 60179 U.S.A.
Warranty ................................................... Page 2
Safety Instructions ......................................... Pages 3-11
Safety Symbols ............................................ Page 11
Assembly .................................................. Pages 12-13
Description ................................................ Pages 13-14
Operation .................................................. Pages 15-24
Maintenance ............................................... Pages 24-25
Accessories ............................................... Page 26
Repair Parts ............................................... Pages 27-29
Service Numbers .......................................... Back cover
ONE FULLYEAR WARRANTY ON CRAFTSMAN PROFESSIONAL
CIRCULAR SAW
tf this product fails due to a defect in material or workmanship within one year from the
date of purchase, RETURN ITTOTHE NEAREST SEARS PARTS AND REPAIR
CENTER IN THE UNITED STATES, and it will be repaired, free of charge.
This warranty gives you specific legal rights, and you may also have other rights which
vary from state to state°
Sears, Roebuck and Co+, Dept, 817 WA, Hoffman Estates, IL 60179
SAVETHESE INSTRUCTIONS!
READ ALL INSTRUCTIONS!
I WARNING: BE SURE to read and understand all instructions.
Failure to follow all instructions listed below may result in electric
shock, tire and!or serious personal injury
SAFETY PRECAUTIONS FOR LASER
This saw has a built-in laser light..The laser is a Class Ilia and emits output power of a maximum
1mW and 400nm - 700nm wavelengths. These lasers do not normally present an optical hazard
However, DO NOT stare at the beam because it can cause flash blindness
IMPORTANT: The following label is on your saw. It indicates
where the laser light is emitted by the saw. ALWAYS BE AWARE
of its location when using the saw and ALWAYS MAKE SURE
that any bystanders in the vicinity of use are made aware
of the dangers of looking directly into the laser.
AVOID EXPOSURE
LASER RADIATION EMITTED
FROM THIS APERTURE
I _ WARNING: LASER LIGHT. LASER RADIAT;O'N'"Avoi'd Direc;'Eye'Exp'osure 'Do Not I
Stare into beam Only turn laser beam on when tool is on the workpiece. Class 11la
!
deliberately stare into the beam. ALWAYS follow the following safety precautions when
I WARNING: DO NOT stare directly at the laser beam.. A hazard may exist if you I
using this saw, ,.........
1. The tinted glasses that were included will enhance the laser light in bright light conditions
DO NOT wear these glasses if they interfere with the safe operation of this saw.1
2. NEVER aim the beam at any person or object other than the workpieceo
3. The laser beam can be harmful to the eyes° ALWAYS avoid direct eye
exposure,, DO NOT look directly into the laser beam output aperture
during operation.
4, The laser on the saw is not a toy ALWAYS keep out of the reach of children,.
The laser light emitted from this device SHOULD NEVER be directed towards
any person, for any reason.
5. ALWAYS be sure the laser beam is aimed at a sturdy workpiece (such as wood or rough
coated surfaces) that does not have a reflective surface
!
SAFETY PRECAUTIONS FOR LASER cont.
6. DO NOT use on surfaces such as sheet steel that have a shiny, reflective surface_ The shiny
surface could reflect the beam back at the operator°
7. ALWAYS be aware that laser light reflected off of a mirror or any other
reflective surfaces can also be dangerous.
J CAUTION: ALWAYS follow only the instructionscontained in this manual when using
this laser Use of this feature in any manner other than what appears in this manual may
_Jiulv_lL,l,ui= = =='HiHiHiH'iiH 1' = = '1',,
8. DO NOT attempt to modify the performance of this laser device in any way.
This may result in a dangerous exposure to laser radiation.
9, For further information regarding lasers, refer to ANSI - Z136.1
The STANDARD FOR THE SAFE USE OF LASERS, available from the
Laser Institute of America (407) 380-1553.
WORK AREA SAFETY
1. ALWAYS keep your work area clean and well lit. Cluttered benches and dark areas
invite accidents..
2. DO NOT operate power tools in explosive atmospheres, such as in the presence of
flammable liquids, gases, or dust. Power tools create sparks which may ignite the dust
or fumes.
3. ALWAYS keep bystanders, children, and visitors away while operating a power tool.
Distractions can cause you to lose control,.
I
Iresult in a hazardous radiation exposure_
ELECTRICAL SAFETY
1. Double insulated tools are equipped with a polarized plug (one blade is wider than
the other.) This plug will fit in a polarized outlet only one way. if the plug does not
fit fully in the outlet, reverse the plug. If it still does not fit, contact a qualified
electrician to install a polarized outlet. Do not change the plug in any way.
2. Double insulation [_eliminates the need for the three-wire grounded power cord and
grounded power supply system, Applicable only to Class tl (double insulated) tools.
3. Before plugging in the tool, BE SURE that the outlet voltage supptied is within the voltage
marked on the tool's data plate DO NOT use "AC only" rated tools with a DC power supply.
4. ALWAYS avoid body contact with grounded surfaces, such as pipes, radiators,
ranges and refrigerators. There is an increased risk of electric shock if your body
is grounded.
ELECTRICAL SAFETY cont.
5. If operating the power tool in damp locations is unavoidable, ALWAYS use a Ground
Fault Circuit Interrupter to supply power to your tool. ALWAYS wear electrician's
rubber gloves and footwear in damp conditions,
6. DO NOT expose power tools to rain or wet conditionsr Water entering a power tool
will increase the risk of electric shock.
7. DO NOT abuse the cord_ NEVER use the cord to carry the tools or pull the plug from
the outlet. Keep cord away from heat, oil, sharp edges or moving parts. Replace
damaged cords immediately. Damaged cords increase the risk of electric shock
8. When operating a power tool outside, ALWAYS use an outdoor extension cord marked
"W-A" or "W" These cords are rated for outdoor use and reduce the risk of electric shock
NOTE: The extension cord must have adequate wire size AWG (American Wire Gauge) for safe,
efficient use Smaller gauge wires, have greater capacity (16 gauge wire has more capacity
than 18 gauge wire)
PERSONALSAFETY
1, ALWAYS stay alert, watch what you are doing and use common sense when operating
a power tool. DO NOT use tool while tired or under the influence of drugs, alcohol,
or medication. A moment of inattention while operating power tools may result in serious
personal injury
2. ALWAYS dress properly° DO NOT wear loose clothing or jewelry. Pull back long hair.
Keep your hair, clothing, and gloves away from moving parts.
Loose clothes, jewelry, or long hair can be caught in moving parts
PERSONAL SAFETY cont.
3. ALWAYS avoid accidental starting. BE SURE switch is in the "Off" position before
plugging in, DO NOT carry tools with your finger on the switch Carrying tools with
your finger on the switch or plugging in tools that have the switch in the "On" position
invites accidents_
4. ALWAYS remove adjusting keys or wrenches before turning the toot "On", A wrench
or a key that is left attached to a rotating part of the tool may result in personal injury
5oDO NOT overreach. ALWAYS keep proper footing and balance at all times.
Proper footing and balance enables better control of the tool in unexpected situations
6. ALWAYS use safety equipment, Always wear eye protection.
TOOL USE AND CARE SAFETY
1. ALWAYS use clamps or other practical ways to secure and support the workpiece
to a stable platform, Holding the work by hand or against your body is unstable and may
lead to loss of control
2. DO NOT force tool, Use the correct tool and blade for your application. The correct
toot and blade will do the job better and safer at the rate for which it is designed
3. DO NOT use tool if switch does not turn it "On" or "Off", Any tool that cannot be
controlled with the switch is dangerous and must be repaired
4. ALWAYS disconnect the plug from the power source before making any
adjustments, changing accessories,or storing the tool. Such preventive safety
measures reduce the risk of starting the tool accidentally
5_ ALWAYS store idle tools out of reach of children and other untrained persons.
Tools are dangerous in the hands of untrained users.
6. ALWAYS maintain tools with care. Keep cutting tools sharp and clean. Properly
maintained tools with sharp cutting edges are less likely to bind and are easier to control
7. ALWAYS check for misalignment or binding of moving parts, breakage of parts,
and any other condition that may affect the tool's operation. If damaged, have the
tool serviced before using. Many accidents are caused by poorly maintained tools
6
TOOLUSE AND CARE SAFETY cont,
m
I /t", WARNING: USE OF ACCESSORIES THAT ARE NOT RECOMMENDED FOR USE ,!
I WITH THIS TOOL MAY CREATE A HAZARDOUS CONDITION i
8. ALWAYS use only accessories that are recommended for this tool. Accessories that may
be suitable for one toot may become hazardous when used on another tool.
SERVICE SAFETY
1, If any part of this saw is missing or should break,bend, or fail in any way; or should
any electrical component fail to perform properly: ALWAYS shut off the power switch and
remove the saw plug from the power source and have the missing, damaged or failed part
replaced BEFORE resuming operation
2. Tool service must be performed only at a Sears Service Center. Service or maintenance
performed by unqualified personnel could result in a risk of injury
SAFETY RULES FOR CIRCULAR SAWS
ii ill i
I z_ DANGER! Keep hands away from cutting area and blade. Keep your second hand i
on the auxiliary handle or motor housing. If both hands are holding the saw, they cannot
I be cut by the bfade
1. ALWAYS keep your body positioned to either side of the saw blade, but not in line
with the saw blade. Kickback could cause the saw tojump backwards (See Kickback .....
What Causes It and Ways to Prevent It on pages 8-9).
2. DO NOT reach underneath the work. The guard cannot protect you from the blade
beneath the work
3. ALWAYS check lower guard for proper closing BEFORE each use° DO NOT operate
the saw if the lower guard does not move freely and close instantly. Never clamp or
tie the lower guard in the open position° If the saw is accidentally dropped, the lower
guard may be bent Raise the lower guard with the retracting handle Make sure that it moves
freely and does not touch the blade or any other part in all angles and depths of cut.
4. ALWAYS check the operation and condition of the lower guard spring. If the guard
and the spring are not operating properly, they MUST be serviced before use.
The lower guard may operate sluggishly, due to damaged parts, gummy deposits, or a
buildup of debris
5.The lower guard should be retracted manually ONLY for making special cuts, such as
pocket or compound cuts. ALWAYS raise the lower guard by retracting the handle.
As soon as the blade enters the material, the lower guard MUST be released. For all
other sawing, the tower guard should operate automatically
6. ALWAYS make sure that the lower guard is covering the blade BEFORE placing the
saw down on a work bench or floor. An unprotected moving blade will cause the saw to
walk backwards, cutting whatever is in its path Make note of the time it takes for the blade
to stop spinning after the switch is released,
I
i
7
SAFETY RULES FOR CIRCULAR SAWS cont.
7. NEVER hold the piece being cut in your hands or across your legs. tt is important
to support the work properly in order to minimize body exposure, blade binding, or loss
of control
8. ALWAYS hold tool by insulated gripping surfaces when performing an operation
where the cutting tool may contact hidden wiring or its own cord, Contact with a
"live" wire wil! make the exposed metal parts of the tool "live" and shock the operator,
9.When ripping, ALWAYS use a rip fence or straight edge guide. This improves the
accuracy of the cut and reduces the chance of the blade binding
10. At.WAYS use blades that have the correct size and shape (diamond vs. round)
arbor holes. Blades that do not match the mounting hardware of the saw will run
erratically and will cause loss of control
11. ALWAYS BE SURE that all adjusting screws and the blade holder are fastened tightly
BEFORE making a cut Loose adjusting screws and holders can cause the tool or
blade to slip and loss of control may result,
12. When removing the blade from the tool, ALWAYS avoid contact with skin and ALWAYS
wear protective gloves when grasping the blade or accessory Accessories may be hot
after prolonged use
KICKBACK._WHAT CAUSES IT AND WAYS TO PREVENT IT
"[he Causes of Kickback
1. Kickback is a sudden reaction to a pinched, bound or misa[igned saw blade, which causes
the uncontrolled saw to lift up and out of the workpiece and towards the operator,
2. When the blade is pinched or bound tightly by the kerr closing down, the blade stat]s and
the motor reaction drives the unit rapidly back towards the operator
3. if the blade becomes twisted or misaligned in the cut, the teeth at the back edge of the
blade can dig into the top surface of the wood. This causes the blade to climb out of
the kerf and jump back towards the operator
4r Kickback is a result of tool misuse and/or incorrect operating procedures or conditions.
It can be avoided by taking the proper precautions, as listed on next page°
Waysto PreventKickback
1.ALWAYSmaintainafirmgripwithbothhandsonthesawandpositionyourbodyand
armstoallowyouto resist KICKBACK forces. KICKBACK forces can be controlled by the
operator, if the proper precautions are taken.
2. If the blade is binding, or when you are interrupting a cut for any reason, ALWAYS
release the trigger and hold the saw motionless in the material until the blade comes
to a complete stop_ NEVER attempt to remove the saw from the work or pull the saw
backward while the blade is in motion or KICKBACK may occur. ALWAYS
check and be ready to take corrective action to eliminate the cause of blade binding
3. When restarting the saw in the workptece, ALWAYS center the blade in the kerr and
check to be sure that the saw teeth are not engaged into the material, Ifthe saw blade
is binding, it may walk up or KICKBACK from the workpiece when the saw is restarted
4. ALWAYS support large panels to minimize the risk of blade pinching and KICKBACK.
Large panels tend to sag under their own weight Supports MUST be placed under the
panel on both sides, near the line of cut and near the edge of the panel.
5. DO NOT use a dull or damaged blade. Unsharpened or improperfy set
blades produce narrow kerf which causes excessive friction, blade binding and KICKBACK
6. ALWAYS be sure that the blade depth and adjusting locking levers are tight
and secure BEFORE making a cut. If blade adjustment shifts while cutting, it may
cause binding and KICKBACK,
7oALWAYS use extra caution when making a"Pocket Cut" into existing walls
or other blind areas. The protruding blade may cut objects that can cause KICKBACK
8, ALWAYS have saw blade at full speed before contacting workpiece
9. ALWAYS hold too! by insulated gripping surfaces when performing an operation
where the cutting tool may contact hidden wiring or its own cord. Contact with a
"live" wire will
make the exposed metal parts of the tool "live" and shock the operator
IMPORTANT: See Operation Section of this Manual for additional instructions for
avoiding Kickback.
 Loading...