

Craftsman 320.25817 Operator's Manual

Operator'sManual
PROFESSIONAL
71/4=in.Contractor's
Circular Saw
Model No.
320.25817
o(_us
DOUBLE INSULATED
Z_CAUTION: Read, understand and
follow alt Safety Rules and Operating
Instructions in this manual before using
this product.
• WARRANTY
• SAFETY
, UNPACKING
• DESCRIPTION
• OPERATION
° ADJUSTMENTS
• MAINTENANCE
Sears, Roebuck and Co., Hoffman Estates, IL 60179 U.S.A.
Visit our Craftsman® website: www.sears.com/craftsman
War_nty .............................................................. Page 2
Safety Symbols ...................................................... Page 3
Safety instructions ................................................. Pages 4-1g
Glossary of Terms ................................................... Pages 10-11
Unpacking ............................................................ Pages I1-12
Deseription ............................................................ Pages 12-14
Operation .................................................................. Pages 14-21
Adjustments ......................................................... Page 22
Maintenance .................................................................. Pages 23-26
Troubleshooting ............................................................. Page 27
Accessories ................................................................... Page 27
Repair Parts .................................................................. Pages 2B-2g
Sears Repair Parts Phone Numbers ............................. Back Cover
ONE YEAR FU LL WARRANTY ON CRAFTSMAN"
PROFESSIONALTOOL
_f th_$ _t:n|i_r_nn _01 _,_[t to gl_'_ _ompte_ $n_Isf_t_n w|thJr_ olte y_,ttt |tom th_ dt_ o_r
_ur_h_s_, R_U_N _T TO ANY SEARS 5TORE OR PARTS & i'IEPAIR CENTE_ OR OTHER
CRAFTSMAN OUTLET IN THE Uht_fl_D STATES FaR FRES REPAIR {_r r_,p_a_e_ent _|
rep_t_t proves |_pol${hIs].
II thl_ Cta_L_man totd _ used _" cr_rnmet_;]a] _t reP, ta| purp_e_ Ih_= w_t';_n_¥ ._pp_l_ |or
_._ly _D daV_ from the date o_ purchase,
Th_z wt_rtt_nty _Ivez ¥_ _pecffJ¢ teDa_ tlgh_, _nd Vo_ m_¥ _so hbvt_ _th_" t_gh_ _h_h
v_ty [_or_t state I_ st_l_.
S_=_s. Ro_bul:_ _,nd Ca*. Hoffmatt Estates, _, _0_79
SAVETHESE INSTRUCTIONS!
READALL INSTRUCTIONS[
The purpose of safety symbols is to attract our attention to possible dangers
The safety symbols, and the explanations with them, deserve your careful
attention and understanding. The symbol warnings DO NOT by themselves
eliminate any danger_The instructionsand warnings they give are no substitutes
for proper accident prevention measures,,
!ik WARNING: BE SURE to read and understand all safety Instructions tn
this manual, including all safety alert symbols such as "DANGER", "WARNING"
and "CAUTION", BEFORE using this saw. Failure to follow all instructions
listed below may result In electric shock, ftre and/or serious personal Injury.
SYMBOL MEANING
[//_ AFETY ALERT SYMBOL: IndicatesDANGER,WARNING,OR
CAUTION. May be used In conjunction with other symbols or
plctographs
Failure to obey this safety warning WILL result In death or
serious Injury to yourself or to others. Always follow the
safety precautions to reduce the risk of fire, electric shock
and personal Injury.
Failure to obey this safety warning CAN result in death or
serious Injury to yourself or to others. Always follow the
safety precautions to reduce the risk of firs, electric shock
and personal Injury.
Falture to obey this safety warning MAYresult In personal
Injury to yourself or others or property damage, Always
follow the safety precautions to reduce the risk of fire,
electric shock and personal Injury,
DAMAGE PREVENTION AND INFORMATION MESSAGES
These inform user of Important Information and/or Instructions that could lead to
equipment or other property damage if not followed Each message is preceded by the
word "NOTE:" as in the exampfe below:
NOTE: Equipment and/or property damage may result If these Instructions are
not followed.
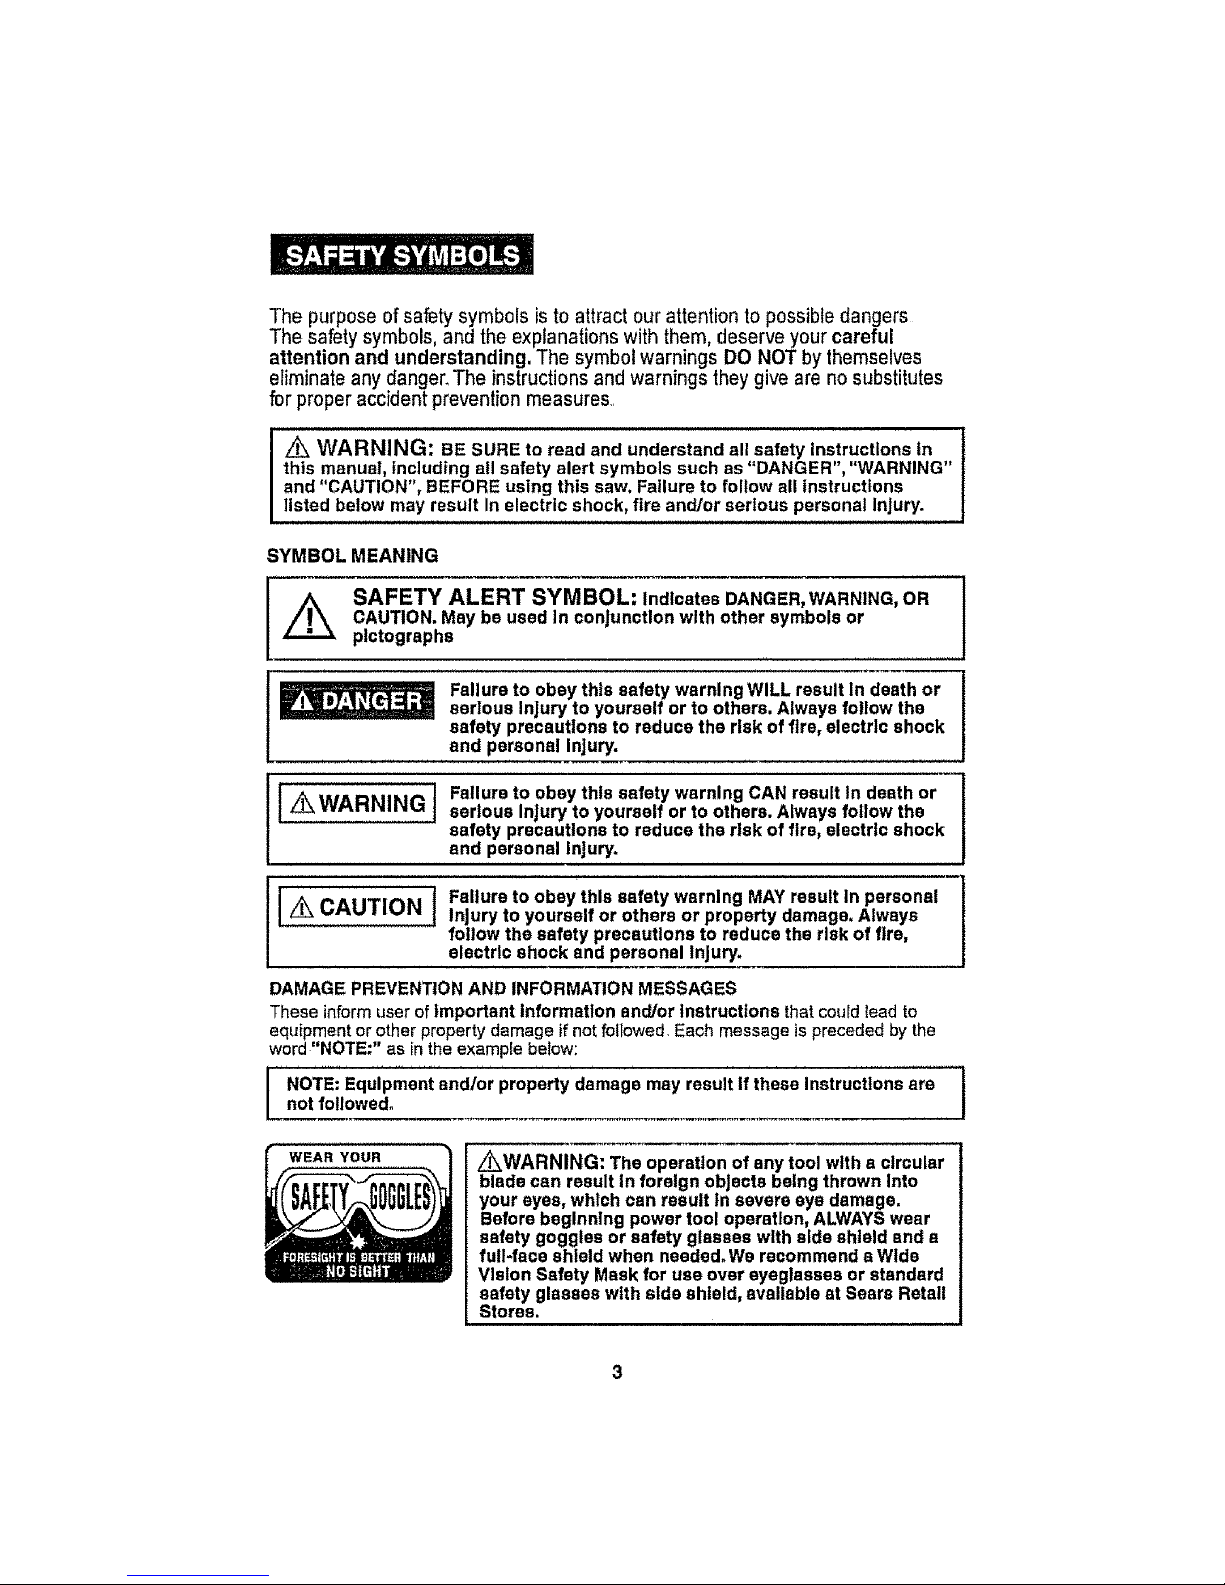
WEAR YOUR
Z_WARNING: The operation of any tool with a circular
blade can result in foreign objects being thrown Into
your eyes, which can result In severe eye damage.
Before beglnnlng power tool operation, ALWAYS wear
safety goggles or safety glasses with side shield and a
full-face shield when needed. We recommend a Wide
Vision Safety Mask for use over eyeglasses or standard
safety glasses with side shield, available at Sears Retail
Stores.
WORK AREA SAFETY
1 Keep your work area clean and well lit. Cluttered workbenches and dark areas
invite accidents
2 DO NOT operate power tools in explosive atmospheres, such as in the
presence of flammable liquids, gases, or dust, Powertoolscreate sparks which
may ignite the dust or fumes
3 Keep bystanders, children and visitors away while operating a power tool.
Distractions can cause you to lose control
4 Make your workshop childproof with padlocks and master switches Lock tools
away when not in use
5 MAKE SURE the work area has ample lighting so you can see the work and
that there are no obstructions that will interfere with safe operation BEFORE using
your saw
PERSONALSAFETY
1 KNOW your power tool. Read the operator's manual carefully Learn the saw's
applications and limitations, as well as the specific potential hazards related to
this tool
2 STAYALERT, watch what you are doing and use common sense when operating
a power too!
3 DO NOT use tool while tired or under the influenceof drugs, alcohol or
medication A moment of inattention white operating power tools may result in
serious personal injury
4 DRESS properly. DO NOT wear foose clothing orjewelry Pull back long hair
Keep your hair, clothing, and gloves away from moving parts Air vents often
cover moving parts and shoufd also be avoided Loose clothing, jewelry or long
hair can be caught in moving parts
5 AVOID accidental starting Be sure switch isin "OFF" position before plugging in
DO NOT carry tools with your finger on the switch Carrying tools with your finger
on the switch or plugging intools that have the switch in the "ON" position invites
accidents
6 REMOVE adjusting keys or wrenches before turningthe tool "ON". A wrench
that is left attached to a rotating part of the tool may result in personal injury
7 Do not overreach. Keep proper footing and balance at all times. Proper
footing and balance enables better control of the tool in unexpected situations
8 ALWAYS SECUREYOUR WORK. Use damps or a vise to hold work when
practical It is safer than using your hand and frees both hands to operate tool
9 USE SAFETY EQUIPMENT. Always wear eye protection Dust mask, non-skid
safety shoes, hard hat, or hearing protection must be used for appropriate
conditions
10 DO NOT USE ON A LADDER or unstable support° Stable footing on a solid
surface enables better control of the tool in unexpected situations
TOOL USE AND CARE SAFETY
/iXWARNING: BE SURE to read and understand all instructions before ]
operating this saw. Failure to follow all Instructions listed below may result In
1electric shock,fire and/or serious personal Injury.
I ALWAYS use clamps or other practical ways to secure and support the
workptece to a stable platform. Holding the work by hand or against your body
is unstable and may lead to loss of control
2 DO NOT force the tool. Use the correct tool and blade for your application,
The correct tool and blade will do the job better and safer at the rate for which it is
designed
3 DO NOT use the tool if switch does not turn It "On" or"Off". Any tool that
cannot be controlled with the switch is dangerous and must be repaired
4 DISCONNECT the plug from the power source before making any
adjustments, changing accessories or storlng the tool. Such preventivesafety
measures reduce the risk of starting the tool accidentally
5r NEVER leave the tool running. ALWAYSturn tt off, DO NOT leave the tool until
it comes to a complete stop
6, STORE idle tools out of the reach of chtldren and other untrained persons,
Tools are dangerous in the hands of untrained users
7, MAINTAIN tools with care. Keep cutting tools sharp and clean. Properly
maintained tools with sharp cutting edges are less likely to bind and are easier to
control,
8, CHECK for mlsallgnment or binding of moving parts, breakage of parts, and
any other condition that may affect the tool's operation If damaged, have the tool
serviced before using Many accidents are caused by poorly maintained tools
9 USE ONLY accessories that are recommended for this tool. Accessories that
may be suitable for one tool may become hazardous when used on another tool
ELECTRICAL SAFETY
[ _WARNING: Do not permlt fingers to touch the terminals of plug when
installing or removing the plug from the outlet.
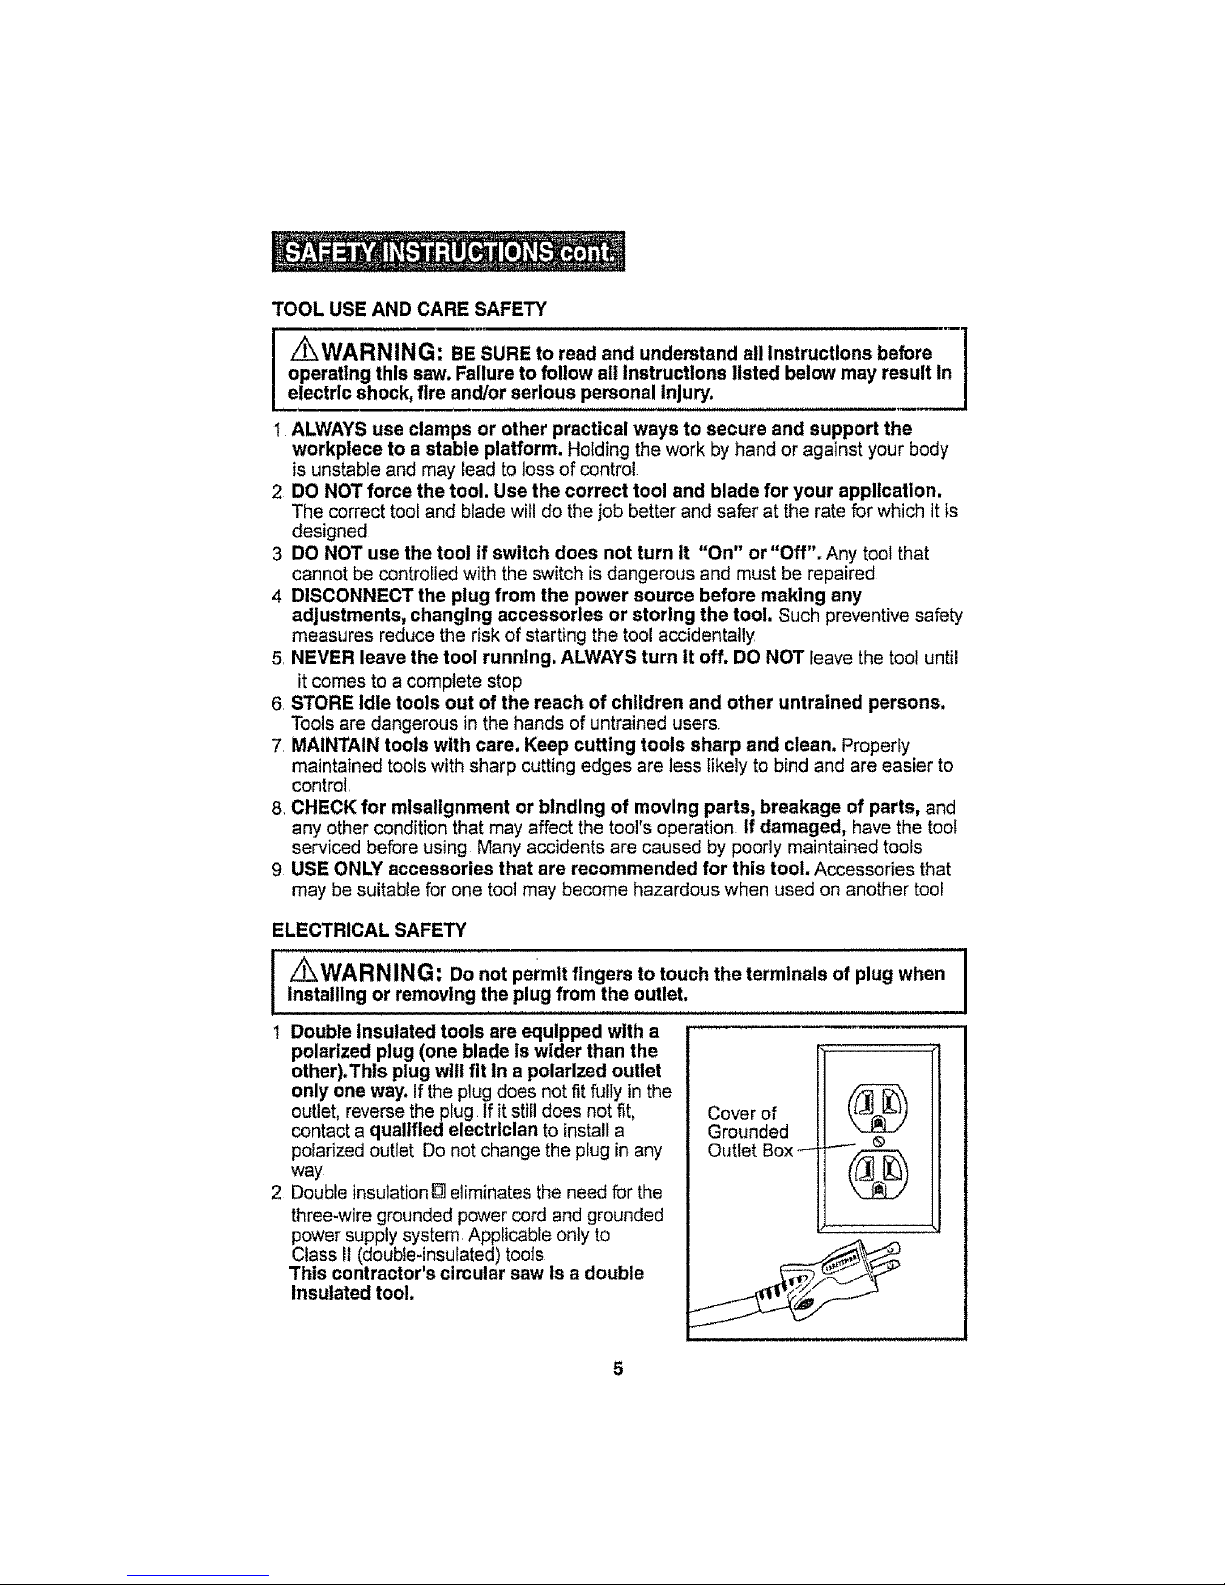
! Double Insulated tools are equipped with a
polarized plug (one blade is wider than the
other).Thls plug will fit In a polarized outlet
only one way, Ifthe plugdoes not fit fully in the
outlet, reverse the plug Ifit still does not fit,
contact a qualified electrician to install a
polarized outlet Do not change the plugin any
way
2 Double insulation_l eliminates the need for the
three-wire grounded power cord and grounded
power supply system Applicable only to
Class I1(double-insulated) tools
This contractor's circular saw Is a double
Insulated tool.
Cover of
Grounded
Outlet Box
@
I ®
@
ELECTRICAL SAFETY cont.
Z_WARNING: Double Insulation DOES NOT take the place of normal I
safety precautions when operating this tool.
1
BEFORE plugging in the tool, BE SURE that the outlet voltage supplied is within
the voltage marked on the tool's data plate DO NOT use "AC only" rated tools with
a DC power supply
4 AVOID body contact wlth grounded surfaces, such as pipes, radiators, ranges
and refrigerators. There is an increased risk of electric shock if your body is
grounded
5 DO NOT expose power tools to rain or wet conditions or use power tools In
wet or damp locations. Water entering a power tool will increase the risk of
electric shock.
6 INSPECT toot cords for damage. Havedamaged toot cords repaired at a Sears
Service Center BE SURE to stay constantly aware of the cord location and keep
it well away from the moving blade
7 DO NOT abuse the cord, NEVER use the cord to carry the tool by or pull the
plug from the outlet, Keep cord away from heat, oil, sharp edges or moving parts
Replace damaged cords immediately. Damaged cords increase the risk of electric
shock.
EXTENSION CORDS
Use a proper extension cor& ONLY use cords listed by Underwriters Laboratories
(UL) Other extension cords can cause adrop in line voltage, resulting ina loss of
power and overheating of tool For this tool an AWG (American Wire Gauge) size of
a least 14-gauge is recommended for an extension cord of 25- ft. or less in length
Use 12-gauge for an extension cord of 504t. Extension cords 100-ft. or longer are not
recommended Remember_a smaller wire gauge size has greater capacity than
a larger number (14-gauge wire has more capacitythan 16-gauge wire; 12*gauge
wire has more capacity than 14-gauge)When in doubt use the smatler number
When operating a power tool outdoors, use an outdoor extension cord marked
"W-A" or "W" These cords are rated for outdoor use and reduce the risk of electric
shock.
, =
_ CAUTION: Keep the extension cord clear of the working area. Position
the cord so that ttwill not get caught on lumber, tools or other obstructions
while you ere working with a power tool,
I WARNING: Check extension cords before each use. If damaged
replace Immediately. Never use tool with a damaged cord since touching the
damaged area could cause electrical shock, resulting Inserious Injury.
SAFETYSYMBOLSFORYOURTOOL
ThelabelonyourtoolmayIncludethefollowingsymbols.
V................................................... Volts
A.......................................... Amperes
Hz ........................................ He_
W......................................... Watts
mln....................................... Minutes
......................................................... Alternating current
............................................ Direct current
no ........................................ No-load speed
[] ............................................. Class I_construction, Double Insulated
./mln ............................................ Revolutions or Strokesper minute
.................................... Indicates danger, warning or caution
It means attentioni Your safety is involved.
SERVICE SAFETY
I tf any part of this saw Is missing or should break, bend, or fall in any way;
or should any electrical component fail to perform properly=SHUT OFF
the power switch and remove the saw plugfrom the power source and have the
missing, damaged or failed parts replaced BEFORE resuming operation
2 Tool service must be performed only at a Sears Parts and Repair Center.
Service or maintenance performed by unqualified personnel could result in a risk
of injury
3. When servicing a tool, use only Identical replacement parts. Follow
Instructions Inthe maintenance section of this manual. Use of unauthorized
parts or failure to follow maintenance instructionsmay create a risk of electric
shock or injury
SAFETY RULES FOR CIRCULAR SAWS
Keep hands away from cutting area and blade. Keep your
second hand on the auxiliary handle or motor housing, if both hands are
holding the saw, the blade cannot cut them,
/_ CAUTION: Blades coast after saw is switched off.
KEEP your body positioned to either side of the saw blade and not in direct
line with the saw blade. Kickback could cause the saw to jump backwards (See
"Kickback What Causes it and Ways to Prevent It" on pages 15and 16)
2 DO NOT reach underneath the work, The guard cannot protect you from the blade
beneath the workpiece
SAFETY RULES FOR CIRCULAR SAWS cont.
_When sawing through a workplece, the lower blade guard
DOES NOTcover the blade on the underside of the workplece (Pg, 14 Fig,2).
ALWAYS keep your hands and fingers away from the cutting area.
3. CHECK lower guardfor proper closing BEFORE each use. DO NOT operate
the saw if the lower guard does not move freely and close instantly, Never
clamp or tie the lower guard in the open position. If the saw isaccidentally
dropped, the lower guard may be bent, Raise the lower guard withthe retracting
leveroThe guard is operating properly when It moves freely, does not touch the
blade or any other part in all angles and depths of cut, and readily returns to the
closed position.
4. CHECK the operation and condition of the lower guard spring. If the guard
and the spring are not operating properly, they MUST BE serviced before
use, The lower guard mayoperate sluggishly, due to damaged parts, gummy
deposits, or a buildup of debris° DO NOT operate your saw until the damage has
been repaired or replaced.
5. The lower guard should be retracted manually ONLY for making special
outs, such as pocket orcompound cuts. ALWAYS raise the lower guard by
retracUng Its lever.As soon as the blade enters the material, the lower
guard MUST be released, For all other sawing, the lower guard should operate
automatically.
6.ALWAYS make sure that the lower guard is covering the blade BEFORE
placing the saw down on a work bench orfloor, An unprotected movingblade
willcause the saw to walkbackwards, cuttingwhatever is in itspath. Make note
ofthe time ittakes for the blade to stop spinning after the switch is released.
7. NEVER hold the piece being cut in your hands or across your legs. It is
importantto support the workplecaproperlyinorder to minimize bodyexposure,
blade binding, or loss of control
8oHOLD TOOL by Insulated gripping surfaces (handles) when performing an
operation where the cutting tool may contact hidden wiring or Its own cord,
Contact witha "live" wire wiltmake the exposed metal parts of the tool "live" and
shock the operator.
9oALWAYS clamp the workplece securely so it wilt not move when making the cut.
10. When ripping, ALWAYS USE a rip fence or straight edge guide, This improves
the accuracy of the cut and reduces the chance of the blade binding.
11. ALWAYS USE blades that have the correct size and shape (diamond vs,
round) arbor holes, Blades that donot match the mounting hardware ofthe saw
willrun erratically and cause loss of control°
12. NEVER use damaged or Incorrect blade washers or bolts. The blade washers
and bolts were specially designed for your saw, for optimum performance and
safety of operation.
13. NEVER cut more than one piece at a time. DO NOT STACK more than one
workptece on the worktable at a time.
14oAVOID awkward operations and hand positions where a sudden slip could
cause your hand to move Into the blade.
15. NEVER reach Into the cutUng path of the blade.

SAFETY' RULES FOR CIRCULAR SAWS cont.
/_, WARNING: Some dust particles created by power sanding, sawing,
grinding, drilling and other construction Jobscontain chemicals known to
cause cancer, birth defects or other reproductive harm. Some examples of
these chemicals are:
• Lead from lead-based paints
• Crystalline silica from bricks and cement and other masonry products
•Arsenic and chromium, from chemically treated lumber
Your risk from these exposures varies, depending upon how often you do
this type ofwork.To reduce your exposure to these chemicals:
•Work in a well-ventilated area
•Work with approvedsafety equipment,such as those dust masks that are
specially designed to filter out microscopic particles
Avoid prolonged contact with dust from power sanding, sawing, grinding,
drilling and other construction activities. Wear protective clothing andwash
exposed areas with soap end water.
Allowing dust toget into your mouth, eyes,or layon the skin may promote
absorption of harmful chemicals,
i i .i ,in ill,l,l,ll,lllllll,,lll i
/_k WARNING: Use of this tool can generate and/or disburse dust,
which may cause serious and permanent respiratory or other Injury, Always
use NIOSH/OSHA approved respiratory protection appropriate for the dust
exposure. Direct particles away from face and body.
ADDITIONAL RULES FOR SAFE OPERATION
I L_ WARNING: BE SURE to read and understand all Instructions. Failure
to follow all Instructions listed below may result In electrlc shock, fire and/or
serious personal injury.
1 Know your power tool. Read operator's manual carefully_ Learnthe
applications and limitations, as well as the specific potential hazards rebatedto
this tool Following this rule will reduce the risk of electric shock, fire or serious
injury
2 ALWAYS wear safety glasses or eye shields when using this saw, Everyday
eyeglasses have only impact-resistantlenses; they are NOT safety glasses
3,PROTECT your lungs. Wear a face mask or dust mask if the operation isdusty
4 PROTECT your hearing. Wear appropriate personalhearing protection during
use. Under some conditions and duration of use, noise from this product may
contribute to hearing loss
5 ALL VISTORS AND BYSTANDERS MUST wear the same safety equipment that
the operator of the saw wears
6 INSPECT the toot cords periodically and If damaged have them repalred at
your nearest Sears Service Center or other Authorized Service Facility.
BE AWARE of the cord location

ADDITIONALRULESFORSAFEOPERATION.cont.
7. ALWAYS check the tool for damaged parts. Before further use of the toot, a
guard or other part that is damaged should be carefully checked to determine if it
will operate properly and perform its intended function Check for misalignment or
binding of moving parts, breakage of parts, and any other condition that may affect
the tool's operation A guard or other part that is damaged should beproperly
repaired or replaced at a Sears Service center
8+INSPECT and remove all nails from lumber before sawing.
9+SAVETHESE INSTRUCTIONS. Refer to them frequently and use them to
Instruct others who may use this tool. If someone borrows this tool, make
sure they have these instructions also.
Spindle
The shaft on which a blade or cutting tool is mounted Also called the Arbor
Revolutions Per Minute (RPM)
The number of turns completed by a spinning object in one minute
Saw Blade Path
The area over, under, behind or in front of the blade, as it applies to the workpiece
That area which will be or has been cut by the blade
Set
The distance that the saw blade tooth isbent (or set) outward from the face of
the blade
Miter Cut
A cutting operation made with the blade at any angle other than 90+to the fence.
Compound Miter Cut
A compound miter cut isa cut made using a miter angle and a bevel angle at the
same time.
Cross cut
A cutting or shaping operation made against the grain of the work piece
Bevel Cut
A cutting operation made with the blade at any angle other than 90° to the miter table
Bade Cut
A non-through cut which produces a square-sided notch or trough in the workpiece
(requires special b_ade)
Chamfer Cut
A cut removing a wedge from a block of wood so the end (or part of the end) is
angled at other than 90°
Ripping or Rip Cut
A cutting operation along the length of the workpiece
Freehand Cut
Performing a cut without using a fence, miter gauge, fixture, work clamp, or other
proper device to keep the workpiece from twisting or moving during the cut
10
 Loading...