

Craftsman 32017543 Owner’s Manual
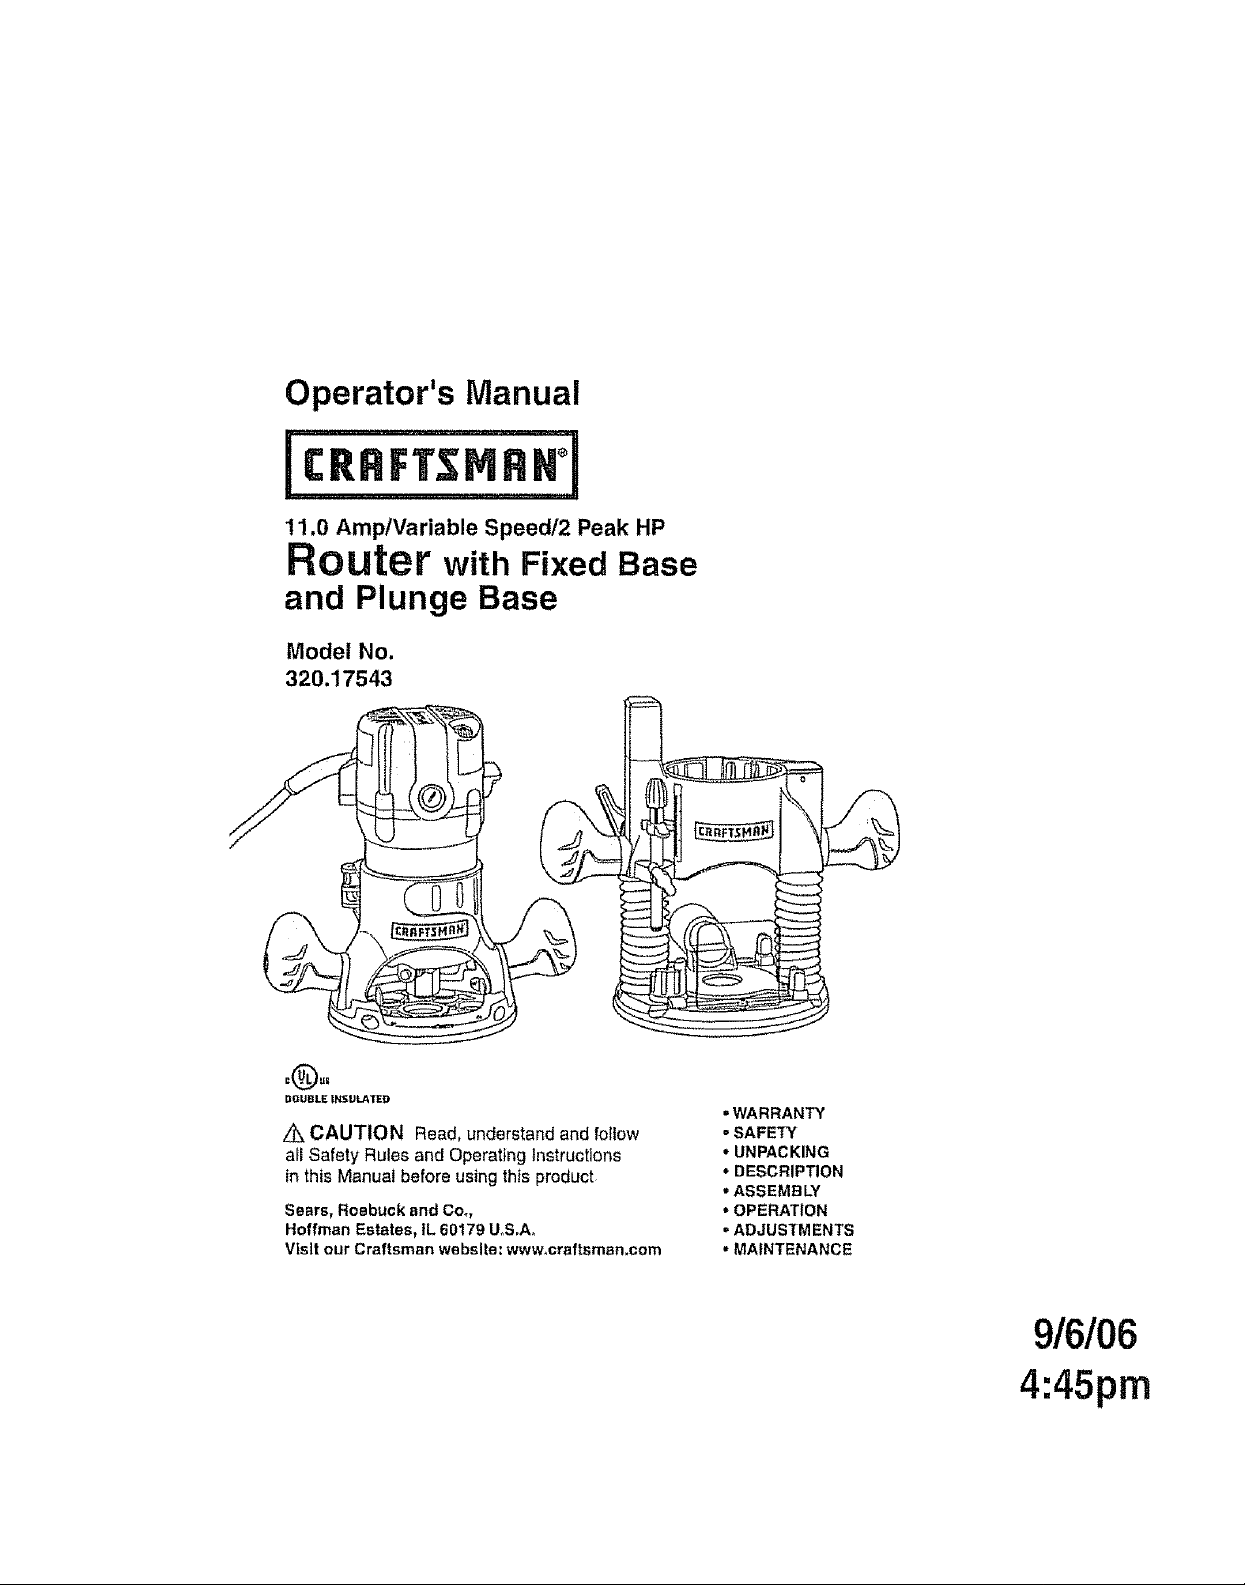
Operator's Manual
11,0 AmptVariable Speed/,?.Peak HP
Router with Fixed Base
and Plunge Base
Model No.
320.17543
?
Z_ CAUTION Read, understand and follow
afi Safety Rules and Operating Instructions
in this Manual before using this product
Sears, Roebuckand Co.
Hoffman Estates, IL 60179 U_S,A,
Visit our Craftsman webslte:www,craftaman,com
• WARRANTY
• SAFETY
• UNPACKING
• DESCRIPTION
• ASSEMEI LY
• OPERATION
oADJUSTMENTS
• MAINTENANCE
9/6/06
4:45pm
Warranty ............................. Page 2
Safety Symbols ................................ Page 3
Saiety lnslructions ................... Pages 4 - 10
Unpacking ................................. Pages 10 - 11
Oesc rlptlon ............................... Pages 11 - 14
Assembly .............................................................. Pages 14 - 18
Operation ............... Pages 18 -33
Metnlenance ........................................ Pages 34 - 37
Accessories .................................................. Pages 38 - 39
Repair Parts ............................................................. Pages 40 - 47
Sears Repair Paris Phone Numbers ................................... Back Cover
ONEYEAR FULL WARRANTY ON CRAFTSMAN" PRODUCT
llf th_s Craftsman product Iaiis due to a defecl In material or workmanship wllhln one year
item lhe date of purchase, RETURN IT TO THE NEAREST SEARS STORE OR PARTS
AND REPAIR CENTER OR OTHER CRAFTSMAN OUTLET IN THE UNITED STATES
FOR FREE REPAIR (OR REPLACEMENT IF REPAIR PROVES IMPOSSIBLE),
This warranty does nol include expendable parts such as lamps, batlerias, bits or blades
If Ibis Craltsman product Is used for commercial or rental purposes, this warranty applies
for onty 90 days from the date of purchase
This warranty gives you specific legal rights, and you may also have other rights, which vary
from state tostate-
Sears, Roebuck end Co,, Heffman Eslates, tL 60179
SAVE THESE INSTRUCTIONS I
READ ALL INSTRUCTIONS!
2
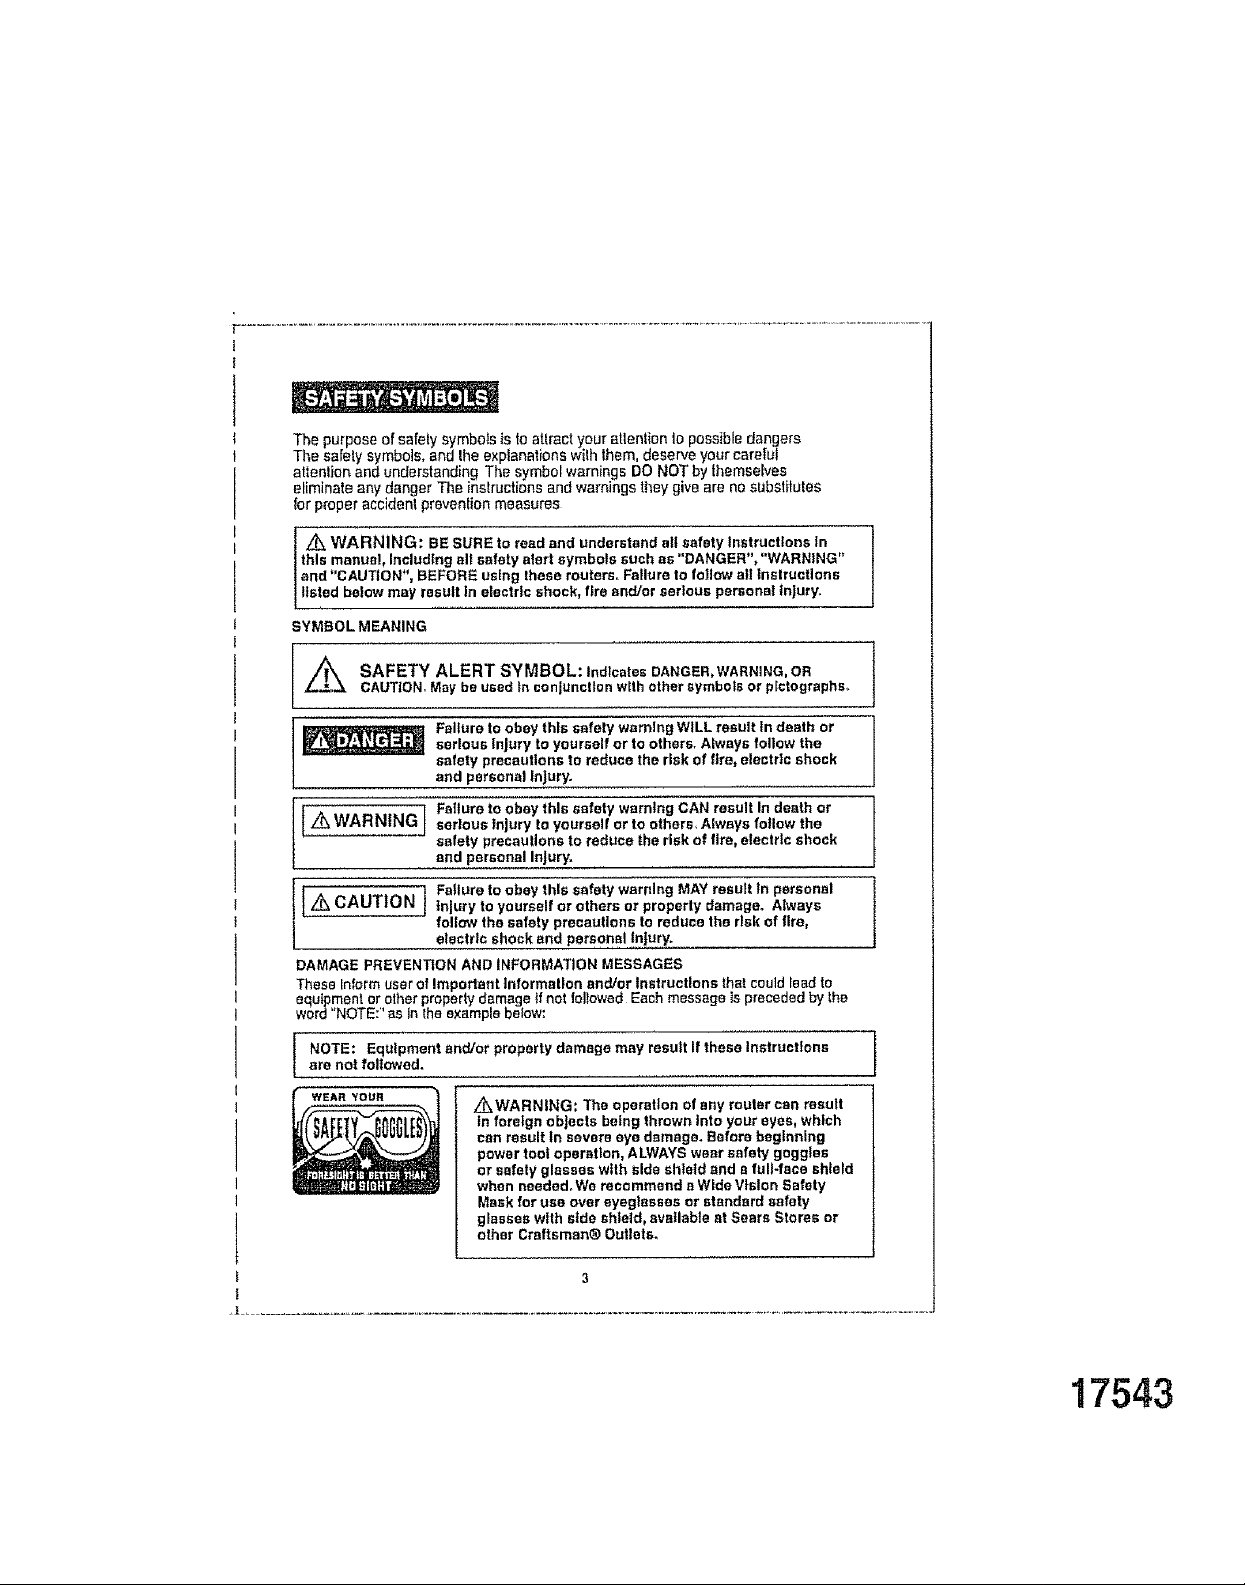
The purpose of safety symbols is to attract your atlentisn to possible dangers
The safely symbols, and the explanations with them, deserve your carefut
attenlion and understanding The symbol warnings DO NOT by themselves
eliminale any danger The instructions and warnings they give are no subslitules
1"orproper accidenl prevention measures
Z_ WARNING: BE SURE to read and understand ell safety Instructions in ,
this manual, Including eli safety alert symbols such as "DANGER , 'WARNING
I and "CAUTION*', BEFORE using these touters. Failure to fol!ow all lnslructlons
Lttsted below may result in electric shock, fire and/or serious parsonai Injury.
SYMBOL MEANING
_,_ SAFETY ALERT SYMBOL: Indicates DANGER,WARNING, OR
CAUTION.Maybeused in conjunction with other symbols or plctogtsphs.
Failure to obey this safety warning WILL result tn deaih or
serious injury to yourself or to others. Always follow the
safety precautions to reduce the risk of tire, electric shock
and personal Injury.
WAR
I Z_ NiNG | Fellure to obey this safety warning CAN result In death or
CAUTION
IZ_ 1 Failure to obey this safety warning MAY result tn personal
DAMAGE PREVENTION AND INFORMATION MESSAGES
These Inform user of Important information and/or Instructions fhat could Iead to
equtpmenlor other propertydamage If not followed EachmessageIs precededby the
word"NOTE:' as in the example below:
serious injury to yourself or to others, Always follow the
]
safety precautions to reduce the risk of fire, electric shock
and personal Injury.
J Injury to yourself or others or properly damage. Always
follow the safety precautions to reduce the risk of fire,
electric shock and personal Injury.
NOTE: Equipment and/or property damage may result If these Instructions
are not followed.
WEAR YOUR
Z_,WARNING: The operation of any router can result
in foreign objects being thrown into your eyes, which
can result In severe eye damage. Before beginning
power toot operation, ALWAYS wear safety goggles
or safety glasses with side shield end a full*face shield
when needed°We recommend aWide Vision Safety
Mask for use over eyeglasses or standard safety
glasses with slde shleld, available at Sears Stores or
other Craftsman® Outlets°
17543

manual before using these reuters. Failure to follow all Instructions may result
I Z_ WARNING: BE SURE to read end understand sn Instructions in this ]
electric shock, fire and/or serious personal injury°
WORK AREA SAFETY
1 Keepyourworkarescleanandweltllt°Clutleredworkbenchesanddarkaress
invite accidents,
2 DO NOT operate power tools In explosive atmospheres, such as In the presence
of flammable liquids, gases, or dust,. Power toots create sparks which may ignite
the dual or fumes
3 Keep bystanders, chgdren and visitors away while operating a power tool
Dis{factions can cause you to lose control
4 Make your workshop chtldproof with padtocks and masler switches Lock toois
away when not in use
5 MAKE SURE the work area has ample lighting so you can see |he work and that
there are no obstructions that wtl! interfere with safe operation BEFORE using
your muter
PERSONAL SAFETY
1 KNOW your power tool, Read thisoperator's manual carefully Learn the router's
apptcatlons and limitations, as well as the specific potenlia]hazards related to this
tool
2 STAY ALERT, watchwhat you are doing and use commonsense whenoperating
a power tool
3 DO NOT use toolwhitetired or undertheInlluenco ofdrugs, alcohol or med]catlen
Amoment of Inattention whileoperating power 1oo1_may resutt Inserious personal
injury
4 DRESS properly, DO NOT wear looseclothingof"Jewelry Pull back tonghair Keep
your hair,clothing,and gloves away from moving parts Loose c!olhlng, or long hair
can be caught In moving pads Air vents oftencover moving partsand shoutd also
be avoided
5 AVOID accidental stading Be sure swilch is in"OFF" positionbefore plugging In
DO NOT carry tools with your finger on the switch, Carrying tools with your finger
on the switch or ptugglng tn loels that have the switch in the "ON" position Invites
accidents
6 REMOVE ad}us|lng key'sor blade wrenches before turningIhe tool "ON" A wrench
thai Is left attached to a rotatingpart of the tool may result inpersonalinjury
7 Do not overreach. Keep proper footing and balance at ell times. Properfooting
and balance enables belier controi of the tool inunexpected situations,
8 ALWAYSSEGUREYOUR WORK. Use clampsor a vise lo hold workplacesecurely
ItIs safer than using your hand and frees both hands tooperate tool
g USE SAFETY EQUIPMENT, Always wear eye protsction Duetmask, non-skid safety
shoes, hard hal, or hearing protectionmust be usedfor appropriateconditions
I0 DO NOT USE ON A LADDER or unstabte supportoStable ]ootlngon a solld surface
enablesbetterconlruloflhetoolInunexpectedsituations
i
]
4
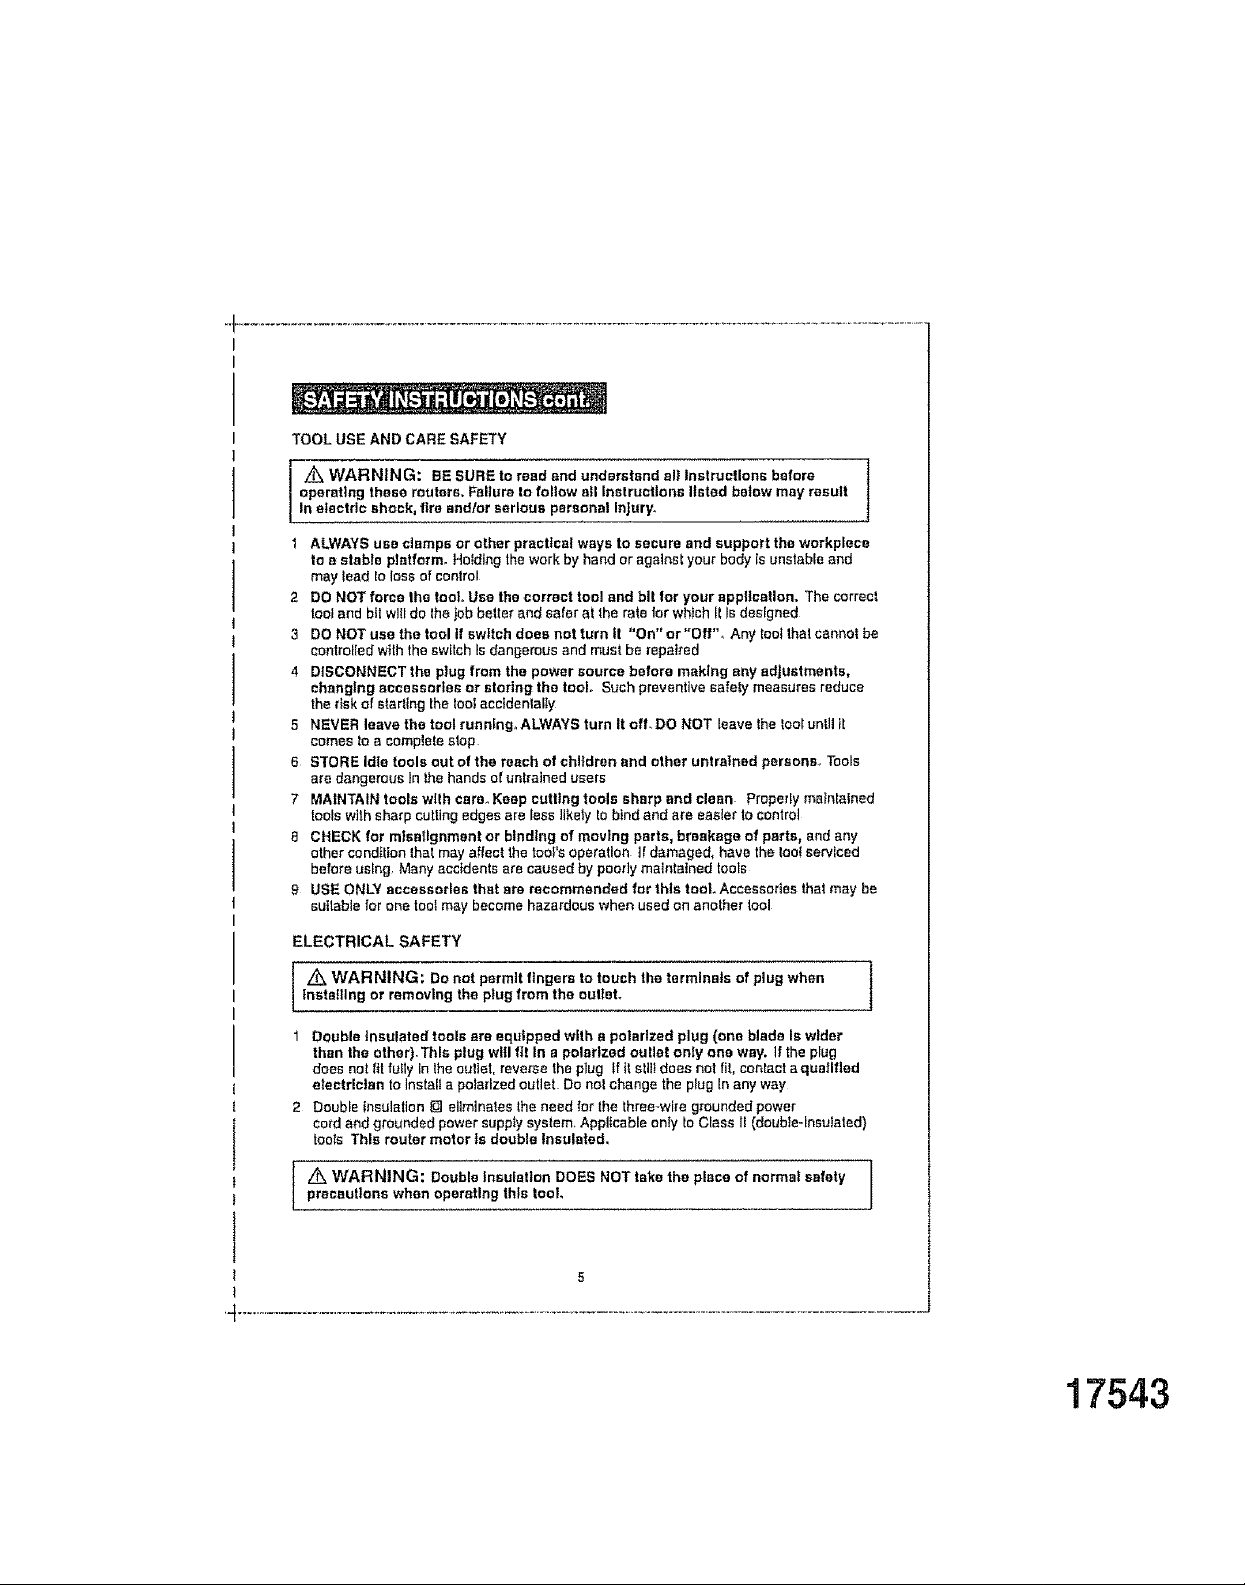
TOOL USE AND CARE SAFETY
operating these reuters. Failure to follow all instructions listed below may result
I L_ WARNING: BE SURE to read end understand all Instructions before
In electric shock, fire andtor serious personal injury.
1 ALWAYS use clamps or other practical ways to secure and support the workplace
to a stable platform, Holding the work by hand or against your body Is unstable and
may teed to loss of control
2 DO NOT force the tool.Use the correct tool and bit lor your application. The correct
tooland bit w]!l do IheJobbelier and safer at the rats for which II Is designed
3 DO NOT use the tool It switch does not turn ii "On" or"Off", Any tool 1halcannot be
controlled v_ththe switch Is dangerous and must be repaired
4 DISCONNECT the plug from the poWer source before making any adjustments,
ehanglng accessories or storing the tool. Such preventive safety measures reduce
the risk of starling the tool accidentally
5 NEVER leave the tool running. ALWAYS turn It oft_ DO NOT leave the |eel unll_it
comestoa compie{e slop
6 STORE Idle tools out of the reach of chlfdren end other untrained parsons_Tools
are dangerous Inthe hands ofuntrained users
7 MAINTAIN tocls wtth cara. Keep cutllng tools sharp and clean Prepedyma_nta_ned
toolswith sharp cutting edges are less likely tobind and are easier to central
8 CHECK for mlsallgnmant or binding of moving parts, breakage of parts, and any
other cond_tion{hat may affect thetoo_'soperation if damaged, have the too{serviced
before using Many accidents are caused by poorlymaintained tools
g USE ONLY accessories that are recommended for this tool. Accessories that may be
suttable for one toolmay become hazardouswhen used on anothertool
ELECTRICAL SAFETY
I Z_ WAR NING: Do not permit fingers to touch the terminals of plug when ]tnstamng or removing the plug from the oulIet.
1 Double insulated tools are equipped with a polarized plug (one blade Is wider
than the other).Thls plug will fit In a polarized outlet only one way. If the plug
does not {it fuily in the culler, reverse the plug If it sili_ does not fit, contact aquailfled
electrician to Install a polarized outlet Do net change the plug In any way
2 Double Insulation [] eliminates {he need for the three-wire grounded power
cord and grounded power supply system, Applicable onty to Class II (double-insulated)
toots This router motor fs double Insulated,
Z_ WARNING: Double Insulation DOES NOT take the place of norms! safety |
precautions when operating this tool
5
J
J
17543
ELECTRICAL SAFETY cent.
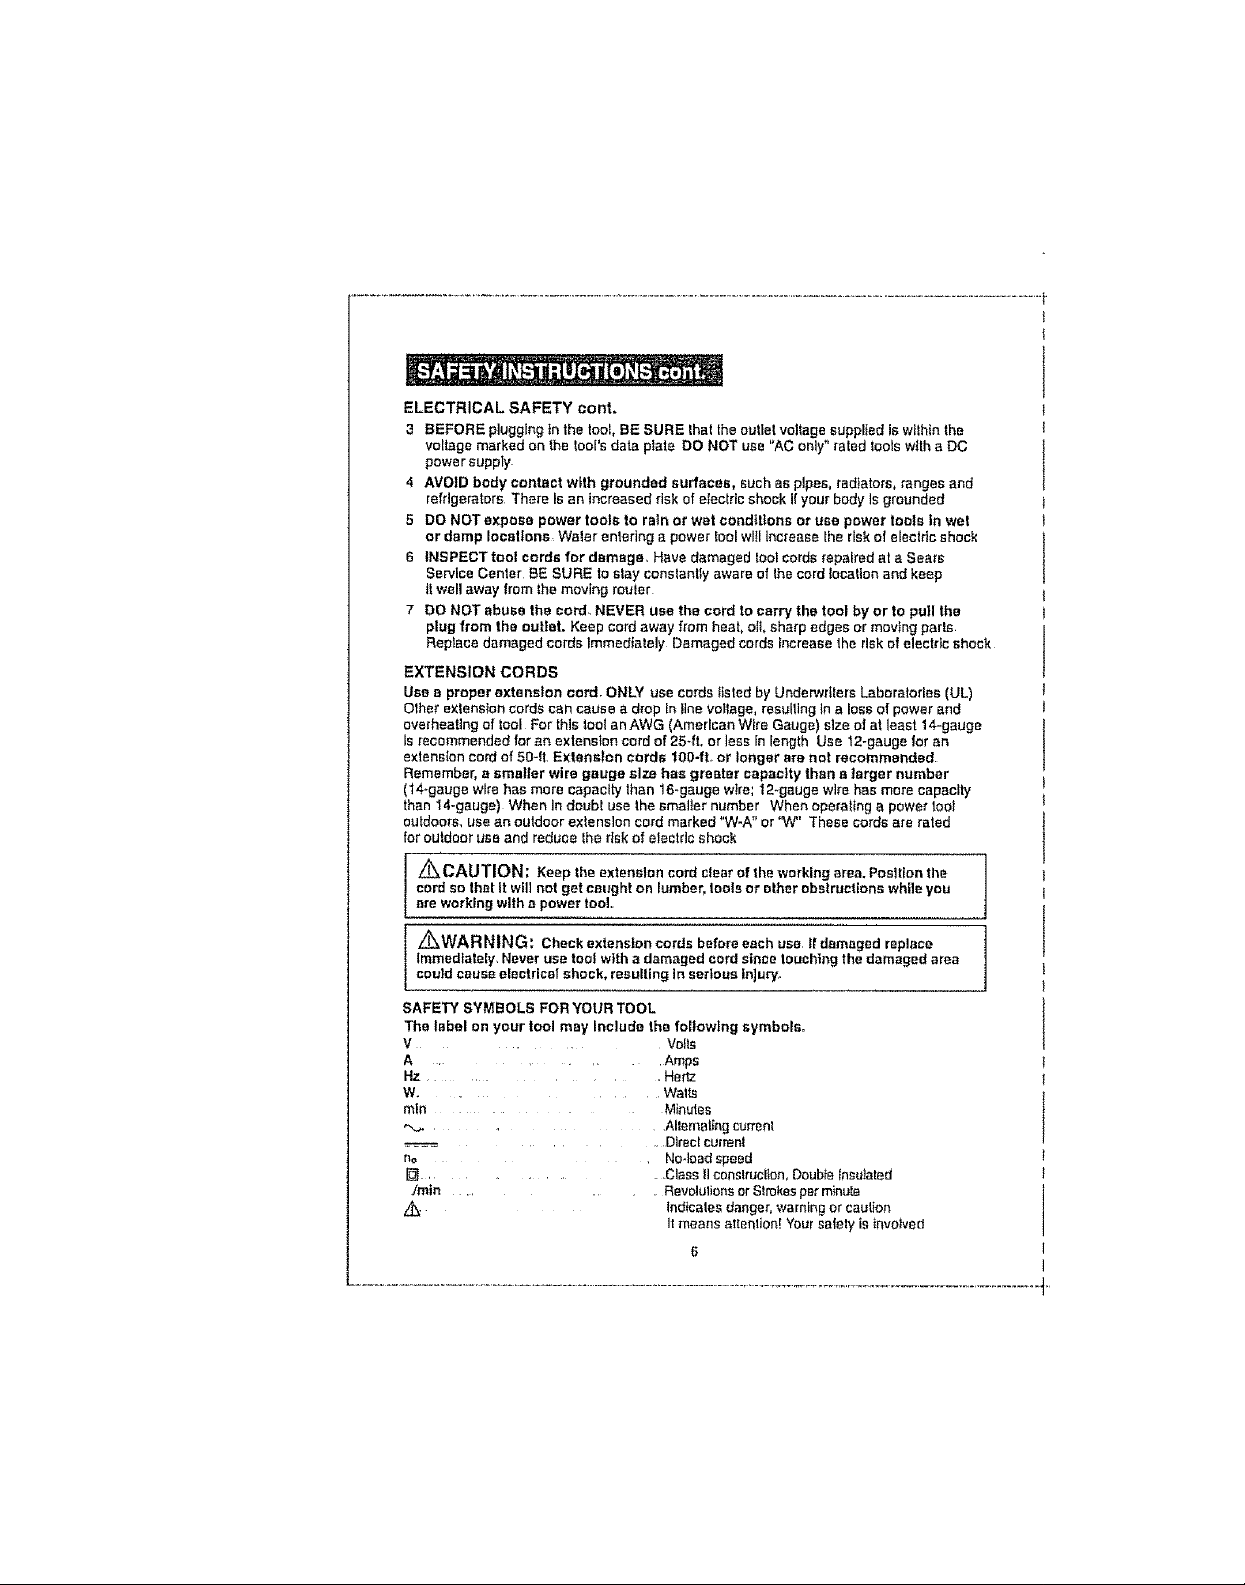
3 BEFORE plugging tn the tool,BE SURE thatthe outlet vollage supplied Is w_lhtnthe
voltage marked on the Iool's data plate DO NOT use "AC only" rated fools with a DC
power supply
4 AVOID body contact with grounded surfaces, such as pipes, radiators,ranges and
refrigeratorsThere Is an increased riskof electric shock Ifyour bodyIs grounded
5 DO NOTexpose power toots to rain or wet conditions or use power toots In wet
or damp locations Weler entering a power loci wRIincrease the riskof electricshock
6 fNSPECT tool cords for damage Have damaged toolcordsrapalrad at a Sears
Service Center BESURE to stay constantly aware of the cord location and keep
it wellaway from the moving router
7 DO NOT abuse the cord. NEVER use the cord to carry the toot by or to pull the
plug from the outlet, Keep cordaway from heat, all, sharp edges or moving paris
Replace damaged cordsImmediately Damaged cordsincrease the risk of electricshock
EXTENSION CORDS
Use a proper extension cord, ONLY use cords ttsted by Underwriters Laboratories (UL)
Olher extension cords can cause a drop In line voltage, resulting _n a loss of power and
overheating of tool For this loot an AWG (American Wire Gauge) slze of a! least 14-gauge
Is recommended for an extension cord of 25-ft. or less In length Use 12-gauge lot an
extension cod of 50-It Extension cords tg0-fL or longer are not recommended
Remember, e smatter wire gauge size has greater capacity than a larger number
(14-gauge wire has more capacity than 16-gauge wire; t2-gauge wire has more capacity
than 14-gauge) When In doubt use the smeller number When operalIng a power loci
outdoors, use an outdoor extension cord marked "W-A" or "W" These cords ere rated
for outdoor use and reduce lhe risk of electric shock
cord so that it will not get caught on lumber, toots or other obstructions while you
l Z_CAUTION: Keepthe extension cord clear of the working area, Position the
are working with e power too],,
Immediately, Never use tool with a damaged cord since touching the damaged area
l _WARNING: Check extension cords before each usa t['damaged replace
could cause electrical shock, resulting in serious inJury_
SAFETY SYMBOLS FOR YOUR TOOL
The label on your tool may Include the foltowlng symbols,
V ................ '.,/oils
A ..................... Amps
Hz ....................... Hsrlz
W..................... Watts
role ..................... Minutes
.................... Allernating current
................. DIresl current
no , No-load spssd
[_ ............. Class It constrocllon, Double Insulated
Jmin ......... Revc!ulions or Slrokes par minute
Z_ tndlcales danger, warning or caution
it means allenlion[ Your solely is involved
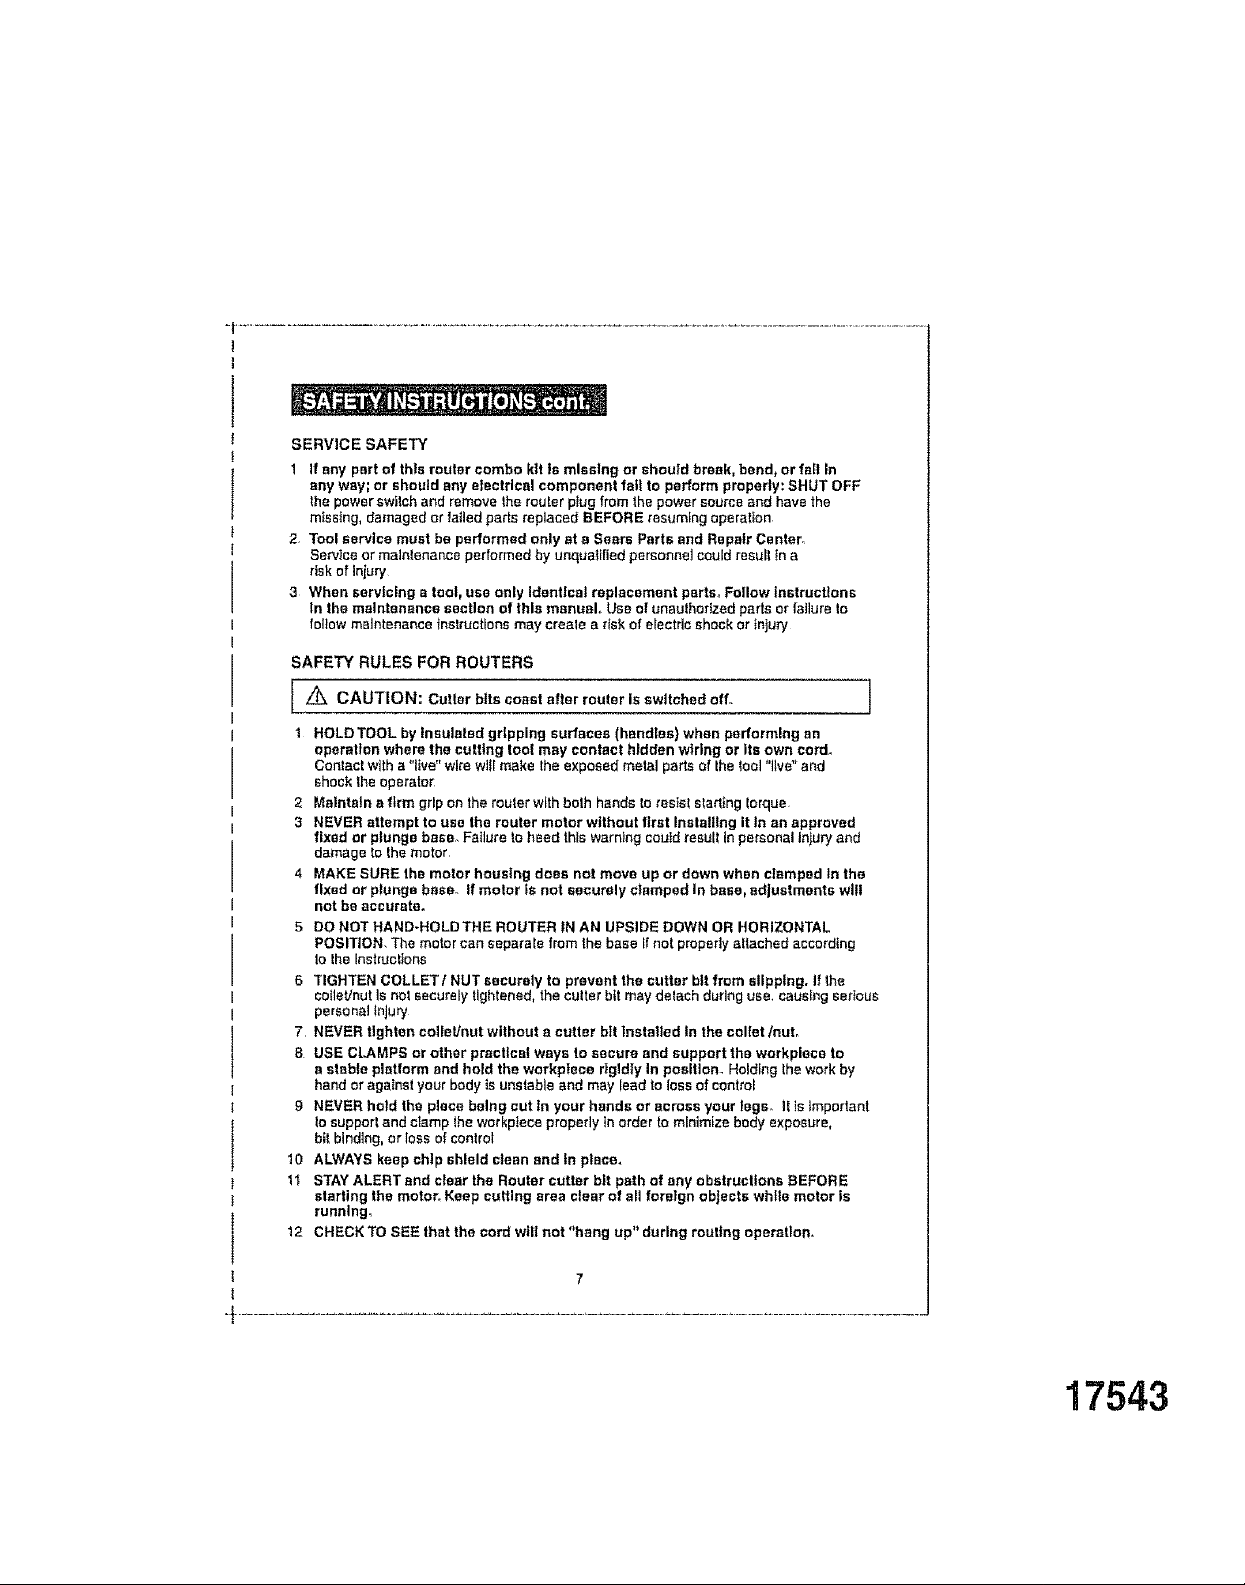
SERVICE SAFETY
1 If any part of this router combo kit is mlsstng or shou|d break, bend, or fell in
any way; or should any electrical component fall to perform property: SHUT OFF
the power switch and remove the router plug from the power source and have the
missing, damaged or ladled pads replaced BEFORE resuming operation
2 Tool serVice must be performed only at e Seers Parts and Repair Center°
Service or maintenance performed by unqualified personnel could result tn a
risk of injury
3 When servicing a tool, use only Identical replacement parts. Follow instructions
In the maintenance section of this manual, Use of unauthorized paris or failure lo
foliow maintenance _nstruct[one may create a risk of e_ectrle shock or Injury
SAFETY RULES FOR ROUTERS
[ CAUTION"Cu,terb.ecoast°.orre.to.,,sw.chedo,f. ]
1 HOLD TOOL by Insulated gripping surfaces (handles) when performing an
operation where the cutting tool may contact hidden wiring or its own cord.
Contact with a 'live" wire wilt make the exposed metal parts of the tool "live" and
shock the operator
2 Malntetn a firm gdp on the router with both hands to resist stad_ng torque
3 NEVER attempt to use the router motor without first Installing it In an approved
fixed or plunge base. Failure to heed this warning couId result in personal injury and
damage to the motor
4 MAKE SURE the motor housing does not move up or down when clamped In the
fixed or plunge base. If motor ts not securely clamped In baee_ adjustments Will
not be accurate.
5 DO NOT HAND-HOLDTHE ROUTER IN AN UPSIDE DOWN OR HORIZONTAL
POSITION. The motor can separate from the base II not properly altached according
to the Instructions
6 TIGHTEN COLLETt NUT securely to prevent the cutter bit from slipping. If the
collar/nut Is not securely tightened, the cutter b_t may delaeh during use, causing serious
personal injury
7 NEVER tighten colleUnut without e cotter bit installed In the coltet/nut,
8 USE CLAMPS or other practical ways to secure and support the workplace to
a stable platform and hold the workplace r_gldiy In posltlom Holding the work by
hand or against your body is unstable and may lead to loss of control
9 NEVER hold the place being cut in your hands or across your legs, ]( is important
to support and clamp the workptece properly }n order to minimize body exposure,
bii bindlng, or loss of control
10 ALWAYS keep chip shield clean and tn place.
1"_ STAY ALERT and clear the Router cotter bit path of any obstructions BEFORE
starting the motor. Keep cutting area clear of all foreign objects while motor is
runnlng_
12 CHECK TO SEE that the cord will not "hang up" during routing operation,
17543
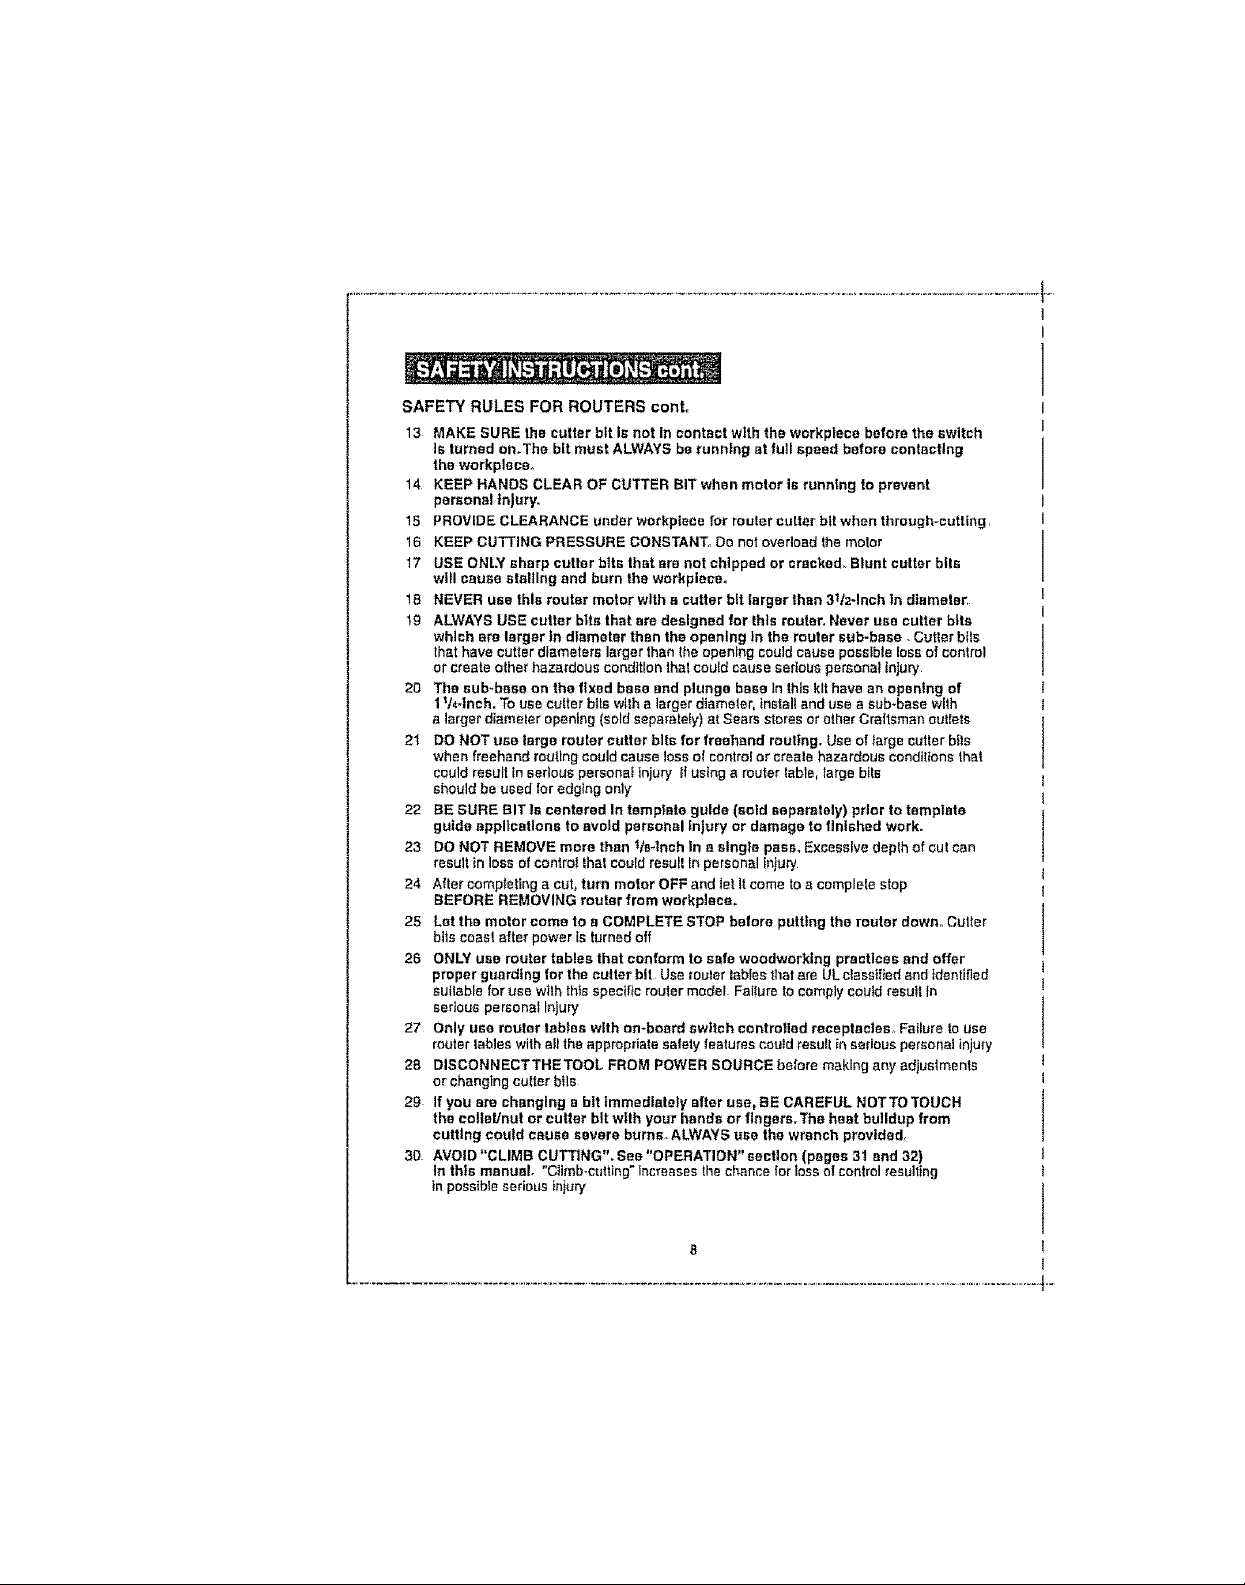
SAFETY RULES FOR REUTERS conL
13 MAKE SURE Ihe cutter btt Is not In contact wlth the workpiece before the switch
Is turned on.The bit must ALWAYS be running at full speed before contacting
the workpleceo
14 KEEP HANDS CLEAR OF CUTTER BIT when motor Is running to prevent
personal Injury.
15 PROVIDE CLEARANCE under workplace for router cutter bit when through-cutting,
16 KEEP CUTTING PRESSURE CONSTANTs, Do not ovedosd the motor
17 USE ONI.Y sharp cutter blts that are not chipped or crecked_ Blunt cutter bits
will cause stalling and burn the workplace.
t8 NEVER use this router motor with a cutter bit larger Ihen 3_t2-1nch In diameter:
19 ALWAYS USE cutter bits that are designed for this router, Never usa cutter bits
which ere larger tn diameter than the opening tn the router sub-base. Cutter bits
that have cutter diameters larger than the opening could cause possible loss of control
or create other hazardous condition thai could cause serious personal injury
20 The sub-base on the fixed base and plunge base In this kit have an opening of
1 _t4-Inch, To use cutter bits wilb a larger diameter, install and use a sub-base with
a larger diameter opening (sold separately) al Sears stores or other Craitsman outlets
21 DO NOT USe large router cutter bile for freehand routing. Use of targs cutter bits
when freehand routing could cause loss of control or creels hazardous conditions thal
could result in sedoue personal injury II using a router Iable, large bits
should be used for edging only
22 BE SURE BIT Is centered In temptato guide (sold separately) prior to template
guide appllcat!one to avoid personal injury or damage to finished work.
23 DO NOT REMOVE more than lta_lnch in a single pass. Excessive depth of cut can
result in loss of control thai could result In personal Injury
24 After compteting a cut, turn motor OFF and iet It come to a complete stop
BEFORE REMOVING router from workplace.
25 Let the motor come to e COMPLETE STOP before putting the router down. Cutter
bits coast after power Is turned off
26 ONLY use router tables that conform to safe woodworking practices and offer
proper guarding for the cutter bit Usa router tables thai are UL ciassilied and identified
suitable for use with this specific router model FailUre to comply could result In
seriouspersonal Injury
27 Only use router labtas with on-board switch controfled receptacles, Failure Iouse
router fables with a_lthe appropriate safety features could result in serious personal injury
28 DISCONNECTTHETOOL FROM POWER SOURCE before making any adjustmenls
or changing cutter bile
29 If you are changing a bit Immediatety after use, BE CAREFUL NOTTO TOUCH
the colleUnul or cutter bit wtlh your hands or fingers.The heat buildup from
cutting could cause severs burns. ALWAYS uao the wrench provided,
30 AVOID "CLIMB CUTTING". See "OPERATION" section (pages 31 and 32)
In this manual. "Climb-cutting" Increases the chance for loss oI control resulting
in pcssibte serious injury
B
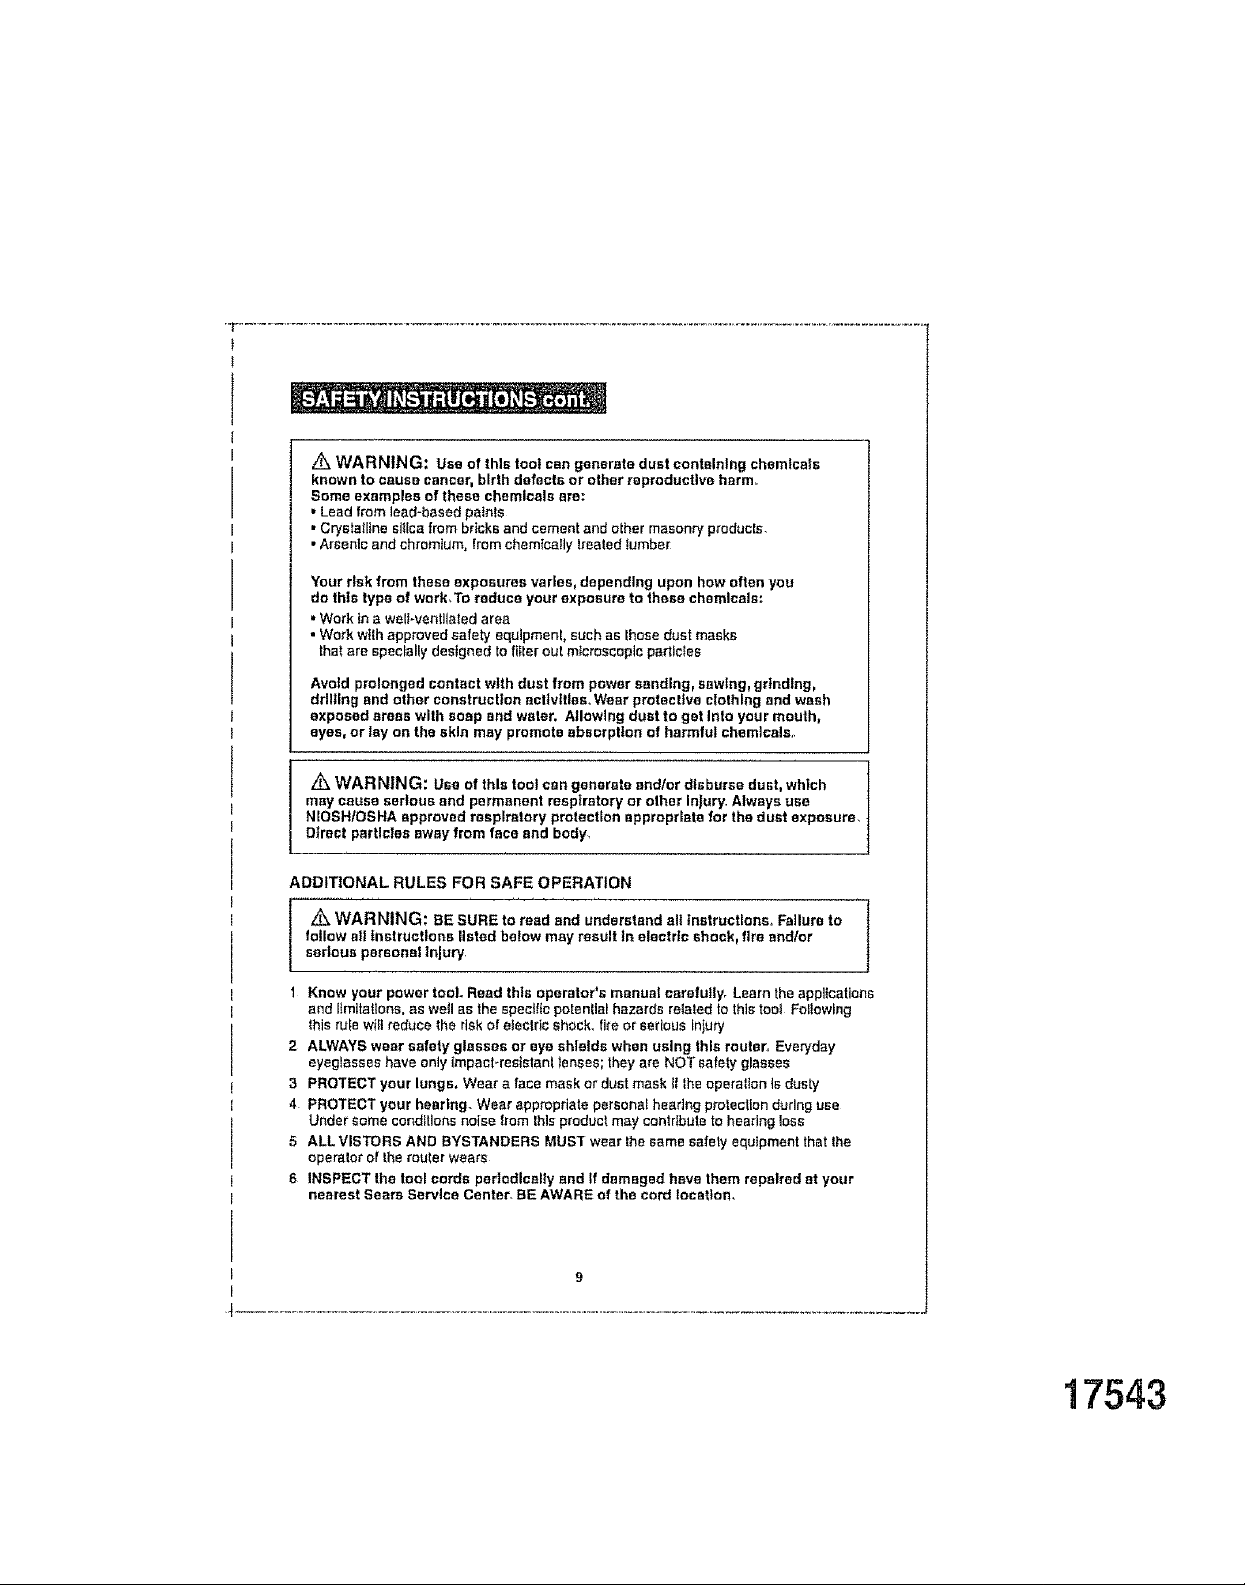
z_ WARNING: Use of this toot can generate dust containing chemicals
known to cause cancer, birth defects or other reproductive harm..
Some examples of these chemicals are:
• Lead from lead-based paints
,, Crystalline silica from bricks and cement and other masonry produels
• Arsenic and chromium, tram chemically treated lumber
Your risk from these exposures varies, depending upon how often you
do this type of work.To reduce your exposure to these chemicals:
• Work to a weIFventliaiedarea
• Work withapproved safety equlpmenf,such as thosedust masks
thatare specially designed to listerout microscopic padlc_es
Avoid prolonged contact with dust from power sanding, sawing, grinding,
drlltlng end other construction acfivttles,,Wear protective clothing and wash
exposed areas with soap and water. Allowing dust to get Into your mouth,
eyes, or lay on the skin may promote absorption of harmful chemicals,,
Z_ WAR NING: Use of this tool can generate and/or disburse dust, which I
may cause serious end permanent respiratory or other Injury. Always usa I
N[OSHIOSHA approved respiratory protection appropriate for the dust exposure,
Direct particles away from face and body_
ADDITIONAL RULES FOR SAFE OPERATION
follow all Instructions listed below may result In electric shock, fire endtor
' Z_ WARNING: BE SURE to read end understand eli instructions. Failure to
serious personal Injury.
1 Know your power tool. Read this operator's manual carefully. Learn theapplications
and Itmitat_ons,as we_las the speettie potenLlalhazards related to thistoo_Following
this ru_ewiltreduce the riskof elecldc shock,fire or serious Inlury
2 ALWAYS wear safety glasses or eye shields when using this routel_,Everyday
eyeglasseshave only impact-resistant lenses; they are NOT safety glasses
3 PROTECTyourlungs, Wearafacemaskerdustmesktftheoperattonisdusty
4 PROTECTyourhearlng. Wearappropriatepereona_hearingprotectlendurlnguse
Under some conditions noise from thisproduct may contrlbute to hearingloss
5 ALLVISTORS AND BYSTANDERS MUST wear the same safety equipmentthat the
operator eltherouter wears
6 INSPECT the tool cords padodlcs!ly and If damaged have them repaired at your
nearest Sears Service Center. BEAWARE of the cord location,
I
17543
ADDITIONAL RULES FOR SAFE OPERATION cont.
7 ALWAYScheck the tool for damsged parts. Before furtheruseof the tool a guard or
other partlhat Is damaged should be carefullychecked to determine i] It willoperate
property and perform its Intended function Check for mtsatlgnment or binding of
moving parts, breakage of pads, and any other conditionthatmay affectthe tool's
operalton A guard or other pad that Is damaged should be properly repaired or replaced
at a Scars ServiceCents[
8 INSPECT end remove a|l nails from lumber before routlng_
9 SAVE THESE INSTRUCTIONS. Refer to them frequently and use them to Instruct
others who may use thls tool If someone borrows this tool, make sure they have
these Instructions also.
Z_ WARNING: Your router shoufd NEVER be connected to the power source
when you ere assembling parts, m_kfng adjustments, Installing or removing
cot]ere I nuts, cutter bits, cleaning or when it is not in use, Disconnecting the
reuler will prevent accidental starting, which could cause serious personal Injury
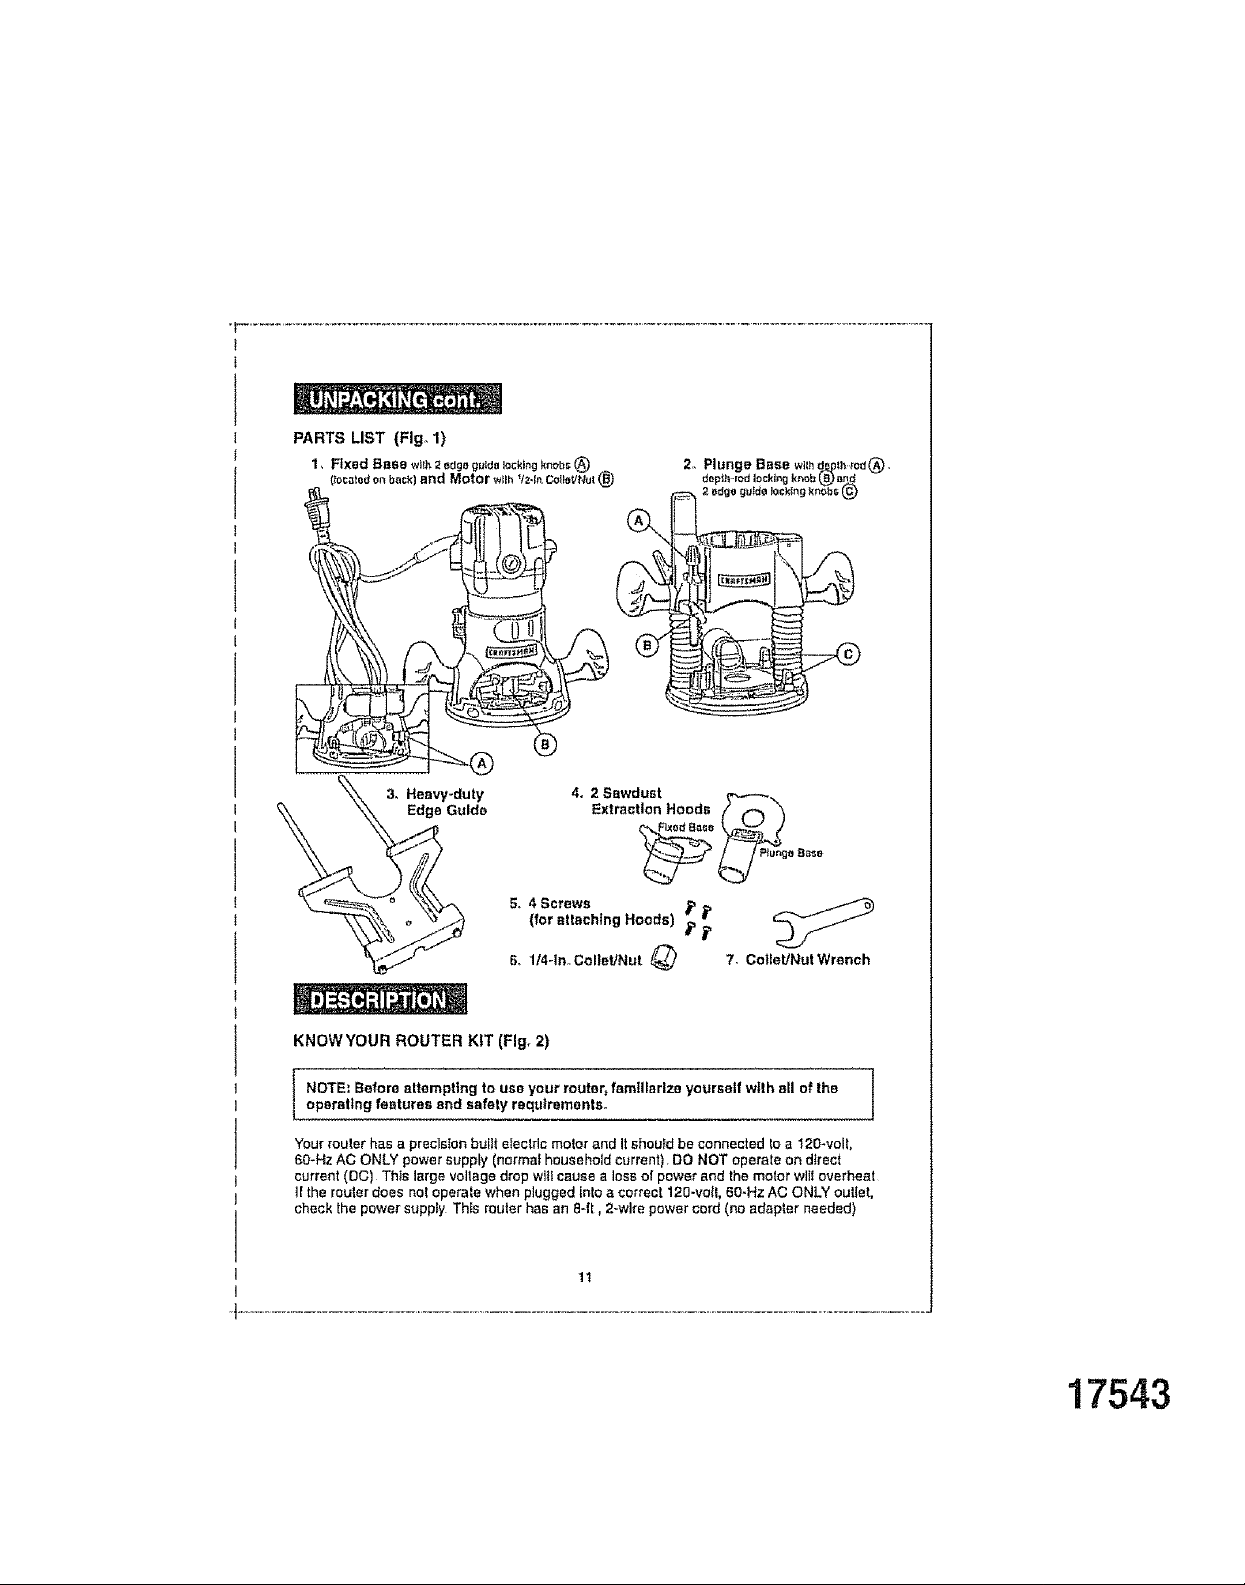
1 The Edge Guide is screwed down with a wing nut tnto the top of the slorage/carrylng
case
2 The Sawdust ExtracUon Hoods (one for each base) are secured tn the top/bottom of
the case with hook and loop .strap
3 The extra Coital I Nut is in a parts bag with 4 screws that are used fo atlach the sawdust
extracUan hoods fe the bases The parts bag Is fucked inslda the sawdust hood's
extraction chute
4 The Coital / Nut Wrench Is folrce-flffed _nto the bottom oI the case
5 Carefully lift the fixed base with molar and one of the coIleVnuts atready Installed, out
of the case and ptace on a stable fiat surface
6 Lilt the plunge base out of the case and piece on fiat surface
7 Inspect the Items carefully to make sure that no breakage or damage has occurred
during shipping, if any of the Items mentioned are missing, (refer to I{lustrat_on "Parrs
List" on page !t), return the Rouler Combo Kit to your nearest Sears store or Craftsman
oullel Io have It replaced
Z_ WARNING: If any parts ere broken or missing, DO NOT attempt to plug I
in the power cord or operate router until the broken or missing parts are
replaced Failure to do so could result In possible serious injury.
I
t
tff
3, Heavy-duty
Edge Guide
5, (for ettachfng Hoods)4 Screws _dP_P_p
6_ 1i4_ln Collar/Nut _ 7- CotfeUNutWrench
KNOWYOUR ROUTER KIT (FIg_2)
NOTE: Before attempting to use your router_familiarize yourself w_lh atl of the
operating features and safety raqutremantso
Yourfouler has a precls{on bui!t electric motor and it should be connected to a 120*volL
6O-HzAC ONLY powersupply (normal household current) DO NOT operate ondirect
current (DC) This large voltagedrop wilt cause a loss o! power and the motor willoverheat
]! the routerdoes nol operate when plugged intoa correct 120-roll, 60-Hz AC ONLY outlet,
check the power supply Th_srouter has an 8-It, 2-wire powercord (no adapter needed)
11
17543
KNOWYOUR ROUTER KIT cont. (Fig. 2)
This Router Combo Kit has the following features:
I 1to0 Amp, 2 Peek HP, Vartable Speed Motor rues a! 12_000 to 25,000 RPM
(no-load speed)
2 Varlebta Speed Dial allows matching proper speed _o material and cut_er bit size
3 Electronic Feedback Circuitry provides salt sleds for lsnger motor liie, and maielains
conslsnt speed under load to help produce a quality finish in sl_ materials
4 Quick.clamp System allows motor to be changed lrom fixed to piUnge base without
use of toots_
5 Fixed Base features Coarse end MtcrmDepth Adjustments Ior accurate set-ups
6 Piunge Base features Fine and Micro Depth Rod Adjustments wtth Turret Stops tar
precise set-ups and repetitive cuttieg
7 Smooth Plunge Action lowers bfl into workplace at g0 _ for more accurate cutting
8 Protective Plunge Post Bellows protect guldepssts tram woodchlps, dust, moisture
9 Spindle Lock tar easy 1 wrench bit changes Includes 1t4 and 1/2-1rich Self-Releasing
CellatstNuts for use will; a wide variety e! 1/4-in and 1/2-in rouler bi_s sold separately
10 100% Bell Bearings for smooth, elffcient operalTon and long lile
II Bolh bases feature Ergonomlcally Designed Handles wilh soft grip tar comforl,
maximum control with less vibration
12 Both Bases Feature Large Base Openings and Large Chtp Shields, combined with
3 LED Worktlghts on Motor to provide high vlslbttity o! bit and workplace
13 Durable Non-marrlng Sub-bases glide smoothly ever workplace Sub-bases have
cutler bll opening of "t V4_inches. Do Not Use s bit wlih a cutler diameter larger than
1 r/4-1n as it will not pass through the sub-base opeelegf
14 Motor Housing constructed at tflgh Dens|ty Nylon and Preeislon Milled Cast
Aluminum _or strenglh and exact fit Into bases
15 MoterHoustngconslructedofPrectsionMIitedCeetAiuminumfcrstrenglhaedexac!
lit into bases
16 High-Impact Resistant Motor Housing Top Cap and Handles on Bases help protect
too! from damage
17 Heavy-duty Edge Guide for most routing applications such as decorative edging,
grooving, dadoing, slolIIng and straight edge plsnlng/tdmm]ng
1S Conve elen_ty located On/Off Toggle Switch, side mounted for added visibility,
easy access
19 Sawdust Extractton Hoods sl!ow both bases to hook up to I _14_tnchvsa hose
attachment, sold separateEy
20 "LIVE TOOL INDICATOR" Light Is green when ssw Is plugged Into a power
source Ught Is toasted on motor housing top cap next to power cord inlet
21 Replaceable Brushes (sold separately) lor dependable service
22 Includes Impact Resistant Case for easy carrying and storage
12

KNOWYOUR ROUTER KIT conL (Fig° 2)
Depfl'_,Rod
Micro Adjust
Knob ..... Quick.Clam- B_e Ko_s_lip5 ot
\ _ uop_n _cale Motor C_an_'In (En_age_ Molor
•\ I_ t S,,slem - 9 g Housing KoystHp)
Lo_Ing LOVer Hand_o_ PI_ r_Dopth
_ndica_or ,_ , _/ Sort-Grip
Locking Knob _ _ _ _ _ wffhP?olor_Ivo _ I _ -,
Edge Gulde Edge Gu_ Loc_n_ Knob \ ;_ul_.Bas_
Moon,trig 510_ Mo_nllngSlo_ V_ F.x_'_ctlon Hood
i _ Cloar
_PLUNGE BASE
13
17543
• ÷'l*l_ " _* [i'l'l'l'l'l'l'l'l'_t _ * • - •
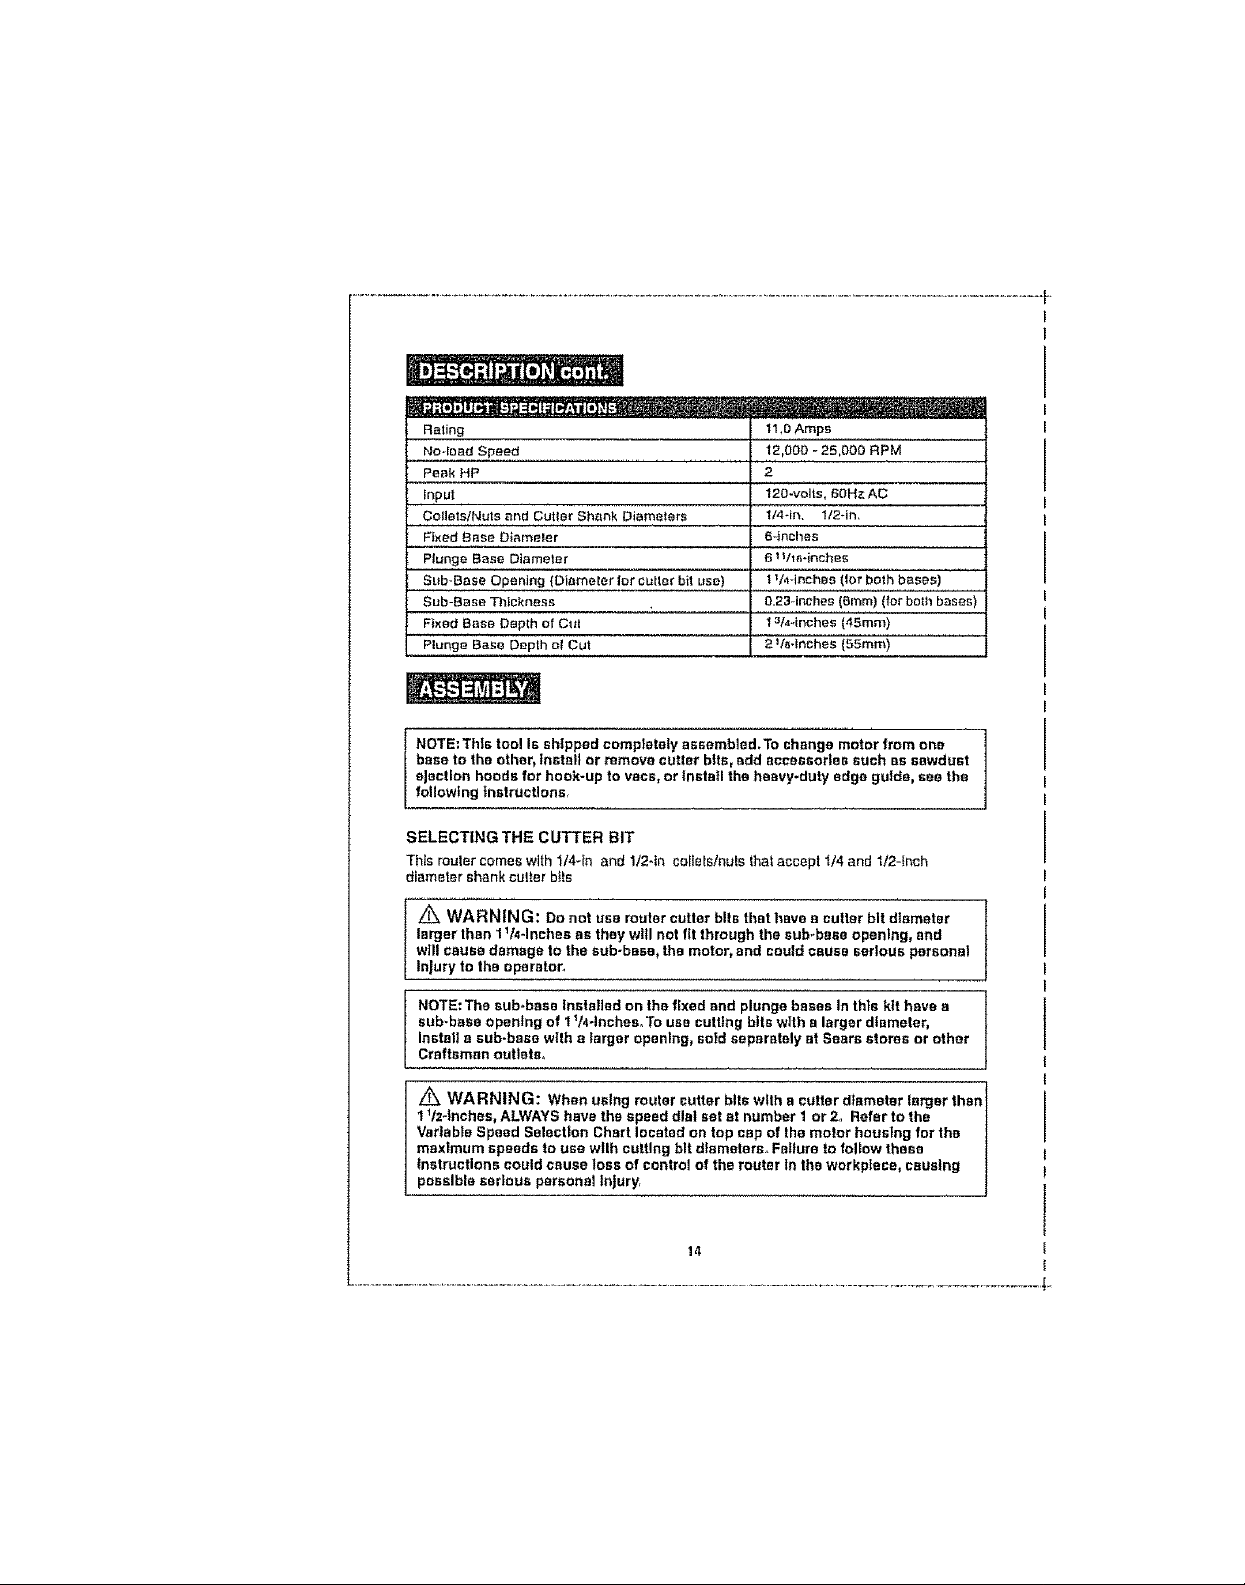
Rating
No.load Speed
Peak HP
Input
Callers/Nuts and Cutter Shank Diameters
Fixed Base Diameler
Ptunge ,Base Diameter
......S,L!,b,:BaseOpening (Diameter let cutter bit use)
Sub-Base Thickness
FIxed Base Depth of Cut
Plunge Base Depth el Cut
base to the other_ tnstal_ or remove cutter bits, add accessories such as sawdust
ejection hoods for hook-up to vacs, or fnstatl the heavy-duty edge guide, see the
I OTE:This too! Is shipped completely assembled.To change motor from one
following instructions,
SELECTING THE C UTTER BIT
This router comes with It4-In and lt2-in coltots/nuls thai accept I14 and 1/2-fnch
diameter shank culter bifs
11,0 Amps
12,00g - 25,000 RPM
2
120-volts, 60Hz AC
114-1n, l12*in,
64aches
6 _Via-inches
1IA-lnchBa (lot boih'bases) ......
0.23qnches {emm) (far botl'l bases)
t _t44nches (45ram)
2 V_,4nches (55ram)
Z_ WARNING: Do not use router cutter bits that have e culler bit diameter
larger Ihan 1 V4-1nches as they will not fit through the sub-base opening, and
will cause damage to the sub-base_ the motor, and could cause serious personal
Injury to the operator.
NOTE; The sub*base Installed on the fixed and plunge bases In this kit have a
sub.base opening of 1 14-1nchea..To use cutting bits with a larger dtameler,
Install a sub-base with a larger opening, sold separately at Sears stores or other
Craftsman outlets,
Z_ WARNING: When using router cutter bits with a cutter diameter larger than
1 V2-1nches, ALWAYS have the speed dial set at number 1 or 2.. Refer to the
Vartabla Speed Selection Chart located on top cap of the motor housing for the
maximum speeds to use wtlh cutting bit dfamelers. Failure to follow these
instructions could cause loss of control of the router In the workplace, causing
possible serious personal Injury,
14
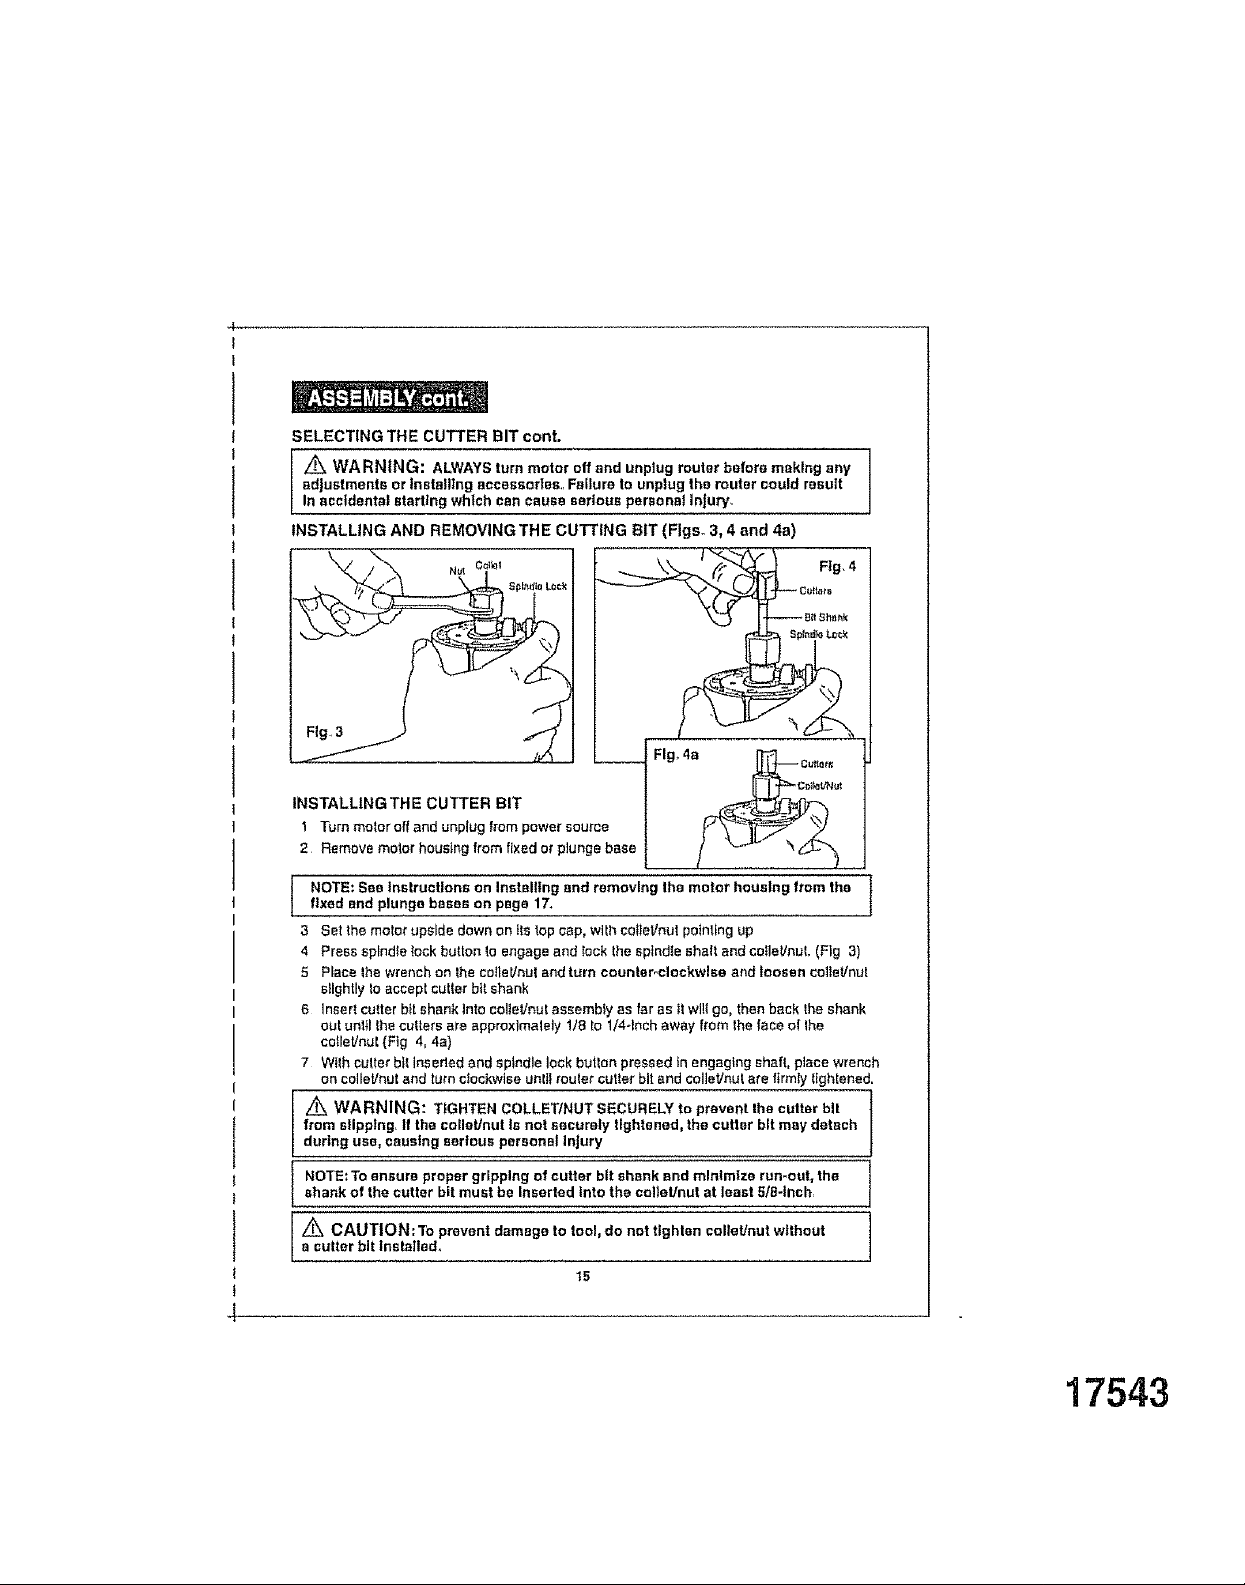
SELECTING THE CUTTER BIT cont.
/_ WARNING: ALWAYSturn motor off and unplug router before making any
adjustments or Installing acceseortaS,r Failure to unplug the router could result
In accidental starting which can cause serious personal inJuty_
INSTALLING THE CUTTER BIT
1 Turn motor off and unplug frompower source
2 Remove motor housing from fixed or plunge base
Fig, 4
NOTE: See Instructions on Installing end removing the motor housing from the tfixed end plunge bases on page 17.
3 Set the motor upsidedown on Its top cap, with co_leVnulpoinlfng up
4 Press spindle lock button to engage and Iock the sptndte shaft and caller/nut. (Fig 3)
5 Place lhe wrenchon the caller/nut andturn counter°clockwise and loosen coliet]nut
slightly to accept cutterbit shank
6 Insert cutter b_ishank Into colleVnut assembly as far as itwl!l go, then back the shank
out unllI the cullers are approxlmalely 1/8 to 1/4-Inch away fi'om lhe face oi the
celleVnut(Fig 4, 4a)
7 With cutter bit Insededand spindle lock buries pressed Inengaging shaft, place wrench
on colleVnut and turn clockwise untll router cutler bit and seller/nut are firmly lightened.
Z_ WARNING: T_GHTEN COLLET/NUT SECURELY to prevent the culter bit
from slipping, If the collet/nut Is not securely tightened, the cutter bit may detach
during use, causing serious personal injury
NOTE;To ensure proper gripping of cutter bit shank and mlntmize run-out, the
shank of the cutter bit must he Inserted Into the colteUnut at least B/g-inch
Z_ CAUTION; To prevent damage to tool, do not tighten caller/nut without
a cutter bit Installed{.
15
I
17543
 Loading...