

Craftsman 235.19906 Owner's Manual
Owner ’s Manual
12,000 RPM .2 hp Motor
RANDOM ORBITAL SANDER
Model No.
235.19906
W ARNING:
Before using this Sander,
read this manual and follow all its
Safety and Operating Instructions.
Sears, Roebuck and Co., Hoffman Estates, IL 60179
Owner’s Manual P7368 (1–99) Printed in USA
Safety
Operation
Service and
Adjustments
Parts List
Español

2
TABLE OF CONTENTS PAGE
Two Year Warranty 2
Safety 3–6
Warning Labels
Notice, Warning and Caution
Placing Tool In Service
Using the Tool
Operation 6
Air Supply and Connections
Specifications
Parts List 7–8
Exploded Drawing
Parts for Ordering
Español 9–16
WARRANTY
FULL TWO YEAR WARRANTY ON
CRAFTSMAN AIR–DRIVE TOOLS.
If this Craftsman Air–Drive Tool fails to give complete satisfaction
within two years from the date of purchase, RETURN IT TO THE
NEAREST SEARS SERVICE CENTER/DEPARTMENT IN THE UNITED
SATES, and Sears will repair it, free of charge. If this Craftsman tool
is used for commercial or rental purposes, this warranty applies for
only 90 days from the date of purchase.
This warranty gives you specific legal rights, and you may also have
other rights which vary from state to state.
Sears, Roebuck and Co., Dept. 817WA, Hoffman Estates, IL 60179
If you have any questions about the Model 19906
Random Orbital Sander, call: 1–800–866–5457
3
Always wear eye
protection when operating or performing maintenance on
this tool.
Always wear hearing protection
when operating
this tool.
Always turn off the air supply
and disconnect the air supply
hose before installing, removing or adjusting any accessory on this tool, or before
performing any maintenance
on this tool.
Air powered tools can vibrate
in use. Vibration, repetitive
motions or uncomfortable
positions may be harmful to
your hands and arms. Stop
using any tool if discomfort,
tingling feeling or pain occurs.
Seek medical advice before
resuming use.
Do not carry the
tool by the hose.
Do not use damaged, frayed or
deteriorated air
hoses and fittings.
Keep body stance
balanced and firm.
Do not overreach
when operating this
tool.
Operate at 90 psig
(6.2 bar/620 kPa)
Maximum air
pressure.
90 psig
(6.2bar/620kPa)
WARNING
WARNING
WARNING
WARNING
WARNING
WARNING
WARNING
WARNING

4
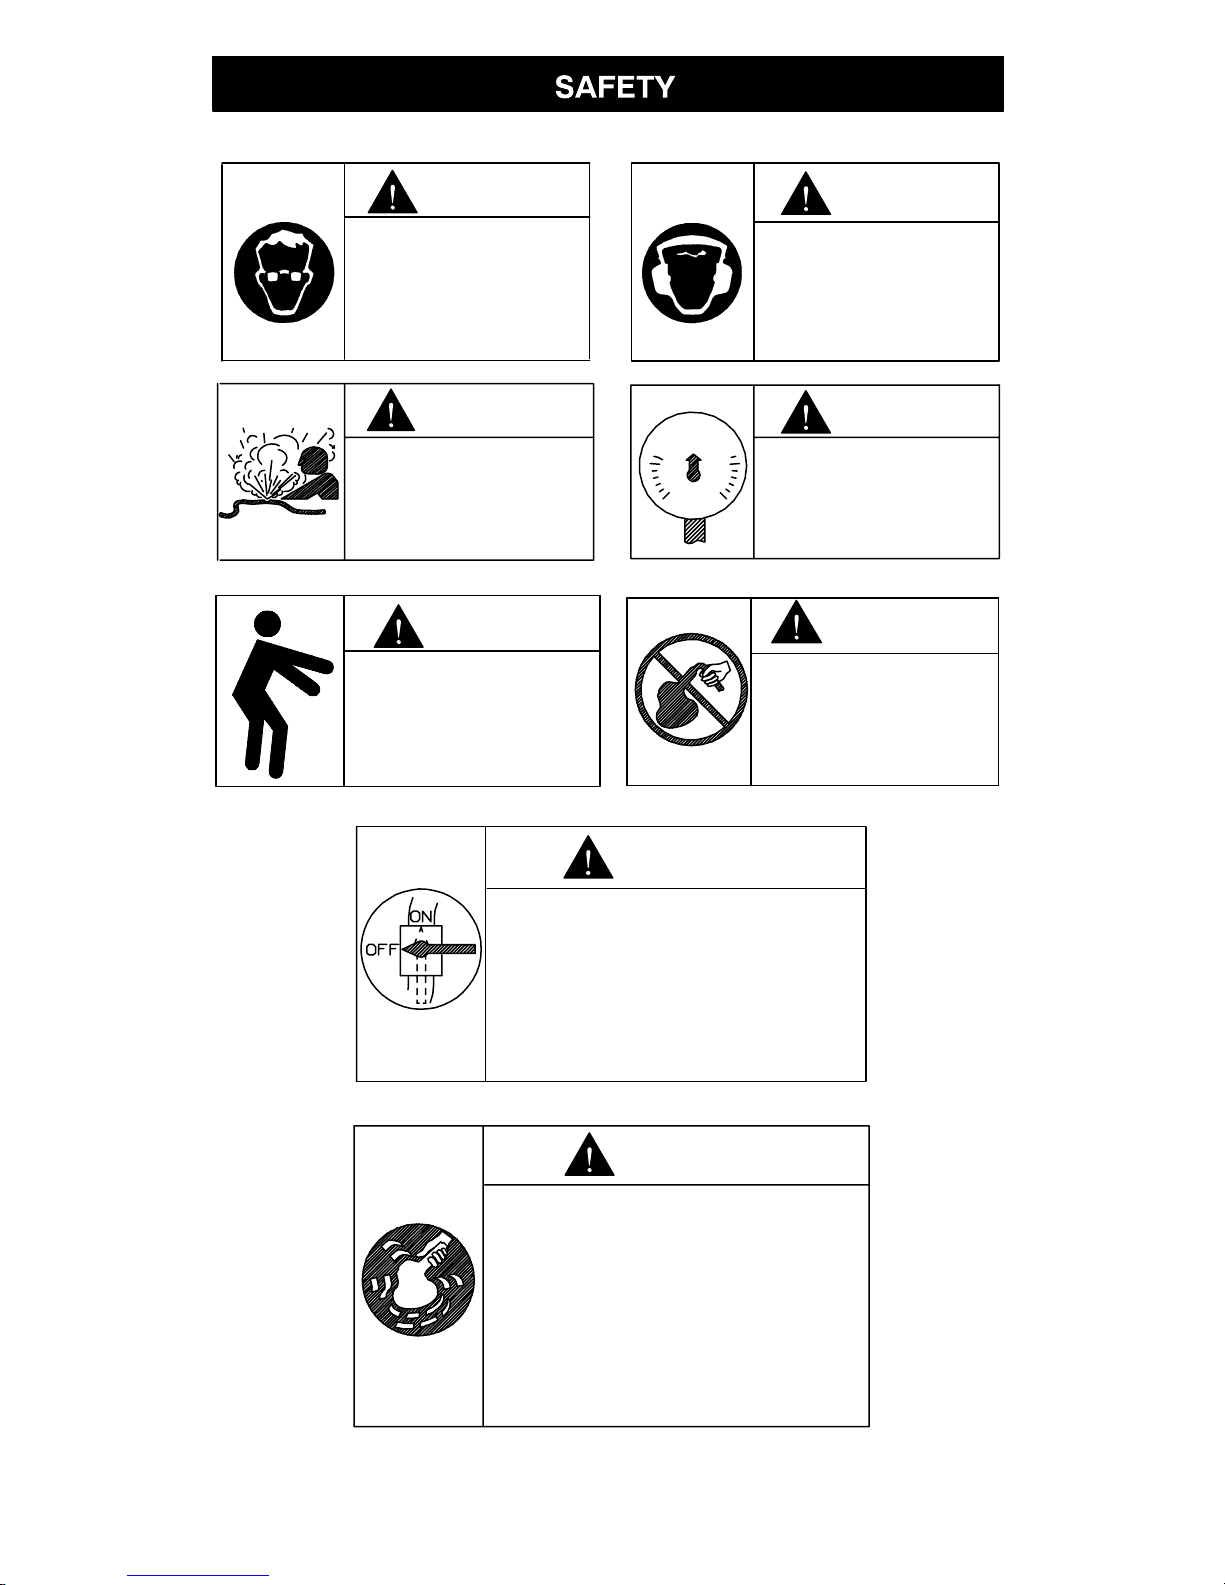
WARNING is used to indicate the presence of a hazard which
can cause severe personal injury or death if the warning is ignored.
CAUTION is used to indicate the presence of a hazard which will
or can cause minor personal injury or property damage if the caution is ignored.
NOTICE is used to notify people of installation, operation or main-
tenance information which is important but not hazard related.
This Craftsman Sander is designed to prepare metal and wood
surfaces for painting and finishing
operations.
WARNING:
Important safety information enclosed.
Read this manual before operating
tool.
It is the responsibility of an employer to place the information in
this manual into the hands of anyone who operates this device.
Failure to observe the following
warnings could result in injury.
SANDER SPECIFIC
WARNINGS
• These Sanders will operate at
the free speed specified on the
label if the air supply line furnishes 90 psig (6.2 bar/620
kPa) air pressure at the tool.
Operation at higher air pressure
will result in excessive speed.
• Use only a sanding pad, buffing
wheel or polishing bonnet with
these tools. Do not use any
grinding wheel, bur or metal
removing accessory with these
tools. Never use an accessory
having a maximum operating
speed less than the free speed
of the Sander in which it is
being used.
• When using a pad having a
shank, insert the shank to full
depth in the collet. When using
a pad on a threaded arbor,
make certain the flange nut is
tightened securely. Check the
tightness of the collet nut or
flange nut before operating a
Sander to make certain it will
not loosen during operation.
NOTICE: The use of other than
genuine Craftsman replacement
parts may result in safety hazards,
decreased tool performance, increased maintenance, and may
invalidate all warranties.
Repairs should be made only by
authorized trained personnel.
PLACING TOOL IN SERVICE
• Always operate, inspect and
maintain this tool in accordance
with all regulations (local, state,
federal and country), that may
apply to hand–held/hand–operated pneumatic tools.
• For safety, top performance,
and maximum durability of
parts, operate this tool at
90 psig (6.2 bar/620 kPa) maximum air pressure at the inlet
with 5/16” (8 mm) inside diameter air supply hose.
• Always turn off the air supply
and disconnect the air supply
hose before installing, removing
or adjusting any accessory on
this tool, or before performing
any maintenance on this tool.
5
• Do not use damaged, frayed or
deteriorated air hoses and fittings.
• Be sure all hoses and fittings
are the correct size and are
tightly secured. See Figure 4,
on page 6, for a typical piping
arrangement.
• Always use clean, dry air at
90 psig maximum air pressure.
Dust, corrosive fumes and/or
excessive moisture can ruin the
motor of an air tool.
• Do not lubricate tools with flammable or volatile liquids such as
kerosene, diesel or jet fuel.
• Do not remove any labels.
Replace any damaged label.
USING THE TOOL
• Always wear eye protection
when operating or performing
maintenance on this tool.
• Always wear hearing protection
when operating this tool.
• Keep hands, loose clothing and
long hair away from rotating
end of tool.
• Anticipate and be alert for sudden changes in motion during
start–up and operation of any
power tool.
• Keep body stance balanced
and firm. Do not overreach
when operating this tool. High
reaction torques can occur at or
below the recommended air
pressure.
• Tool shaft may continue to rotate briefly after throttle is released.
• Air powered tools can vibrate in
use. Vibration, repetitive motions or uncomfortable positions
may be harmful to your hands
and arms. Stop using any tool if
discomfort, tingling feeling or
pain occurs. Seek medical advice before resuming use.
• Use accessories recommended
by Craftsman.
• This tool is not designed for
working in explosive atmospheres.
• This tool is not insulated against
electric shock.
• Every 160 hours of tool operation, remove sanding pad from
spindle and inject 1 or 2 strokes
of multi–purpose bearing
grease through the end of the
spindle to lubricate the needle
bearing in the counter–balance.
• Rotate Knob on the Air Regulator (7) to adjust air flow.
(Figure 2)
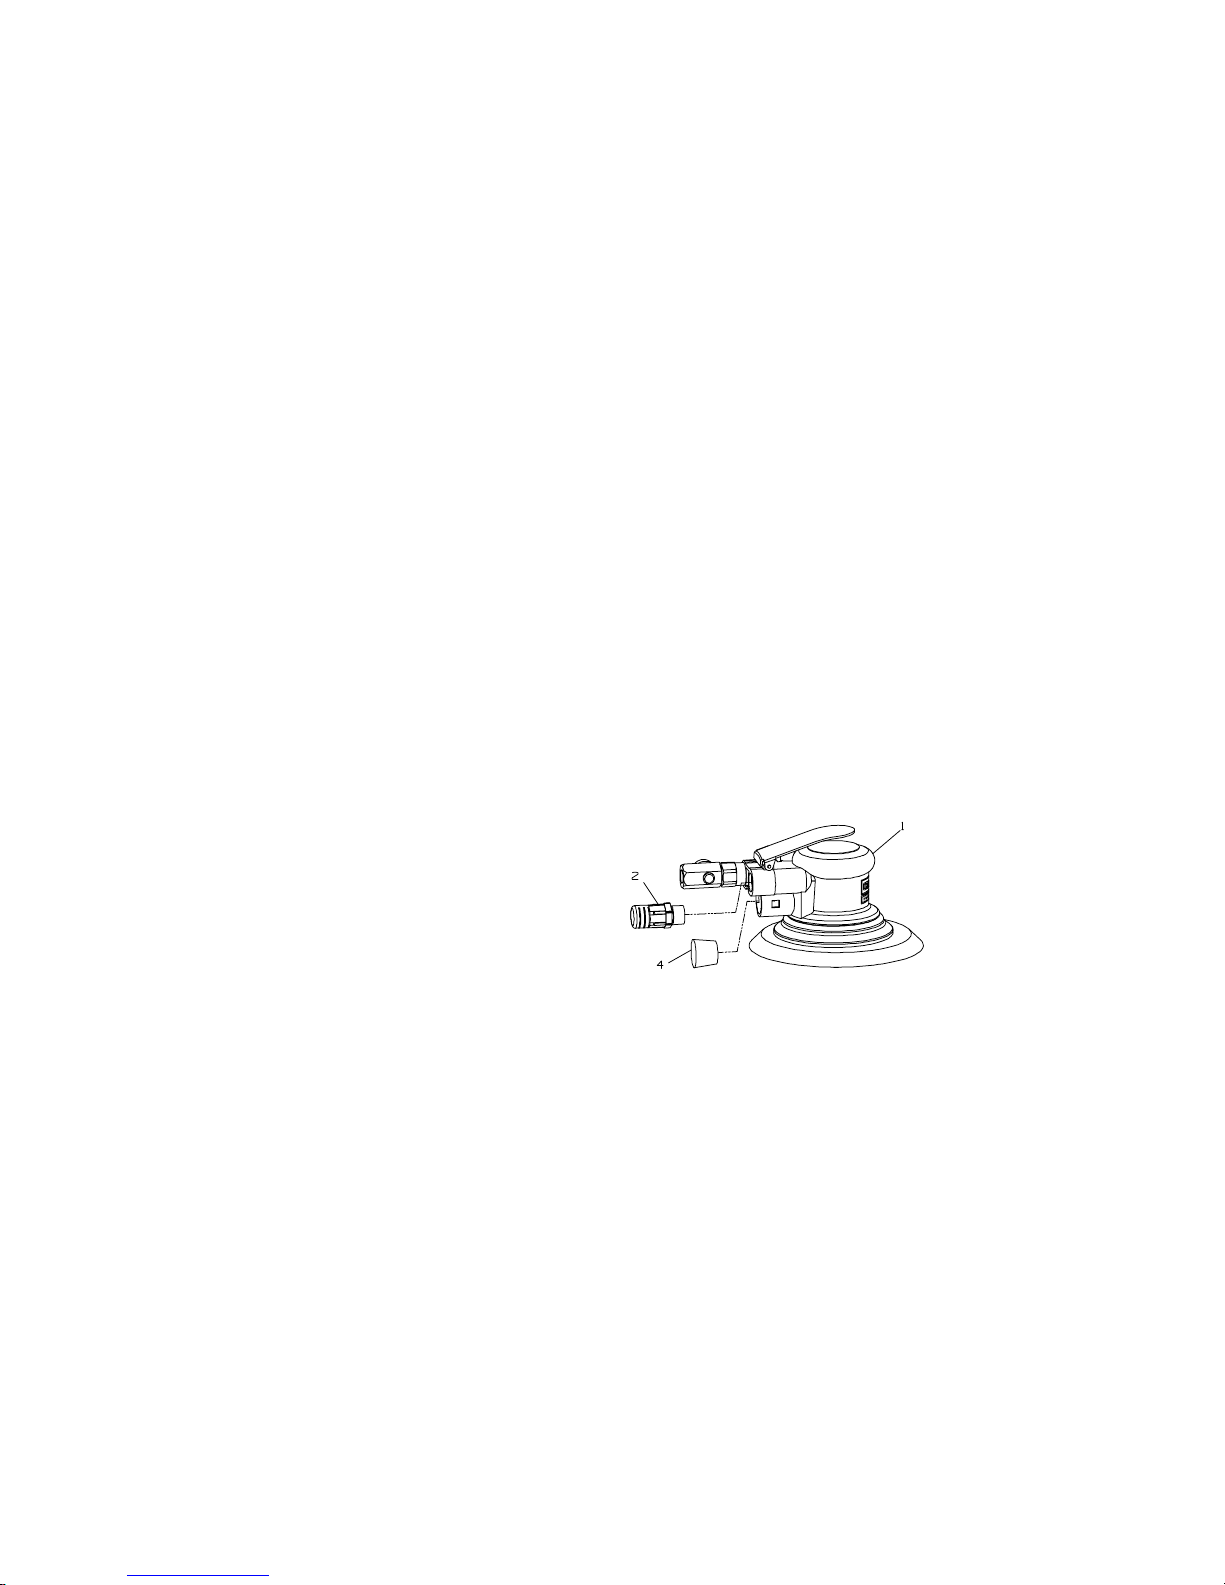
Standard Equipment
(Figure 1)
This Random Orbital Sander
comes with the Muffler (2) and
Plug (4) installed. Before using
optional equipment, one or all of
these parts must be removed.
See Figure 1 and instructions
below .
Figure 1
Optional Equipment
(Figures 1, 2 and 3)
For Use With Central Vacuum:
1.Remove the Muffler (2) and
Plug (4).
2.Install the Eductor Assembly
(5). Insert the tapered section
of the Eductor Assembly into the
Housing (1) while aligning the
threaded section with the
Housing. Using a wrench on
the flats, tighten the threaded
section securely. The tabs will
snap into slots in the Housing.
6
3.Install the central vacuum on
Eductor Assembly (5).
See Figure 2.
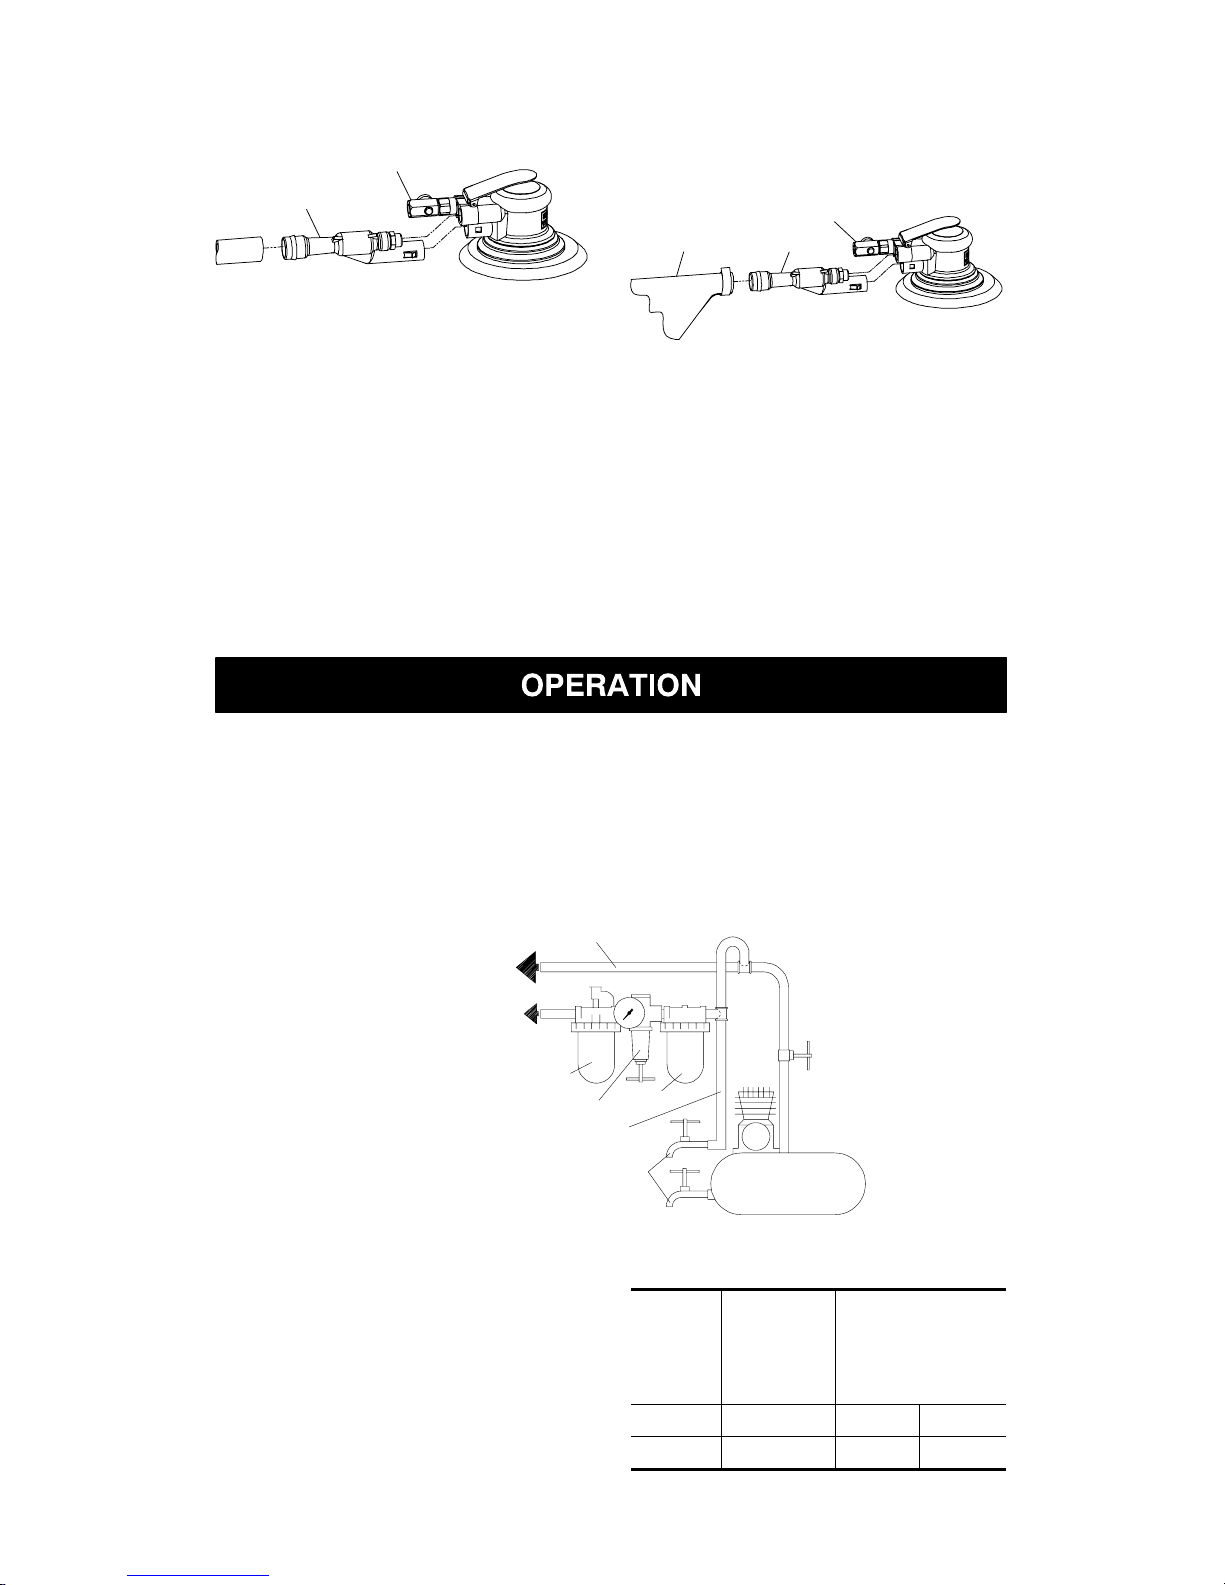
Figure 2
5
7
For Use With Vacuum Bag:
1.Remove Muffler (2) and Plug
(4).
2.Install the Eductor Assembly
(5). Insert the tapered section
of the Eductor Assembly into the
Housing (1) while aligning the
threaded section with the
Housing. Using a wrench on
the flats, tighten the threaded
section securely. The tabs will
snap into slots in the Housing.
3.Install the Vacuum Bag (6) on
the Eductor Assembly (5).
See Figure 3.
Figure 3
65
7
NOTICE: Before installing the
Eductor Assembly, make sure that
the Air Regulator (7) is installed
with the adjustment knob facing
away from the ports in the Housing. If the Air Regulator is not
installed in this manner, the adjustment knob will block the installation of the Eductor Assembly.
Air Supply and Connections
Always use clean dry air. Dust,
corrosive fumes and/or excessive
moisture can ruin the motor of an
air tool. An air line filter can greatly
increase the life of an air tool.
The filter removes dust and moisture. Be sure all hoses and fittings
are the correct size and are tightly
secured. See Figure 4 for a typical
piping arrangement.
Main lines 3 times air tool inlet size.
To air system
To air tool
Lubricator
Filter
Regulator
Branch line 2 times air
tool inlet size
Drain regularly
Compressor
Figure 4
Operating the Sander – With the
Sanding Pad on the work to be
sanded, grasp the Sander by the
Grip Ring with the palm of your
hand over the Lever. To begin
Sanding, apply pressure to the
Lever. To stop Sanding, release
the pressure on the Lever.
SPECIFICATIONS
Model Free
Speed
RPM
Pad Diameter
in mm
19906 12,000 6 152
 Loading...