

Page 1
Page 2

Dragon Media Setup & User Guide
Content
Chapter 1 Basic Care and Instructions................................................................ 2
Chapter 2 System Tour of N8608I-AW ................................................................. 4
2.1 Front View............................................................................................. 4
2.2 Back View............................................................................................. 5
2.3 The Remote........................................................................................... 6
Chapter 3 Initial Use of N8608I -AW ..................................................................... 9
3.1 Checking List ......................................................................................... 9
3.2 Connection.......................................................................................... 10
3.3 Power On............................................................................................ 10
Chapter 4 System Management.........................................................................11
4.1 User Logi n............................................................................................11
4.2 Basic Settings ...................................................................................... 13
4.3 Network Configurations .......................................................................... 13
4.3.1 Static IP...................................................................................... 13
4.3.2 DHCP Settings ............................................................................ 14
4.3.3 Wireless Network Settings.............................................................. 14
4.4 PPPOE Settings ................................................................................... 16
4.5 Advanced Settings ................................................................................ 17
4.6 Back to Home Menu.............................................................................. 17
Chapter 5 Input Methods ................................................................................. 17
5.1 Letters................................................................................................ 18
5.2 Numbers ............................................................................................. 18
5.3 Soft Keyboard ...................................................................................... 18
Chapter 6 Upgrade of STB............................................................................... 19
Chapter 7 EPG Login ...................................................................................... 20
7.1 Initial User Password............................................................................. 20
1
Page 3
Dragon Media Setup & User Guide
Chapter 1 Basic Care and Instructions
FCC ID:
This device complies with Part 15 of the FCC Rules. Operation is subject to the
following two conditions: (1) this device may not cause harmful interference, and (2)
this device must accept any interference received, including interference that may cause
undesired operation.
To comply with FCC RF exposure compliance requirements, this grant is applicable to
only Mobile Configurations. The antennas used for this transmitter must be installed to
provide a separation distance of at least 20 cm from all persons and must not be c o-located
or operating in conjunction with any other antenna or transmitter.
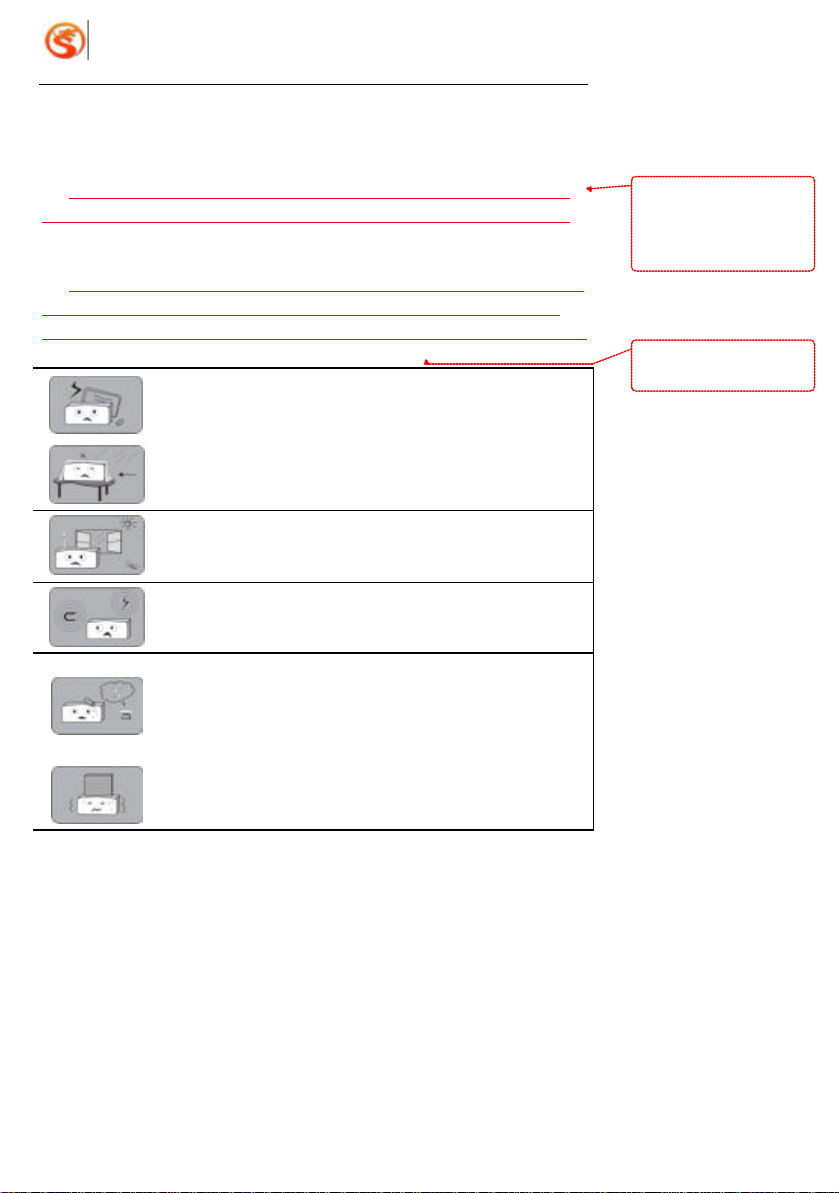
In order to avoid electric shock, please do not open the box by
yourself.
Place this product on a steady, level and clean surface . Do not cover
the intakes.
Keep it far away fro m heat. Do not expose it to direct sunlight. Do not
put combustible things on it, such as burning candles.
Do not put it near any equipment that might cause electromagnetic or
electric field.
Keep it in dry environment. Do not spill water or any liquid on the box.
If liquid flows into it, please turn off power immediately and contact our
technical maintenance staff.
带格式的: 正文, 缩进: 首
行缩进: 2 字符, 定义网
格后不调整右缩进, 段落间
距段前: 0 磅, 段后: 0 磅,
不调整西文与中文之间的
空格, 不调整中文和数字之
间的空格
带格式的: 字体: (中文) 宋
体, 10 磅, 下划线, 字体颜
色: 红色
Never place objects on top of the box to avoid damaging the STB.
2
Page 4
Dragon Media Setup & User Guide
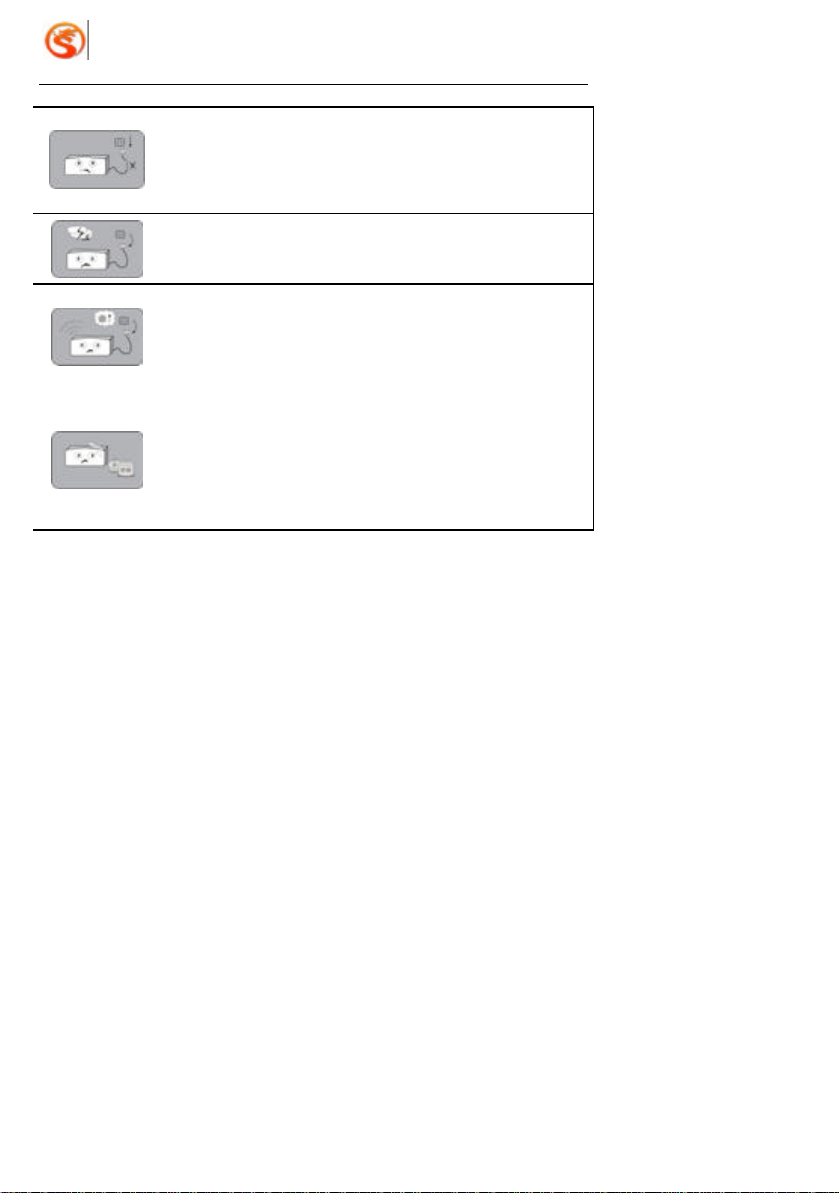
Please pull out power plug if it is not to be operated for a long period.
Do not use damaged power cord. Please contact technical
maintenance staff for changing new power cord.
Please pull out the power plug during thunder storm.
Stop operation immediately and switch off the power and pull out the
power plug, if such malfunction occurs like smoking, abnormal sound,
bad smell, etc.
When cleaning the exterior, please switch off the unit and pull out the
power plug. Do not operate with wet hands. Use a damp cloth
moistened with water and soft detergent for cleaning. Do not use
chemicals cleaners like benzene, alcohol, gasoline, etc.
3
Page 5
Dragon Media Setup & User Guide
Chapter 2 System Tour of N8608I-AW
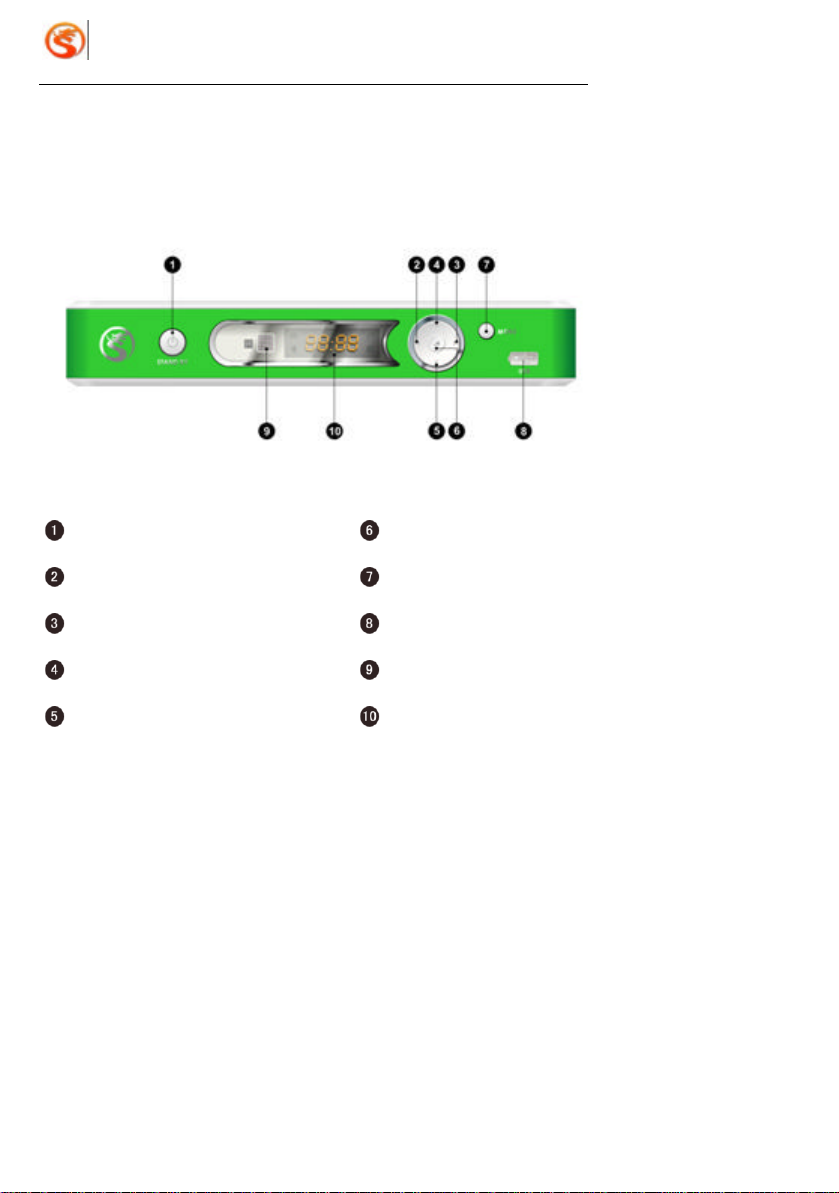
2.1 Front View
STANDBY ENTER/OK
ARROW BUTTON – LEFT MENU
ARROW BUTTON – RIGHT USB PORTAL
ARROW BUTTON – UP REMOTE RECEIVER
ARROW BUTTON - DOWN LED DISPLAY
4
Page 6
Dragon Media Setup & User Guide
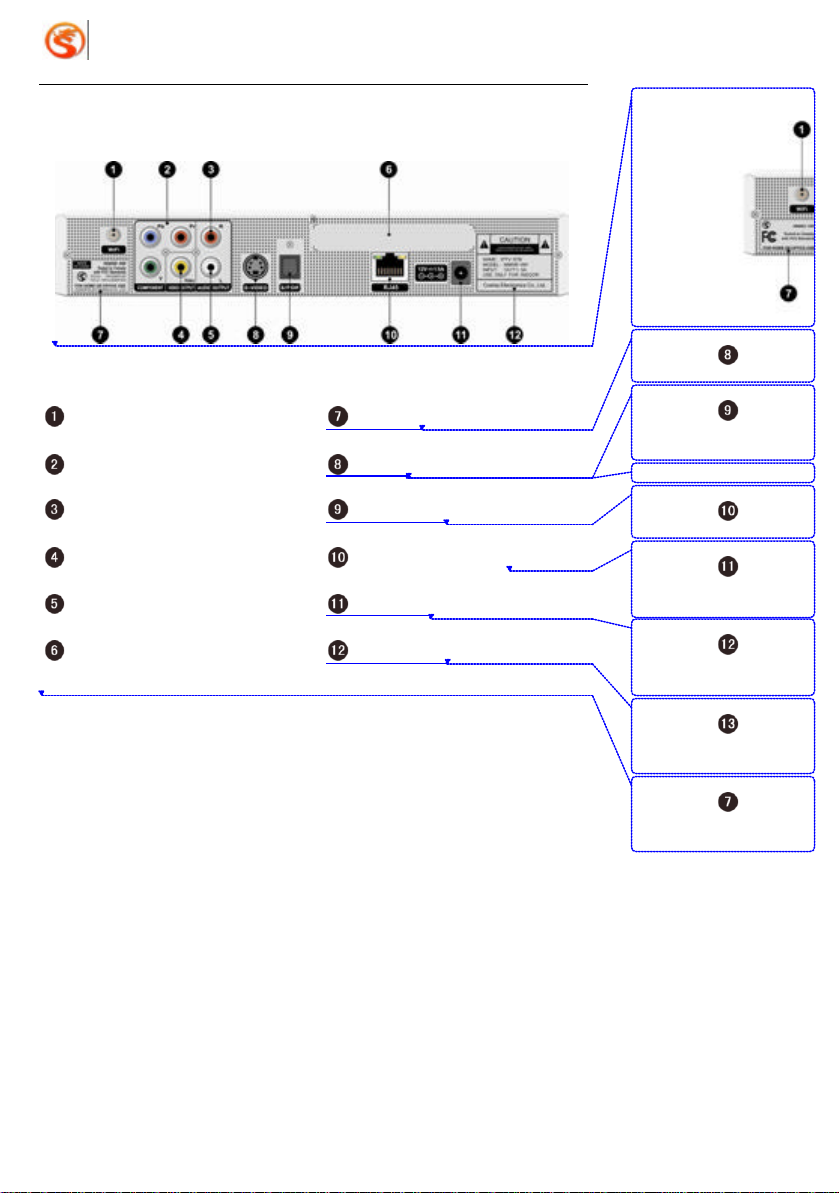
2.2 Back View
删除的内容:
删除的内容: S Video
WIFI Antenna Portal FCC Mark
Y-Pb-Pr Output S Video
Right Audio Channel Output S/P DIF Portal
Video Output 10/100 Base-T Rj45 Port
Left Audio Channel Output Power Jack
Bar Code Safety Indicator
5
删除的内容: S/P DIF
Portal
带格式的: 字体: 非加粗
删除的内容: UL Mark
删除的内容: 10/100
Base-T Rj45 Port
删除的内容: Power
Jack
删除的内容: Safety
Indicator
删除的内容: FCC
Mark
Page 7
Dragon Media Setup & User Guide
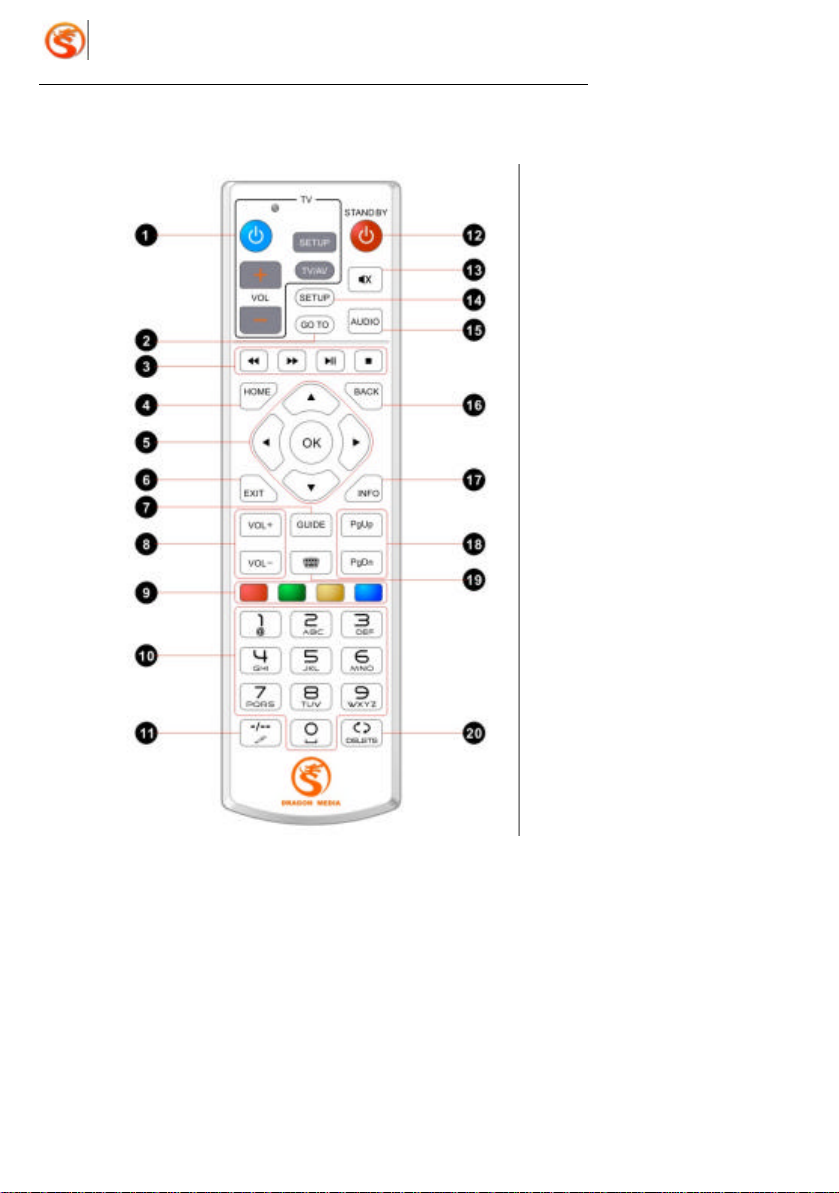
2.3 The Remote
6
Page 8

Dragon Media Setup & User Guide
Function buttons for remote control of TV set:
Blue key is the power of TV set
VOL +/ -: Control the volume of TV set
SETUP: Setup TV parameters
TV/AV: Switch between TV and AV
GO TO:Skip to specified position while playing
REW, FFWD, PLAY/PAUSE, STOP: Fast rewind, fast forward, play/pause, stop
HOME: Back to the home menu
Arrow buttons of Up, Down , Left, Right and “OK”
EXIT: To exit, cursor navigation button
GUIDE: Program navigation button
VOLUME +/-: Increase or decrease Volume
Red, Green, Yellow, Blue buttons: Shortcut keys with special purposes:
Red Button – Switch to VOD menu
Green Button – Switch to TV channel menu
Yellow Button – Switch to feature channel menu
Blue Button – Switch to hot recommendation menu
0--9: Number keys
-/--: Switch input methods
STANDBY: Standby
7
Page 9

Dragon Media Setup & User Guide
MUTE: Muting
SETUP: Enter system settings
AUDIO: Switch left and right audio channels
BACK: Go back to previous page
INFO: Information-prompting of current page
Page Buttons: PgDn – Page Down, PgUp – Page Up;
Soft Keyboard: Open or close soft keyboard
DELETE: Clear one character
Notes:
1. Fast forward, back forward, pause and timing can not be applied to live and roll
broadcasting programs.
2. Press “STANDBY” (on the front panel of STB) when STB is down abnormally.
3. As every step of the operation reads data from network, please be patient and wait
for 2 seconds after pressing the keys. Do not press continually during fast forward
or fast rewind
8
Page 10

Dragon Media Setup & User Guide
Chapter 3 Initial Use of N8608I-AW
This chapter gives you detailed information on us ing N8608I-AW STB for the first time.
After finishing this chapter, you will be able to order programs through IP network.
Contents in this chapter:
l Checking List
l Connection
l Power On
3.1 Checking List
Components Quantity
N8608I-AW IP Set Top Box Unit 1
Power Adapt er 1
User Manual 1
Audio / Video Cable 1
RJ45 Network Cable 1
The Remote 1
The Antenna 1
AAA Battery 2
9
Page 11
Dragon Media Setup & User Guide
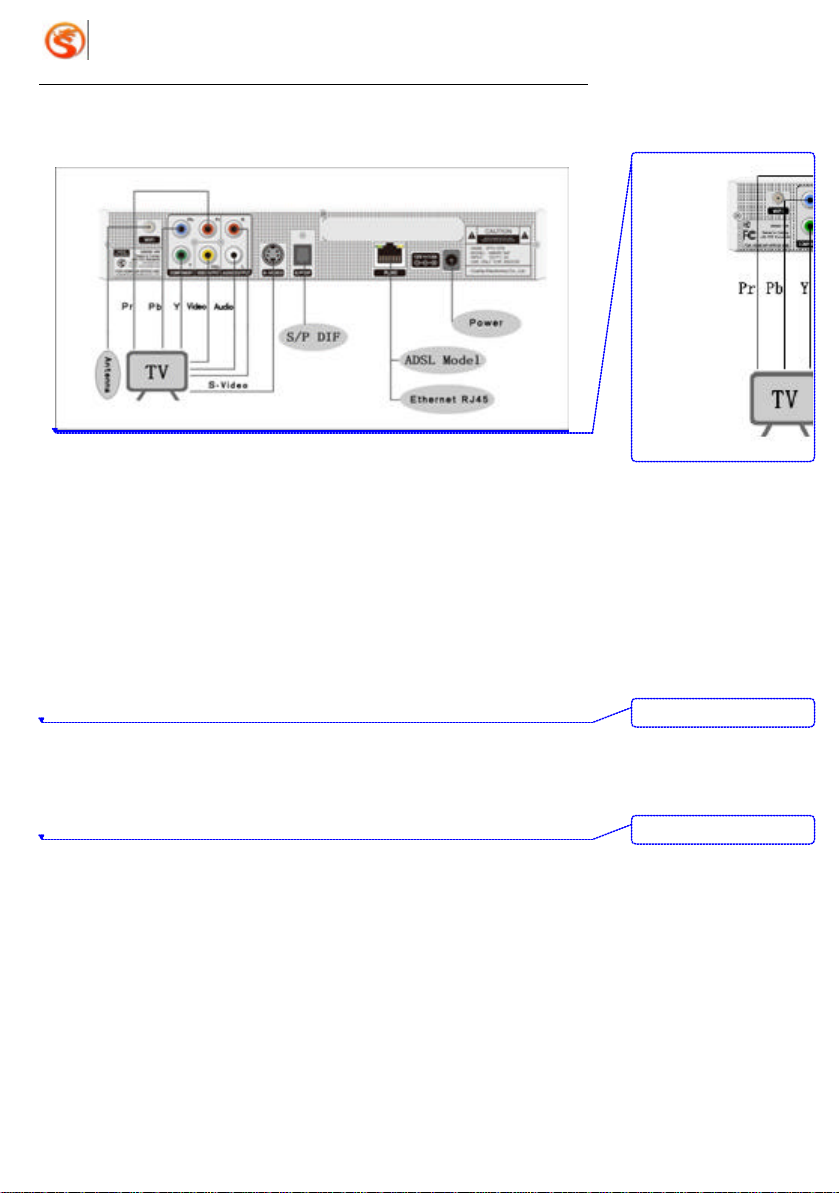
3.2 Connection cable
3.3 Power On
Follow the below steps to power on the N8608I -AW STB and TV set:
(1) Insert the power plug of N8608I-AW STB to nearby power socket
(2) Make sure that the power connection of TV set is correct
(3) Switch on the powers on both TV set and back panel of STB. The indicator light on the
front panel of STB is on now, which shows the STB is working now
(4) Change to A/V mode on TV set
(5) You can connect wireless antenna to ‘antenna’ as shown in above picture if you use
wireless network
Notes:
Press “STANDBY” key on the remote to reset the box if the STB is down. If this is
useless, turn off the power on the back panel of STB and restart.
10
删除的内容:
删除的内容:
删除的内容:
Page 12
Dragon Media Setup & User Guide
Chapter 4 System Management
This chapter will tell you the system management operation of N8608I-AW. All instructions
refer to the remote of N8608I -AW if there is no special instruction.
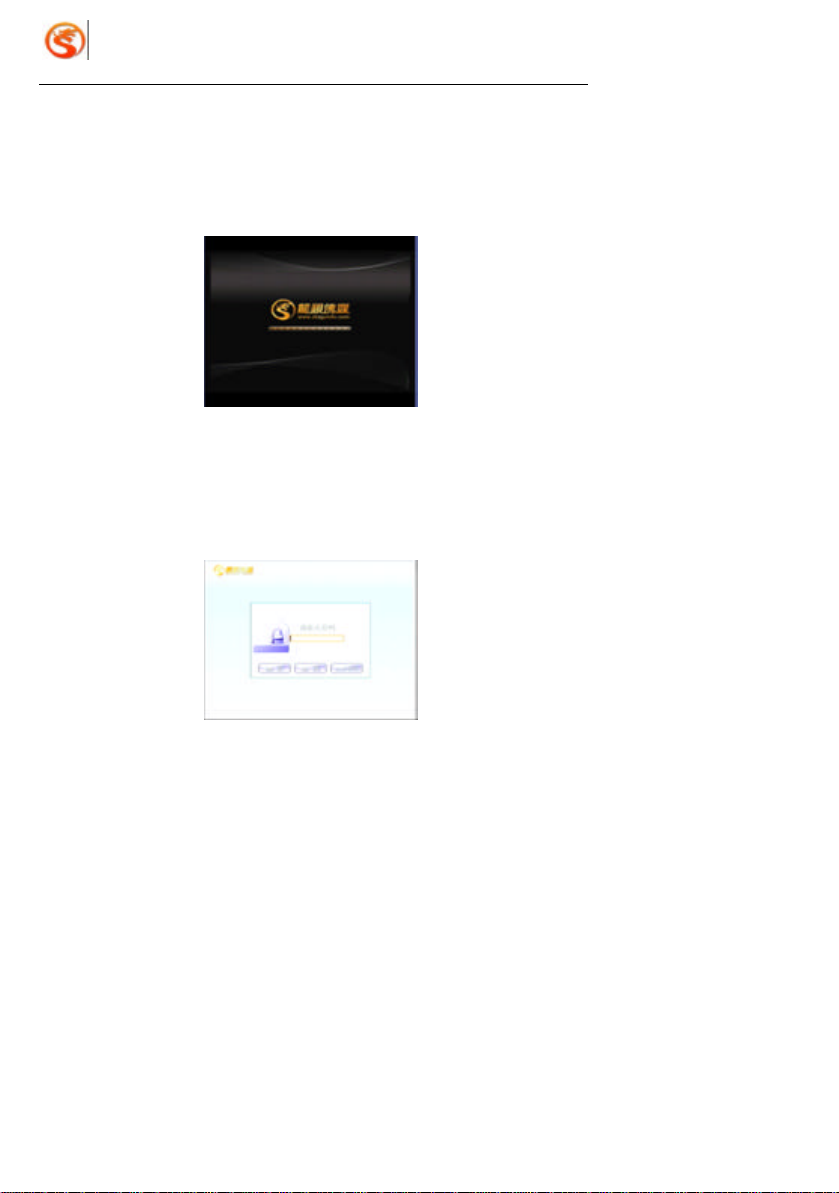
After start-up successfully, STB will enter the beginning screen as show in Picture 4-1:
Picture 4-1 Beginning Screen
4.1 User Login
Press “SETUP” key for system settings after entering the main menu. The initial default
system password is 123456. Below is the screen of login, Picture 4-2:
Picture 4-2 Login Screen
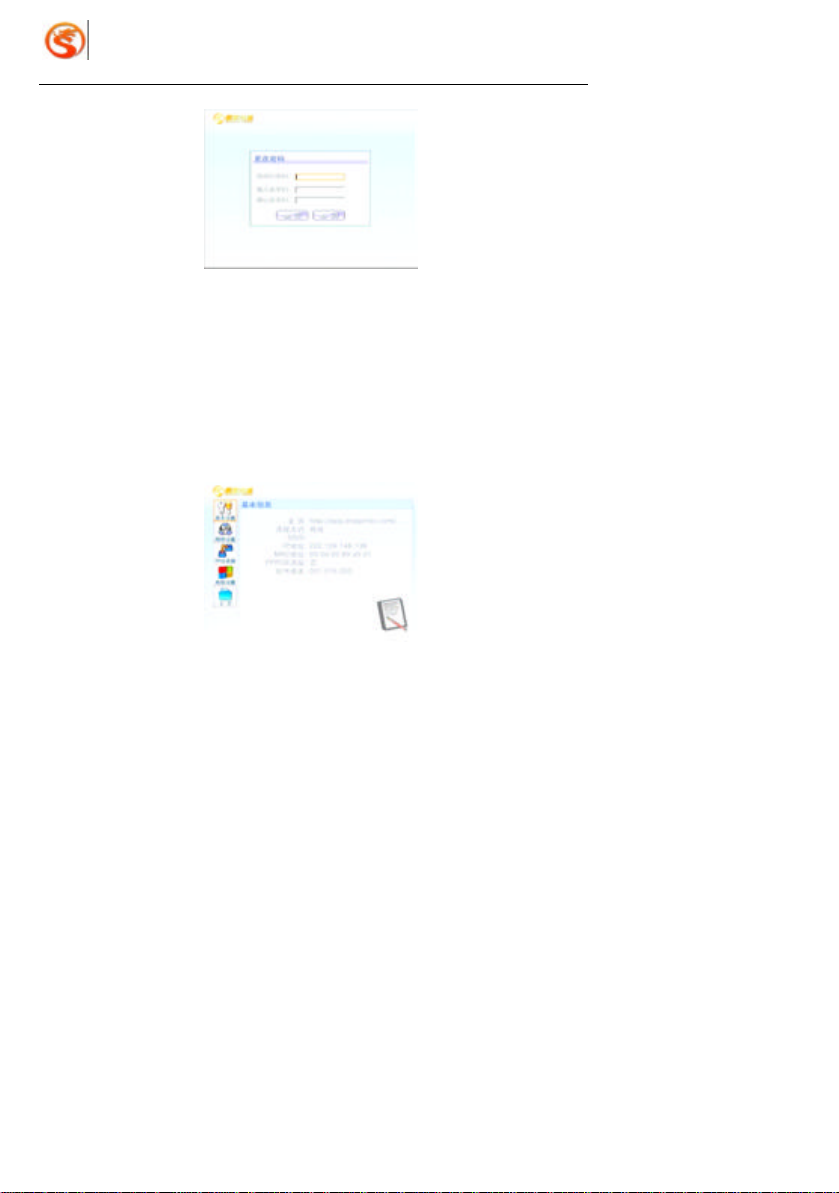
Modify the password as shown in Picture 4-3:
11
Page 13
Dragon Media Setup & User Guide
Picture 4-3 Modify Password
System management functions provided by N8608I -AW include:
l Basic Settings
l Network Settings
l PPPOE Settings
l Advanced Settings
System management screen as shown in Picture 4-4 below:
Picture 4-4 Front Screen of Settings
Notes:
Ø Make modifications (except advanced settings) with the guidance of technical
professionals!
Ø Pictures in this chapter are for reference only. Screen displays change with
different versions of software.
Ø The system settings of N8608I -AW apply for most of the status, and no need to
12
Page 14

Dragon Media Setup & User Guide
make any change to system settings. Basic settings are used for ISP maintenance
staff in special application.
4.2 Basic Settings
Basic settings are used by ISP maintenance staff. You don’t need to make any basic
settings. Press “EXIT” on the remote to exit basic settings page. See Picture 4-5:
Picture 4-5 Basic Settings
4.3 Network Configurations
It is easy to modify and manage the internet access mode by network settings functions
provided by N8608I -AW.
Choose network configurations on the left of the settings page.
4.3.1 Static IP
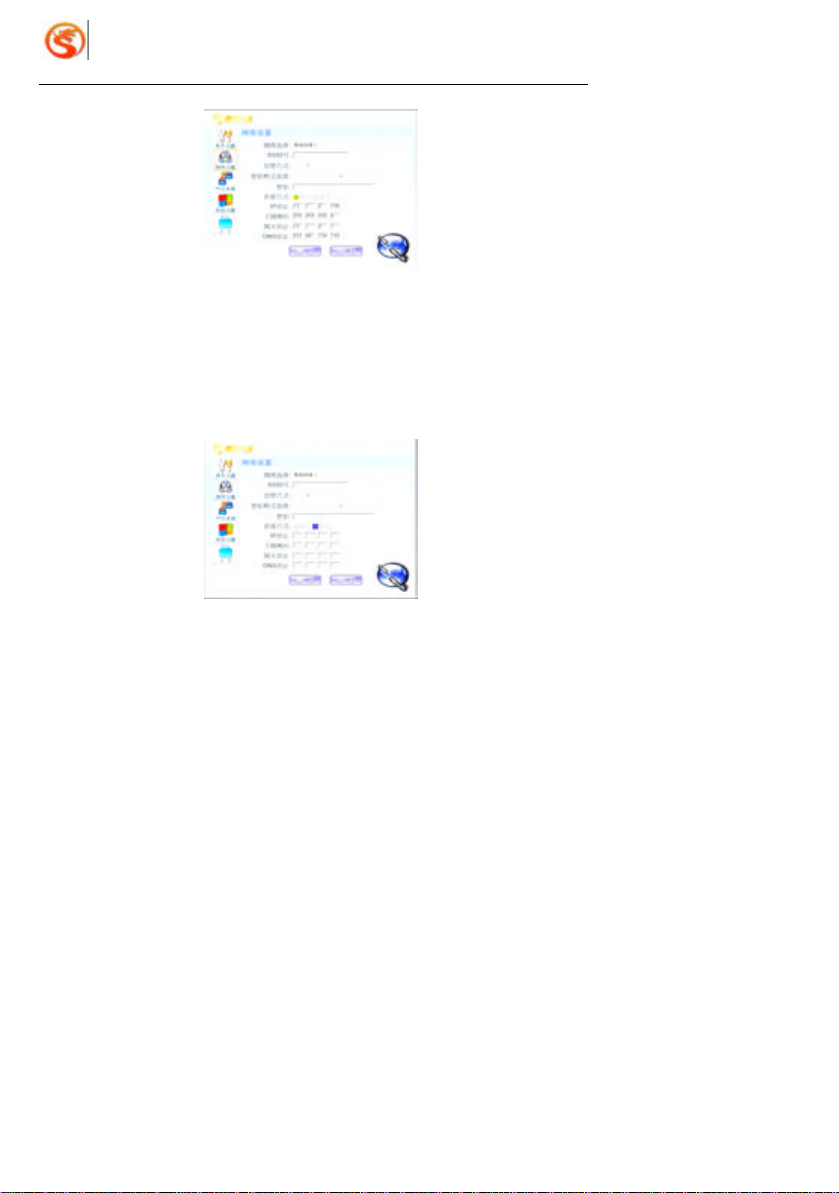
Choose “Cable network” ? Choose “Static IP” in connection mode ? Setup IP address,
subnet mask, gateway address, DNS address, then press “OK” to save the parameters.
Press “EXIT” to exit current setting page. See Picture 4-6 (Note: Please make sure the IP
address is correct):
13
Page 15
Dragon Media Setup & User Guide
Picture 4-6 Static IP Settings
4.3.2 DHCP Settings
Choose “Cable Network” if there is DHCP server ? Choose “Dynamic” in connection mode
? Press “OK” to save the parameters. Press “EXIT” to exit current setting page. See
Picture 4-7 below:
Picture 4-7 DHCP Settings
4.3.3 Wireless Network Settings
Choose “Wireless Network” if there is wireless network ? Configure wireless network
settings.
Both static and dynamic mode can be chosen as connection. Press “OK” to save. Press
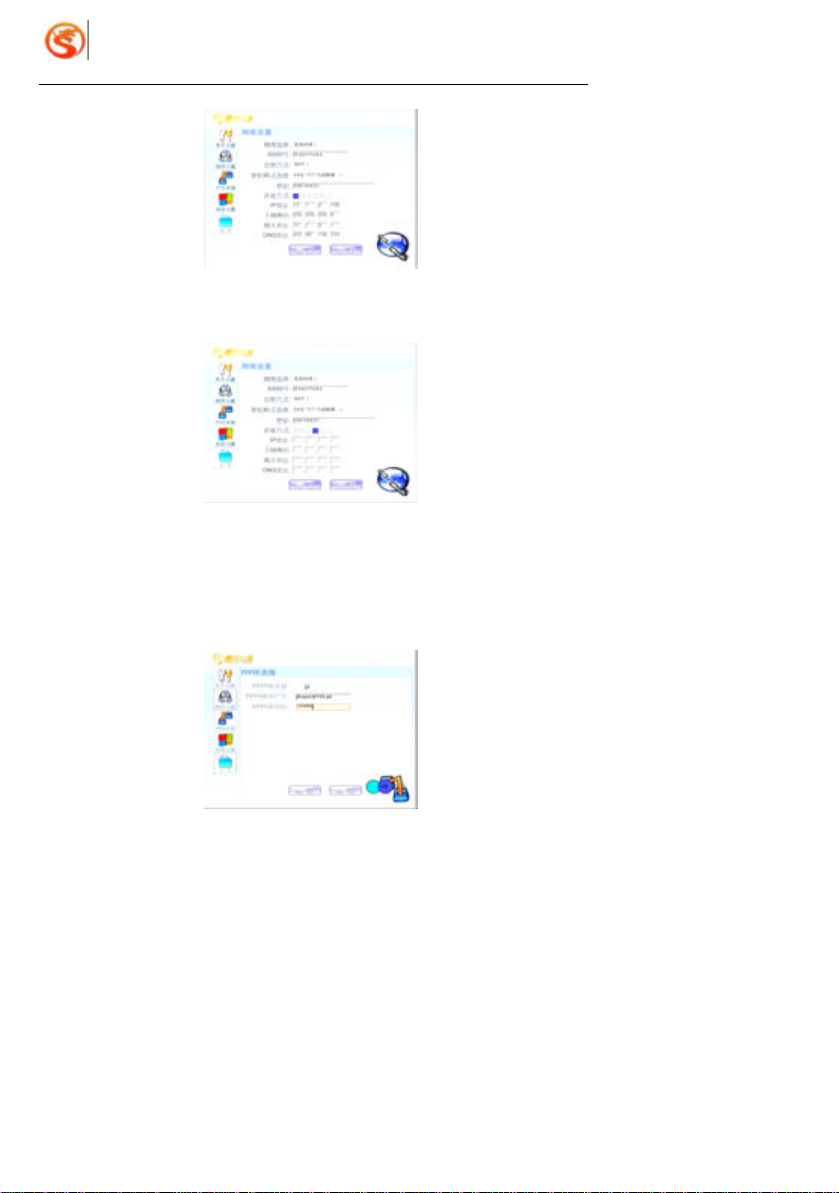
“EXIT” to exit current setting page. See Picture 4-8 Wireless Static IP Settings. If someone
has set up wireless network for you, and created the WEP key, you have to contact with
this person and get the secret key. Follow below procedures for configuration:
14
Page 16

Dragon Media Setup & User Guide
Param eters:
SSID Number: Wireless Network Number
Encryption: Encryption for wireless use
Secret Key Format: F ormat of secret key
Secret Key: The secret key for connecting wireless network
1. Enter SSID (Wireless Network Name), and follow below steps to help you find out your
own SSID
●First open your PC or notebook connected by wireless network and wait until the
completion of the start up of windows system. There will be an icon like a computer on
the bottom right corner next to the time display. Double click the icon.
●Choose to check the wireless network status
●Get your SSID
2. Choose Encryption: Move to “Encryption” by arrow keys, then press “OK”. Press “UP”
or ‘DOWN” to choose and press “OK” to open the option list. There are 3 ways for
secret key: no secret key, WEP and WPA-PSK encryption.
3. For WEP key , please choose “Encryption Format ” by arrow keys, then press “OK” to
open option list. Move “UP” or “DOWN” and press “OK” to choose. There are 4 secret
key formats: “ASCII Code”, “HEX”. Choose “ASCII Code” if your secret key is in
character, and “HEX” for others.
4. Enter the key: Move by arrow keys to the secret key input column and enter the key.
Please note: “ASCII” is case sensitive. If you are using a HEX key, the key must be
entered in all capitals.
5. Choose Static or Dynamic for connection mode to set up for static IP and DHCP. Press
“OK” to save. Press “EXIT” to exit current setting page.
15
Page 17
Dragon Media Setup & User Guide
Picture 4-8 Wireless Static IP Settings
Dynamic settings as below:
Picture 4-9 Wireless DHCP Settings
4.4 PPPOE Settings
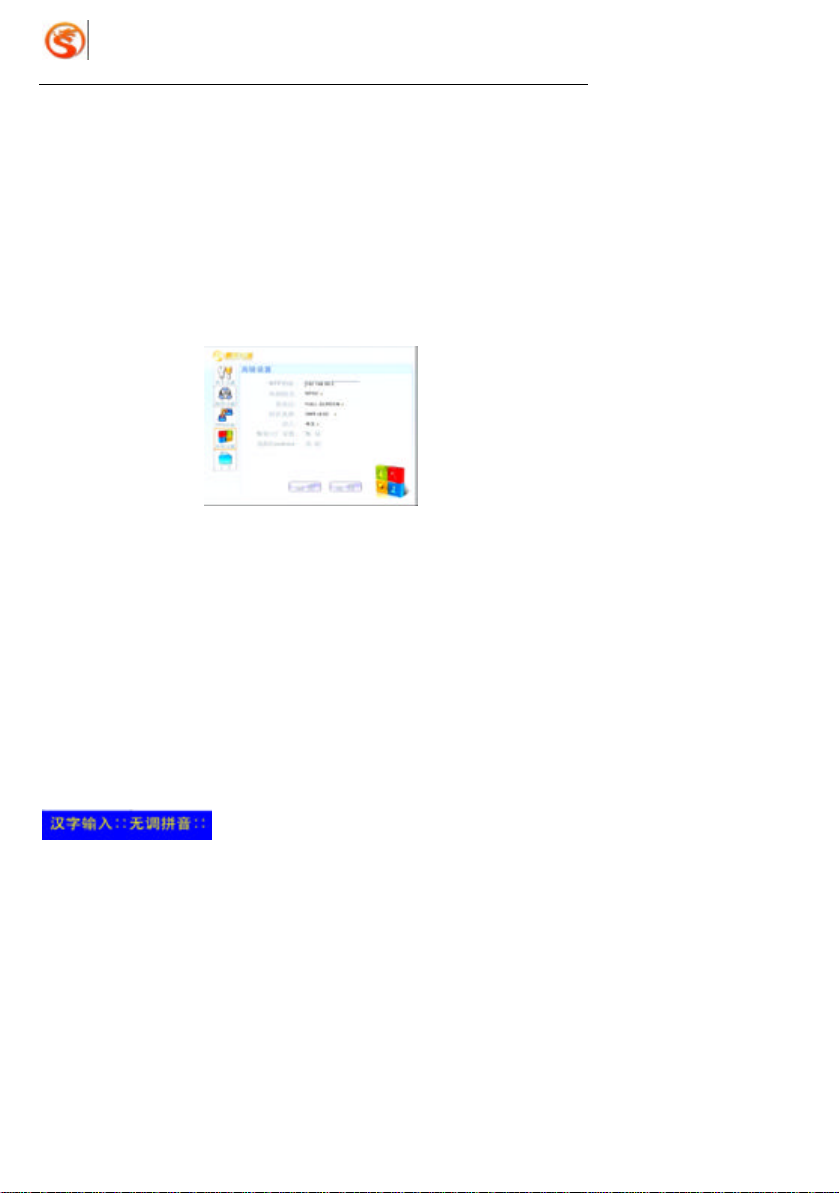
Choose PPPOE Connection, “Yes” or “No” ? Enter correct user ID and password ? Press
“OK” to save. Press “EXIT” to exit current setting page. See Pic ture 4-10.
Picture 4-10 PPPOE Settings
16
Page 18
Dragon Media Setup & User Guide
Notes:
Static IP and DHCP settings cannot be sued after PPPOE settings.
4.5 Advanced Settings
Choose “A dvanced Settings” on the left of setting menu, then press “OK” to save after
advanced settings. Press “EXIT” to exit current setting page. See Picture 4-11 (please
make a careful choice of “Restore to Default Factory Settings” and “Clear Cookies”) . You
don’t need to configure advanced settings. Default factory setting is OK. Please contact
ISP service provider for help if you need any modification:
Picture 4-11 Advanced Settings
4.6 Back to Home Menu
Press “Home Menu” on the left of the setting page or press “HOME” key to go back to
Home Menu.
Chapter 5 Input Method s
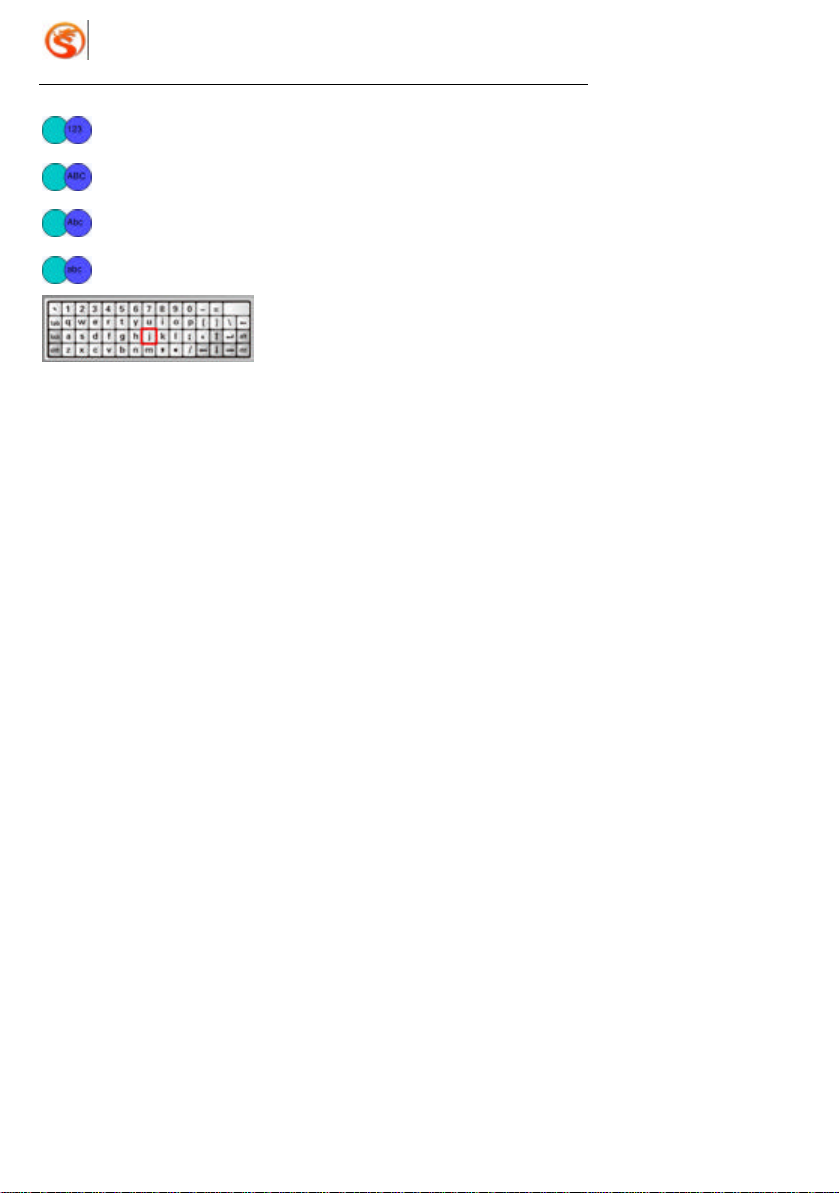
Set Top Box N8608I -AW provides 6 Input Methods: Pinyin (no tones), Numbers, Capital
Letters, Initial Capital Letters, Lowercase and Soft Keyboard. Numbers input method is
default. Press input method key “-/--” for once or more to choose other input methods . Input
methods icons are shown as below:
17
Page 19
Dragon Media Setup & User Guide
5.1 Letters
Change to the mode of Letters by “-/--” key, as is shown on the remote. Symbols are on the
key “1”, and 3-4 letters on each other number keys. You need to press one key for once or
more to get the right letter on it. For example, the letter “n” is on the key “6”, the second
letter on it. So you have to press “6” for twice, then the letter “n” will be on the textbox. And
so on.
5.2 Numbers
Change to the mode of numbers by “-/--” key. The numbers you choose will be shown in the
textbox.
5.3 Soft Keyboard
Change to the mode of Soft Keyboard by pressing the key “Soft Keyboard”. Control by the
remote, and input the letters, numbers or symbols you need. Switch capital, lowercase
letters and symbols by the key “Shift”. Switch capital and lowercase letters by the key
“LOCK”. Move the soft keyboard position by “CTRL” and direction keys.
18
Page 20
Dragon Media Setup & User Guide
Chapter 6 Upgrade of STB
STB N8608I -AW has an auto upgrade function built in. It will check the new version
software package while booting after you set the update address. Please make sure about
below two points in upgrading:
(1) Do not cut off of the power of STB;
(2) Network cable is well connected and functions.
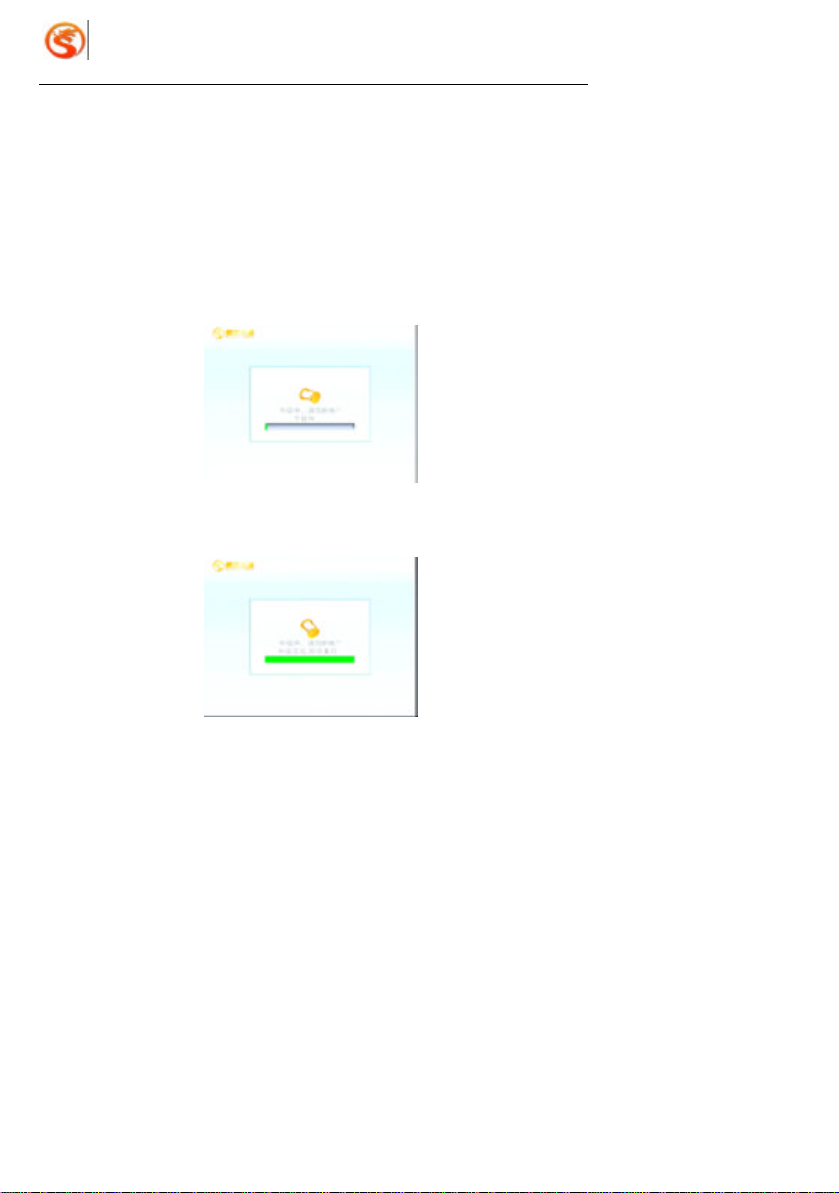
When the STB detects the upgrade software package, upgrad e starts as Picture 6-1 shown
below:
Picture 6-1 Upgrade Download
Successful upgrade. See Picture 6-2.
Picture 6-2 Successful Upgrade Completed
After successful upgrade is totally completed , STB will reset automatically and go to the
home menu (as long as the network is well connected).
There may be some abnormal situations during the upgrade due to different factors. Please
19
Page 21
Dragon Media Setup & User Guide
restart the STB if it cannot work normally.
Chapter 7 EPG Login
7.1 Initial User Password
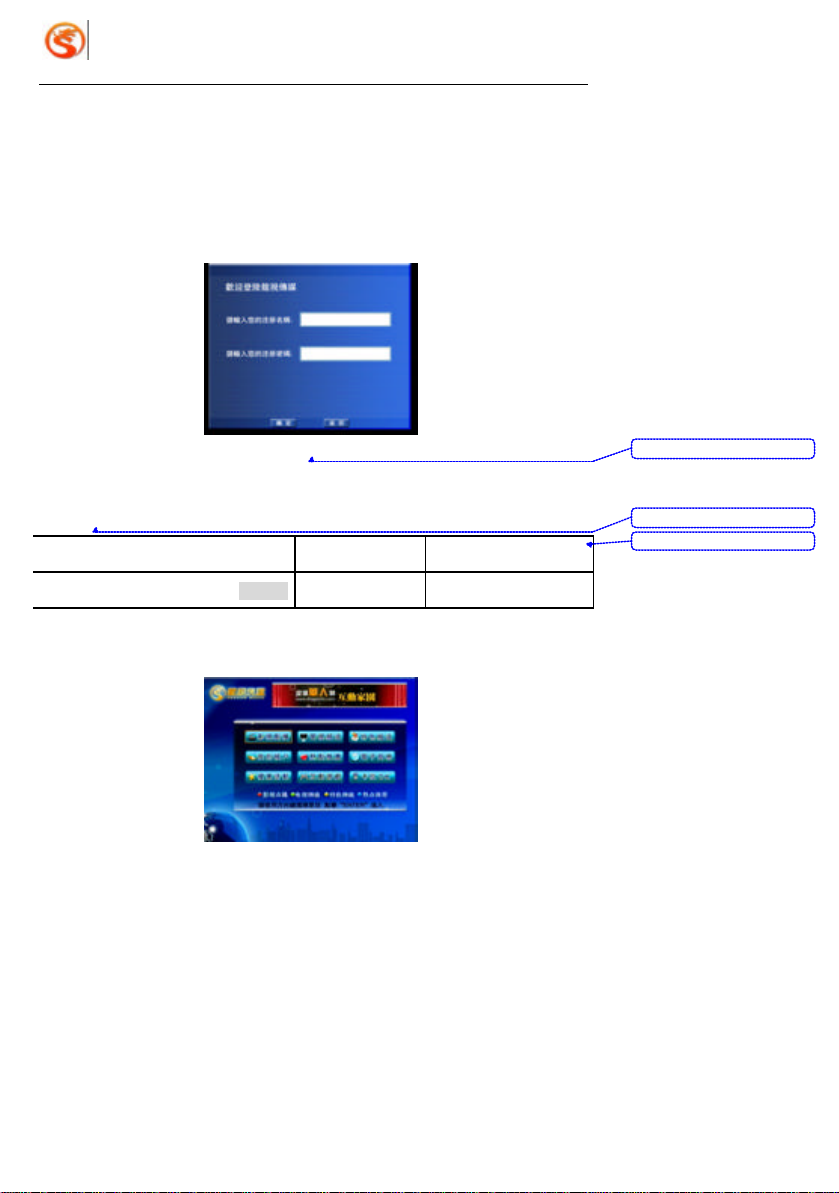
You will see above picture when you first enter the EPG home menu. Initial default
registration ID and password are the last 6 bits of the bar code on the back of STB. For
example:
STB Serial No. EPG Default User EPG Default Password
00010100011086800743000E0950DBE4 50DBE4 50DBE4
With correct ID and password, you can go to EPG home page for ordering programs as
below:
20
带格式的: 字体: (中文) 宋
体
带格式的: 字体: (中文) 宋
体
带格式表格
 Loading...