

Page 1
www.cooperandhunter.us
SOPHIA
SPLIT AIR CONDITIONER
WITH HEAT PUMP
Quick-Start Guide
ON /OF F
TE M P
S HO R T
MO DE
C U T
F A N
S WI NG
S PE E D
TI ME R
DIR E C T
O N
TI ME R
S L EE P
O FF
L E D
TU R B O
IMPORTANT NOTE:
Read this manual carefully before installing
or operating your new air conditioning
unit. Be sure to save this manual for
future reference.
Page 2
CONTENTS
Handling the remote control ..........................................................
Remote control specifications.......................................................
Function buttons ............................................................................
Indicators on LCD ...........................................................................
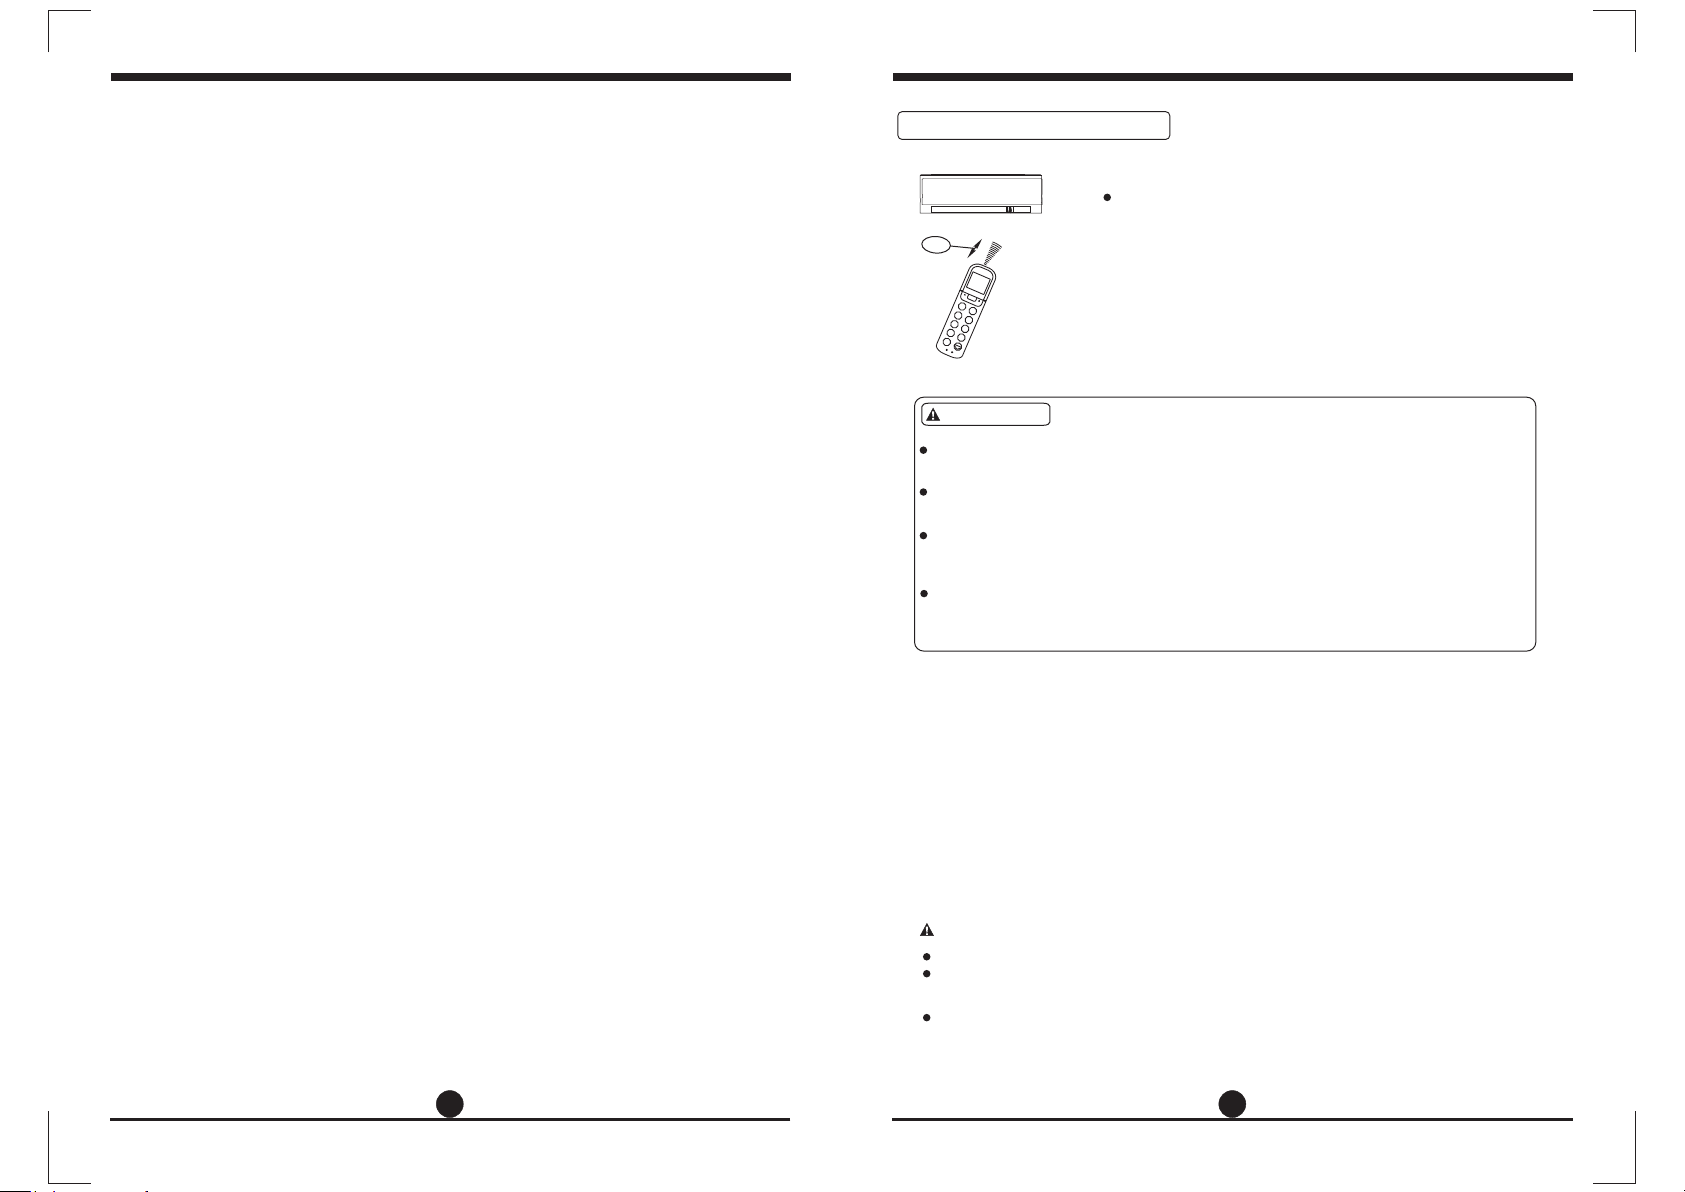
Handling the remote control
Location of the remote control
Use the remote control within a distance of 8
2
8m
meters from the appliance, pointing it toward the
receiver. Reception is confirmed by a beep.
3
O
N
/
O
F
F
T
E
MP
MO
D
E
S
H
O
RT
4
7
C
U
T
S
WI
N
G
F
A
N
S
P
E
ED
D
I
R
E
C
T
T
I
M
E
R
O
N
S
L
E
E
P
TI
M
E
R
O
FF
T
U
R
B
O
L
E
F
D
O
L
L
M
O
W
E
L
OCK
R
E
SE
T
How to use the buttons ..................................................................
Auto/Cool operation........................................................................
Dry/Fan operation............................................................................
Heat operation ................................................................................
Setting the timer function ..............................................................
10
11
8
8
9
CAUTIONS
The air conditioner will not operate if curtains, doors, or other materials
block the signals from the remote control to the indoor unit. Prevent any
liquid from falling into the remote control. Do not expose the remote
control to direct sunlight or heat.
If the infrared signal receiver on the indoor unit is exposed to direct
sunlight, the air conditioner may not function properly. Use curtains to
prevent sunlight from falling on the receiver.
If other electrical appliances react to the remote control, either move
those appliances or consult your local dealer.
Replacing batteries
The remote control is powered by two dry batteries (R03/LR03X2) housed in the
rear part and protected by a cover.
(1) Remove the cover by pressing it and sliding it off.
(2) Remove the old batteries and insert the new batteries, placing the (+) and (-)
ends correctly.
(3) Reattach the cover by sliding it back into position.
NOTE: When the batteries are removed, the remote control erases all progra-mming.
After new batteries are inserted, the remote control must be reprogrammed.
CAUTIONS
Do not mix old and new batteries or batteries of different types.
Do not leave the batteries in the remote control if they will not be used for
2 or 3 months.
Do not dispose batteries as unsorted municipal waste. Collection of such
waste separately for special treatment is necessary.
1
2
Page 3

Remote controller specifications
Function buttons
ON/OFF button
3.0V (Dry batteries R03/LR03X2)
26.2 ft (
8 m)
23°F - 140°F (-5°C ... 60°C)
Performance feature
1.
Operating Mode: AUTO, COOL, DRY, HEAT (Except in cooling-only model)
without), and FAN
2.
Timer setting function in 24 hours
3.
Indoor setting temperature range: 62°F - 86°F (17°C - 30°C)
4.
Full function of LCD (Liquid Crystal Display).
NOTE:
Button design migh
purchased, depending on individual m odels.
All the function s described a re accomplished by the indoor un it.
If the indoor unit does not have this feature, no corresponding
operation will occur when the relative button is pressed on the remote
control.
t be slightly different from t he actual one yo u
TEMP
Increases temperature in 2°F (1°C)
increments. Max. temperature is 86°F (30°C)
TEMP
Decreases temperature in 2°F (1°C)
increments. Min. temperature is 62°F (17°C).
1
ON/OFF
MODE
SWING
DIRECT
SLEEP
TURBO
TEMP
SHORT
CUT
FAN
SPEED
TIMER
ON
TIMER
OFF
LED
8
9
10
11
12
2
3
4
5
6
7
MODE button
AUTO
NOTE: Please do not select HEAT mode
if the machine you purchased is a coolingonly model. Heat mode is not supported by
the cooling-only appliance.
COOL
FAN
DRY
SWING button
movement.
DIRECT button
HEAT
6°
.
SLEEP button
Activate/Disable sleep function. it can
maintain the most comfortable
temperature and save energy.
For detalls, see "Sleep operation" in
"USER'S MANUAL"
NOTE: While the unit is running
under SLEEP mode, it will be
cancelled if the MODE, FAN, or
ON/OFF button is pressed.
Page 4

Function buttons
1
ON/OFF
MODE
SWING
DIRECT
SLEEP
TURBO
TEMP
SHORT
CUT
FAN
SPEED
TIMER
ON
TIMER
OFF
2
3
4
5
6
7
LED
10
8
12
7
TURBO button:
Activate/Disable TURBO function.
Turbo function enables the unit to
reach the preset temperature in the
shortest possible time. If the indoor unit
does not have this feature, no
corresponding operation will occur
when the button is pressed.
SHORTCUT button
8
Sets and activates your favorite presettings.
The first time the unit is connected to the
power, when you press this button, the
fan speed will be set to AUTO mode,
75.2°F (24°C).
When the remote control is on, pressing
this button will cause the system to
1
ON/OFF
MODE
SWING
TEMP
SHORT
CUT
FAN
SPEED
8
9
2
3
4
TIMER OFF Button
11
Sets timer to turn unit off. Each press
will increase the auto-timed setting in
30-minute increments When the
setting time displays 10H, each press
will increase the auto-timed setting in
60-minute increments. To cancel the
auto-timed program, simply adjust the
auto-off time to 0.0.
12
LED Button
Turns indoor unit s LED display on and
,
off.
automatically revert back to the previous
9
settings, including operating mode,
setting temperature, fan speed level, and
5
DIRECT
TIMER
ON
10
sleep feature (if activated).
If this button is held for more than 2
seconds, the system will automatically
6
SLEEP
TIMER
OFF
11
restore the current operation settings,
11
including operating mode, setting
temperature, fan speed level, and sleep
7
TURBO
LED
12
feature (if activated).
FAN SPEED button
9
Selects fan speeds in the following
order:
AUTO LOW MED HIGH
TIMER ON button
10
Sets timer to turn unit on. Each press
will increase the auto-timed setting in
30-minute increments. When the
setting time displays 10H, each press
will increase the auto-timed setting in
60-minute increments. To cancel the
auto-timed program, simply adjust the
auto-on time to 0.0.
5 6
Page 5

Indicators on LCD
How to use the buttons
MODE display
Displays the current mode, including:
Transmission
Indicator Lights up
when remote sends
signal to indoor unit
Auto
Cool
Dry
Heat
Fan
TIMER ON/OFF
display Displays
auto cool dry heat fan
SET TEMP. TIMER ONOFF
when TIMER ON/OFF
is set
FAN SPEED display
Displays selected FAN
Temperature/Timer display
Displays the set temperature by
default, or timer setting when
using TIMER ON/OFF functions:
Temperature range:
62°F - 86 °F
Timer setting range: 0-24 hours
This display is blank when
operating in FAN mode.
sleep follow me lock run
F
SPEED:
HIGH MED LOW
This display is blank
when set to Auto
speed or dry mode.
ON/OFF display
Appears when the unit
is turned on and
disappears when it is
turned off.
SLEEP display
Displays when SLEEP
function is activated.
FOLLOW ME
display
Indicates that
the FOLLOW ME
Lock Display
Displayed when LOCK
mode is activated (
available for this unit
function is on
(Not available for
this unit)
Note:
All indicators shown in the figure are for the purpose of clear presentation. During
the actual operation, only the relative functional signs are shown on the display
window.
Not
).
auto
3
ON/OFF
2
1
COOL operation
1. Press the MODE button to select
COOL mode.
2.Set your desired temperature using
the Temp or Temp button.
3. Press the FAN button to select the
fan speed: AUTO, LOW, MED, or
HIGH.
4. Press the ON/OFF button to start the
unit.
MODE
SWING
DIRECT
SLEEP
TURBO
TEMP
SHORT
CUT
FAN
SPEED
TIMER
ON
TIMER
OFF
LED
AUTO operation
SETTING TEMPERATURE
The operating temperature range f or un its is
62-86 °F (17-30 °C)
the set t emperature in 2
In AUTO
mode, the unit will automatically
. You can incre ase or dec rease
°
F (1°C) i ncrements.
select the COOL, FAN, HEAT, or DRY mode
based on the set temperature.
1. Press the MODE button to select Auto mode.
2. Set your desired t emperature using the
Temp or Temp button.
3. Press the ON/OFF button to start the unit.
NOTE: FAN SPEE D can t be set in AUTO m ode.
,
c ool
4
ON/OFF
MODE
SWING
DIRECT
SLEEP
TURBO
TEMP
SHORT
CUT
FAN
SPEED
TIMER
ON
TIMER
OFF
LED
3
2
1
7 8
Page 6

How to use the buttons
How to use the buttons
dry
3
ON/OFF
MODE
SWING
DIRECT
SLEEP
TURBO
TEMP
SHORT
CUT
FAN
SPEED
TIMER
ON
TIMER
OFF
LED
2
1
FAN operation
1.
Press the MODE button to select FAN
mode.
2.
Press the FAN button to select the fan
speed: AUTO, LOW, MED, or HIGH.
3.
Press the ON/OFF button to start the
unit.
NOTE: Temperature can't be set in FAN
mode. As a result, your remote control's
LCD screen will not display temperature.
DRY operation (dehumidifying)
1. Pre ss th e MODE butt on to s ele ct DRY
mode.
2. Set y our d esi red t emp era ture using t he
T
emp or Temp button.
3. Press the ON/OFF button to start the unit.
NOTE: FAN SPEE D can t be changed i n
,
DRY mode .
fan
3
ON/OFF
TEMP
SHORT
MODE
SWING
DIRECT
SLEEP
TURBO
CUT
FAN
SPEED
TIMER
ON
TIMER
OFF
LED
2
1
HEAT operation
1. Pre ss th e MODE butt on to s ele ct
heat
HEAT mode .
2. Set y our d esi red t emp era ture using
the Temp or Temp button.
3. Pre ss th e FAN bu tto n to se lec t the
4
ON/OFF
MODE
SWING
DIRECT
SLEEP
TURBO
TEMP
SHORT
CUT
FAN
SPEED
TIMER
ON
TIMER
OFF
LED
3
2
1
fan speed: AUTO, LOW, MED, or HIGH.
4. Pre ss th e ON/ OFF b utt on to start th e
unit.
NOTE: As outdoor tempe rature drops, the
performance of your unit s HEAT function
may be affected. In such instances, we
recommend using this air conditioner in
conjunction with other heating appliances.
9 10
Page 7

Setting the TIMER function
Your a ir co ndi tio ning unit ha s two
time r-r ela ted f unc tio ns:
TIMER ON- sets the amount of time after
which the unit will automatically turn on.
TIMER OFF- sets the amount of time after
which the unit will automatically turn off.
TIMER ON function
The TIMER ON function allows you to set a
period of time after which the unit will
automatically turn on, such as when you
come home from work.
1. Press the TIMER ON button. By
default, the last time period that you
set and an "h" (indicating ho urs) will
appear on the display.
Note: This number indicates the
amount of time after the current time
that you want the unit to turn on. For
example, if you set TIMER ON for 2
hours, "2.0H" will appear on the
screen, and the unit will turn on after
2 hours.
2.
Press the TIMER ON button repeatedly to
set the time that you want the unit to turn
on.
3.
After 2 seconds, the TIMER ON
func tio n wil l be ac tiv ate d. The di git al
disp lay o n you r rem ote c ont rol will the n
retu rn to t he te mpe rat ure d isplay.
1
3
MODE
FAN
S
L
E
EP
Example
hours.
2
x5
TIMER
ON
1 sec
ON/OFF
SHORT
CUT
TEMP
TIMER ON
TIMER OF
F
: Setting unit to turn on after 2.5
TIMER
ON
4
2 sec
TIME R OFF f unc tio n
The TIMER OFF function allows you to set
a period of time after which the unit will
automatically turn off, such as when you
wake up.
1. Press the TIMER OFF button. By default,
the last time period that you set and an
"h" (indicating ho urs) will appear on the
display.
Note: This number indicates the
amount of time after the current time
that you want the unit to turn off.
For example, if you set TIMER OFF for
2 hours, "2.0H" will appear on the
screen, and the unit will turn off after
2 hours.
2.
Press the TIMER OFF button repeatedly to
set the time that you want the unit to turn off.
3.
After 2 seconds, the TIMER OFF
function will be activated. The digital
display on your remote control will then
return to the temperature display.
1
TIMER
OFF
3
1 sec
2
x10
TIMER
OFF
4
2 sec
NOTE: When se tti ng th e TI MER O N or
TIMER OFF functions, up to 10 hours, the
time will increase in 30-minute increments
with each press. After 10 hours and up to
24, it will increase in 1-hour increments.
The timer will revert to zero after 24 hours.
You can turn off either function by setting
its timer to "0.0h".
Cont inu e to pr ess
TIME R ON or TIMER
OFF bu tto n unt il
desi red t ime i s
reached.
ON/OFF
TEMP
SHORT
MODE
CUT
FAN
SWING
SPEED
TIMER
DIRECT
ON
TIMER
SLEEP
OFF
LED
TURBO
11
ON/OFF
MODE
FAN
S
L
EEP
Example
hours.
SHORT
CUT
TEMP
TIMER ON
TIMER OF
F
: Setting unit to turn off after 5
12
Page 8

Sett ing b oth T IME R ON an d TIMER OFF at t he sa me ti me
Keep in mind that the time periods you set for both functions refer to hours after the current
time. For example, suppose that the current time is 1:00 PM, and you want the unit to turn on
automatically at 7:00 PM. You want it to operate for 2 hours, then automa-tically turn off at
9:00 PM.
Do the following:
1
TIMER
ON
2
X12
TIMER
ON
3
4
3 sec
ON/OFF
MODE
SHORT
CUT
TEMP
TIMER ON
Exam ple : Set tin g the u nit t o turn on afte r 6 hou rs, o per ate f or 2 hours, th en tu rn off
(see t he fi gur e bel ow)
Your remote di spl ay
TIME R ON
Timer is set to turn ON 6
hours from current time
TIMER OFF
Timer is set to turn OFF
8 hours from current time
5
TIMER
OFF
6
X16
TIMER
OFF
7
8
Timer starts
3 sec
ON/OFF
MODE
SHORT
CUT
TEMP
TIMER ON
Current
time 1PM
2PM 3PM
4PM 5PM
6PM 7PM 8PM 9PM
Unit turns Unit turns
ON
OFF
6 hours later
8 hours later
13
14
Page 9

 Loading...