

Page 1
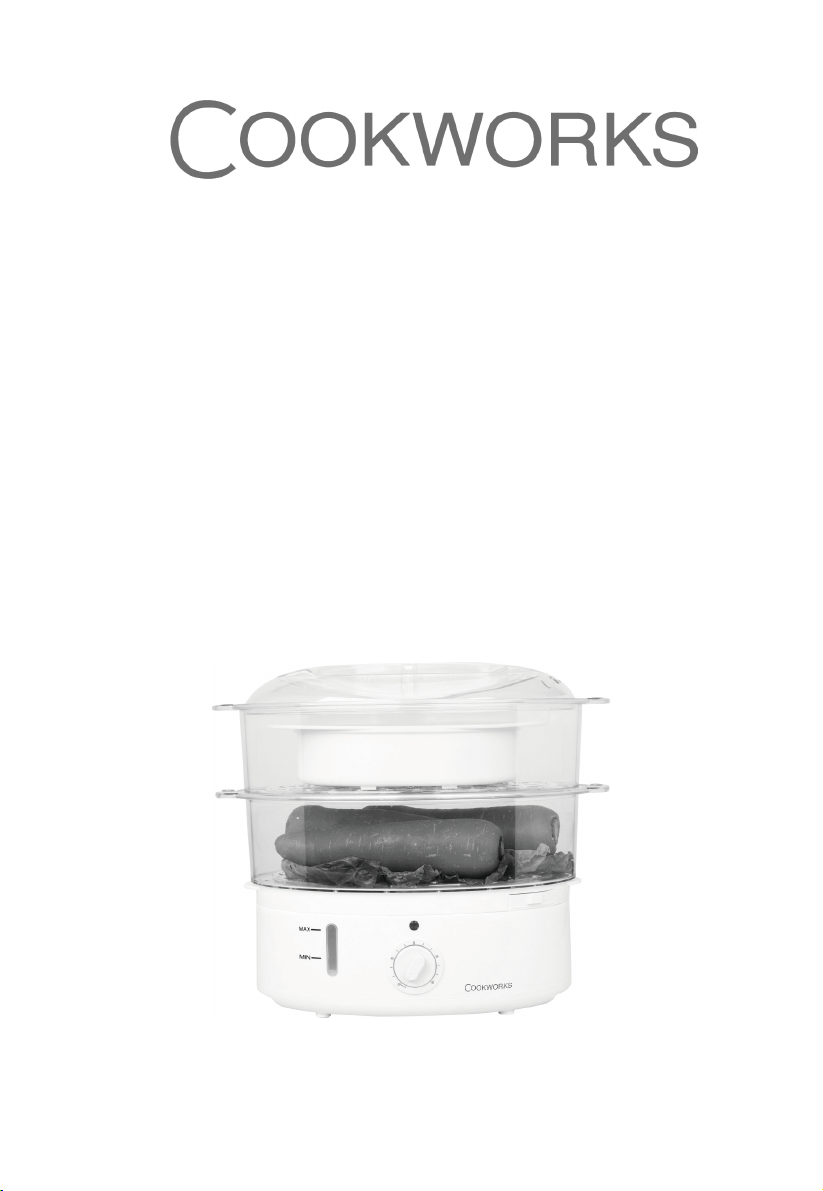
2 BOWL STEAMER
INSTRUCTION MANUAL
Page 2

IMPORTANT SAFEGUARDS
Do not touch hot surfaces. Use potholders when removing cover or handling hot containers.
To protect against electrical shock, do not immerse cord, plug or base unit in water.
Close supervision is necessary when any appliance is used by or near children.
Unplug when not in use. Unplug before putting on or taking off parts, and allow to cool before
cleaning.
Do not operate appliance with damaged cord or plug, or after appliance malfunctions or damaged
in any manner. Return appliance to authorized service facility for repair.
Use of accessory attachments not recommended.
Do not use outdoors.
Do not let cord touch hot surfaces.
Do not place near hot gas or electric burner or in heated oven.
Caution when moving appliance containing hot food, other hot liquids.
Lift and open cover carefully to avoid scalding, and allow water to drip into steamer.
Do not place the unit directly under cabinets when operating as this product produces large
amounts of steam.
Some water will remain in the Water Reservoir after the Steamer has turned off; this is normal.
Do not use any Steam parts in microwave or on heated surface.
Fill the reservoir with water before plugging the power cord otherwise the appliance may be
damaged.
If the supply cord is damaged, it must be replaced by the manufacturer, its service agent or
similarly qualified persons in order to avoid a hazard.
The appliance is not intended for use by children or other persons without assistance or
supervision if their physical, sensory or mental capabilities prevent them from using it safely.
Children should be supervised to ensure that they do not play with the appliance.
DO NOT place product in the dishwasher to clean. Product is not dishwasher safe.
DO NOT place product in the microwave oven. Product is not microwave safe.
This appliance can be used by children aged from 8 years and above and persons with reduced
physical, sensory or mental capabilities or lack of experience and knowledge if they have been given
supervision or instruction concerning use of the appliance in a safe way and understand the hazards
involved. Children shall not play with the appliance. Cleaning and user maintenance shall not be made
by children without supervision.
SPECIAL INSTRUCTIONS
To avoid a circuit overload, do not operate another high wattage appliance on the same circuit.
Extension cords may be used if care is exercised in their use. If extension cord is used: (a)The
electrical rating of the extension cord should be at least that of the appliance.
(b)The longer cord should be arranged so that it will not drape over the counter or table top
where it can be pulled on by children or tripped over.
Do not immerse base unit in water or other liquids.
SAVE THESE INSTRUCTIONS
2
Page 3

PARTS DESCRIPTION
Cover
Upper Steaming Bowl (No. 2)
Lower Steaming Bowl (No. 1)
Drip Tray
Water adding point
Heating Element
Water Reservoir
Power indicator light
Water level indicator
READ CAREFULLY BEFORE USING YOUR NEW STEAMER.
60 Minutes Timer
Base
BEFORE THE FIRST USE
Check the voltage rating on the base corresponds to the mains voltage in your home.
Remove any labels or stickers from appliance.
Thoroughly wash lid, rice bowl, upper steaming bowl, lower steaming bowl, drip tray and heating
element sleeve in warm, soapy water before first use then rinse and dry carefully.
Wipe the inside of the water reservoir with a damp cloth.
TO USE
Place unit on a flat, sturdy surface with adequate clearance (i.e. do not place under wall cabinets).The
steamer unit and components are not for use in ovens(microwave, convection or conventional)or on
stove-top.
Fill water reservoir with clean water only. Do not put any other liquids or add any salt, pepper, etc in
3
Page 4

the water reservoir. Make sure the water does not exceed the max water level or is lower than the min
water level as indicated inside the water reservoir.
WATER FILL LEVEL
The water fill level as indicate on the water level window of the base.(Figure B)
Maximum water level
Water level indicator
Figure B
The max water level is for long time cooking while the min water level for shorter time.
NOTE: WATER LEVEL SHOULD NEVER BE LOWER THAN (MIN)LINE.
STANDARD ARRANGEMENT OF STEAMING BOWLS
Place vegetable, seafood or other foods without sauce or liquid into
the steaming bowl. Arrange food in center of bowl. Try not to block
steam vents. You can use egg steaming tray for steaming egg.
(Remove steaming bowl) See Figure.
Meat or fish should always be placed in the lower steaming bowl to
avoid juices dripping on the contents of the other bowls.
FOR DOUBLE TIER OR THREE TIER STEAMER
Base
Figure C
Egg
Base
TO USE RICE BOWL
Place rice or other foods with sauce or liquid in rice bowl. Cover with lid. Plug into wall outlet and set
timer. When food is well cooked, unplug unit.
NOTE: Drip Tray is not used.
Cooking times are estimates only and depend On the quantity, size,
required degree of Cooking times given in the following guide are
suggested times for double tier steamer. For cooking food in three
tier steamer, adjust Times accordingly.
When handling and removing hot components, use OVENGLOVES
to avoid burns from hot steams.
TIMER SETTING(MAXIMUM 60 MINUTES)
Set the timer to the recommended cooking time (steaming times can be adjustedas required).The light
will turn off when cooking is completed and the timer will give a signal ring.
CARE AND MAINTENANCE
Unplug cord from outlet. Before cleaning allow Steamer to cool. Never immerse the Base, Cord and
Plug in water.
1. Empty the drip tray / water inlet and the water reservoir.
4
Rice Bowl
Figure D
Base
Page 5

r
2. Wash lid, steaming bowl, rice bowl and drip tray in hot, soapy water, rinse and dry all parts.
3. Clean reservoir with soapy water then wipe with damp cloth.
4. Do not use abrasive cleaners.
5. The lower/middle steaming bowl and the rice bowl can be stored inside the upper steaming bowl
with the lid on top.
6. In hard water areas, the scale may build up on the heating element. If scale is allowed to
accumulate, food may not be cooked properly in the given time. Element should be cleaned
every 7-10 uses. Pour 3 cups clear vinegar into the water reservoir then fill water up to max water
level. Do not use lid, steaming bowl, rice bowl & drip tray in this procedure.
7. Plug in set timer up to 20 minutes. When the timer rings, unplug cord from outlet. Allow the unit to
cool completely before emptying the water reservoir. Use the cold water to rinse the water
reservoir several times.
REHEATING: BREADS AND LEFTOVERS
1. Do not wrap or cover when reheating breads.
2. For leftovers, reheating times are based on foods at refrigerator temperatures.
3. When reheating leftovers in the rice bowl, always spread leftovers evenly in RICE BOWL and use
a Aluminum foil to cover.
4. Experiment with your own leftovers.
RICE GRAINS
1. There are many types of rice. Follow specific directions for variety used.
2. Accurately measure rice and water then combined in rice bowl. Pour specified amount of water in
water reservoir. Cover and steam.
3. For soften rice, increase amount of water by 1-2 tablespoons. For firmer rice, decrease amount of
water by1-2 tablespoons.
4. Check consistency of rice at minimum time specified for each type, stirring rice at the same time.
5. When checking/stirring rice, be careful not to drip the condensate into the rice bowl which would
reduce the quality and flavor of the steamed rice.
6. Use only clean water in water reservoir.
7. Rice may be seasoned with salt, pepper or butter after steaming.
Type of Rice
Brown
– Regular Long or
Short Grain
White
–Regular, Long
and Medium Grain
– Regular,
Parboiled, Long
and Grain
Rice and
Mushroom Pilaf
VEGETABLES
1. Clean the vegetables thoroughly, Cut off stems; trim; peel or chop if necessary.Smaller pieces
steam faster than larger ones.
2. Quantity, quality, freshness and size/uniformity, temperature of frozen food may affect steam
timing. Adjust water amounts and cooking time as desired.
Combined in Rice Bowl
Amt. Rice
1/2 cup
1cup
1/2 cup
1cup
1/2 cup
1cup
1cup
extra long grain
white rice
Amt. Cold
2/3cup
1 1/4cups
3/4cup
1 1/4cups
3/4cup
1 1/4cups
1 1/3cups
chicken broth
instead of wate
Use Drip
Tray
No
No
No
No
No
No
No Max 50-55
Water Fill
Line In
Base
Max
Max
Max
Max
Max
Max
Approx.
Time
(Minutes)
40-41
54-57
34-36
37-41
51-53
53-55
5
Page 6

3. Frozen vegetables should not be thawed before steaming.
4. Some frozen vegetables should placed in the rice bowl and covered with a Piece of aluminum foil
during steaming.
The frozen foods should be separated or stirred after 10-12minutes.Using a long handle fork/spoon to
separate or stir foods.
Variety
Artichokes, Whole 4medium No Yes Max 37-40
Asparagus, Spears
Beans, -Green/Wax
-Cut or Whole
Broccoli, Spears 1 Ib No Yes Min 12-14
Cabbage
Carrots 1 Ib No Yes Min 15-17
Cauliflower –Whole
Head
Corn on Cob
Mushrooms, Whole
-Medium
Onions, Whole (to
partially cook for grilling
use)
Peas – Green 1 1/2 Ibs. In pod No Yes Min 14-16
Peppers, whole
-Sweet Green or Red (to
partially, cook, then
stuff)
Potatoes, whole
- Red
Spinach 10 ounces No Yes Min 10-12
Squash
-Summer Yellow and
Zucchini
Turnips
FISH AND SEAFOOD
1. The steaming times listed in the chart are for fresh, or frozen and fully thawed seafood and fish.
Before steaming. clean and prepare fresh seafood and fish.
2. Most fish and seafood cook very quickly. Steam in small portions or in amountsas specified.
3. Clams, oysters and mussels may open at different times. Check the shells to avoid over cooking.
4. You may steam fish fillets in the RICE BOWL serve steamed seafood and fish plain or use
seasoned butter or margarine, lemon or favorite sauces.
5. Adjust steaming times accordingly.
Weight/Or Number
Pieces
1/2 -1 Ib
(about1/2” in
diameter)
1 Ib No Yes Max 25-28
1 Ib (about 1/2 small
head)
Mediu
size(about2 1/2
lbs. untrimmed)
Up to 8pieces
(2 3/4”-3” in length)
10 ounces No Yes Min 10-11
1 Ib medium size
(about 4-2
1/2”diameter)
Up to 4 medium No Yes Min 9-11
1 Ib.
about 8 small (1
1/2”-2” in width)
1 Ib.
medium size
1 Ib.
(about 5 small)
Use
Rice
Bowl
No Yes Min 13-15
No Yes Min 17-19
No Yes Min 14-16
No Yes Min 17-19
No Yes Min 7-9
No Yes Min 17-19
No Yes Min 11-13
No Yes Min 12-14
6
Use
Drip
Tray
Water Fill
Line In
Base
Approx.
(Minutes)
Time
Page 7

Type of Fish Amount
Fillets
-Sole, Flounder, other
favorite fillets
Steaks
-Halibut
-Salmon
-Tuna
-Other favorite Fish Steaks
Poached Fillets
-Your favorite fish fillets
1/2 ibs.
(1/4
-1/2”thick).
1-2 pieces
1/2 – Ib.
1”thick
3/4-1”thick
3/4-1”thick
3/4-1”thick
1/2 -3/4 Ib.
(3 – 4 fillets;
1/4 -1/2”thick)
Use
Rice
Bowl
No Yes Min 8-10
No
No
No
No
No Yes Max 30-35
Use
Drip
Tray
Yes
Yes
Yes
Yes
Water Fill
Line In
Base
Min
Min
Min
Min
Approx.
Time
(Minutes)
13-14
18-21
14-19
13-21
Type of
Seafood
Amount
Use Rice
Bowl
Use Drip
Tray
Water Fill
Line In Base
Approx. Time
(Minutes)
Clams 1/2-1 Ib. in shell No Yes Min 10-12
Crab
Lobster
-Tails
Mussels
(fresh)
Oysters
(fresh)
Scallops
(fresh)
1 Ib.
(about 6 pieces)
1 or 2
(7 to 8 ozs. each)
No Yes Min 15-18
No Yes Min 18-20
1 Ib.in shell No Yes Min 12-14
About 1/2 dozen No Yes Min 11-13
1/2 Ib. shucked No Yes Min 10-12
Shrimp 1 Ib. in shell No Yes Min 11-12
MEAT
Variety
Chicken
- Breast, bone-less
fillets
- Breast, split with
bone
- Drumsticks, with
bone
-Thighs, with bone
- Poached
Chicken Breast, split
-boneless or with
bone
Frankfurtres
- Regular length
Weight / Or
Number Pieces
1/2 Ib.
(4-5 pieces)
1-1 1/4 Ibs.
(2 pieces)
about 1 Ib.
(4 pieces)
about 1 Ib.
(4 pieces)
1 Ib.
(2 Pieces)
Up to 1 Ib.
(8-10 franks)
Use Rice
Bowl
Use Drip
Tray
Water Fill
Line In Base
No Yes Min 14-16
No Yes Max 37-41
No Yes Max 32-36
No Yes Max 34-37
Yes Yes Max 45-47
No Yes Min 12-14
Approx.
Time
(Minutes)
Sausage
-fully cooked
–Bratwurst
Up to 1 Ibs. No Yes Min 17-19
-Kielbasa Up 1 3/4 Ibs. No Yes Min 19-21
7
Page 8

EGGS
Other Foods
Eggs
-Large size
Hard Cooked
Weight/Or
Number Pieces
1-12 No Yes Max 30
Use Rice
Bowl
Use Drip
Tray
Water Fill
Line In Base
Approx. Time
(Minutes)
8
Page 9

CONNECTING TO POWER
Before Switching on make sure that the voltage of your electricity supply is the same as that indicated
on the rating plate. This appliance may be fitted with a non-rewireable plug. If it is necessary to
change the fuse in a non-rewireable plug the fuse cover must be refitted. If the fuse cover is lost or
damaged, the plug must not be used until a replacement is obtained.
It is important that the color of the replacement fuse cover corresponds with the colour marking on the
base of the plug.
If the plug has to be changed because it is not suitable for your socket, or becomes damaged, it
should be cut off and an appropriate plug fitted following the wiring instructions below.
The plug removed must be disposed of safely as insertion into a 13A socket is likely to cause an
electrical hazard. For your own safety read the following instructions carefully before attempting to
connect this unit to mains.
The wires in this mains lead are coloured in accordance with the following code:
BLUE = NEUTRAL BROWN = LIVE GREEN + YELLOW = EARTH
IMPORTANT
As the colours of the wire in the mains lead of this appliance may not
correspond with the coloured markings identifying the terminals in your
plug, proceed as following:
- The wire which is coloured blue must be connected to the
terminal which is marked with the letter N or coloured black.
- The wire which is coloured brown must be connected to the
terminal which is marked with the letter L or coloured red. The
wire which is colour green + yellow must be connected to the
terminal which is marked with the letter E.
If a 13 Amps (BS 1363) plug is used, it must be fitted with a 13 Amp Fuse conforming to BS1362 and
be ASTA approved. If in doubt consult a qualified electrician who will be pleased to do this for you.
CAUTION
To prevent electric shock disconnect from the mains before removing cover. No user serviceable
parts inside. Refer servicing to qualified service personnel.
SAFETY PRECAUTION
Do not allow this unit to be exposed to rain or moisture.
Mains Suppiy:220-240V/50Hz
Connecting it to other power source may damage the unit.
This marking indicates that this product should not be disposed with other household wastes
throughout the EU. To prevent possible harm to the environment or human health from uncontrolled
waste disposal, recycle it responsibly to promote the sustainable reuse of material resources. To
return your used device, please use the return and collection systems or contact the retailer where
the product was purchased. They can take this product for environmental safe recycling.
Guarantee
This product is guaranteed against manufacturing defects for a period of 1 year.
This does not cover the product where the fault is due to misuse, abuse, use in contravention of the
instructions, or where the product has been the subject of unauthorised modifications or alterations, or
has been the subject of commercial use. In the event of a problem with the product within the
guarantee period please return it to your nearest Argos store.
If the item is shown to have had an inherent defect present at the time of sale, the store will provide
you with a replacement. Your statutory rights remain unaffected.
Guarantor; Argos Ltd
489 – 499 Avebury Boulevard, Central Milton Keynes, MK9 2NW
9
 Loading...