

Page 1
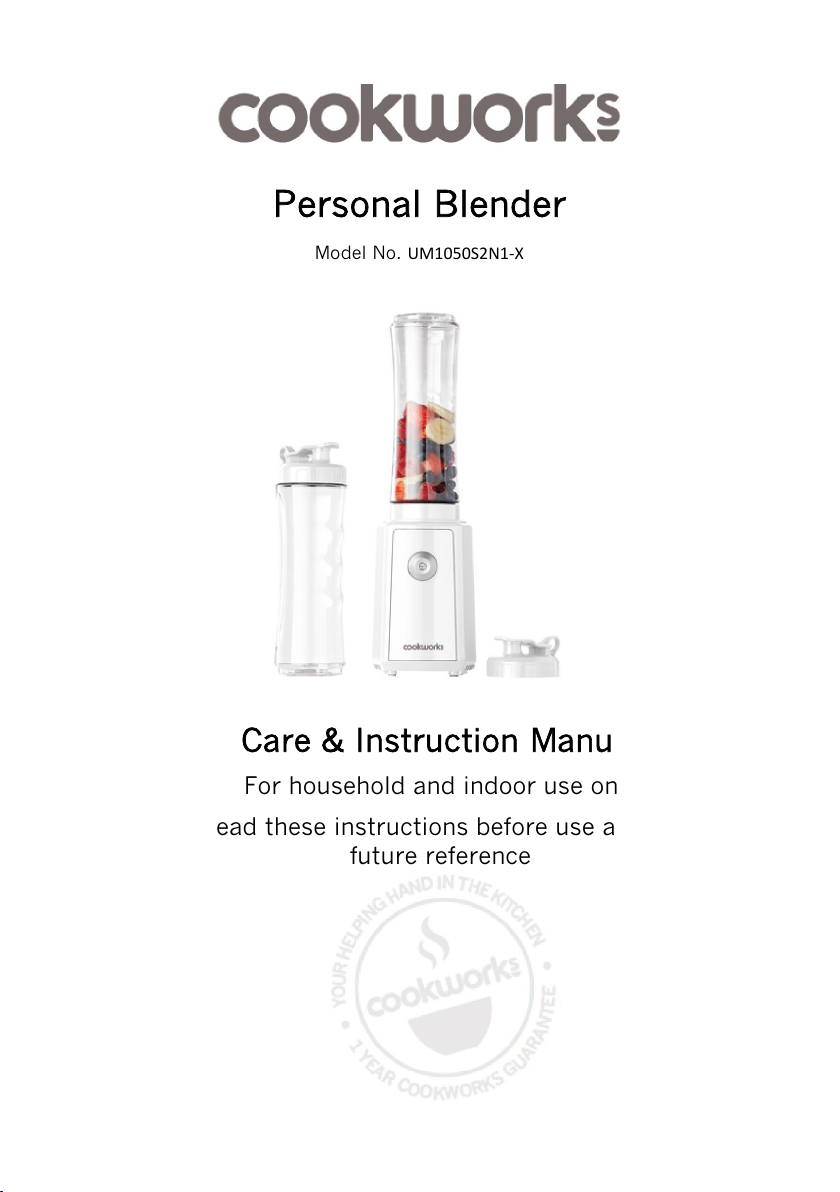
Personal Blender
Model No. UM1050S2N1‐X
Care & Instruction Manual
For household and indoor use only
Please read these instructions before use and retain for
future reference
ISSUE-1 20/10/2017 1
Page 2

Electrical safety
You should only plug the appliance into a 220V‐240V AC, 50Hz
supply. Connecting it to other power sources may damage the
appliance and will invalidate the guarantee.
Switch off and unplug when not in use and before assembling,
disassembling, changing accessories or cleaning the appliance.
This appliance shall not be used by children Keep the appliance
and its cord out of reach of children.
This appliance can be used by persons with reduced physical,
sensory or mental capabilities or lack of experience and
knowledge if they have been given supervision or instruction
concerning use of the appliance in a safe way and understand the
hazards involved.
Children shall not play with the appliance.
Keep motor housing, cable, and plug dry and away from areas
where it is likely to get splashed. Never immerse in water.
Do not cover or block the ventilation holes.
Do not pull on the cable to disconnect from the mains supply.
Do not operate the appliance if damaged or after it malfunctions.
In the event the supply cord is damaged, in order to avoid a
hazard it must only be replaced by a qualified service engineer,
with a suitably approved part.
This appliance must be positioned so that the plug is accessible
and the plug socket is within easy reach of the power cord.
ISSUE-1 20/10/2017 2
Page 3

1. Lid with spout
7
Warning!
This appliance is intended exclusively for use in domestic
households. It is not suitable for commercial use.
Only use with the parts supplied and fully assembled.
Do not cover the personal blender and allow the motor housing it
to cool fully before storing.
All ingredients must be below 40°C when added to the blending
jar.
Never use hot liquids in the personal blender, always allow
liquids to cool to room temperature before blending.
Do not fill above maximum level marked (500ml).
The blades are sharp; take care when removing from the
blending jar and cleaning.
This appliance can cause personal injury if misused.
Parts
2. Blending jar
3. Blade assembly
4. On/Off button
5. Motor housing
6. Power cord
7. Spare blending jar and lid
ISSUE-1 20/10/2017 3
Page 4

Assembly & use
IMPORTANT:
Your blender is equipped with
a safety feature, where the
blades will not operate unless
the base of the jar and motor
housing are fully locked.
Fig 1 Fig 2 Fig 3 Fig 4
1. Remove the lid from the storage position at the end of the
blending jar.
2. Clean all parts of the personal blender thoroughly before use.
3. Place the motor housing on a stable surface, fully unwind the
cable and plug in.
4. Ensure all ingredients are at or below room temperature. Never
use hot ingredients.
5. Prepare the food (e.g. remove the peel, pips and stones from
fruit, cores from pineapple etc.) and cut the fruit into 1-2cm
pieces.
6. Place prepared fruit and/or vegetables into the blending jar
(fig. 1).
ISSUE-1 20/10/2017 4
Page 5

7. Fit the blade assembly onto the jar and turn clockwise to secure
(fig. 2). When fitting, grasp around the side only (fig. 5) – do not
touch the blade or any part of the inner mechanism. Ensure the
assembly is screwed on firmly; otherwise leakage or non-function
may result.
Fig. 5
8. Invert the blending jar, align the black alignment mark (triangle
symbol) on the blade assembly with the ‘unlocked’ padlock
symbol and fit onto the motor housing. Turn clockwise firmly
(fig. 3) until the alignment mark (triangle symbol) is fully aligned
with the ‘locked’ padlock symbol. The blender is then ready to
use (fig. 4).
9. Press and hold the ON / OFF button to start the blender working.
Mix for a maximum of 1 minute.
10. Release the button to switch off; allow the blade to stop spinning
before checking the consistency of the mix.
11. If the mix is not consistent, remove the blending jar from the
motor housing and invert a few times before refitting and
starting the blender operating again.
12. If satisfactory, remove the blending jar from the motor housing,
invert the jar and twist the blade assembly anticlockwise and
remove.
13. Screw the lid onto the blending jar for storage and
transportation.
14. To stop or interrupt the blending process release the ON/OFF
button or by turning off at the mains.
ISSUE-1 20/10/2017 5
Page 6

Notes:
The motor housing is fitted with an interlock mechanism to
prevent operation without the jar in place. In the event the motor
does not operate, re-check steps 7 and 8 above have been
followed correctly.
For the best taste and nutritional value use fresh fruit and drink
the juice soon after preparing.
Peel foods with thick and bitter skins (e.g. citrus fruit, banana),
remove seeds, pips and stones (e.g. melons, plums etc.) and hard
cores (e.g. pineapple) to prevent damage to the blades and for
smooth drinks.
If using fruits with high starch or fibre content (e.g. bananas,
mangos etc.) ensure a liquid (e.g. proprietary fruit juice) is added
to aid blending.
A few small ice cubes or frozen summer fruits may be added to
the blending container for incorporation into the drink.
This personal blender can also be used to make milkshakes,
cocktails, batters etc.
Cleaning
Clean the personal blender after each use.
1. Switch off and unplug.
2. The inside of the personal blender can be rinsed between fruits or
partially cleaned before carrying out a full clean. To rinse, fill the
blending jar with a small quantity of water and operate the
personal blender as normal. Discard the liquid.
3. The blades are sharp, take care when removing from the blending
jar and cleaning. Rinse the blades (not the underside of the
assembly) with hot water with a little washing up liquid. Rinse
and wipe dry.
4. The blending jar and lid and stopper may be washed in hot water
with a little washing up liquid. Rinse and wipe dry. The blending
jar and lid are suitable for use in dishwashers, but the blade
assembly is not.
5. Wipe the outside of the motor housing with a damp cloth; do not
use detergent or abrasives as these may scratch the surface.
Never immerse the motor housing, cable or plug in water.
ISSUE-1 20/10/2017 6
Page 7

Technical specification
Rated voltage 220-240V AC 50/60Hz
Power consumption 300W
Maximum work time 1 minute
Class rating 2 (double insulated)
BS 1362 fuse 3A
Capacity 500ml
ISSUE-1 20/10/2017 7
Page 8

If you encounter any problems
Produced in China for
Plug / Wiring advice
The wires in this mains lead are coloured in accordance with the
following UK electrical code: BLUE = NEUTRAL
BROWN = LIVE
Non-rewireable plug
This appliance may be fitted with a “non‐rewireable” plug. If you
need to change the fuse in a “non‐rewireable” plug, the fuse cover
must be refitted. If the fuse cover is lost or damaged, the appliance
must not be used.
Rewireable plug
The colours of the wires in the mains lead of this appliance may not
correspond with the coloured markings identifying the terminals in a
rewireable plug. Rewireable plugs should only be replaced by a
suitably competent person. If in doubt, consult a qualified
electrician.
The BLUE wire must be connected to
the terminal marked with the letter N
The BROWN wire must be connected to
the terminal marked with the letter L
Recycling electrical products
This marking indicates that this product should not be
disposed with other household wastes throughout the EU. To
prevent possible harm to the environment or human health
from uncontrolled waste disposal, recycle it responsibly to
promote the sustainable reuse of material resources. To return
your used device, please use the return and collection systems
or contact the retailer where the product was purchased. They
can take this product for environmental safe recycling.
with this product please call our
customer care team on
0345 640 30 30
ISSUE-1 20/10/2017 8
Argos Limited,
489 – 499 Avebury Boulevard
Central Milton Keynes
MK9 2NW. UK.
Page 9

ISSUE-1 20/10/2017 9
 Loading...