

PORTABLE TOWER FAN
OWNER’S INSTRUCTION MANUAL
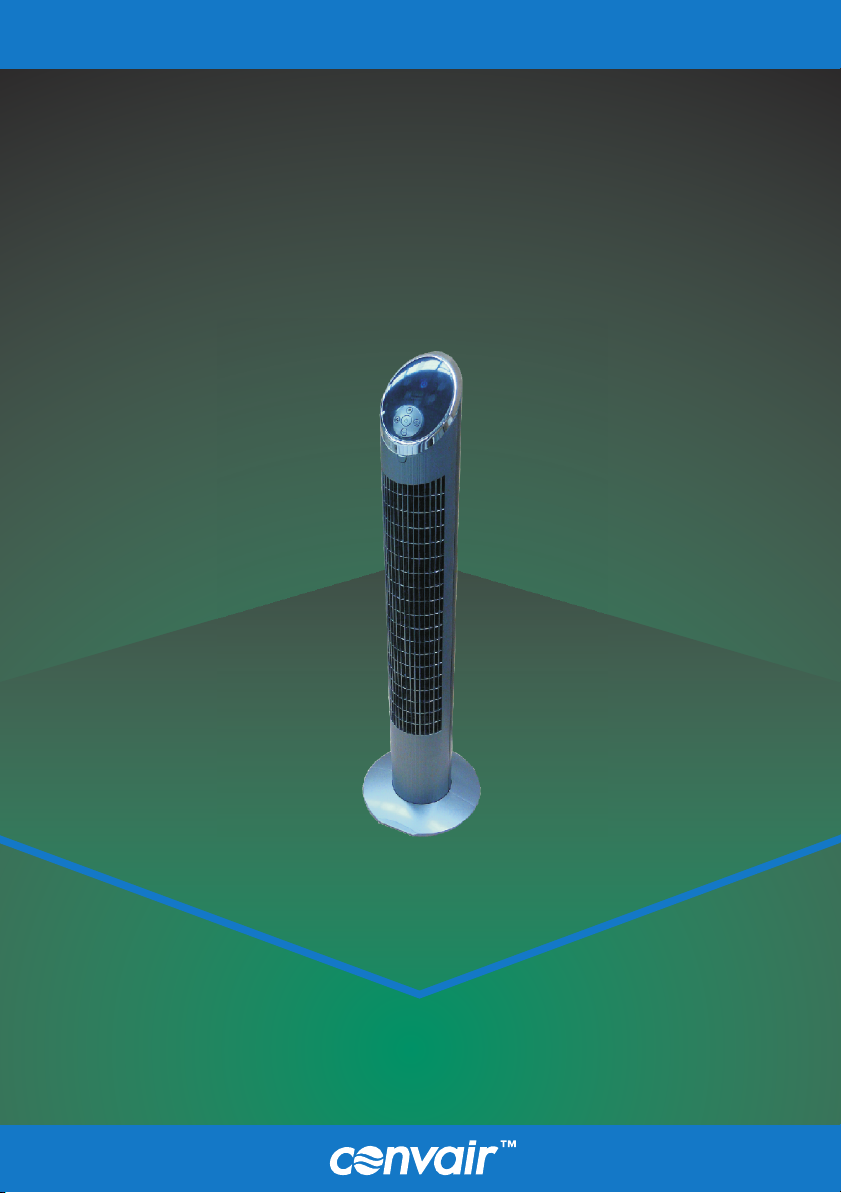
MODEL CTF02i

Waste electrical products must not be disposed of with household waste. This
product should be taken to your local recycling centre for safe treatment.
As the policy of this company is one of continuous improvement, all specifications are subject to change without notice.

SAFETY
1
GENERAL SAFETY
Please read these instructions before using
the fan and keep for future reference.
This appliance is not intended for use by
persons (including children) with reduced
physical, sensory or mental capabilities, or
lack of experience and knowledge, unless
they have been given supervision or
instruction in using the appliance by a
person responsible for their safety.
Children should be supervised to ensure that
they do not play with the appliance. Do not
poke anything through the ventilating slits.
Assemble the fan completely before use.
Always use the fan in an upright position.
Stand it on a firm, solid, horizontal base (not
on thick pile carpets).
Clean these openings at regular intervals to
prevent airflow reduction (refer Maintenance
section).
For indoor use only. Do not use this fan
outdoors, or on wet surfaces. Do not use the
fan near flammable areas or substances.
Make sure that the fan never comes into
contact with water.
Never turn the fan on if the lead is damaged
or if the fan’s casing is obviously damaged.
In order to avoid a hazard, the power cord
must be replaced by a licensed electrician or
service agent.
Do not pull the fan along by the power cord.
Always uncoil the power cord completely.
Always turn the fan off and unplug from the
power socket when not in use.
1
ELECTRICAL SAFETY
Before connecting your electrical power
cord to a power outlet, check that the fan
voltage is the same as your power
supply. The fan voltage will be stated on
the rating label.

2
ASSEMBLY
COMPONENT LIST
9
1 Control Panel Display
2 Control Panel Buttons
3 Remote Control
4 Air Outlet
5 Front Base
6 Base Screws x3
7 Rear Base
8 Power Cord & Plug
9 Remote Storage Release Button
ASSEMBLY
REMOTE CONTROL STORAGE
Your remote control is stored under the
control panel. To access it (see Fig 2):-
· Step 1: Push the release button - the
control panel will slide up automatically.
Remove the remote control from the
cradle.
· Step 2: Push down on the control panel
until the latch is engaged.
2
1
REPLACING THE BATTERY
Your remote control is supplied with a
battery. To begin use, open the battery
cover and remove the plastic tag located
underneath the battery. Check that the “+”
side is facing up as shown (Fig 3).
When the fan’s power is on, the remote
control can be used to operate the fan from
up to 6m away. Note: if there are two or more
fans within this distance, both will be
operated by the same remote control.
Unpack the fan and check that you have all
of the components.
Remove the screws from the base and push
the front base and rear base together.
Locate the assembled base stand onto the
fan body and screw into position.
3

OPERATION - MAINTENANCE
3
OPERATION
Insert the plug into the power outlet.
Turn the fan ON by pressing the ‘POWER’
button on the unit or remote control
(Refer Fig 4).
Select the desired fan speed (low-med-high)
by pressing the FAN button. Each press will
cycle between the speeds.
Turn the fan OFF by pressing the ‘POWER’
button at any time.
IONIZER FUNCTION
The fan has an ionizer function which can be
used to help remove dust and pollen from the
air. To activate, press the ‘IONIZER” On/Off
button on the control panel.
OSCILLATION FUNCTION
Press the oscillation button on the control
panel to enable the oscillation function. The
fan will swing from side to side in a 90° arc.
Press again to stop oscillation.
MAINTENANCE
To maximise the efficiency of the fan, clean
the inlet and outlet grilles regularly.
• Unplug the fan from the mains power
supply before cleaning.
• Use a soft, damp cloth to wipe the outside.
Never use thinners or other strong
chemicals on the fan surfaces.
• Use a vacuum cleaner to remove dirt and
dust from the inlet and outlet grilles.
• Ensure the fan is dry before plugging
back into the mains power supply.
TIMER FUNCTION
The fan has a timer function that will turn off
the fan. By pressing the timer button 2, 4
and 8 hour delays are available. To cancel,
press the button until the timer indicators are
no longer lit.
Fan Speed - Low Timer: 2 hours
Fan Speed - Med Timer: 4 hours
Fan Speed - High Timer: 8 hours
Fan Oscillation Remote control receiver
Control Panel Operation
Power On/Off Button
Fan Speed Button
Timer Button
Oscillation Button
Ionizer Button
Control Panel Display
Power On/OffIonizer On/Off
4

4
Subject to the terms of the warranty SI will repair or replace at its option, the product or any part thereof,
which examination shows to be defective for a period of 24 months from purchase.
This undertaking is conditional upon the fan being used only for personal, domestic or household
purposes and installed and operated in accordance with our instructions, and does not apply to:
! Adjustments necessary due to misuse of the fan,
! Normal user maintenance,
! Setting of controls,
! Transit damage, or
! Damage caused by user misuse, tampering, or failure to observe the care and special
provisions in the instructions.
This warranty does not apply to any consequential loss suffered through, or resulting from, the non
operation, or ineffective operation of the appliance.
No other person, firm or corporation is authorised by us to offer or give on our behalf any other or greater
warranty than that given under this warranty. The benefits conferred by this warranty are in favour of the
original retail purchaser and any person deriving title to the goods through or under such person and are
intended to be separate from and additional to all other rights and remedies that they may have in law in
respect of the goods.
To ensure that the service either pursuant to the above undertaking or otherwise is readily available,
please return the appliance along with original invoice to the place of purchase for assessment and
replacement.
For technical assistance before returning the product please contact:
WARRANTY
1300 650 399
Please retain your receipt as proof of purchase. Every request for warranty
must be accompanied by proof of purchase.
It is the owner's responsibility to cover all forwarding and return freight costs
incurred in sending the heater to a service centre.
Complete the following for your records:
Serial Number
Product: Convair
Model: 1 CTF01 1 CTF02i 1 CTF05
Purchased from: ...................................................................
...................................................................
...................................................................
Date purchased: ....../....../...... The above warranty applies
only to Australia.


00137101-A
0907
 Loading...