

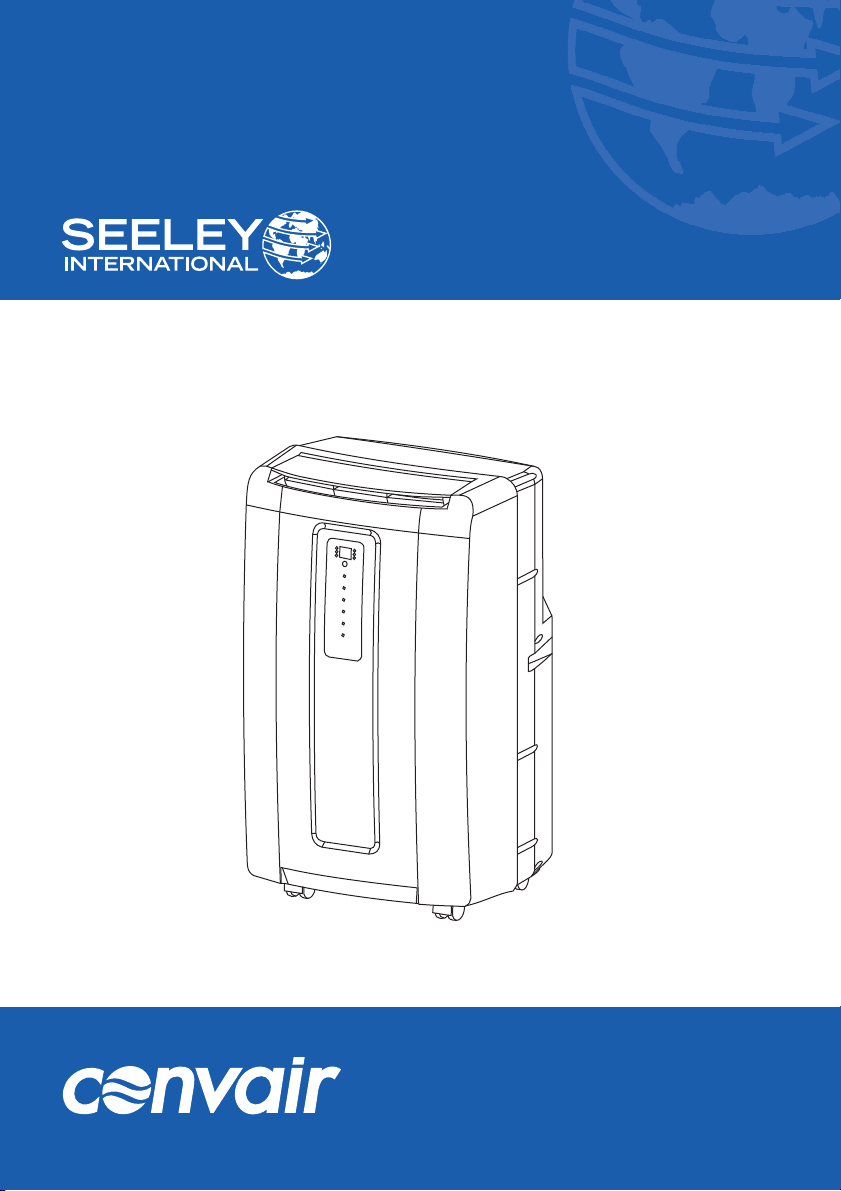
OWNER’S MANUAL
Portable Refrigerated Air Conditioner
CP12CW2
®
(English) (CP12CW2)
CONTENTS
Introduction......................................1
Safety ..............................................2
Component location.........................3
Installation .......................................4
Control and Display panel ...............5
Remote control ................................6
Operation......................................7-8
Maintenance ....................................9
Troubleshooting.............................10
Specifications.................................11
Warranty...................................12-13
Please read these instructions prior to using the appliance and
save them for future reference.
i
CP12CW2 Portable Refrigerated Air Conditioner
INTRODUCTION
1
SAFETY
For indoor use only.
Transport the air conditioner in an upright
position only, or leave it in an upright position
for at least 2 hours before use (Fig 1).
Use only in the upright position on a flat level
surface and at least 50cm from any objects.
Do not place objects on the air conditioner, or
through the ventilating slots or restrict the air
inlets & outlets (Fig 2).
Closely supervise any children and pets
when the air conditioner is in use.
Do not store or operate the appliance near
any flammable substances.
During operation, water will collect in the
bottom tank of the air conditioner. Be careful
when moving the unit to prevent water from
spilling.
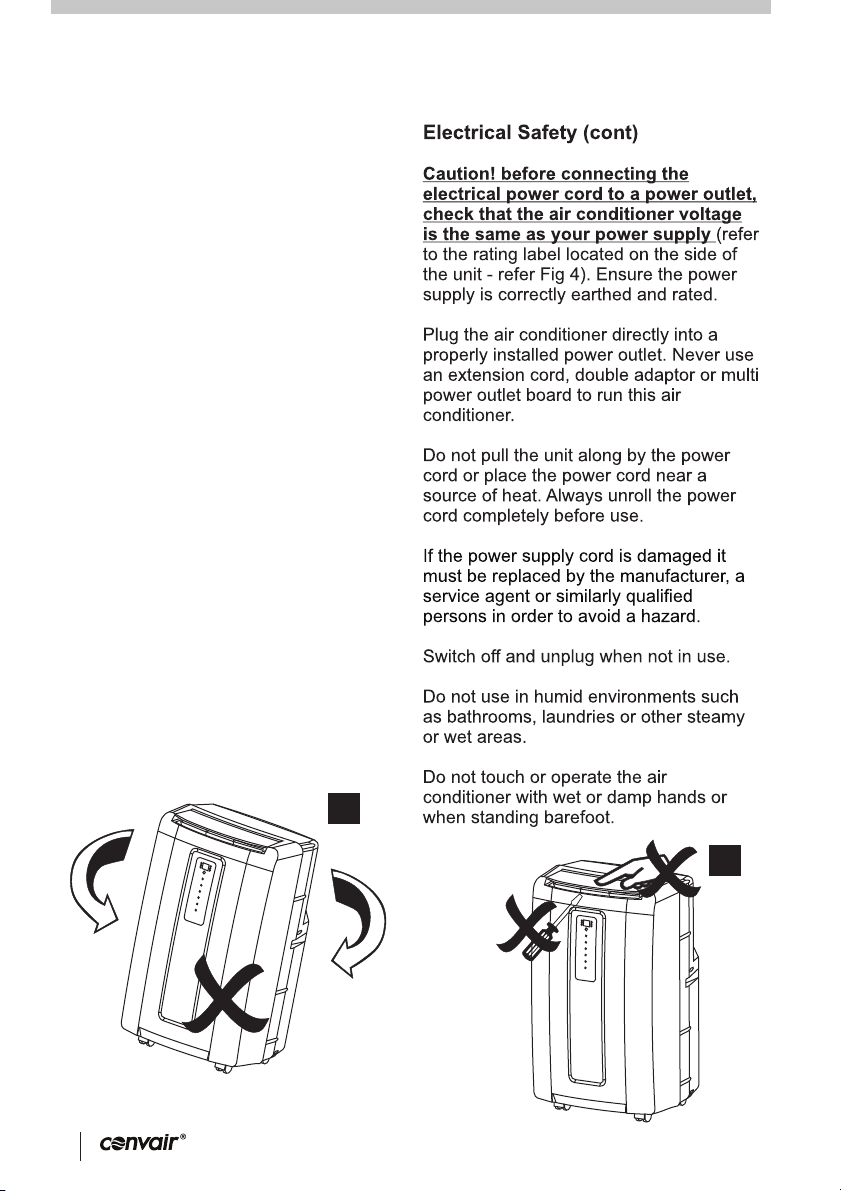
Electrical Safety
Ensure the appliance has been installed in
accordance with national wiring regulations.
1
2
2
CP12CW2 Portable Refrigerated Air Conditioner
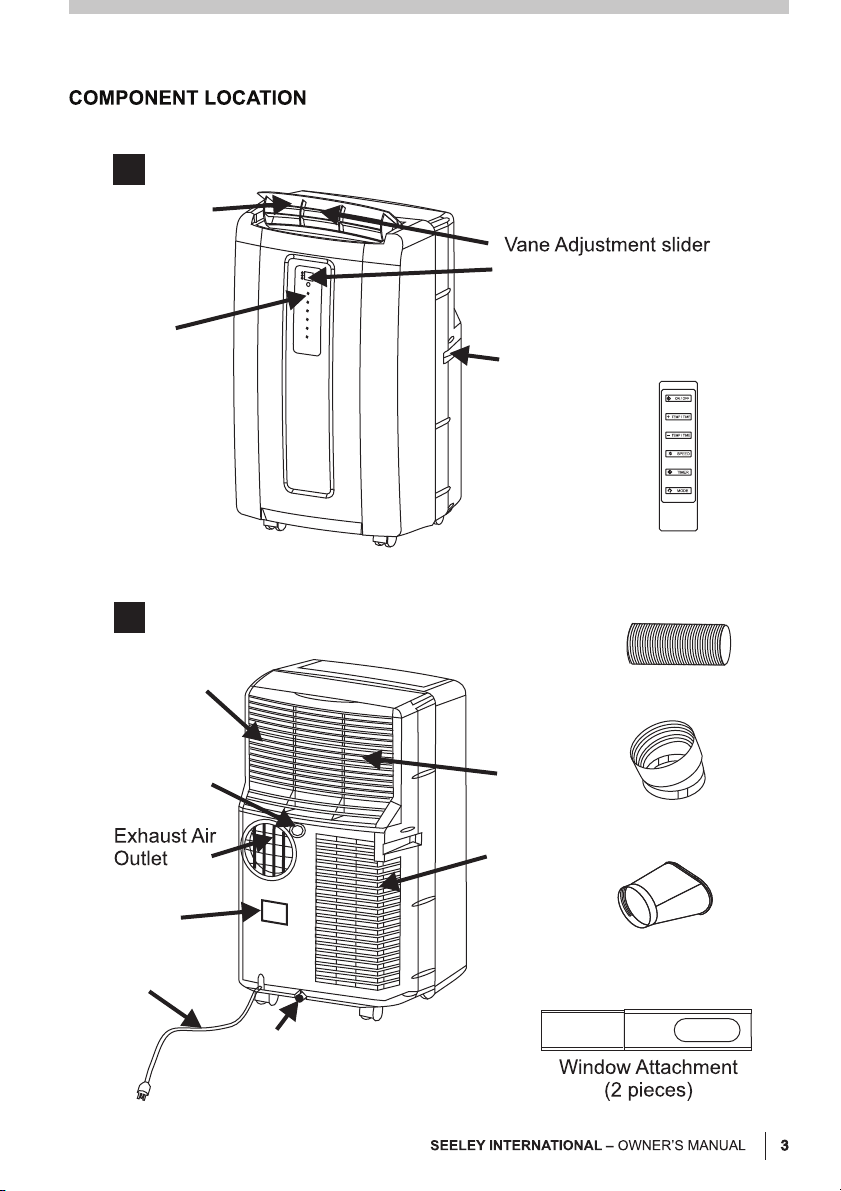
3
Air Outlet
Control
Panel
4
Display Panel
Handle
Remote
Control
Air Intake
Evaporator
drain plug (see
maintenance)
Rating
Label
Power
Cord
Exhaust Hose
Air Filter
Hose End
Air Intake
(Condenser)
Hose Exhaust Nozzle
(window end)
Drain
3

INSTALLING THE EXHAUST HOSE
Step 1:
and rotate so the slot locks onto the catch
(Fig. 5). Fit the Exhaust Hose to the Hose
End and Exhaust Nozzle by turning
clockwise.
Step 2:
Kit. Extend the attachments as required and
lock into place with the wingnuts provided.
Ensure the outlet is not obscured. The
Window Kit can be installed horizontally or
vertically to suit your window type. Fit the
Exhaust Nozzle to the Window kit, and lock
into place (Fig. 6A & 6B).
Push the Hose End onto the cooler,
Open a window and fit the Window
Note!
The minimum distance required
from the operating air conditioner to
any obstructing objects or walls is
50cm.
Keep the exhaust hose as short and
straight as possible and minimise
kinks. This will maximise the cooling
performance.
Don’t use extension pieces for the
exhaust pipe as this will reduce the
performance and possibly result in
damage to the air conditioner.
Hot air and possibly mist will be
emitted from the exhaust hose.
Note!
It is critical to the performance of
the unit that the hot exhaust air is
completely removed from the space
being cooled.
5
6A
4
CP12CW2 Portable Refrigerated Air Conditioner
6B

CONTROL AND DISPLAY PANEL
7
Medium - 2 Lights
Low - 1 Light
High - 3 Lights
Power ON / OFF
Press to turn the air
conditioner on and off
Press to cycle the fan
speed between low,
medium and high
Press to increase,
In Timer mode, press
decrease the timer
from 01-24 hours
In Cooling mode, press
at same time to toggle
between °C and °F
Fan Speed
Indicator Lights
Remote
Control
Receiver
button
Fan Speed
control button
to decrease the
set temperature
to increase, to
button
Timer Set
button
and time
Blue - Cooling
Yellow - Dehumidify
Green - Fan
Mode
Indicator
Light
Timer
Indicator
Water Full
Indicator
Mode Select
Press to cycle from
Cooling,Dehumidifying
and Fan modes.
Press to enter the
timer setting mode
NOTE!
To avoid damage to the control panel, do not operate with sharp objects.
5

REMOTE CONTROL
Signal
transmission point
Power ON / OFF
button
8
9
Fan speed
adjust button
Mode buttons
(Cool-Dehumidify-Fan)
Battery
compartment
Battery cover
NOTE:
WASTE BATTERIES SHOULD
!
BE DISPOSED OF CORRECTLY
6
CP12CW2 Portable Refrigerated Air Conditioner

Starting the air conditioner
Step 1: Ensure the cooler is plugged in and
switched on.
Step 2:
Lift up the air outlet vent ready for
use.
Step 3:
Press the ON/OFF button on
the remote control or ON/OFF button on the
Control Panel to start the air conditioner.
Step 4:
Press the MODE button on the
Control Panel or Remote Control to select
the desired operating mode indicated by a
light colour change on the Display Panel
(Fig 7, 8 &10):
Cooling mode
- Refrigerated Cooling.
Cooling will occur if the set temperature
is less than the room temperature. Blue
light indicated
Dehumidifying mode
- for extracting
moisture from the air. Yellow Light
Fan mode
- Fan only operation (no
cooling). Green Light
Step 5:
Press buttons on the
or
Control Panel or on the Remote Control to
select the desired operating ‘set’
temperature.
The set temperature range is 16°C-32°C
for cooling
Tip
Do not set the cooling temperature too
!
low. This will consume more power. 24°C is
the recommended set temperature, with
high fan speed.
Note!
Changing the set temperature will
have no effect in DEHUMIDIFYING or FAN
modes.
10
11
Note!
The display can toggle between °C
and °F by pressing both the and
buttons on the control panel together and
holding for 2 seconds.
7

8
CP12CW2 Portable Refrigerated Air Conditioner

MAINTENANCE
Draining the Air Conditioner
To drain the air conditioner, place it over a
drain point before unscrewing the cap and
removing the drain plug, as water will flow
A
12
Remove filter from the
air conditioner and
clean every 2 weeks.
out as soon as the plug is removed.
Remove the plug at the bottom rear of the
appliance and allow the tank to
completely drain (Fig 12B).
Note! Always replace the drain plug
immediately after draining.
12
End of season storage:
B
• Drain any water from the unit.
• Operate the unit in fan only mode for a few hours, to thoroughly dry the inside.
• Clean or change the filter.
• Unplug and carefully store the power cord and plug end.
• Replace in the original carton or cover for storage.
Note! The evaporator drain plug is used to drain the condensate at the evaporator tray. It
is not recommended to remove the plug as it will reduce the performance of the air
conditioner.
9

TROUBLESHOOTING
Problem Check
The air conditioner does not
run.
The air conditioner is not as
cool as it once was.
The air conditioner is too
noisy.
Is the air conditioner plugged in?
Is there a power failure?
Is the "WATER FULL" error code flashing?
Drain the tank as shown (Fig 12).
Is the room temperature below the set
temperature?
Is there direct sunshine? Remember to close
curtains or blinds.
Are windows or doors open?
More people in the room will generate more
heat.
Is there something in the room producing
excessive heat?
Is the exhaust fitted correctly or obstructed?
All exhaust air needs to be completely
removed from the room.
Is the filter dusty or dirty, restricting the
airflow?
Is the air inlet or outlet blocked?
Is the room temperature below the set
temperature?
Is the air conditioner positioned unevenly, so
as to create vibration?
Is the floor beneath the air conditioner
uneven?
The compressor will not run.
Never try to dismantle the air conditioner yourself.
In case of problems that cannot be fixed by using the above guide, or if service
on your air conditioner is required, please contact your dealer or designated
service agent.
10
CP12CW2 Portable Refrigerated Air Conditioner

Model
Function
Cooling Capacity (Watts) †
Power Supply
Rated Input Power (Watts)
Fuse Type
Refrigerant Type / Charge (kg)
High Side Pressure - Maximum (MPa)
Low Side Pressure - Maximum (MPa)
Water Ingress Protection Rating
Weight (kg)
Dimensions (mm)
(width / depth / height)
CP12CW2
Personal Cooling
3500
300
220-240V ~, 50Hz
1100
3.15A / 250V
R410A / 0.6
3.53
1.77
IPX0
31.5
450 / 393 / 746
P9
P10
5
BLACK
A6958-410
As a policy of continual product improvement, this manual, its contents and specifications are subject to change without notice.
11

12
CP12CW2 Portable Refrigerated Air Conditioner

1300 526 410
13

Warranty Service
Australia 1-300-526-410
seeleyinternational.com
®
00249101-C
convair.net.au
AU 1505
 Loading...