

Page 1
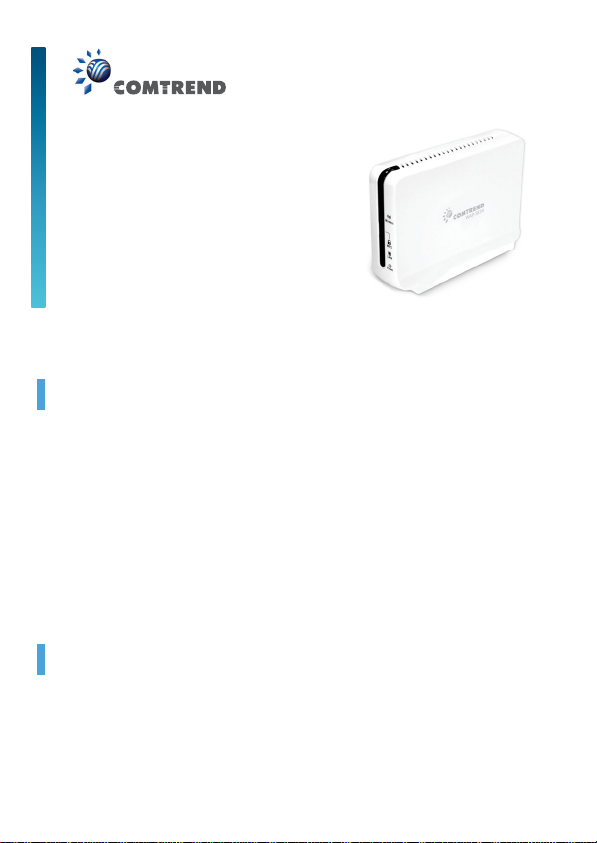
WAP-5834
BeamLink 5834, CT-5834, 5834, WL5538AP,
Wireless Extender
QUICK
INSTALLATION
GUIDE
Introduction
This Quick Installation Guide will help you to quickly and easily install
your Wireless Extender units by performing the few simple steps
described below. Before you begin, check that you have:
• One WAP-5834 Access Point unit (An “AP” is stated in chassis
label)
• One WAP-5834 Client unit (A “Client” is stated in chassis label)
• Two CAT5 ETHERNET cables
• Two power adapters
• One Quick Installation Guide
Easy Link
Step 1 - Power connection
Plug in the power adapter included in your package, and connect
it to the WAP-5834 AP and Client device.
1
Page 2

LAN
RESET
DC-IN
Using a power supply with different voltage rating than the one
included with the WAP-5834 device may cause damage and
void the warranty for this product.
Step 2 - Placement and connections
The WAP-5834 AP and Client device in your package are
pre-configured to work together.
Place the WAP-5834 AP device on an easily accessible surface
near the Home Gateway or Cable/DSL Modem.
A. Plug one end of the Ethernet cable into the LAN port of the
gateway device and the other end into the Ethernet port of the
WAP-5834 AP.
LAN
RESET
Power
LAN 4
x
LAN 3
xLAN 2
x
LAN 1
x
ADSL
Intermet
DC-IN
Home Gateway
2
Page 3
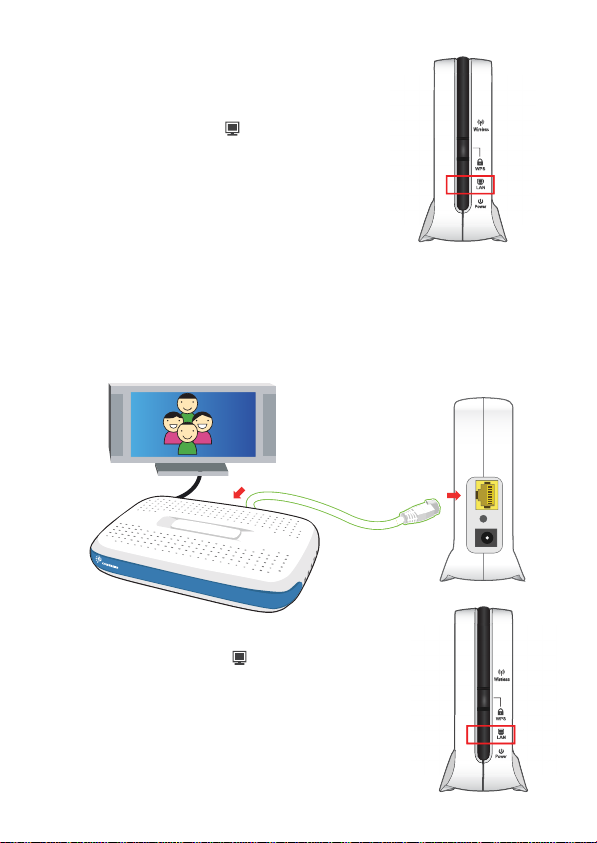
Make sure that the LED on the
LAN
WAP-5834 AP is flashing blue.
Wireless
WPS
LAN
Power
Place the WAP-5834 Client device on an easily accessible surface
near the set top box.
B. Plug one end of the Ethernet cable into the LAN port of the set
top box device and the other end into the Ethernet port of the
WAP-5834 Client.
LAN
RESET
DC-IN
STB-7007
IR
TUS
STA
WAN
Set Top Box
Make sure that the LED on the
LAN
WAP-5834 Client is flashing blue.
For best wireless performance place
the devices on a shelf or other elevated
location and away from large metallic
objects.
3
Wireless
WPS
LAN
Power
Page 4
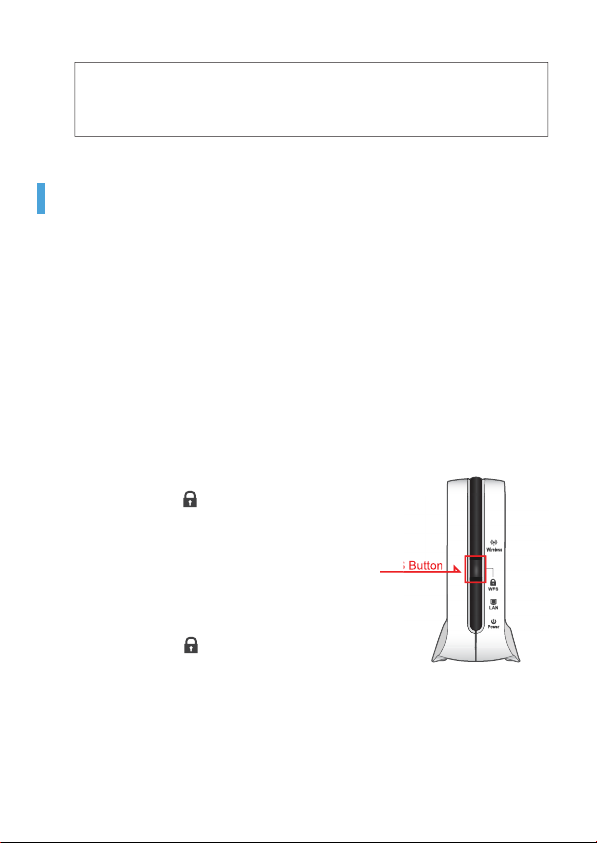
Congratulations! You have finished installing your new Wireless
Extender devices. To test your connectivity, turn on the TV and
set top box, then watch any available TV channel.
Pairing
The WAP-5834 AP and Client device in your package are
pre-configured to work together.
To add additional WAP-5834 Clients you will need to perform the
pairing procedures as explained below.
Place the WAP-5834 Client device
between 1 to 3 meters from the
WAP-5834 AP device.
Step 1. Pair the devices:
Press the WPS button on the
“AP” front panel for 3-5
seconds and release it.
The LED will begin flashing
WPS
blue.
Press the WPS button on the
“Client” for 3-5 seconds and
release it.
The LED will begin
WPS
flashing blue.
WPS Button
Wireless
WPS
LAN
Power
NOTE – The WPS buttons can be pressed in any order as long
as they are pressed within 2 minutes from each other.
4
Page 5
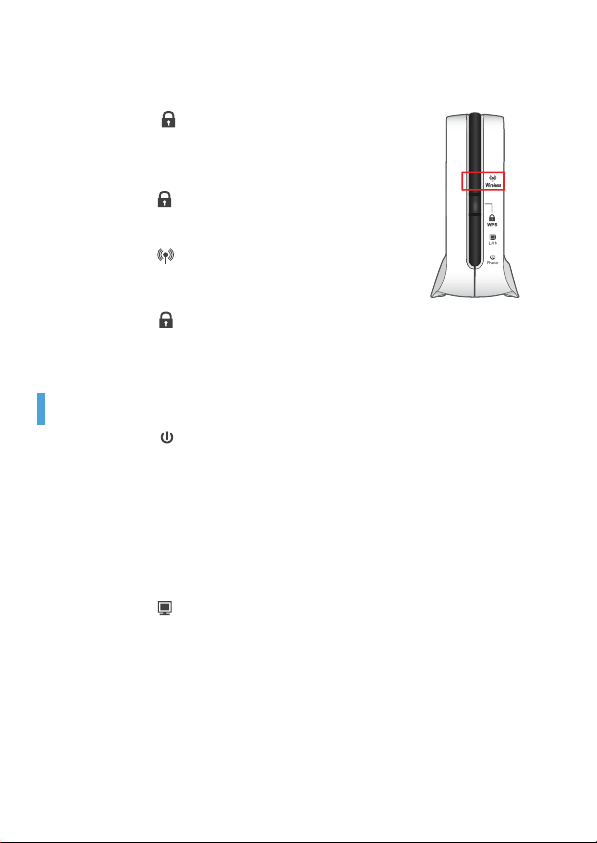
Step 2. Wait for the pairing process to
complete by watching the LEDs on
the devices:
The LEDs will flash blue for
WPS
a few seconds.
After successful pairing the
LEDs will change to solid blue,
WPS
and after two minutes turn off. The
LEDs will then be solid blue.
Wireless
If pairing is unsuccessful, the
LED will flash blue for two
WPS
minutes.
Troubleshooting
Wireless
WPS
• The LED is not on
Power
Make sure that:
• The power cord is connected to the device, and that the
power adapter is properly connected to a functioning power
outlet.
• You are using the power adapter that was supplied with the
product.
• The LED is not on
LAN
Make sure that:
• The LAN cable connectors are securely plugged in at the
Wireless Video Extender device and at the network device
(gateway, modem or set top box).
• The connected network device is turned on.
• You are using the correct cable type for your Ethernet
equipment, which is at least UTP CAT5 with RJ45
connectors.
5
Page 6
Advanced Setting
The instructions below are for users who have a basic Network
knowledge. Users are not encouraged to configure the following
settings because this may cause irreversible damage.
Change AP or Client mode
This is to enable users to change WAP-5834 to AP or Client in a
real situation.
Note: • If you are connecting to the WAP-5834 directly from a PC, be
sure to set a static IP in the same range as the AP or Client unit
(e.g. 10.0.0.25) to access the Web Configuration page.
• If the WAP-5834 is connected to a Gateway or Router that has
a DHCP server, it will automatically get an IP address from that
device. Be sure to check your Gateway or Router to see what
IP address was given to the WAP-5834 units and use that to
log in to the Web Configuration page.
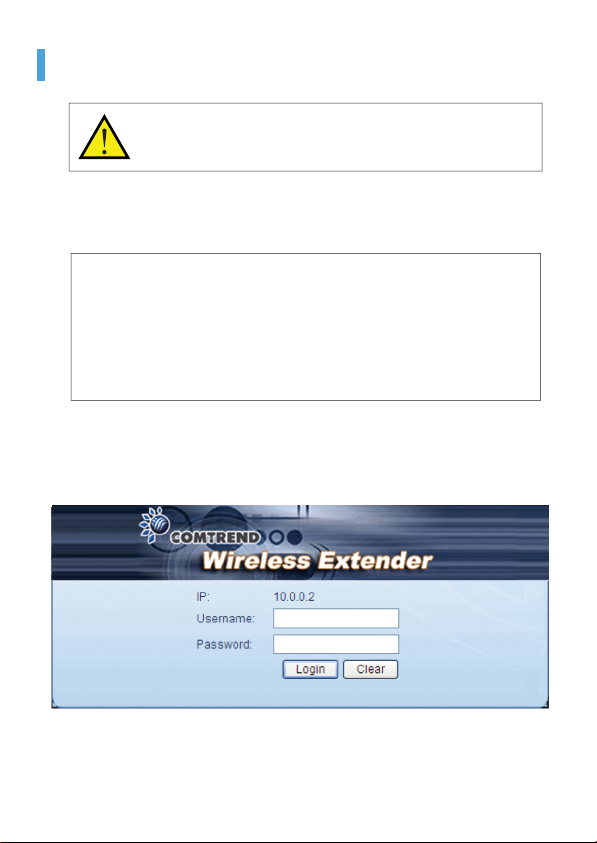
Step 1. Enter into WAP-5834 Web GUI through browsers
such as IE with default IP 10.0.0.2 for AP and
10.0.0.10 for Client.
Step 2. Type default username and password: root/12345
Step 3. Change the Operation Mode to Access Point or
Client in the “Operation Mode” drop-down menu
and press the “Apply” button.
6
Page 7
Advanced Troubleshooting
• The WPS function is not working
Make sure that:
• The WPS function is activated in the AP device.
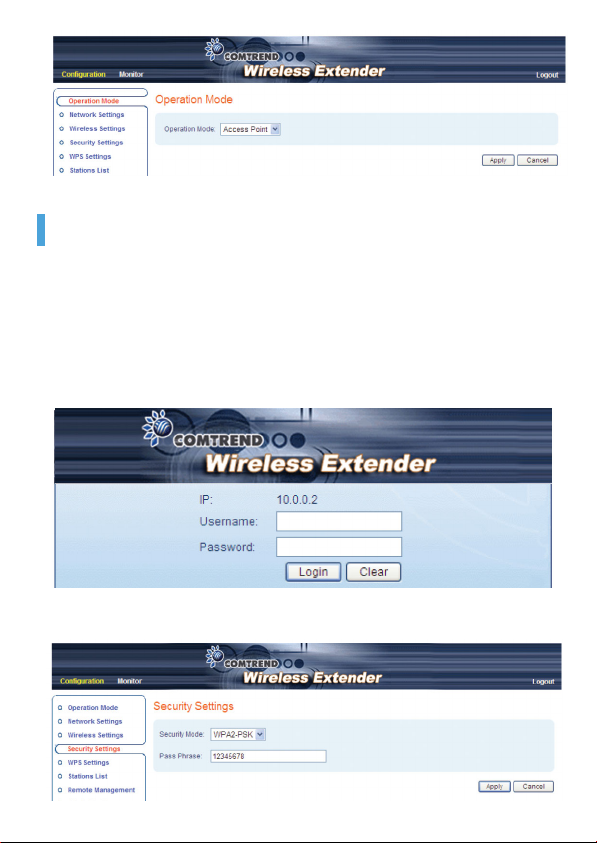
a. Enter into WAP-5834 AP Web GUI through browsers such
as IE by default IP address 10.0.0.2.
b. Type default username and password: root/12345
c. Change the security mode to WPA2-PSK in Security Settings
by selecting it in the drop-down menu.
7
Page 8
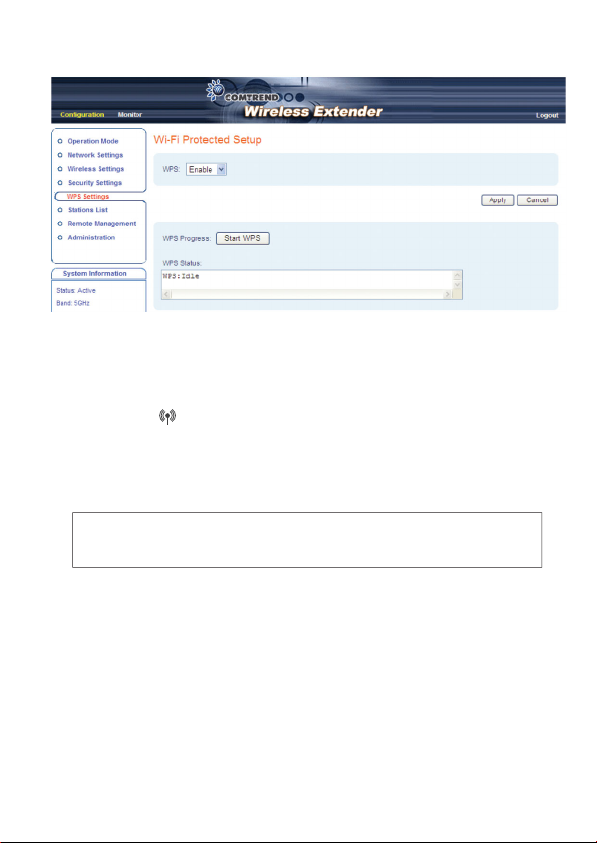
d. Enable WPS in WPS setting and press the “Apply” button.
• Complete the pairing procedures as described in the
Pairing section.
• The LED is not on
Wireless
• Make sure that you have completed a successful pairing
procedure as described in the Pairing section.
FOR MORE HELP: If you have further questions or require
personal assistance, please contact your equipment provider.
8
Page 9
This device within the 5.15~5.25 GHz band is restricted to indoor operations to reduce any
potential for harmful interference to cochannel MSS operations.
The range of product's temperture is -20℃ to 50℃ that can keep normal operating function,
and it won't affect to frequency stability.
This equipment also should be installed and operated with minimum distance 20cm between
the radiator & your body.
 Loading...