

Page 1
Owners Manual
Dehumidifier Comfee Design 30 Liter
DG-30POWER
DG-30POWER CH
Page 2
CD017IU-DG
202000192535
The de si gn a nd s pecif ic at io n s ar e sub je ct t o ch a ng e wi thout prior noti ce f or
produ c t im pr ove me nt . Co ns ul t wi th t he s al es a ge nc y or man uf ac tu re r f or d etail s.
Before operating this product, please read the instructions
carefully and save this manual for future use.
Page 3
SOCIA BLE REMARK
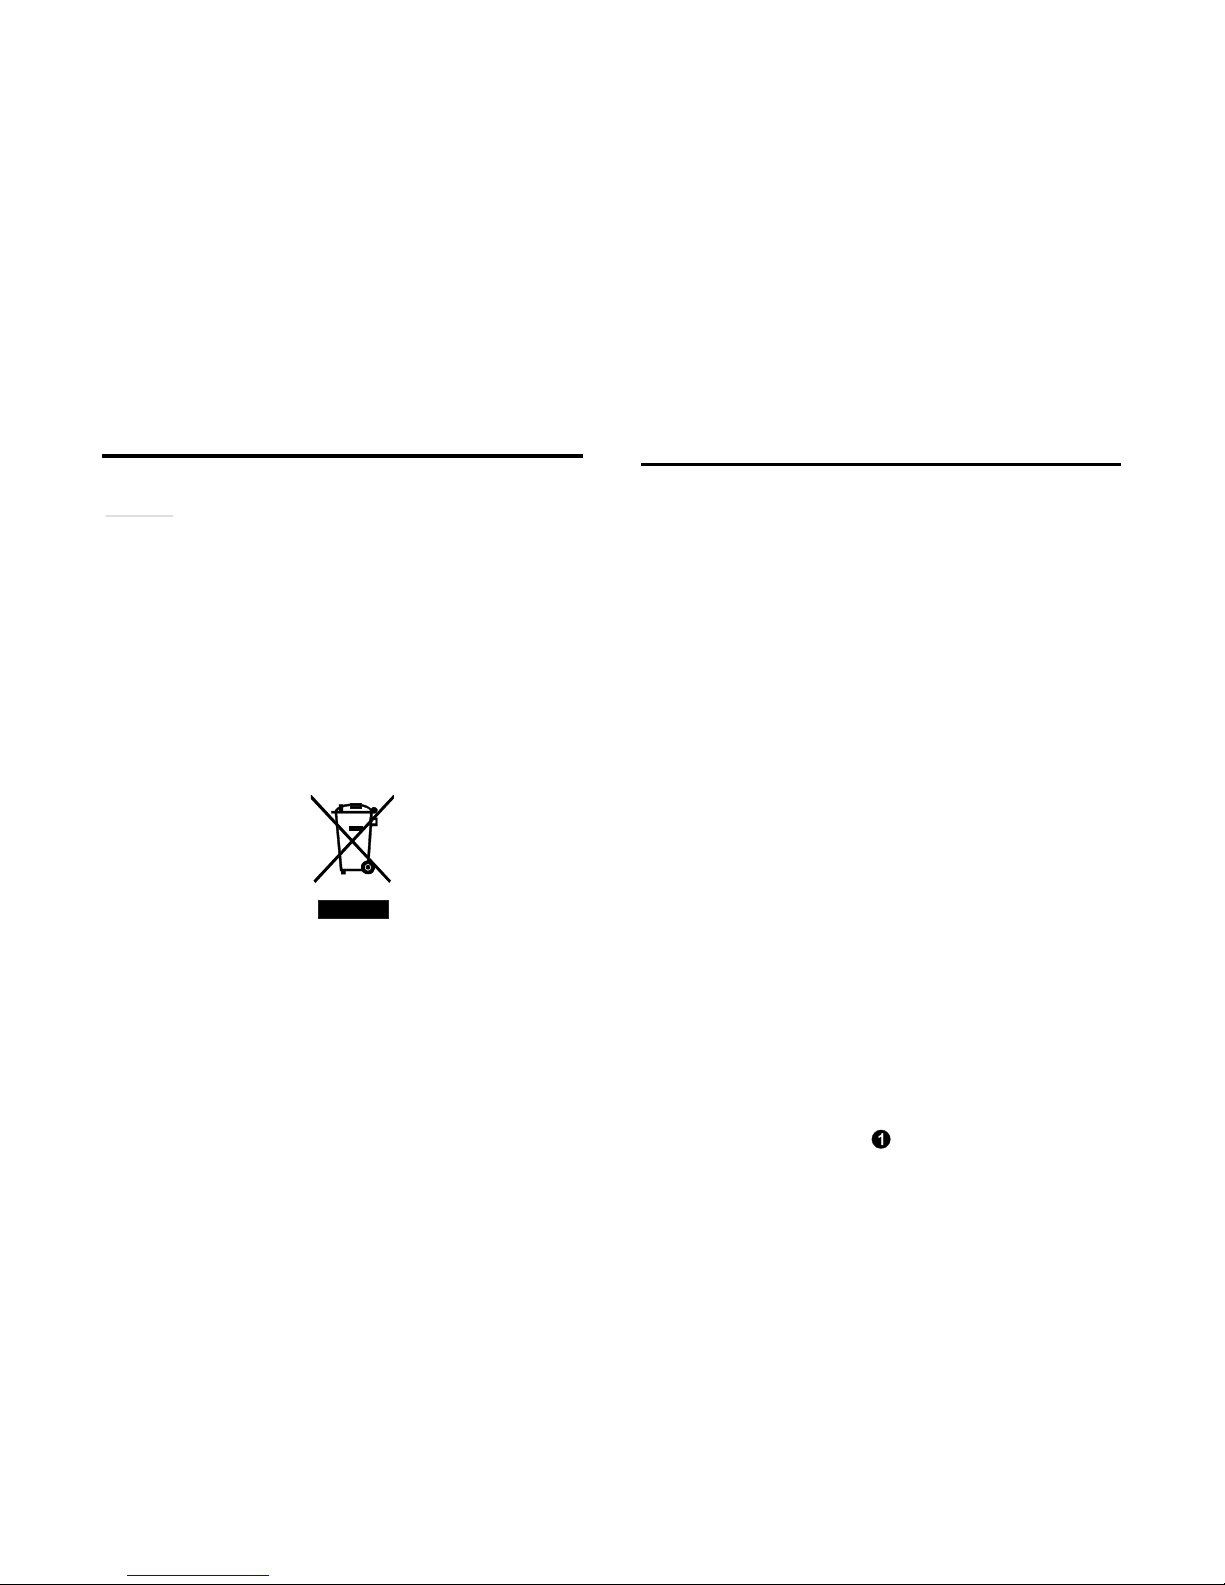
DISPOSAL: Do not dispose this product as unsorted municipal waste. C ollection
of such waste separately for special treatment is necessary.
It is prohibited to dispose of this appliance in domestic household w aste.
For disposal, there are several possibilities:
A) The municipality h as established collection systems, where electronic waste can
be disposed of at least free o f charge to the user.
B) When buying a new product, the retailer will take back the old product at lea st
free of charge.
C) The m anufacture will take back the old appliance for disposal at least free of
charge to the user.
D) As old products contain valuable resources, they can be sold to scrap metal
dealers.
Wild disposal of waste in forests and landscapes endangers your he alth w hen
hazardous substances leak into the ground-water and find their way into the food
chain.
When using this dehumidifier in the Eu ropean co untries, the following information
must be followed:
CONTENTS
SAFETY PREC AUTION S
Warning .............. ........ ............ ...... ........ ........... ..... ........ ........... ....... ...... ........... ..... .......... ......... ....... 2
Caution ............ ......... ............ ... .......... ........... ..... ......... ............ ..... ....... .......... ..... ......... ............ ... .....2
Electrica l inform ation .............. ..... ......... .......... ..... ........... ......... ...... ......... ......... ..... .......... ......... ....... 3
OPERATING THE U NIT
When u sing the unit ................ ........ ......... ....... ......... ........ ....... .......... ......... ...... ........ ........ ........ ......7
Removing the coll ected water . ....... ........ ......... ....... ........ ......... ......... ........ ........ ...... ......... ......... ......8
CARE A ND MAINT ENANCE
Care a nd clean ing of the dehu midifi er ... ........ ....... ........... ....... ........ ......... ....... ....... ........ .......... ......9
TROUBLESHO OTING T IPS
Troubleshootin g tips ....... ........ ........ .......... ....... ......... ........ ....... ......... ......... ....... ........ ......... ....... ....10
CONTROL PADS ON THE DE HUMIDIF IER
Control pads........ .......... .......... ..... ......... .......... ...... ........ ........... ...... ....... ........... ..... ......... ........... ...... 4
Other f eatures. ....... .......... ........ ....... ......... ......... ....... .......... ....... ........ ....... ......... ....... ....... ............. ..5
IDENTIFIC ATION OF PARTS
Identifi cation of parts .............. ......... ......... ....... ........ ......... ....... .......... ....... ........ ........ ........ ........ ......6
Positioni ng the unit ... .......... ..... ......... ............ ... ........... .......... ..... ......... .......... ..... ......... .......... ...... ....7
Page 4

SAFETY P RECAUT IONS
Do not exceed the rating
of the power outlet or
connection device.
Do not modify power cord
length or share the outlet
with other applianc es
Disconnect the pow er if
strange sounds, sm ell, or
smoke comes from it.
Otherwise, it may cause electric
shock or fire due to heat
generation.
excess
It may cause electric shock or
fire due to heat generation.
It may cause fire and electric
shock.
It may cause electric shock or fire
due to heat generation.
It may cause electric shock.
It may cause failure o f machine
or elect ric shock.
It contains contaminants and
could make you sick.
It may cause electric shock or fire.
Plastic part s may melt and cause
a fire.
It may cause electrical shock or
injury.
It may cause an explosion or fire.
Do not operate or stop the
unit by switching on or off
the power.
Do not insert or pull out
plug with wet hands.
You should never try to take
apart or repair the unit by
yourself.
Do not drink or use the
water drained from the unit.
Do not damage or use an
unspecified po wer cord.
Do not place the unit near
a heat source.
Before cleaning, turn off
the power and unplug the
unit.
Do not use the machine near
flammable gas or combustibles, such
as gasoline, benzene, thinner, etc .
CAUTION
Do not u se the unit i n small
spaces.
Lack of ventilation can cause
overheating and f ire.
Do not put in places where
water may splash on to the
unit.
Water ma y enter the unit and
degrade the i nsulation. It may
cause an electric shock or fire.
Place the unit on a
level, sturdy section
of the floor.
If the unit falls o ver, it may
cause wat er to spill and
damage belongings, or
cause el ectrical shock or
fire.
To prevent injury to the user or other people and property dam age, the following instructions must be
followed. Incorrect operation due to ignoring of instructions may cause h arm or damage.
The seriousness is classified by the following indications.
This symb ol indicates the possibility of de ath or serious injury.
Meanings o f symbols used in this manual ar e as shown below.
Always do this.
Never do this.
CAUTION
This symbol indicates the possibility of inju ry o r damage to property.
WARNING
WARNING
It may cause bucket full protect of
the unit and cause electric shock.
Do not take the water bucket out during operation.
SAFETY PRECAUT IONS
Do not cover the intake or
exhaust o penings with
cloths or towels.
A l ack of a ir flow can lead
to overheating and fire.
Never insert y our finger or
other foreign obj ects into grills
or openings. Take speci al care
to w arn ch ildren of t hese
dangers.
Do not use in areas
where chemicals are
handled.
This will cause the unit
deterioration due to
chemicals and solvents
dissolved i n the air.
Care should be taken when
using the unit in a room w ith
the following persons:
Infants, children, elderly people,
and people not senstive to
humidity.
You may be injured if you
fall or if the unit falls ov er.
Water may spill i nside the
unit, ca using insulation
failure and electrical
shock or fire.
It may cau se f ailure of
appliance or accident.
There is da nger of fire or
electric shock.
Do not place heavy object on the
power cord and take care so that
the cord i s not compressed.
Operation without filters
may ca use f ailure.
Always insert the filters
securely. Clean filter
once every two weeks.
CAUTION
Do not climb up on
or sit on the unit.
If water en ters the unit, turn
the unit off and disconnect the
power , co ntact a qualified
service technician.
Do not place flower
vases or other water
container on top of
the unit.
The manu factures n ameplate is located on th e rear pane l of the unit and co ntains el ectrical and other
technical da ta sp ecific to this unit.
Be sure the unit is prope rly grounded. To minimize shock and f ire ha zards, proper grou nding is important.
The pow er co rd is equipped with a three -prong grou nding plug for protection against sh ock
hazards.
Your unit mus t be used in a prope rly grounded wall receptacle. If th e wall receptacle you intend to use is
not a dequately g rounded or protected by a time delay fuse or circ uit br eaker, have a qualified electrician
install t he proper receptacle.
Ensure t he re ceptacle is accessible after the unit installation.
However, if it is necessary to use an
extension cord, use an approved D ehumidifier extension cor d o nly (av ailable a t most local hardware
stores).
To av oid the possibility of personal injury, always d isconnect the po wer supply to the unit, be fore i nstalling
and/or servicing.
Do not use extension cords or an adapter plugs with this unit.
Ele ctri c a l I nfo r ma ti o n
It may cause electric shock
or failure of appliance.
Page 5

CONTRO L PADS ON THE DEHU MIDIFI ER
Control pads
Whe n y ou pu sh th e butt on to ch an ge
ope rati o n mode s, th e u ni t wil l mak e
a b ee p s oun d to in dic ate t hat i t is
cha ngin g mo des.
NO TE: T he cont ro l pan el of the u ni t y ou pur c hase d may be s lig ht ly diff er en t acco rdi ng to t he
mo del s. Som e mo dels c an be con tr oll ed by r emo te con tro ll er. So me mod el s hav e n o rem ot e
co ntr ol fun ct ion . See th e fol lo wing Fi g. 1. Pl eas e refe r to the R EM OTE CO NTR OL LER
INS TR UCT IO NS for th e r em ote op era ti on.
Fig.1
Humidity Se t C ontrol Pads
: Dow n/ Up Pad s
TIMER Set Control Pads
Use the Up/Down pads to set the Auto s tart and
Auto stop time from 0.0 t o 24.
The hu midity le vel c an b e set within a ra nge of
35%RH(Relative H umidity) to 85%RH(Relative
Humidity) in 5% increments.
For drie r ai r, press the pad and s et to a lower
percent v alue(%).
For dampe r air, press the pad and set a higher
percent v alue(%).
CONTROL PADS ON THE DEHUMIDIFIER
Other features
Bu cket Fu ll Li gh t
Gl ow s w hen t he buc ke t is rea dy to b e
em pti ed , or w h en t h e bucke t is rem ove d
or n ot rep la ced i n th e pro pe r pos iti on.
Whe n fro st bu ilds u p on the ev apo rat or c oils , the
com pr ess or wi ll cyc le of f a nd the f an wi ll co ntin ue
to ru n u nti l the f rost d isa pp ear s.
Au to Defr os t
Wai t 3 mi nu tes b efo re re sum ing o per ati on
A fter the unit has st opp ed , it can not b e res ta rt
ope rta t ion i n the fir st 3 min ute s. Th is is to pro te ct
the u nit . Oper ati o n w ill a uto ma tica l ly s tart aft er
3 minu te s .
NOT E:W he n Auto de fr osti n g oper a tion, the uni t may
ma ke a voi ce o f re fri ger an t flow in g,it is no rm al.
Set ti ng the Ti mer
Wh en th e u nit is o n, fi rst pr es s t he Tim er
but to n, the Ti me r O ff ind ic at or lig ht
ill um in ate s. It ind ic ate s the Au to Sto p
pro gr am i s in it iat ed. P res s it aga in th e
Tim e O n ind eca tor l ig ht ill um in ates .I t
in di cat es the Aut o Star t is ini ti at ed.
Pr ess or ho ld th e U P or DOW N pa d t o
ch ang e the Aut o time b y 0.5 hou r inc remen t s, up to 10 hou rs , t he n at 1 h o ur
in cr eme nts up t o 24 hour s . Th e cont ro l
wi ll cou nt d own the t ime re mai ni ng u ntil
st art .
The se le cte d tim e wil l r eg ist er in 5 sec on ds
and t he sys te m wil l a ut om ati cal ly re ver t
bac k to di spl ay the p rev io us hum id ity
se tt ing.
Wh en th e Au to st art & Aut o s to p time s are
se t, wit hin th e sa me pro gr am se que nce ,
TIM ER ON OF F ind ica to r l ig hts il l umin at e
ide ntif y ing bo th ON an d OFF tim es ar e
now pro g ramm ed .
Tur nin g the un it ON or OF F at any ti me or
adj ust i ng the t ime r s e ttin g to 0.0 w ill ca nce l
th e A uto St art /St op fu n ctio n.
Wh en LED di sp lay wi nd ow di spl ays t he
co de of P2 , the Aut o Sta rt/S t op func ti on
wi ll als o be can cel le d.
Wh en th e u nit is o ff, fi rst p res s th e T imer
but to n, th e TIME R ON ind ic ato r ligh t
ill um in ate s. It ind ic ate s the Au to Sta rt
pro gr am i s in it iat ed. P res s it aga in th e
Tim e O ff ind ec ato r li ght il lum in ates .I t
in di cat es the Aut o Stop i s ini tia ted .
Display
Shows the set % humidity level from 35% to 85% o r auto
start/stop time (0 ~24) while setting, then shows th e actu al
( 5% accuracy) room % humidity level in a range of
- Hum idity sensor error--Unplug the unit and plug it back
in. If error repeats, call for s ervice.
- Temperature sensor error-- Unplug the unit and plug it
back in. If error repeats, call for service.
± 30%
RH(Relative Humidity) to 90%RH(Relative Humidity).
Error Codes and Protection Codes:
AS
ES
Timer P ad
Press to i nitiate the Auto start and Auto sto p featu re,
in conjuction wi th the and key p ads.
Au to Shu t Off
The shut s off a ft er 30 sec on ds wh en
the b uck e t is f ul l, or w h en th e b uck et is re mov ed
or n ot r epl a ced in th e pro pe r p os iti on. Whe n the
se tt ing hu midi t y is r e ache d, th e u ni t wi ll b e shu t
off au to mat ic all y. For so me mo del s, the fan m ot or
wi ll con tin ue op er ati ng.
deh umi d ifie r
Auto-Restart
If t he unit breaks off unexpectedly d ue t o the power c ut,
it will res tart with the previous fu nction setting automatically w hen the power resumes.
Power Pad
Press to turn the d ehumidifier o n and off.
Unit operation o n
indicator light
High fan
indicator light
Timer on/off
indicator light
Ion ope ration on
indicator light
Bucket full
indicator light
Continuous
operation on
indicator light
Dryer operation
on indicator light
Smartd ehumidifying
operation on indicator
light
Mode Pa d
Press to select the desired ope ration mode from
Dehumidifying,Dryer,Continuous dehumidifying and
Smart d ehumidifying.
NOTE: Dryer an d Smart dehumidifying modes are
optional.
Turbo Pad
Ion Pad(optional)
Press to a ctivate the ionizer. Anions ar a utomatically
generated by ioniz ation. The anions deactive the
airborne c hemical vapors and dust particles. Press
it again to stop the function.
Control the f an speed. Press t o select e ither H igh
or Norma l fan s peed. Set the f an control to High for
maximum m oisture removal. When the humidity has
been reduced and quiet operation is preferred, set
the fan c ontrol to Normal.
- Unit i s d efrosting-- Allow the unit time to automatically
defrost. The protection will clear after the unit self defrosts.
- Bucket is full or bucket is not in right position-- Empty
the bu cket a nd replace it in t he ri ght position.
- Unit m alfunction
P1
P2
E1 -- Unplug the unit and plug it back in. If
error repeats, call for service.
- Unit m alfunction-- Unp lug the unit and plug it back in. If
error repeats, call for service.
E3
S mart deh um idi fy ing m ode (o pti on al)
A t s mar t d e hum idi fyi ng mod e , t he un it wil l auto ma tic a lly
co ntr o l roo m hum i dity in a c omf or table range 45 %~5 5%
ac co rdin g to t h e r oom t emp er atu re. T he hum id ity se tt ing
fun ct ion wi l l be i nva li d.
EC- Refrigerant leakage detection-- With this new technology,
the display area will appear EC when the unit detects
refrigerant leakage ,call for service.
Page 6

IDENTIFICATION OF PARTS
Power Cord and plug
Drain hose outlet
Air intake grille
Air filter (behind the grill)
Front
Rear
Air outlet grille
Caster
Id en ti fic at io n of pa r ts
Fig .2
Fig .3
Water bu cket
Control panel
Handle
Water le vel window
1
2
3
4
5
1
2
3
4
NOT E: A ll the p ic tur es in th e m an ual ar e
for ex pl ana ti on pu rpo se s onl y. T he ac tua l
sha pe of th e uni t you pu rc has ed ma y be
sli gh tly di ffe re nt, b ut th e ope rat ion s an d
fun cti on s are th e sam e.
5
OPERATI NG THE UNIT
When us ing th e un it
When first usin g the dehumidifier, o perate t he un it
continuously 2 4 hours.
This u nit is designed to operate w ith a working
environment b etween 5 C/41 F an d 35 C/95 F.
If the unit has been switched off and needs t o be
switched o n aga in quickly, al low a pproximately
three m inutes for the correct operation to resume.
Do not connect the dehumidifier to a multiple socket
outlet, whi ch i s also being used for other electrical
appliances.
Select a suitable location, making sure you have easy
access to an electrical outlet.
Plug the unit into a electrical s ocket-outlet with earth
connection.
Make sure the Water bucket is correctly fitted otherwise
the u nit will not operate properly.
When the water in the bucket reaches to a certain
level,please be careful to move th e machine to avoid it
falling down.
O O O O
NOTE:
Casters(At four points on the bottom of unit)
Casters can move freely.
Do not force casters to move over carpet,
nor move the unit with water in the b ucket.
(The unit may tip over and s pill water.)
A dehumidifier operating in a basement will h ave little or no effect in dryin g a n adjacent enclosed
storage area, such as a closet, unle ss t here is adequate circulation of air in and out of the area.
Air outlet grille
Air in take
grille
20cm or more
20cm or more
20cm or more
20cm or more
40cm or
more
Posi ti on i ng t h e u ni t
Do not use outdoors.
This deh umidifer i s intended for indoor residential
applications only. This d ehumidifier should not be used
for commercial or industrial applications.
Place the dehumidifier on a smooth, level floor strong
enough to sup port the unit with a ful l bucke t of water.
Allow at least 20cm of air space on all sides o f th e unit
for good air circulation.
Place the unit in an area w here the temperature will not
fall below 5 C(41 F). The coil s can become covered with
frost at temperatures below 5 C (41 F), which may reduce
performance.
Place the unit away from the cl othes dryer, heater o r r adiator.
Use the unit to prevent moisture dama ge anywhere books
or valuables are stored.
Use the dehumidifier in a basement to help prevent
moisture damage.
The dehumidifier must be operated in an enclosed
area to be most effective.
Close a ll doors, windows and other outside open ings
to the room.
Fig .4 a
1
2
3
4
1
2
3
5
Dry er mo de (op tio na l)
The u nit ca n make t he MA X d ehu mi dif ic ati on fu nc tio n
whe n it is und er th e D ry er mod e. T he fan sp ee d is f ix ed
at hi gh fan s pee d. Th e h umi dit y lev el is au to mati c all y
co ntr oll ed acc or din g to the ac tua l ro om hum id ity.T h e u ni t
wil l qui t d ry er mo de aft er a max im um 10 hou rs ' oper ati o n.
NOT E :
The Dr y er mod e m u st be oper at ed in a clo se ro om, do no t
ope n the d oor an d w in do w.
To mak e t he bes t eff ect ive d ehu mi dif ica ti on ,p lea se fir st
deh yd rat e the we t clo the s.
Ma ke sur e t o dir ec t ai rflo w a t th e w et clo t hes ( See F ig.A ).
For t hi ck and h eavy w et clo th es may no t get th e bes t
eff ect iv e d ehumi dif i cat io n.
CAUT IO N
Do no t cove r the a ir out let of t he uni t with clot h es. It may
ca use e xce ssiv e he at, fi re or fa ilu re o f u ni t.
Do no t plac e the w et clo the s on th e t op of th e u ni t and d o
not m ak e t he wa ter dr op in to th e u ni t. It ma y caus e
ele ct ric s hoc k,c ree p age or fa ilu re of un it.
30~50cm
30~50cm
Airflow
Fig .A
We t c lot hes
All ow 30~ 50c m o f dist anc e
on the to p a nd righ t side of
the un it to t he we t c lot hes .
Page 7

Remov in g th e co l le c te d w ate r
1. Pull out the bucket a little.
2. H old both s ides of the bucket
with even strength, and pull it
out fr om the unit.
3. Pour the water out.
There are two ways to remove collected water.
1. U se the bucket
When the unit is off,if the bucket is full, the un it will
beep 8 times and the Full indicator light will flash, the
digital display shows P2.
When the unit is on,if the bucket is full, the c ompressor
turns off and the fan t urns off after 30 seconds for drying
the water of the condenser, then the unit will beep 8
times and the Full indicator light will flash, the digital
display shows P2.
Slowly pull out the bucket. Grip the left and right
handles securely, and carefully pull out straight so
water does not spill. Do not put the tank on the floor
because the bottom of the bucket is uneven. Otherwise
the bucket will fall and cause the water to spill.
Throw away the water and replace the bucket. The
bucket must be in place and securely seated for the
dehumidifier to operate.
The machine will re-start when t he b ucket is restored
in i ts correct position.
NOTES:
When you remove the bucket, do not touch any parts
inside of the unit. Doing so may damage the product.
Be sure t o push the bucket gently all the way into the
unit. Banging the bucket against a nything or failing to
push it in securely may cause the unit not to operate.
When you remove the bucket,if there is some water in
the unit yo u must dry it .
Fig. 5
Fig .6
OPER ATING T HE UNIT
3. Clean the air filter
Fig. 8
After turning off the unit, w ait one day before emptying
the bucket.
Clean the main unit, water bucket and air filter.
Cover the unit with a plastic ba g.
Store the unit upright in a dry, well-ventilated place.
4. When not using the un it for long time periods
CARE AND MAINTENA NCE
Ca r e an d cl ea ni ng o f th e d ehu mi d if ie r
Turn the dehumidifier off and r emove the plug
from the wall outlet before cleaning.
1. Clean the Grille and Case
Use water and a mild detergent. Do not use bleach
or abrasives.
Do not splash water directly onto the main unit. Doing
so may cause an electrical shock, cause the insulation
to deteriorate, or cause the unit to rust.
The air intake and outlet grilles get soiled easily, so use
a vacuum attachment or brush to clean.
2. Clean the bucket
Every few weeks, clean the bucket to p revent growth of mold,
mildew and bacteria. Partially fill the bucket with clean water
and add a little mild detergent. Swish it around in the bucket ,
empty and r inse.
Do n ot use a dishwasher to clean the bucket.
After clean, the bucket must be in pla ce and securely
seated for the dehumidifier to operate.
NOTE:
2. Continu ous d raining
Fig .7
NOTE: When the continuous drain feature
is not being used,remove the drain hose
from the outlet.
Attach the hose
to t he d rain
hose outlet.
Remove the
rubber plug
Wat er ca n be aut omat ic al ly em pt ied int o a flo or
dra in b y a tt ac hin g t he u nit wi th a wat er hos e
(no t in clu de d).
Rem o ve the ru bb er plu g fro m the ba ck dra in
hos e ou tle t. Att ach a dra in h ose (I D=13 .5m m )
and l ea d it to the fl oor d rai n or a sui tabl e
dra in ag e fac ili ty( see Fi g .7) .
Make sure the hose is secure so there are no leaks.
Direct the hose toward the drain,making su re that
there are no kinks that will stop the warter flowing.
Place the end of the hose into the drain and make sure
the end of the hose is level or down to let th e water flow
smoothly.Do never let it up.
Select the desired humidity setting and fan speed
on the unit for continuous draining to start.
Fig. 9
Fig. 10
The air filter behind the f ront grille sho uld be
checked and cleaned at least every 30 days
or more often if necessary.
Grip the tab on the filte r an d pull it upward, then
pull it out as shown in Fig. 8.
Clean the filter with warm, soapy w ater. Rinse and
let the filter dry before repl acing it. Do not clean the
filter in a dishwasher.
Insert the air filter into the unit from underside to
upside. See Fig.10.
DO NOT operate the dehumidifier without a filter
because dirt and lint will cl og it and reduce
performance.
NOTE: DO NOT RINSE OR PUT T HE FILTER
IN AN AUTOMATIC DISHWASHER.
To remove:
To attach:
CAUTION:
Page 8

TROUBLESHOOTI NG T IPS
Before callin g for service, review the chart below first yourself.
Problem
What to check
Unit does not start
Make s ure the dehumidifier s plug is pushed completely into the
outlet.
Check the house fuse/circuit breaker box.
Dehumidifier has reached its preset level or bucket is full.
Water bucket is not in the pro per position.
Dehumidifier does n ot
dry the air as it should
Did no t allow enough time to remove the moisture.
Make s ure there are no curtains, blinds or furniture blocking the
front o r back of the dehumidifier.
The hu midity control may not be set low enough.
Check that all doors, window s and other openings are securely
closed.
Room temperature is too low, below 5 C(41 F ).
There is a kerosene heater or something giving off water vapor
in the room.
O O
,
The unit makes a loud
noise when operatin g
The ai r filter is clogged.
The un it is tilted instead of upright as it should be.
The flo or surface is not level.
Frost appears on the
coils
This is normal. The dehumidifier has Auto defrost feature.
Water on floor
Hose t o connector or hos e co nnection may be loos e.
Intend to use the bucket to collect water, but the back
drain p lug is removed.
ES, AS, P1 or P2 ap pear
in the display
These are error codes and protection codes. See the
section.
CONTROL
PADS ON THE DEHUMIDIFIER
 Loading...