

Page 1
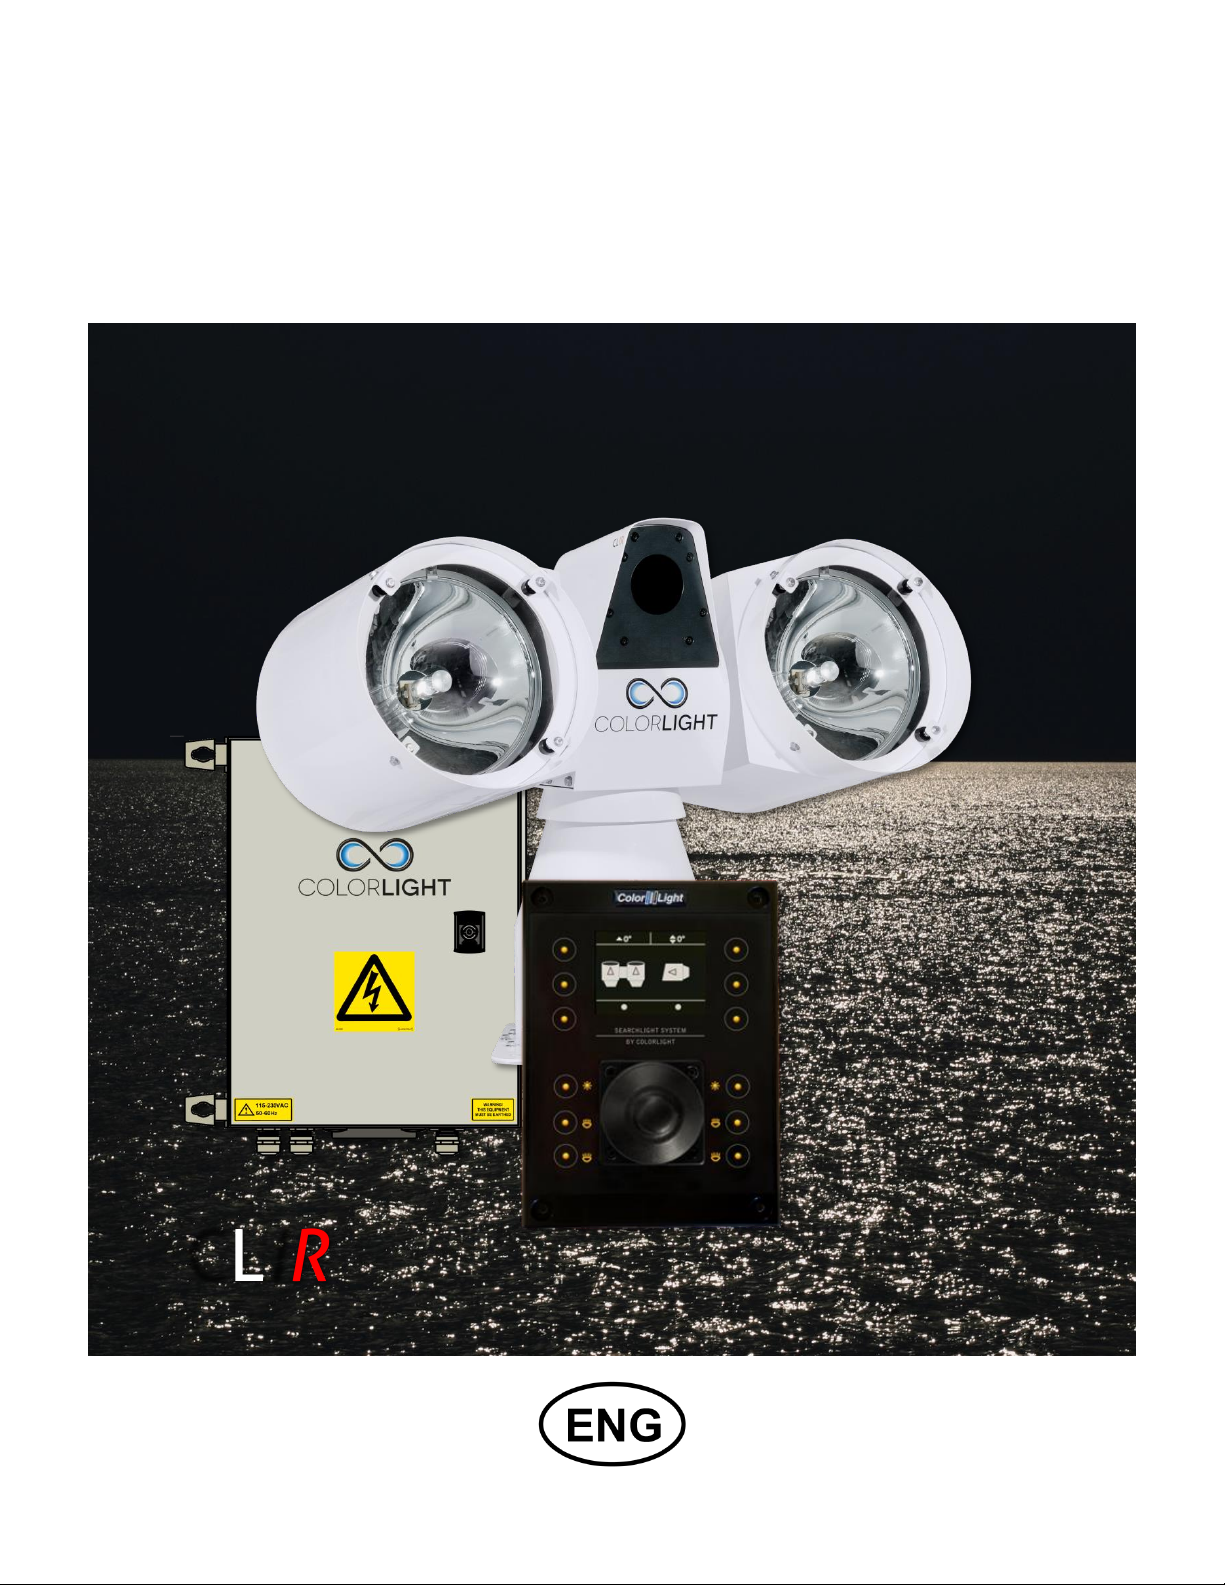
SEARCHLIGHT SYSTEM
CLIR
BY COLORLIGHT
USER'S MANUAL
Revision nr: F1.2
Revision date: 2014-05
Page 2

NOTE.
This document is a supplementary manual and it only describes how
to operate the infrared camera and its features.
For other features and settings, see the searchlights main manual.
This manual does not explain the camera's function in detail, for more
information about the technology around the thermal imaging camera
and its usage we refer to the FLIR® homepage.
http://www.flir.com/
All information in this manual was correct at time of publication. However, as our engineers are
always updating and improving our products, your system's software might provide a slightly
different appearance or modified functionality than presented in this manual.
If your system lacks any function presented in this manual, there is possibly a software update
available to resolve this, please contact ColorLight for more information.
COPYRIGHT COLORLIGHT © 2014. All rights reserved
Page 2 CLIR MANUAL
Page 3

Approvals
written by:
Anders Holst
reviewed by:
Jonas Boslander
approved by:
Mattias Svensson
CONTENT
1. CLIR – SEARCHLIGT WITH THERMAL CAMERA ............................................................ 4
1.1 INTRODUCTION ................................................................................................................................ 4
1.2 SPECIFICATIONS .............................................................................................................................. 5
2. CLIR VIDEO CONNECTION ............................................................................................... 7
3. USING THE THERMAL CAMERA IN CAM MODE ............................................................ 8
3.1 ACTIVATE THE THERMAL CAMERA .................................................................................................... 8
3.2 CAMERA TILT ................................................................................................................................ 10
3.2.1 Tilt up ................................................................................................................................... 10
3.2.2 Tilt down .............................................................................................................................. 11
3.3 SPOT METER ................................................................................................................................. 12
4. MENU CAM SETTINGS ....................................................................................................13
4.1 PALETTE ....................................................................................................................................... 14
4.2 ZOOM ........................................................................................................................................... 15
5. SUPPORT .........................................................................................................................16
CLIR MANUAL Page 3
Page 4

1. CLIR – SEARCHLIGT WITH THERMAL CAMERA
1.1 Introduction
Dear Customer.
Thank you for choosing a searchlight from Colorlight.
Our products are built by hand and the components are chosen with a focus on performance
and quality.
We hope that you will be totally satisfied with your searchlight.
CLIR: Colorlight searchlight with integrated Infra-red thermal camera.
The thermal night vision camera unit from FLIR® is placed in a robust, modern designed
housing mounted on top of the searchlight middle part; this means that the camera always
follows the searchlights horizontal movement from the joystick.
The thermal camera is mounted in a special tilt unit witch make it easy to adjust the camera
vertically from the operator panel.
The front is provided with a germanium window with an integrated temperature-controlled and
self-regulating heating element, the element will prevent condensation and ice build-up on the
front window that would otherwise disrupt the cameras line of sight.
The infrared thermal camera provides a clear picture based on temperature differences, even in
total darkness. This is possible since the camera is sensitive to thermal infrared radiation.
By design, the camera image will freeze momentarily on a periodic basis, this can also be heard
as quiet clicking noise from the camera housing.
A shutter activates inside the camera and provides a target of uniform temperature, allowing the
camera to correct for ambient temperature changes and provide the best possible image.
General technical description of infrared imaging
All objects with a temperature over the absolute zero point -273 C (0 degree K) generates
infrared radiation. The hotter the temperature, the more infrared radiation.
The IR sensor also sense differences of the materials emissivity, reflection and transmission.
Emissivity – the materials capability to emit infrared radiation. Reflection – the material
capability to reflect infrared radiation. Transmission – the material capability of transmitting
infrared radiation.
To keep it very simple
Materials with a temperature over -273 C will be detected by the thermal sensor and different
materials with same temperature will appear different on the monitor due to the different
properties in the materials.
Weak point with thermal sensor
Rain, fog, snow reduces the optical sight and it also effect the range of IR detection. Depending
distance, size of object and level of temperature (IR radiation) there is no simple answer how
much the detection range is affected – but it is affected.
A combined solution with thermal sensor and visible light will support your improved visibility
depending the actual conditions during your operations.
Page 4 CLIR MANUAL
Page 5

Camera core type
FLIR (uncooled longwave thermal imager)
Lens
25mm*
Field of view
13x10 degrees
Video output
Analog Channel Composite Video (Male RCA connector)
PAL (Standard), NTSC upon request.
Detector resolution
336x256, 17µm
Video resolution
640 x 480 pixels
Refresh rate
9 Hz
Detection man/vessel
800m / 2000m
Recognition man/vessel
200m / 550m
Identification man/vessel
100m / 300m
Technology
Menu controlled tilt function
Horizontal movement
Unlimited movement together with searchlight
Vertical movement
+/- 20 degrees
Speed horizontal movement
See information on each searchlight model
Camera power
On/Off
Tilt function
Up/Down with graphical indicator
Focus
X2
X4
Color palettes
White Hot
Black Hot
Fusion
Rainbow
Glowbow
Ironbow 1
Ironbow 2
Sepia
Color 1
Color 2
Ice Fire
Rain
1.2 Specifications Thermal unit
* Other lens types available upon request
Mechanical
Functions, menu controlled from panel
CLIR MANUAL Page 5
Page 6
Weight (additional on searchlight)
2,1 kg
Static size thermal module
15x15x20 cm
Material housing
Acid proof stainless steel 1.4401
Paint housing
Powder coat white RAL9016 as standard
Frontwindow material
Germanium
Frontwindow heater/ Deicer
Rated Power
Supply
Switch-on temperature
Etched Polyimide foil heater with temperature controller
~10W
24Vdc supplied from electric box
+12C or bellow
Enclosure rating of the housing
IP66
Operating temperature
-40°C to +80°C
Storage temperature
-50°C to +85°C
Thermal Shock
No damage or permanent degradation after extreme
thermal shock from one extreme of the operating
temperature range to the other.
Mechanical Shock
No damage or permanent degradation after exposure to
shock pulses of 250 g (1.5msec half-sine) and 500g
(0.8msec halfsine) along any axis.
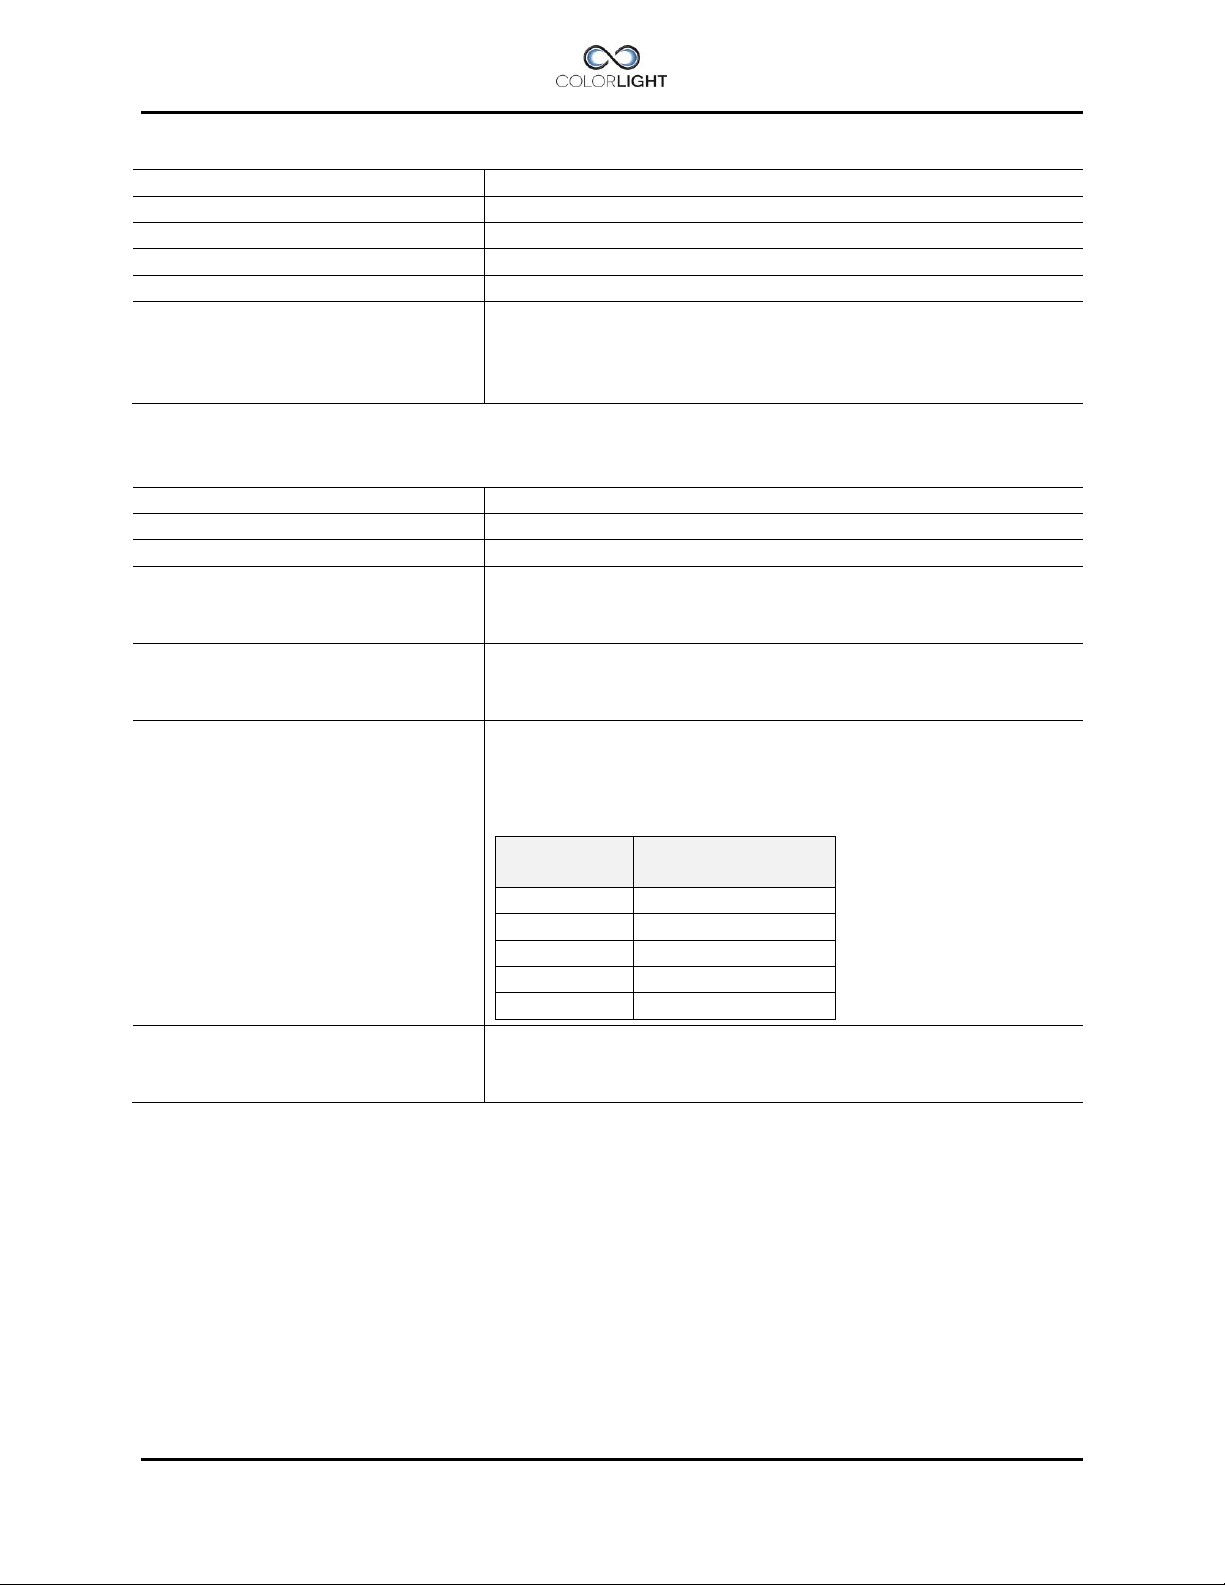
Vibration
Meets all requirements of this specification and exhibits no
damage or permanent degradation after exposure to
random vibration along any axis up to 4.3 grms per the
profile specified below.
Frequency
(Hz)
Acceleration
Density (G2/Hz)
10
0.040
20
0.100
100
0.100
800
0.002
1000
0.002
Altitude
Meets all requirements of this specification and exhibits no
damage or permanent degradation after exposure to
pressure equivalent to 12 km above sea level.
Technical data
Ambient conditions Camera housing
Page 6 CLIR MANUAL
Page 7

2. CLIR VIDEO CONNECTION
CLIR MANUAL Page 7
Page 8

3. USING THE THERMAL CAMERA IN CAM MODE
3.1 Activate the thermal camera
Note:
● Make sure your monitor is powered on before activating the camera.
● Activation takes a few seconds, don’t press any cam-buttons until the image is visible in
the monitor.
● Changes in CAM mode takes effect immediately and does not require confirmation.
● Camera settings can only be accessed if camera is activated.
● Activation must be done from the CAM-mode screen.
● Activated camera is indicated by the letter “C” in the bottom left of the display.
To activate the camera, first select "Surveillance” from the quick start menu.
In “Surveillance” submenu, select "CAM mode”.
Page 8 CLIR MANUAL
Page 9

Tilt camera up
Tilt camera down
Activate and
deactivate camera
See Figure 1 below
Zoom options:
X4
Return to indicator
screen
Tilt indicator
By pressing “Activate” the thermal camera is powered up and the video signal is sent to the
monitor. All camera settings will now be accessible, see description below.
A second press on the same button turns the camera off.
X2
Figure 1 Palette. (Image source FLIR®)
CLIR MANUAL Page 9
Page 10

Horizon
Top
3.2 Camera tilt
The camera tilt angle is adjustable + / - 20 degrees by the mechanical mounting in a softwarecontrolled tilting unit.
3.2.1 Tilt up
In “CAM mode”, press "Up”-button repeatedly to adjust the camera view angle upwards.
The camera will tilt upward in steps until the end position is reached, the tilt indicator will follow
the camera movement.
Press the button repeatedly until the proper view angle is achieved, the setting is saved as
default and in the event of power failure, the camera will go directly to this position.
Page 10 CLIR MANUAL
Page 11

Horizon
Bottom
3.2.2 Tilt down
In “CAM mode”, press "Down”-button repeatedly to adjust the camera tilt angle downwards.
The camera will tilt downwards in steps until the end position is reached, the tilt indicator will
follow the camera movement.
Press the button repeatedly until the proper tilt angle is achieved, the setting is saved as default
and in the event of power failure, the camera will go directly to this position.
CLIR MANUAL Page 11
Page 12

3.3 Spot meter
In the center of the screen, an onscreen pixel area acts as a tool for measuring temperatures.
Center this area over an object to measure; the temperature is displayed in the lower left corner
of the screen.
Page 12 CLIR MANUAL
Page 13

4. MENU CAM SETTINGS
The camera settings “Zoom” and “Palette” can be accessed in two ways; either you can set
them directly from CAM mode-screen described in chapter 2.1 or by selecting “CAM settings”
in the main menu.
The basic camera settings can only be accessed if the camera is activated. Activated camera is
indicated by the letter “C” in bottom left of the display.
If the menu rows are dimmed the camera first must be activated before changes can be made
please see 2.1 Activate the thermal camera.
Navigate down to “CAM settings” and press “OK”.
Basic camera settings.
CLIR MANUAL Page 13
Page 14

4.1 Palette
The camera settings “Zoom” and “Palette” can be accessed in two ways, either you can set
them by selecting “Cam settings” in the main menu or you can use the “CAM mode” which is
an active cam screen where all our camera functions can be easily accessed and where the
changes requires no confirmation.
In “CAM settings”-menu, navigate to palette and press “OK”.
Unlike settings in CAM mode, one can in this menu see what color palette that is selected.
Change the setting by moving the joystick up or down in the list until the requested palette is
shown. For evaluation, all changes take effect immediately on the monitor.
Press “OK” to save the new setting or “Back” to return to previous selected palette.
The following color palettes are available (also see Figure1: Palette):
1. White Hot
2. Black Hot
3. Fusion
4. Rainbow
5. Glowbow
6. Ironbow 1
7. Ironbow 2
8. Sepia
9. Color 1
10. Color 2
11. Ice Fire
12. Rain
Page 14 CLIR MANUAL
Page 15

X1
X2
X4
4.2 Zoom
In “CAM settings”-menu, navigate to “Zoom” and press “OK”.
Change the image magnification by moving the joystick up or down in the list until the requested
zoom setting is shown. For evaluation, all changes take effect immediately on the monitor.
Press “OK” to save the new setting or “Back” to return to previous selected zoom level.
X1 – Normal mode, no magnification.
X2 - Causes the thermal camera to digitally zoom in to x2 magnification.
X4 - Causes the thermal camera to digitally zoom in to x4 magnification.
CLIR MANUAL Page 15
Page 16

5. SUPPORT
If you have questions about the searchlight and its features, please contact ColorLight technical
support worldwide, see www.colorlight.com for contact details.
Or contact ColorLight head office:
ColorLight AB
Engineering-ColorLight
cl@colorlight.com
Phone: +46 353 8270
Fax: +46 35 38279
Need technical Support?
Follow the link below and fill out the form, we will contact you shortly.
http://www.colorlight.com/tech-support/service-request.html
If you want to upgrade your system with additional options as described in User’s Manual,
section (11.8.6.7), please contact:
ColorLight AB
Phone: +46 35 38280
Fax: +46 35 38279
www.colorlight.com
info@colorlight.com
Delivery address:
ColorLight AB
Kassakällor Erikslund 917
SE-313 95 Åled
Sweden
Notes:
Page 16 CLIR MANUAL
Page 17

CLIR MANUAL Page 17
Page 18

Page 18 CLIR MANUAL
Page 19

CLIR MANUAL Page 19
Page 20

VISIBILITY | VERSATILITY | VALUE
We look forward to serve you with the Future Searchlight Solution - wherever you are
ColorLight AB
Kassakällor
SE-313 95 Åled
Sweden
Phone: +46 35 38280
Fax: +46 35 38279 www.colorlight.com
e-mail: info@colorlight.com
 Loading...