

Page 1
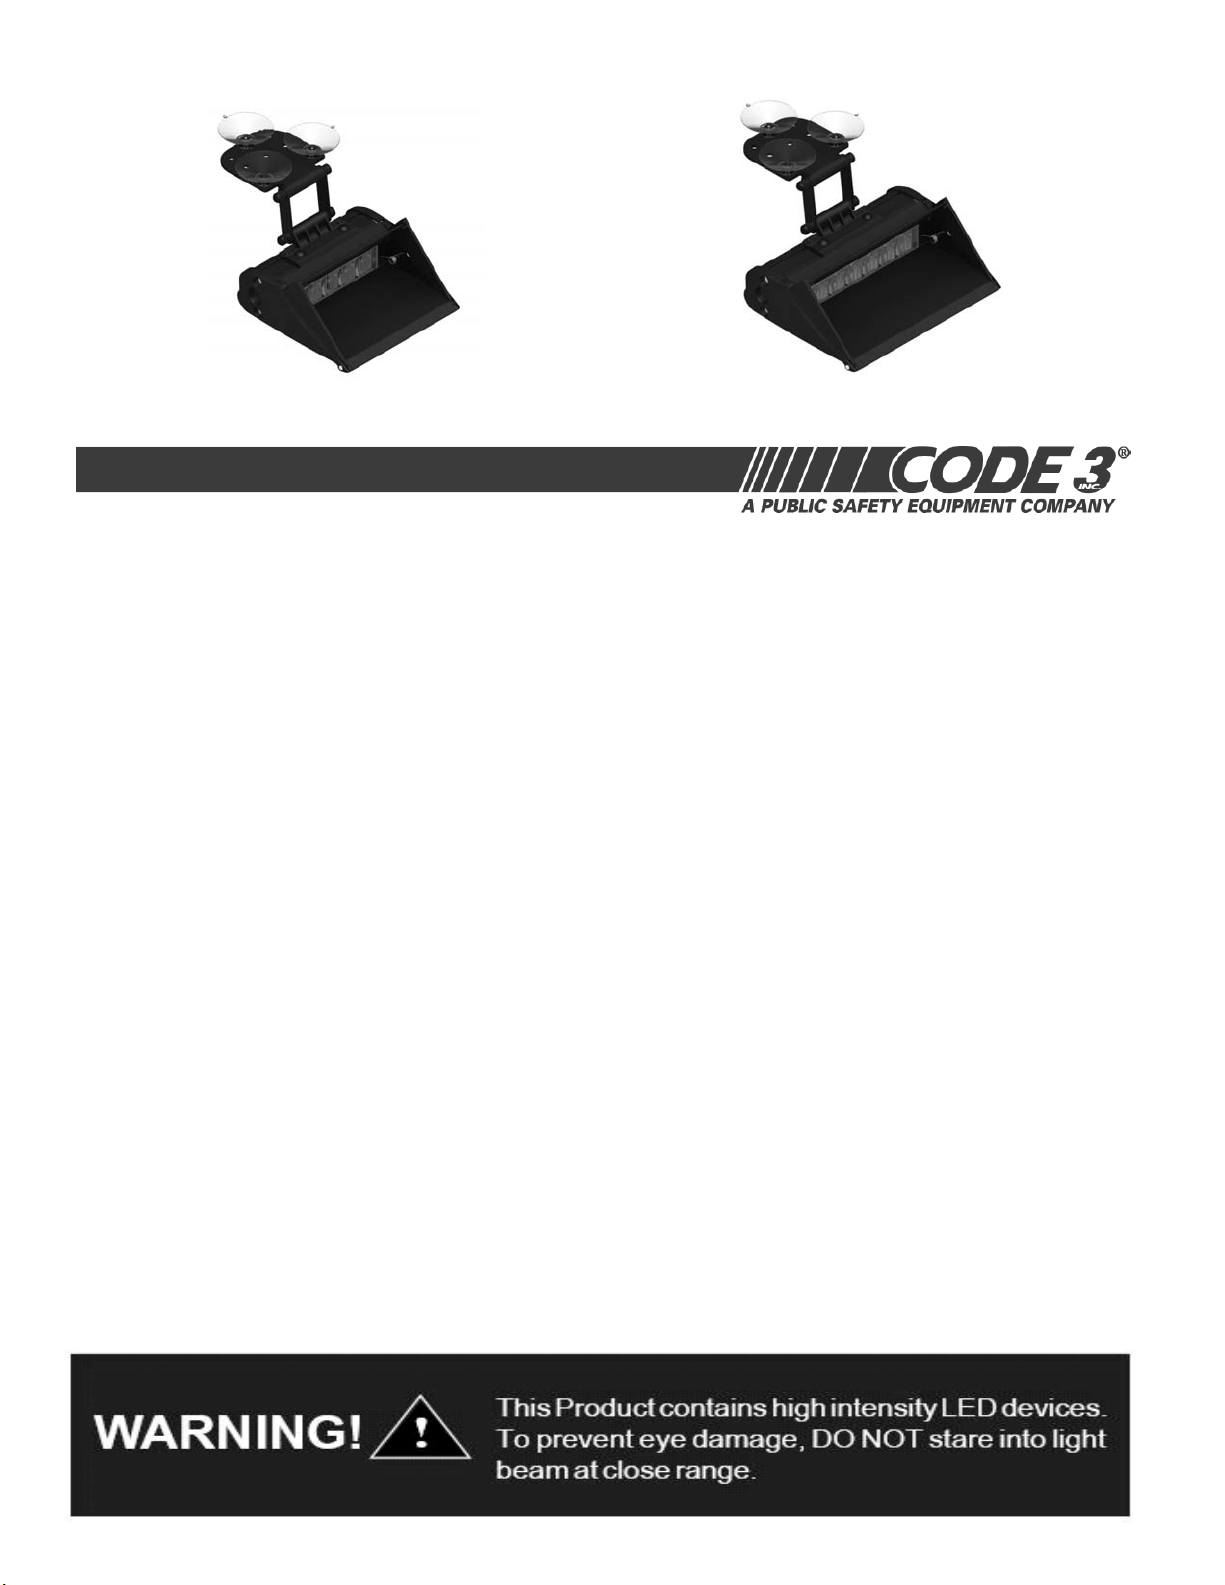
XT401xxSS, XT601xxSS LED WARNING LIGHTS
XT401xxSS XT601xxSS
Input Voltage(Fuse 1A)-----------12Vdc/24Vdc(PLUG)
Flash Pattern Select-------------------------------SWITCH
Output Power--------------4W(401xxSS)/6W(601xxSS)
Clean the lighter socket and contact surfaces before
Mount the XT401xxSS/XT601xxSS LED light using
the Suction Cups supplied and user supplied
mounting it on the front bumper glass.
CAUTION: Be sure .the mount and/or fasteners used
are sufficient to support the weight of your light.
CAUTION: Be certain that you have selected a
mounting location that will not interfere with the
deployment of the vehicle’s airbags, does not obstruct
the driver’s vision and allows safe operation of the
vehicle. Check the chosen mounting location to
ensure that the vehicle’s structure and material is
adequate to support the weight of your light.
After the XT401xxSS or XT601xxSS light is
securely installed, loosen the adjusting screws
Located on each end and tilt the light to the desired
angle. Then tighten the fixed hitch. Turn the light on
and check the light from the front or rear of the
vehicle, through the windows, to ensure that it is at
the most desirable angle, and that the light is not
impeded by any obstacles and/or window tinting.
Model XT-401xxSS,XT-601xxSS FLASH PATTERN
P1- signal alert alternating (factory Default)
P2- signal alert simultaneous phase1
P3- signal alert simultaneous phase2
P4- cometflash alternating
P5- cometflash simultaneous phase1
P6- cometflash simultaneous phase2
P7-single flash75 alternating
P8-single flash75 simultaneous phase1
P9-single flash75 simultaneous phase2
P10- single flash375 alternating
P11- single flash375 simultaneous phase1
P12-single flash375 simultaneous phase2
P13-action flash alternating
P14-action flash simultaneous
P15-modul flash alternating
P16-modul flash simultaneous
P17-action scan
P18- STEADY WITH 5 SINGLE AND SINGLE POP
P19- STEADY - 5 SINGLE
P20- STEADY
P21- Cycle Flash- AUTORUN
P22- off
To select flash Pattern briefly Push the Function
SWITCH on end of Light:
- less than 1 second for next pattern
- more than 1 second for previous pattern
- more than 5 seconds to turn off
IMPORTANT: Please be sure to check that the product is properly fused.
Installing the XT401xxSS/XT601xxSS LED light without the appropriate fuse will void the warranty.
ISSUE 2008.DEC
Before mounting the warning lights, clean the lighter
socket and contact surfaces. Using the Suction Cups
supplied, mount the XT401xxSS/XT601xxSS LED
light to the windshield.
CAUTION: Be sure the mount and/or fasteners used are
sufcient to support the weight of your light.
Page 2
Revision 0, 12/08 - Instruction Book Part No. T53012
©2008 Public Safety Equipment, Inc. Printed in USA
 Loading...