

Coby MP822-4G, MP822-8G, MP822-16G Quick Setup Manual
MP822-4G | MP822-8G | MP822-16G
EN
3” Touch Screen Video MP3 Player
Quick Setup Guide ............................................Page 2
ES
3” Reproductor de Video y MP3 con
Pantalla Táctil
Guía Rápida de Uso ..................................... Página 30
Please read carefully before use • Léa el manual antes de usar •
Veuillez lire ce livret avant utilisation

Page 2 Coby Electronics Corporation
English
www.cobyusa.com Page 3
Thank You
Congratulations on your purchase of a Coby MP Video
MP Player. This guide is provided to help you get started
quickly with your player; for more detailed instructions,
please refer to the instruction manual stored as a PDF on
your player. The manual is also available for download at
the Coby website: www.cobyusa.com.
To view PDF documents, download and install the free
Adobe Acrobat reader from the Adobe website at
www.adobe.com.
www.cobyusa.com Page 3
English
Thank You
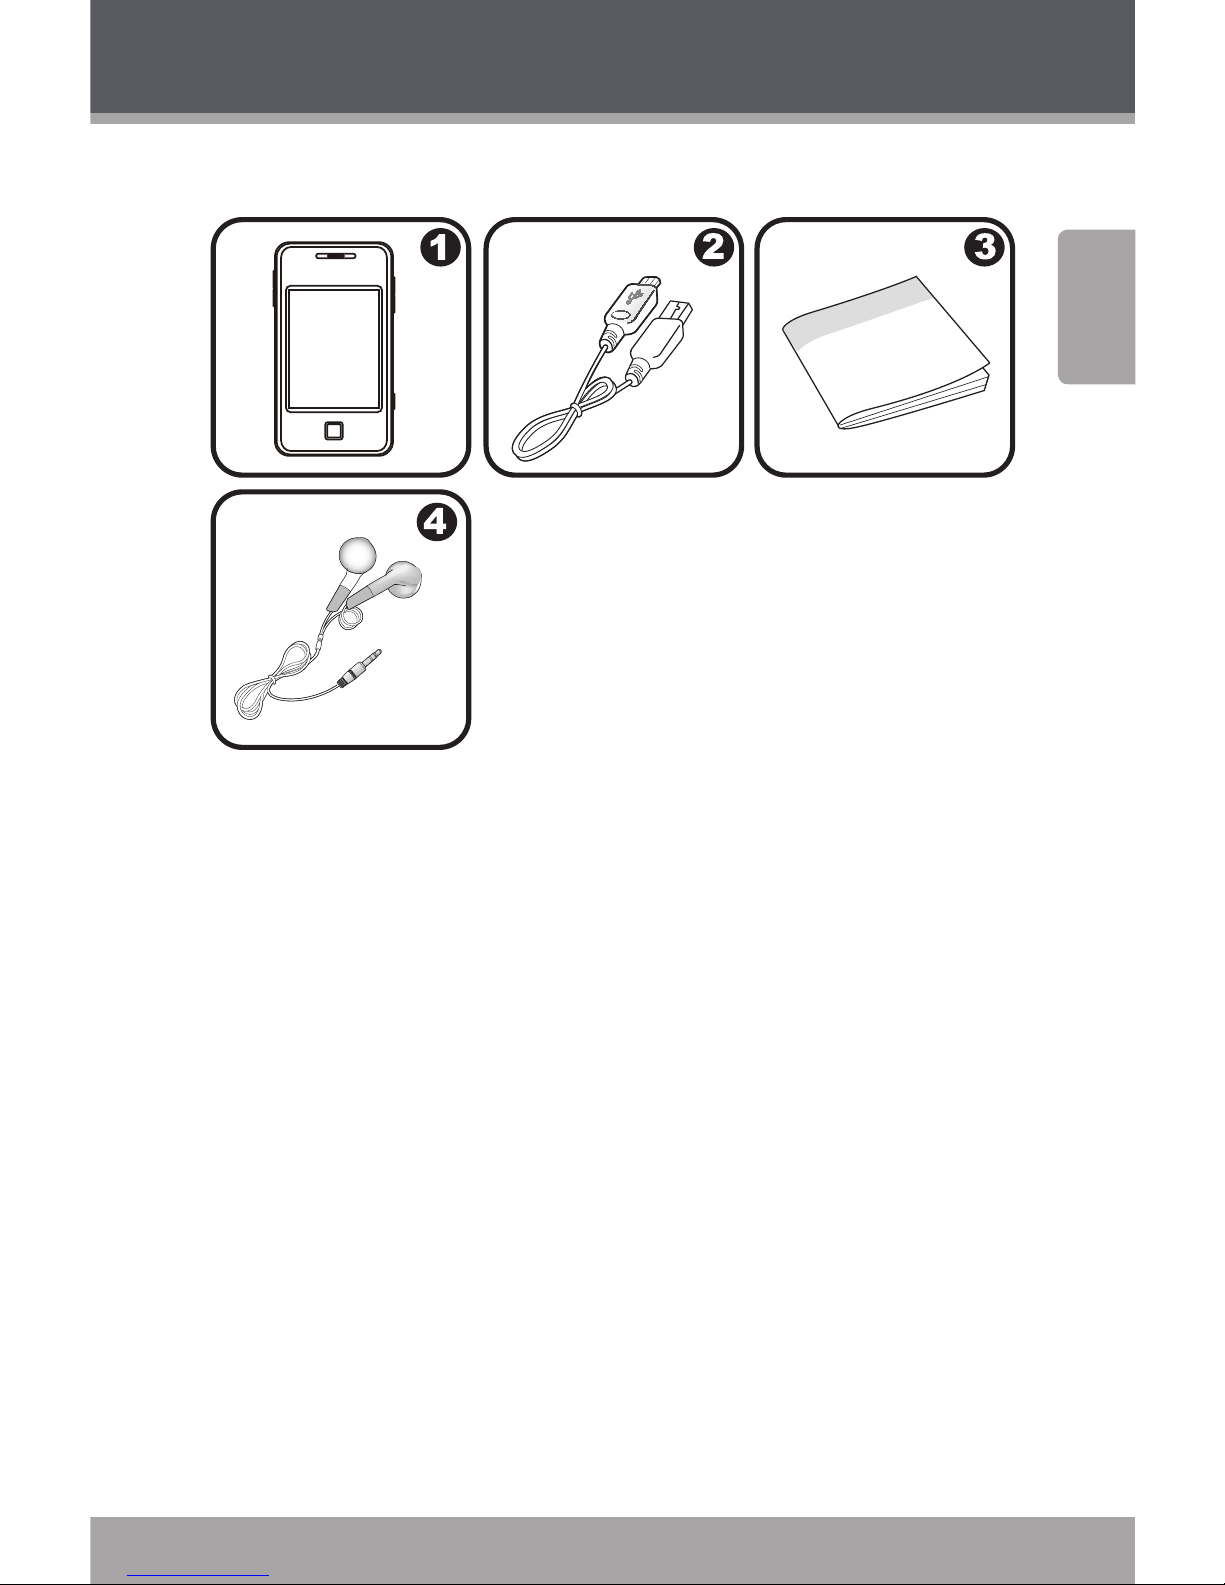
Package Contents
COBY Player
USB Cable
Instruction Manual
Professional Stereo Earphones
Should one of the above items be missing, please contact
the retailer from whom you purchased this product.
Page 4 Coby Electronics Corporation
English
www.cobyusa.com Page 5
Controls at a Glance
2 3
1
4
5
6
7
8
9
1 1
1 2
1 3
1 4
1 0

www.cobyusa.com Page 5
English
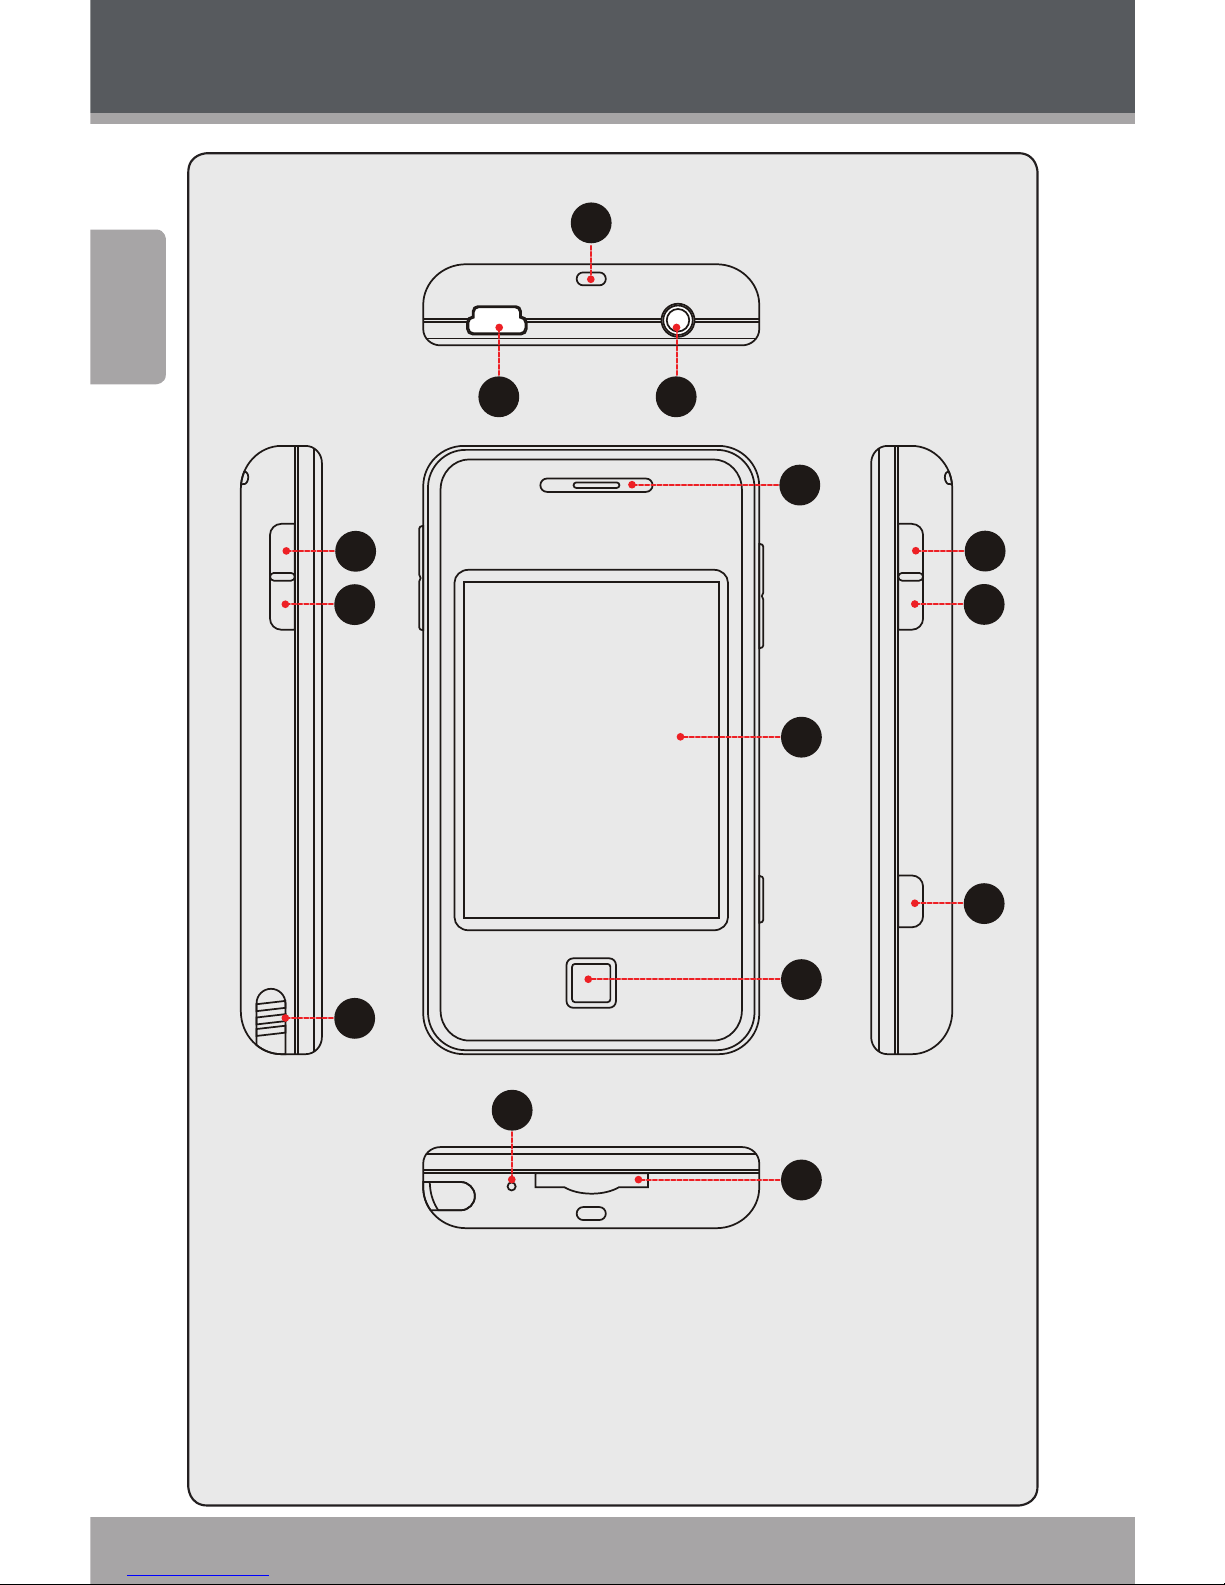
Controls at a Glance
Top View
Neckstrap Insert 1.
USB Port 2.
Connect to a computer to transfer media les to
the player.
3.5mm Headphone Jack3.
Left View
Menu Navigation: Up 4.
Menu Navigation: Down 5.
Stylus6.
Front View
Speaker7.
LCD Touchscreen8.
Tap the display with your nger to activate the
on-screen control.
OK Button9.
Bottom View
Reset Button10.
miniSD Card Slot11.
Load a miniSD memory card here to upgrade
the memory capacity of the player.

Page 6 Coby Electronics Corporation
English
www.cobyusa.com Page 7
Right View
Power Button12.
Press and hold to power the player on/o.
Volume Button 13.
Menu/Hold Button14.
Press and hold to disable the player controls.
Press again to re-enable.
Controls at a Glance
www.cobyusa.com Page 7
English
Getting Started
Charging the Battery
Your player has an integrated rechargeable battery. Upon
initial use, the battery should be charged fully to ensure
optimal performance and battery life. If the player has not
been used for a long period of time, the battery may need to
be recharged. Upon initial use, the battery should be charged
fully ( hours) to ensure optimal performance and battery life.
The battery used in this device may present a re or
chemical burn if mistreated. Do not disassemble,
incinerate, or heat the battery. Do not leave the battery in a place subject to direct sunlight, or in a car
with its windows closed. Do not connect the player
to a power source other than that which is indicated
here or on the label as this may result in the risk of re
or electric shock.
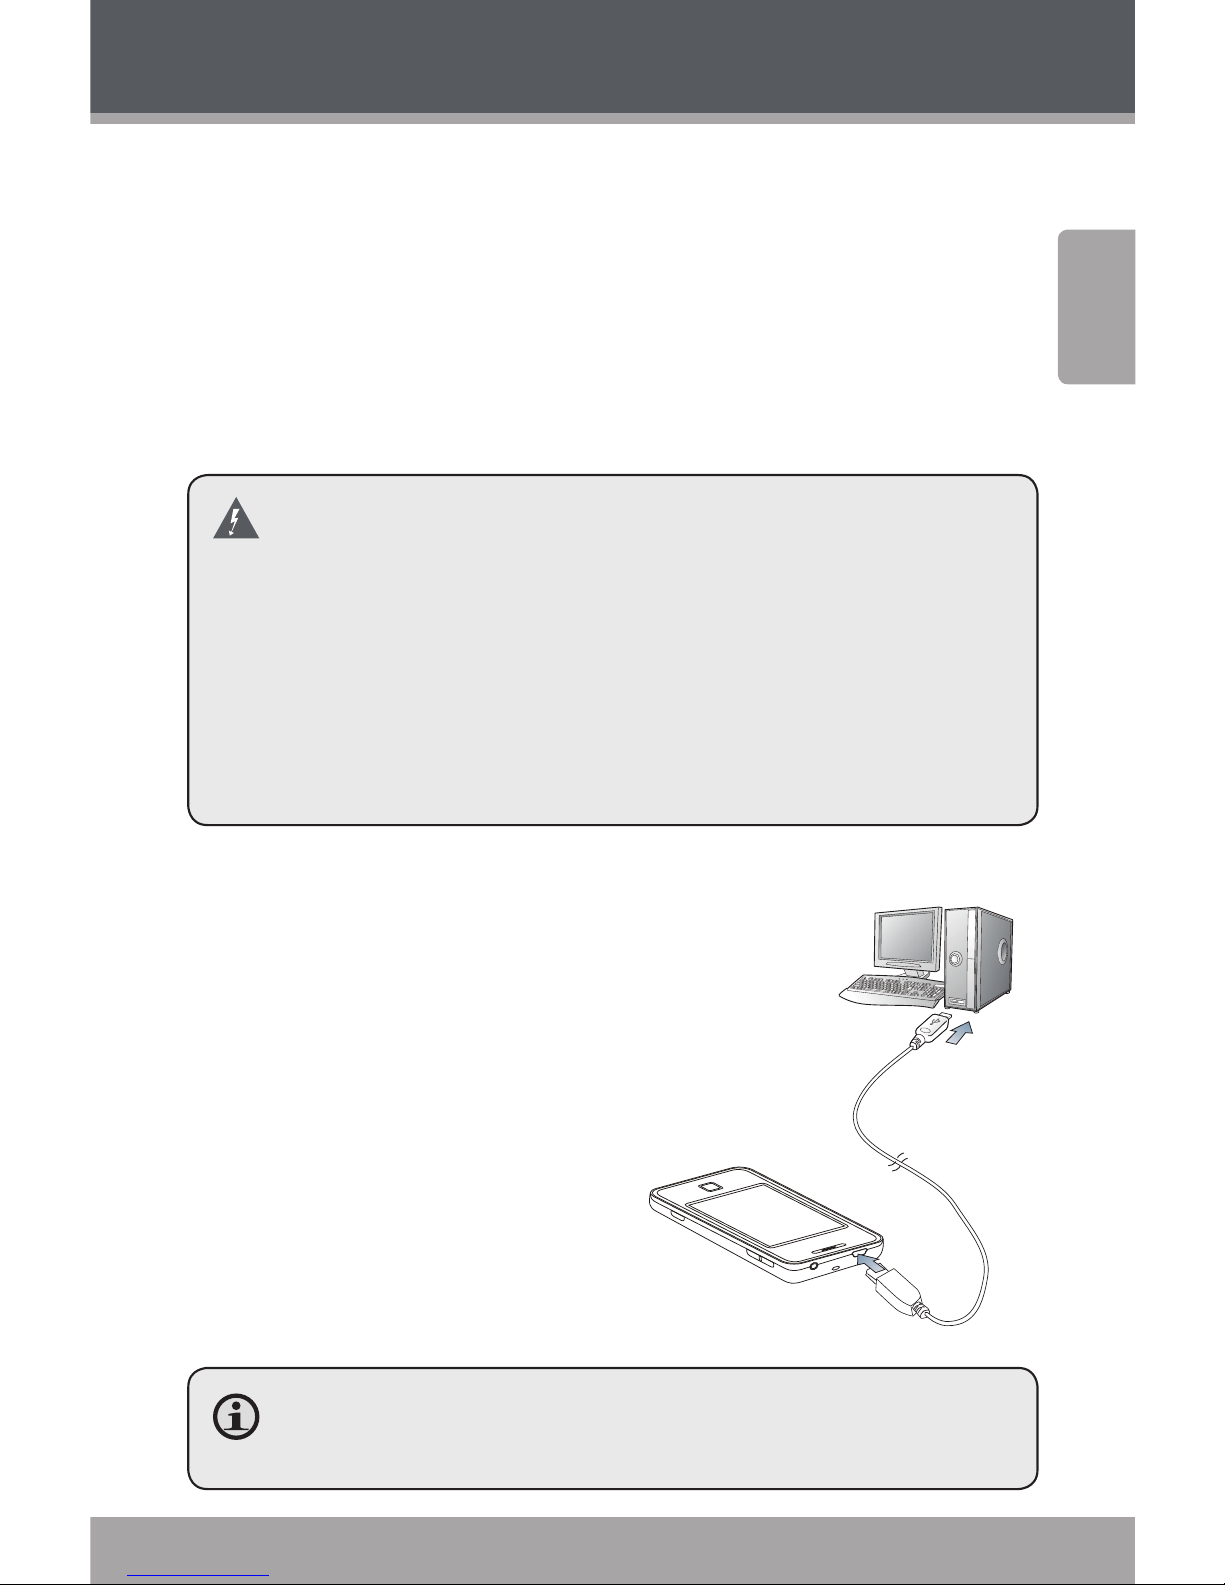
Charging with a Computer
Your player can be charged through a USB
computer connection. Use the supplied
USB cable to connect the player to your
computer’s USB port. The computer must
be powered on and not in sleep
mode. When the player is
connected and charging, a
USB symbol will be displayed
on the player’s screen.
When connected to a USB hub, the hub must be self-
powered to charge the player’s battery.
USB Port
USB Port

Page 8 Coby Electronics Corporation
English
www.cobyusa.com Page 9
Getting Started
Turning Your Player On/Off
To turn the player on, press and hold the <POWER> button
until the screen turns on.
To turn the player o, press and hold the <POWER> button
until the screen turns o.
Resetting the Player
If your player freezes and fails to respond, or in the event
of a malfunction, you will need to perform the reset function. To reset:
Disconnect your player if it is connected to a 1.
computer.
Use a paper clip to gently press the Reset button 2.
located on the bottom of the player.
Using the Touchscreen Controls
Your video MP player comes equipped with an easy-touse touchscreen which allows access to the player’s functions. Use your nger tip or the stylus to tap the area of
the screen where a control icon is displayed. If you tap and
hold an icon, it will register as a continuous button press.
You can also use your nger to swipe up/down or left/right
to move the selection up/down or left/right, respectively.
To avoid damaging the screen, do not touch it with
excessive force or with any object other than your
nger or the stylus. For best response, make sure
your hands are clean before using the touchscreen
controls.
www.cobyusa.com Page 9
English
Getting Started
Disabling the Controls (Hold)
When the Hold button is engaged, the player’s controls
are disabled.
To disable the controls, press and hold the <MENU>
button.
To enable the controls, press and hold the <MENU>
button again.
You may want to disable the controls to avoid acti-
vating the controls when the player is in your pocket
or bag.
“Keyboard Locked!“ will appear on the screen if you
attempt to use the controls after they have been disabled. Re-enable the controls to continue.
Page 10 Coby Electronics Corporation
English
www.cobyusa.com Page 11
Transferring Files to the Player
Connect the player to your computer with the supplied
USB cable. Upon connection:
Your computer will automatically recognize the
player as a removable disk. An icon representing your
player will appear under “Audio Devices” when you
open “My Computer”.
It may take Windows several minutes to recognize
and set up the device the rst time it is connected
depending on your hardware conguration.
If your computer is running Windows 98 SE, you may
need to download and install a USB Driver from the
Coby website: www.cobyusa.com.
The USB . Hi-Speed connection makes it easy to transfer
music, video, photo, and text les (or any other data)
quickly between the player and your computer. Simply use
the player as you would a oppy disk using basic operating system commands.
If you need further assistance with transferring les, please
refer to your operating system’s instruction manual or onscreen help. If you are using media management software
such as iTunes, Winamp, or Windows Media Player, please
refer to their documentation for support.
If you are using Coby Media Manager software, please refer
to the documentation included either on the player or the
CD, or download it from our website at www.cobyusa.com.

www.cobyusa.com Page 11
English
Transferring Files to the Player
Do not disconnect or otherwise interrupt the player
during transmission—this could damage or corrupt
the player’s rmware or your les. If the player is accidentally disconnected and is not working properly,
try resetting the player.
Content owners use Windows Media digital rights
management technology (WMDRM) to protect their
intellectual property, including copyrights. This device
uses WMDRM software to access WMDRM-protected
content. If the WMDRM software fails to protect the
content, content owners may ask Microsoft to revoke
the software’s ability to use WMDRM to play or copy
protected content. Revocation does not aect unprotected content. When you download licenses for protected content, you agree that Microsoft may include
a revocation list with the licenses. Content owners
may require you to upgrade WMDRM to access their
content. If you decline an upgrade, you will not be
able to access content that requires the upgrade.
Page 12 Coby Electronics Corporation
English
www.cobyusa.com Page 13
Using the Player
Main Menu
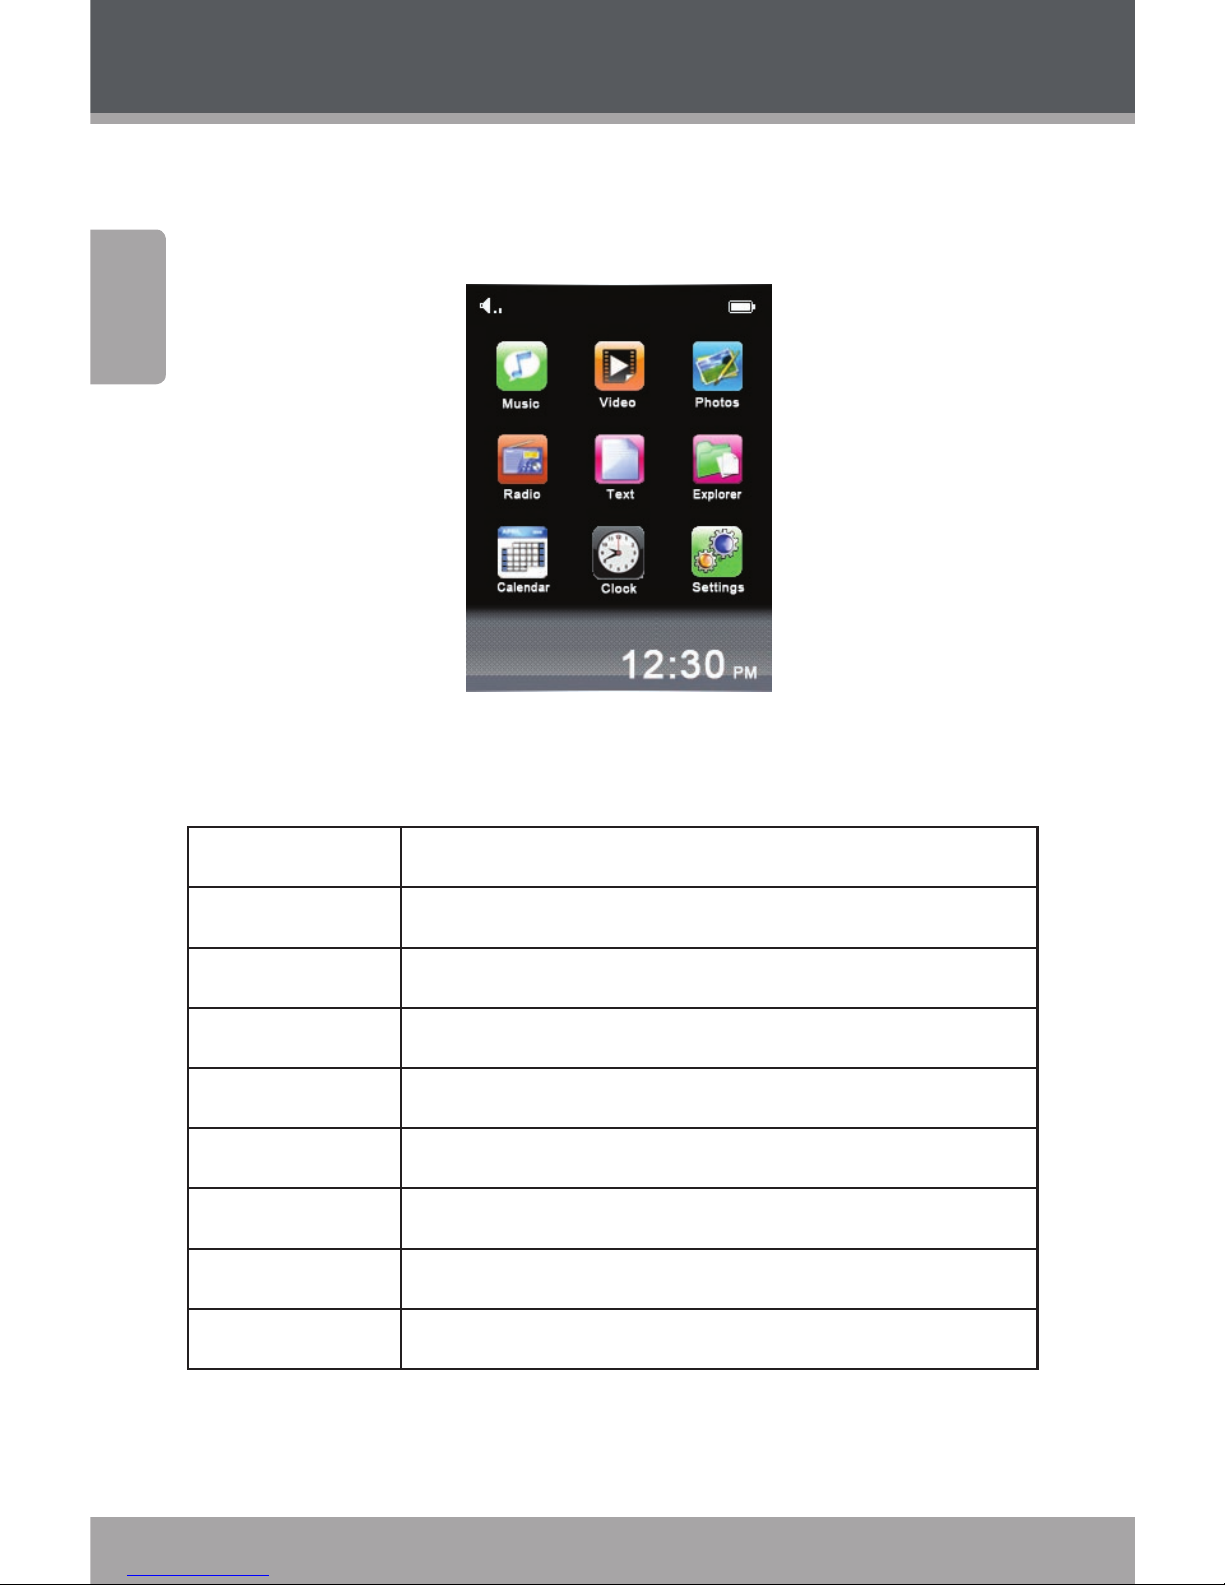
When you turn on the player, you will see the Main menu.
From the Main menu, you can access each of your MP
player’s function modes. These modes are:
Music Browse and play music
Photos Browse and view pictures
Video Browse and play movies
Radio Listen to FM radio broadcasts
Text Browse and read text les
Files Browse all les
Calendar Launch the calendar program
Clock Set the internal date and time
Settings Adjust the player’s options

www.cobyusa.com Page 13
English
Using the Player
Main Menu Controls
Each function mode is represented by an icon on the Main
Menu screen. To enter a mode, tap the icon with your
nger. You may also use the player’s standard controls to
access each mode: Press the <UP> or <DOWN> button to
move the selection, then press <OK> to conrm.
For information about loading music onto your
player, please refer to the section “Transferring Files
to the Player”.
Music Mode
Music Browser Controls
When you choose MUSIC mode
from the Main menu, you will
see the Music Browser screen.
You may browse through a
list using any of the following methods:
Press the <UP> or
<DOWN> button on
the unit.
Tap directly on an
item within the list.
Tap the Arrow Up <
> or Arrow Down < >
icons at the bottom of the screen.

Page 14 Coby Electronics Corporation
English
www.cobyusa.com Page 15
Using the Player
To conrm a selection, press <OK> or tap the desired
selection on the LCD screen.
To return to the previous screen, press the <POWER>
button or tap the Back Icon (
) in the top
lefthand corner of the display screen.
If your music les contain ID song information tags, you
will be able to view your music les by Artist, Album, Track
(song title) or Genre.
To view all les (including those that do not contain ID information), select “All Songs” or use the Folder Explorer option.
If music is already playing, you will have the additional
option to return to the Now Playing screen.
www.cobyusa.com Page 15
English
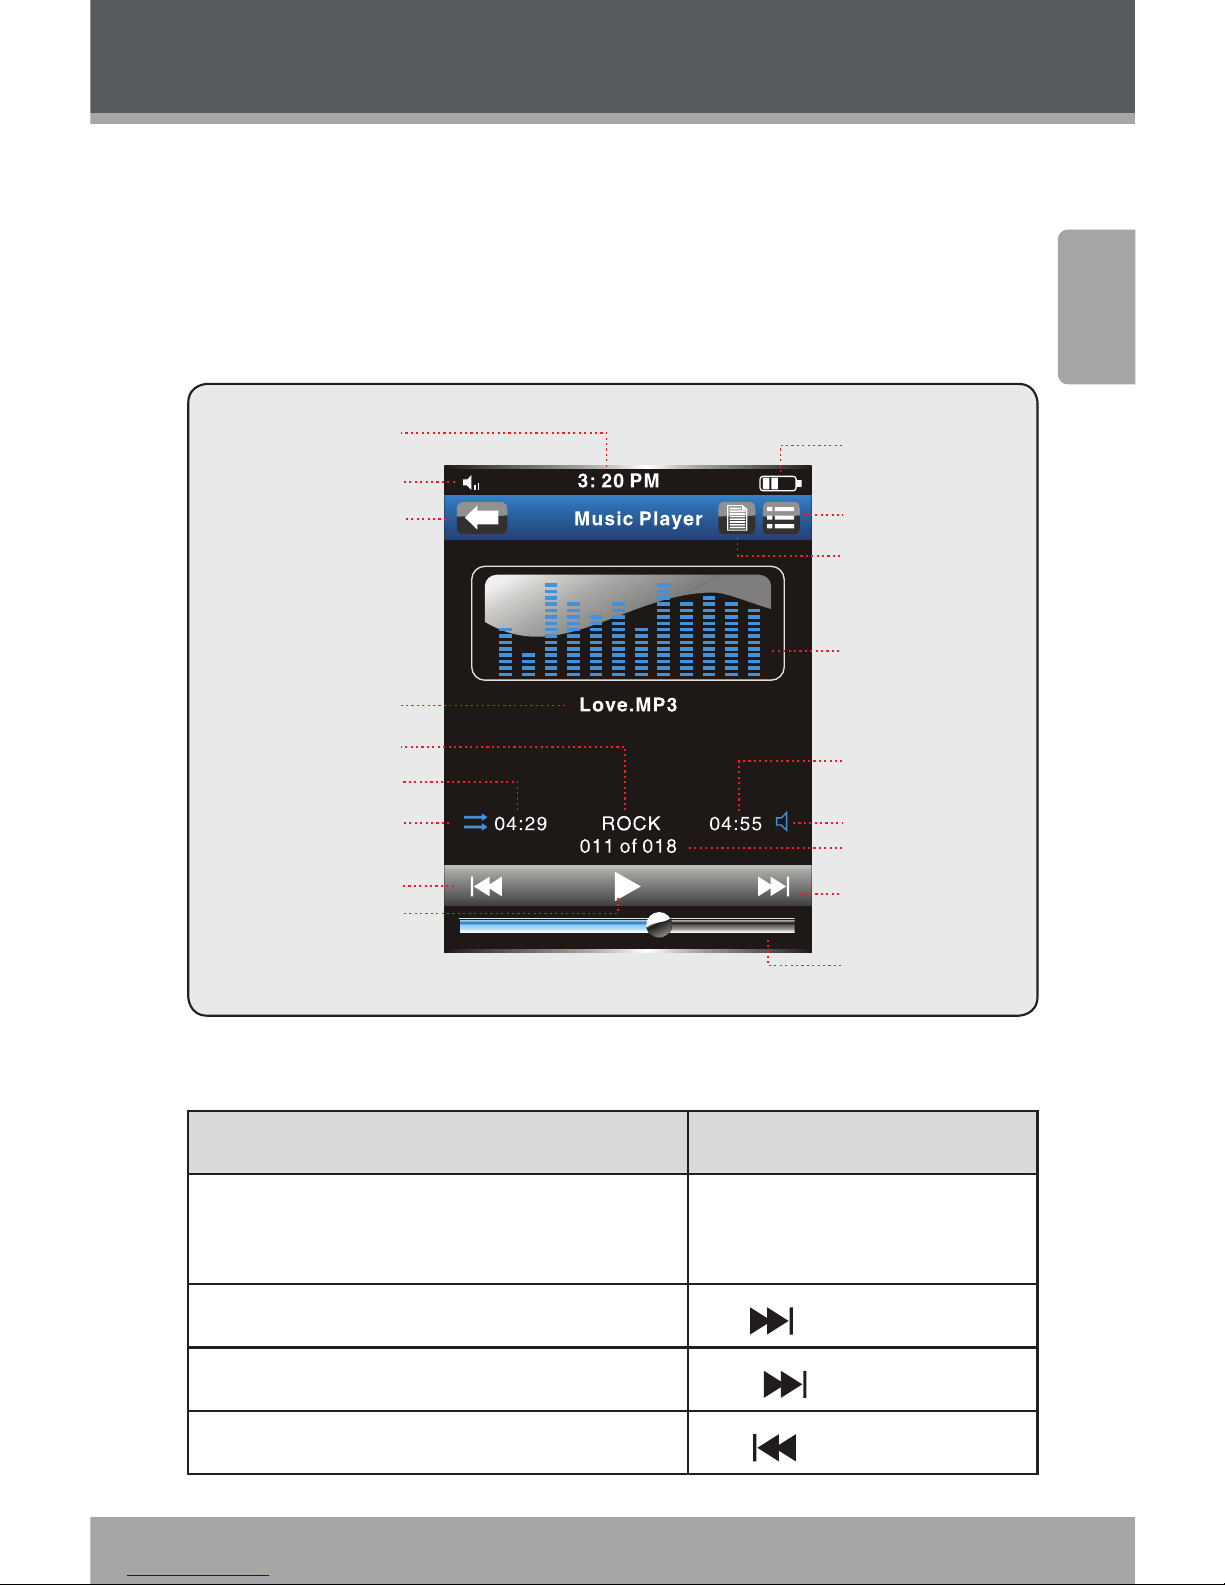
Now Playing Controls (Music Playback)
To start playing music, browse for a song and then touch
<ENTER> to start playback.
When a song is playing, the Now Playing screen appears:
Volume Level Indicator
Time Display
Battery Level
Equalizer Frequency
Bands
Total Time
Volume Icon
Current track/
Total Tracks
Next Icon
Progress Bar
Play/Pause Icon
Previous Icon
Play Mode
Elapsed Time
Equalizer Icon
File Name
Back Icon
Quick Option Icon
File Browser Icon
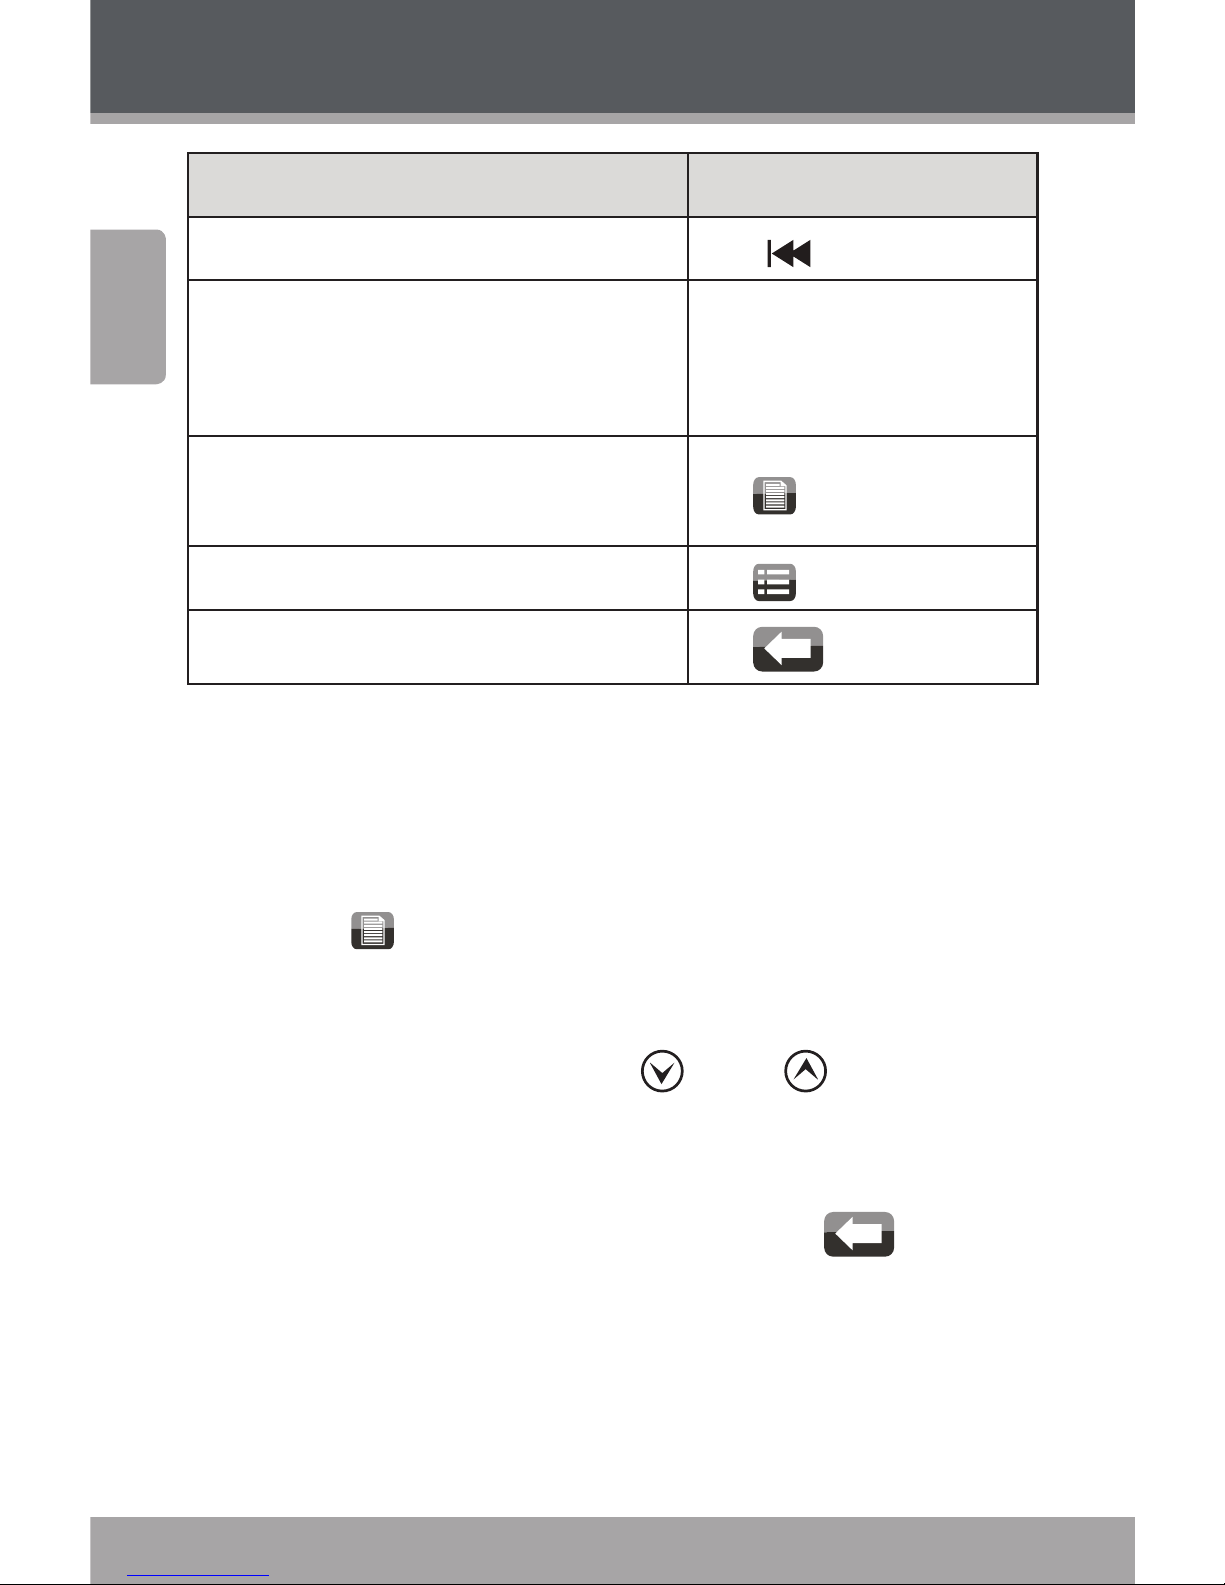
Use the following controls during music playback.
Function Key Action
To pause/resume playback
Press <OK> or tap the
Play/Pause Icon on screen
To play the next track Tap
on screen
To forward-scan through the track Hold
on screen
To play the previous track Tap
on screen
Using the Player
Page 16 Coby Electronics Corporation
English
www.cobyusa.com Page 17
Using the Player
Function Key Action
To reverse-scan through the track Hold
on screen
To adjust the volume level
Press <VOL>, then press
the <UP> or <DOWN>
button.
To access the Quick Option menu (see
section below for details)
Tap
on screen
To return to the Music Explorer screen Tap
on screen
To return to the previous screen
Tap
on screen
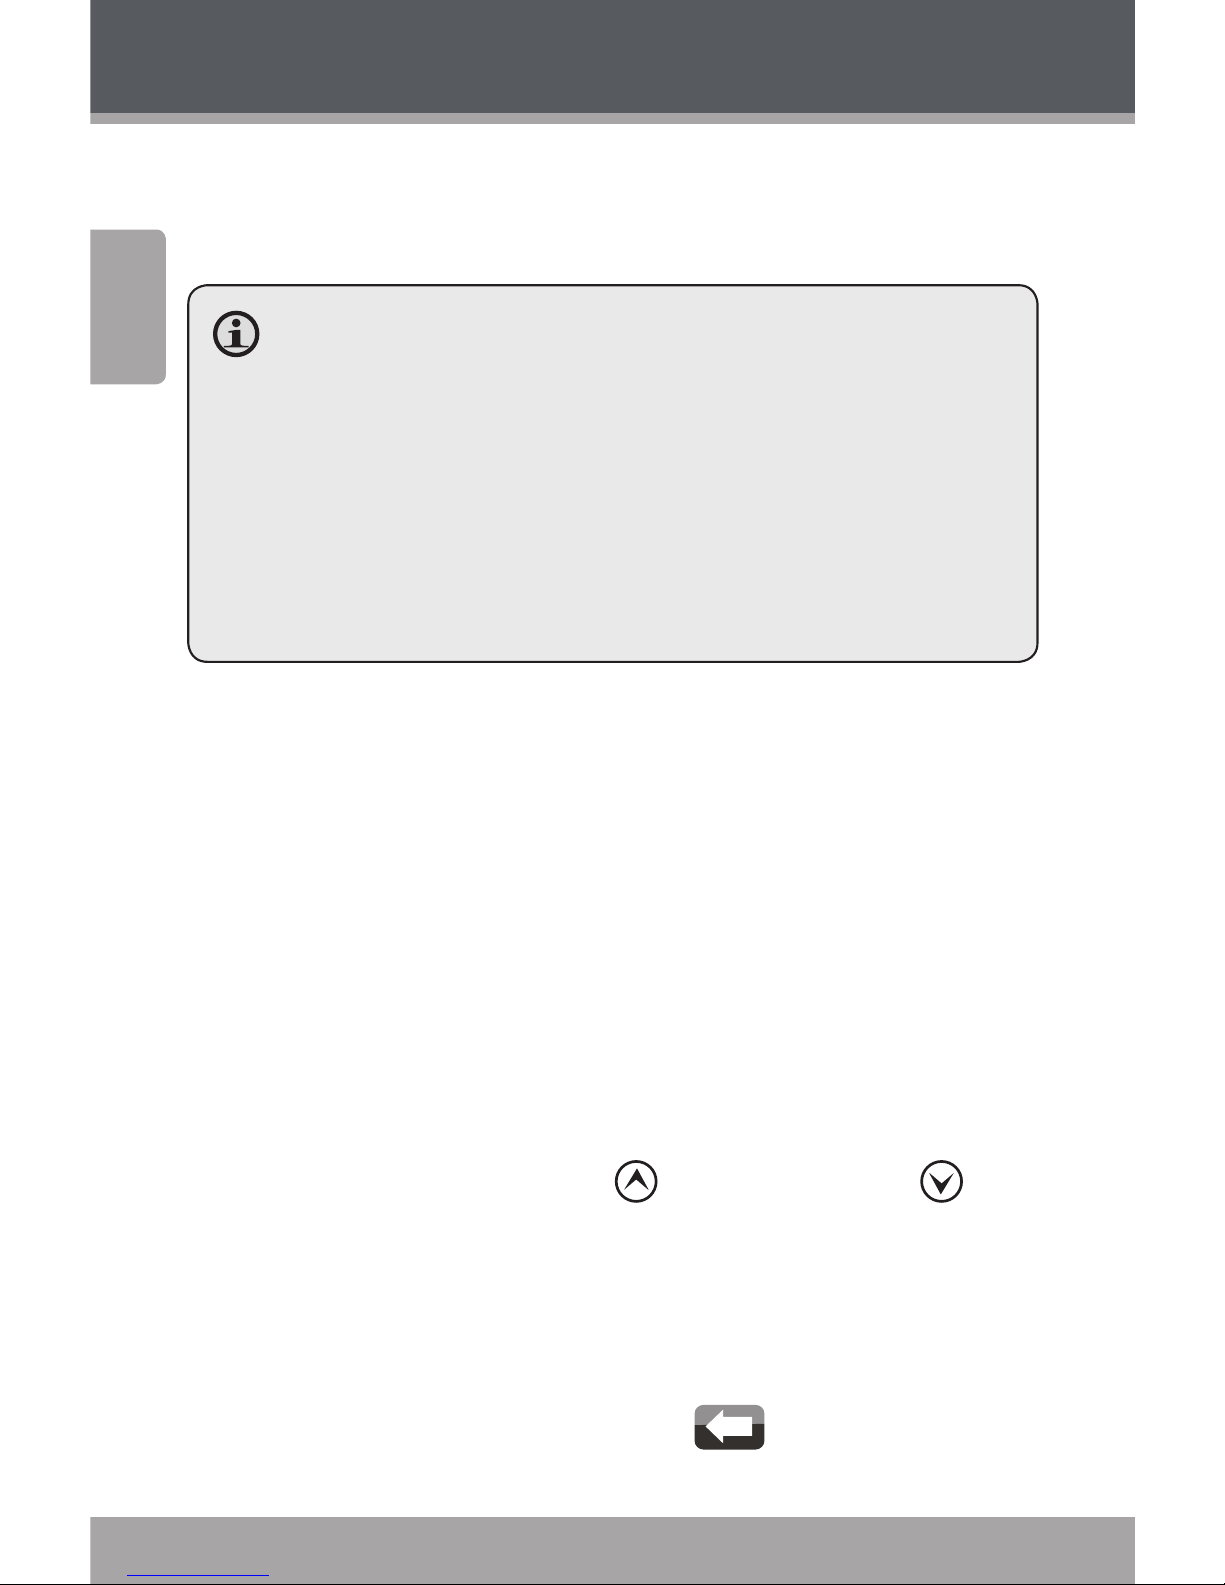
Quick Option Menu
The Quick Option menu gives you easy access to your
player’s option settings.
Tap <
> to access the Quick Option menu during
music playback.
To browse through the settings, press the <UP> or
<DOWN> button or tap <
> or < > on screen.
To select a setting, press the <OK> button or tap the
desired selection on screen.
To return to the previous screen, tap <
> on
screen.
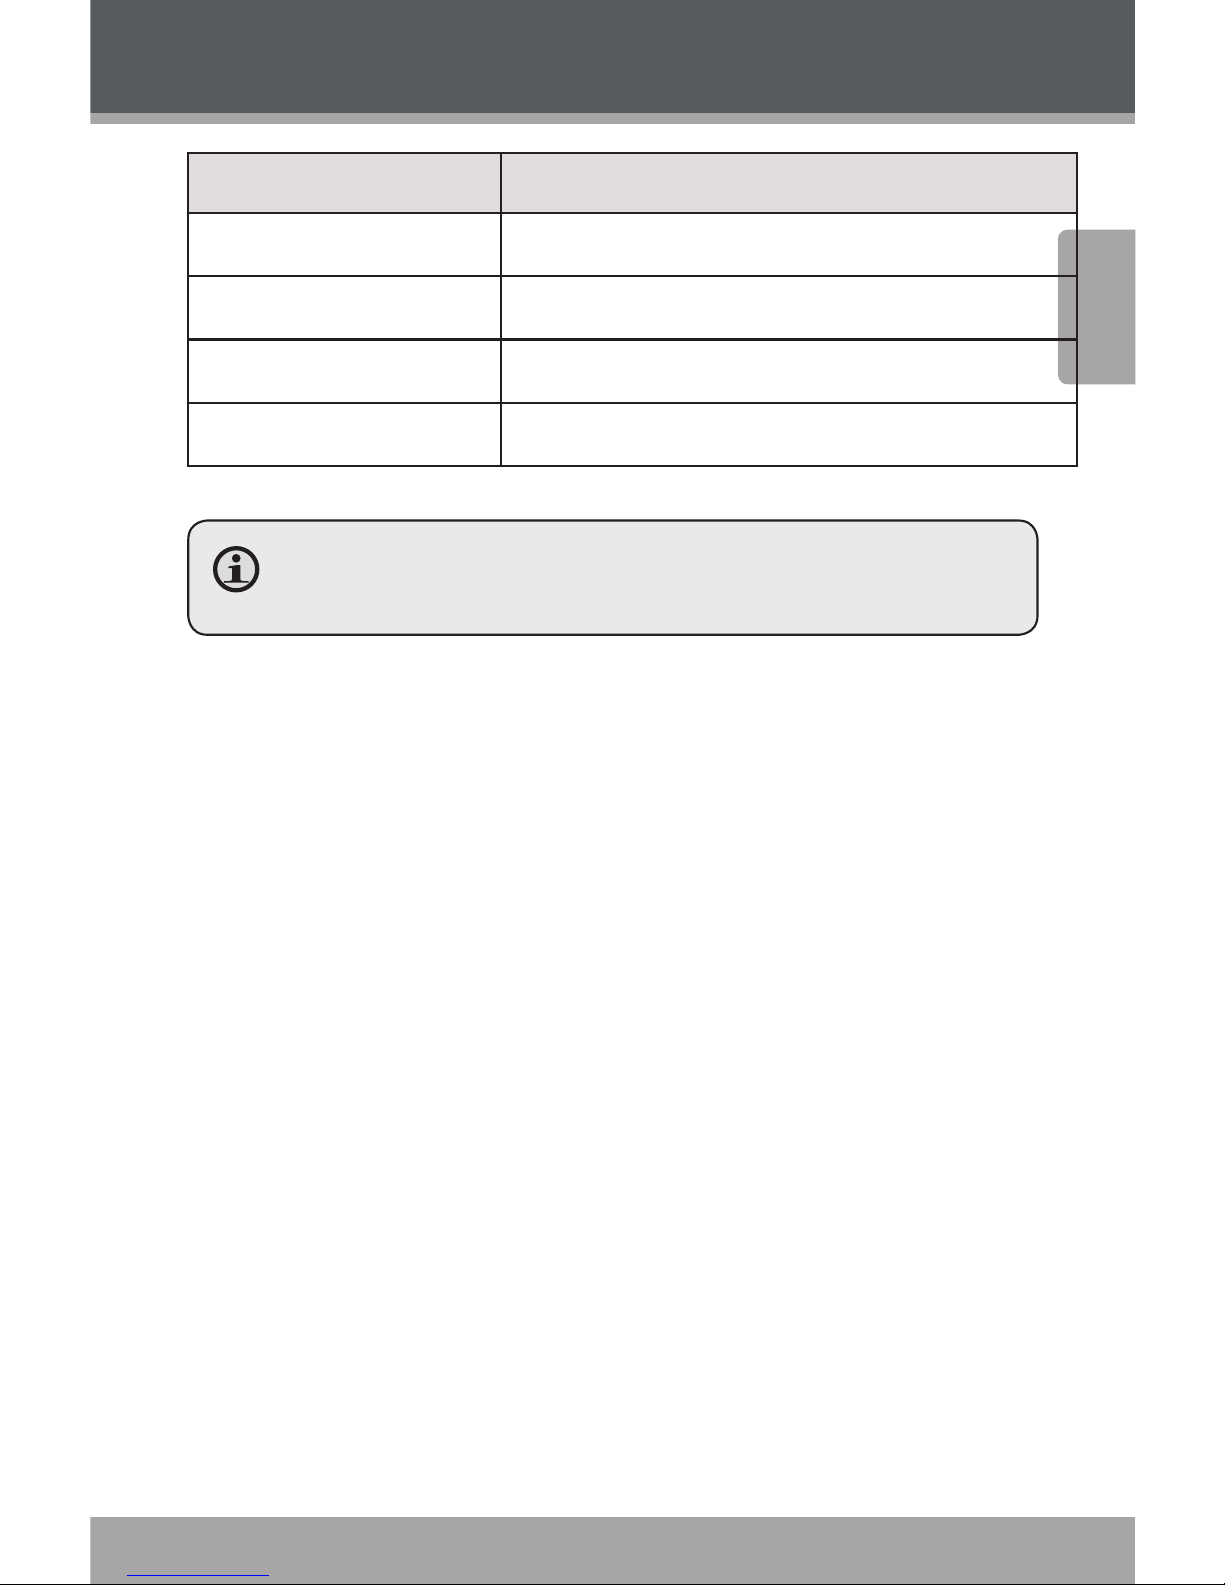
Repeat Mode
Change the repeat options to adjust the order in which
tracks are played.
www.cobyusa.com Page 17
English
Using the Player
Item Description
Normal Play tracks in normal order
Single Play the current track repeatedly
Random Play tracks in random order
All Play all tracks repeatedly
You may also toggle between settings by tapping the
onscreen Play Mode icon.
Page 18 Coby Electronics Corporation
English
www.cobyusa.com Page 19
Video Mode
Browse for and play your video les.
Your player supports AVI les encoded with XviD at
320 x 240 and 30 fps. Videos may need to be encoded
with the included software for device playback.
For more information about converting video, please
refer to the section “Video Conversion”.
For more information about loading video les onto
your player, please refer to the section “Transferring
Files to the Player”.
Video Browser Controls
When you choose VIDEO mode from the Main menu, you
will see the Video Browser screen. Use the Video Browser
to nd all folders and video les loaded on your player.
You may browse through a list using any of the fol-
lowing methods:
Press the <UP> or <DOWN> button on the unit.
Tap directly on an item within the list.
Tap the Arrow Up (
) or Arrow Down ( )
icons at the bottom of the screen.
·To conrm a selection, press <OK> or tap the desired
selection on the LCD screen.
To return to the previous screen, press the <POWER>
button or tap the Back Icon <
> in the top
lefthand corner of the display screen.
Using the Player
 Loading...