

Page 1
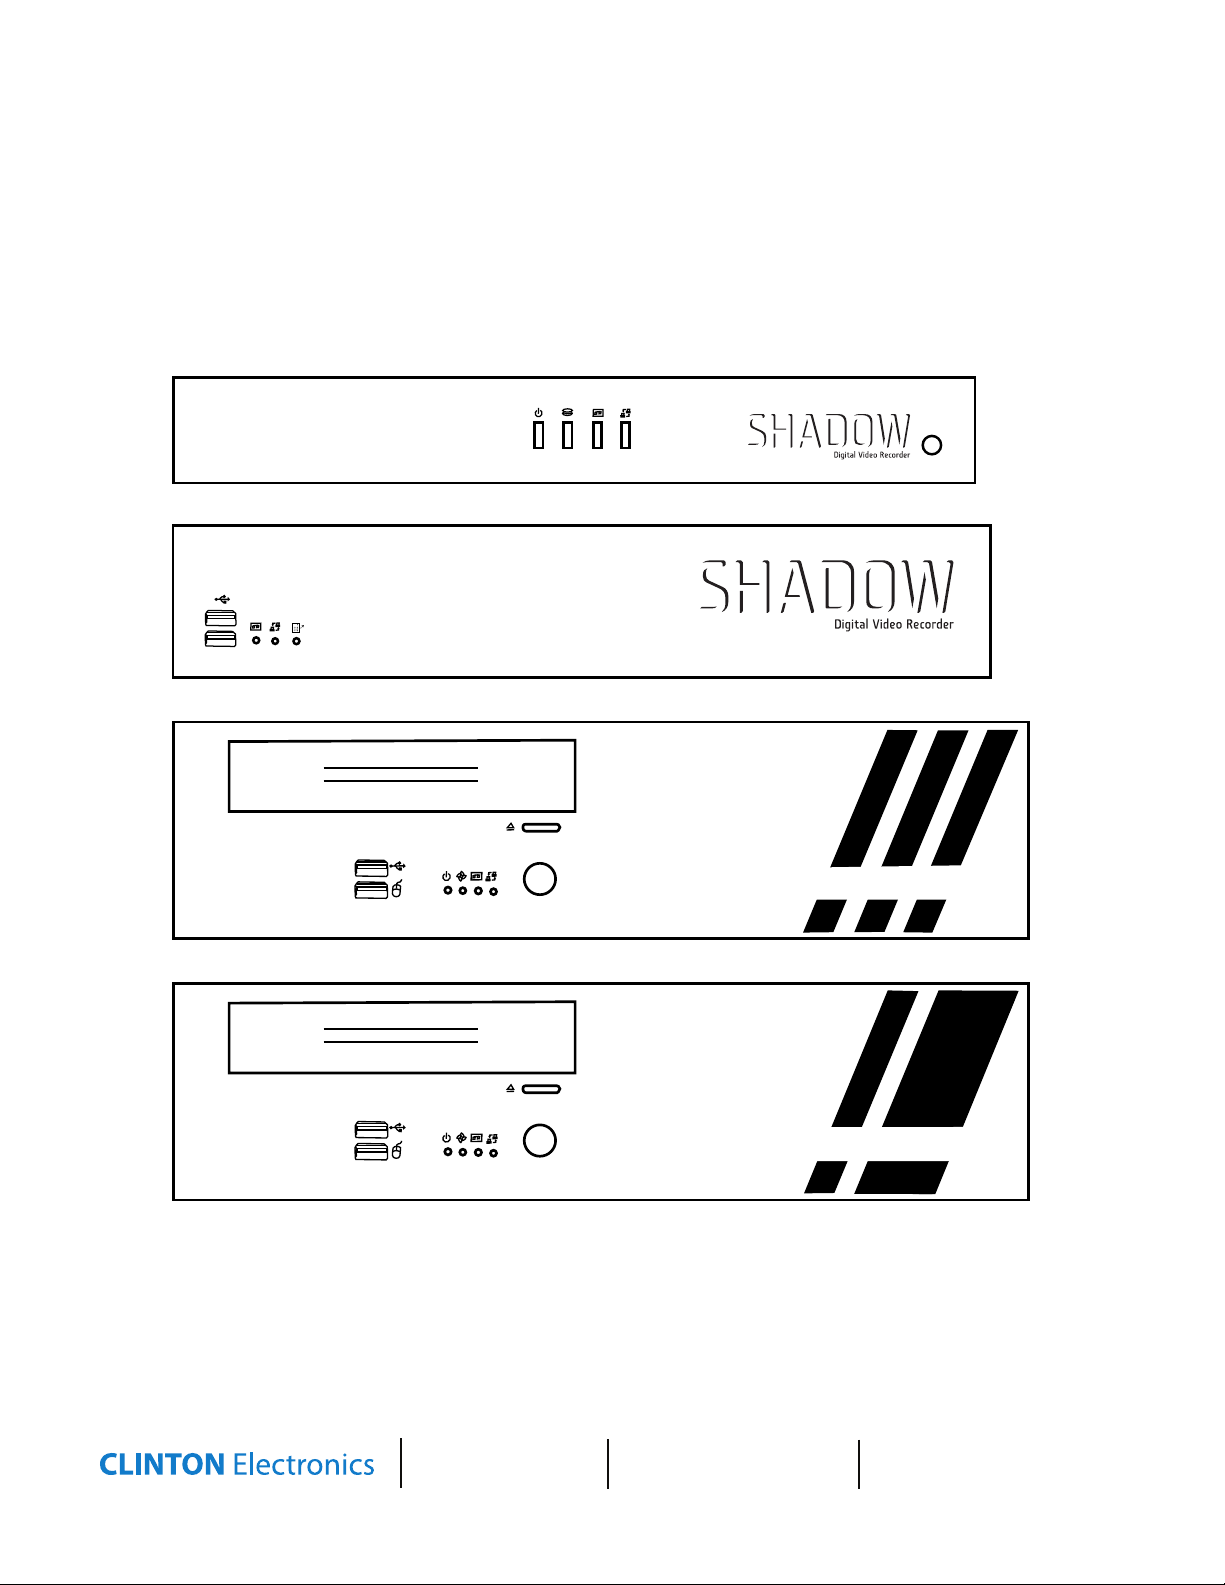
Digital Video Recorder
CLINTON Electronics
CLINTON Electronics
DIGITAL VIDEO RECORDER
CLINTON Electronics
PRO SERIES DVR
CLINTON Electronics
DIGITAL VIDEO RECORDER
CLINTON Electronics
DIGITAL VIDEO RECORDER
CLINTON Electronics
PRO SERIES DVR
1080p HD SERIES DVR
SHADOW SERIES / PRO SERIES / HD SERIES
Quick Start Guide
CLINTON Electronics
CLINTON Electronics
DIGITAL VIDEO RECORDER
CLINTON Electronics
CLINTON Electronics
DIGITAL VIDEO RECORDER
CLINTON Electronics
6701 Clinton Road
Loves Park, IL 61111
1.800.447.3306 Sales
1.800.549.6393 Support
1.800.633.8712 Fax
PRO SERIES DVR
1080p HD SERIES DVR
www.clintonelectronics.com
Page 2
MENUS & LOGIN
Remote Control / Mouse:
You can either use the supplied remote control or the two-button mouse with scroll wheel to
access and navigate OSD menus and controls. Use the supplied mouse for proper functionality.
Some selections use the left mouse button to increase, and the right mouse button to decrease.
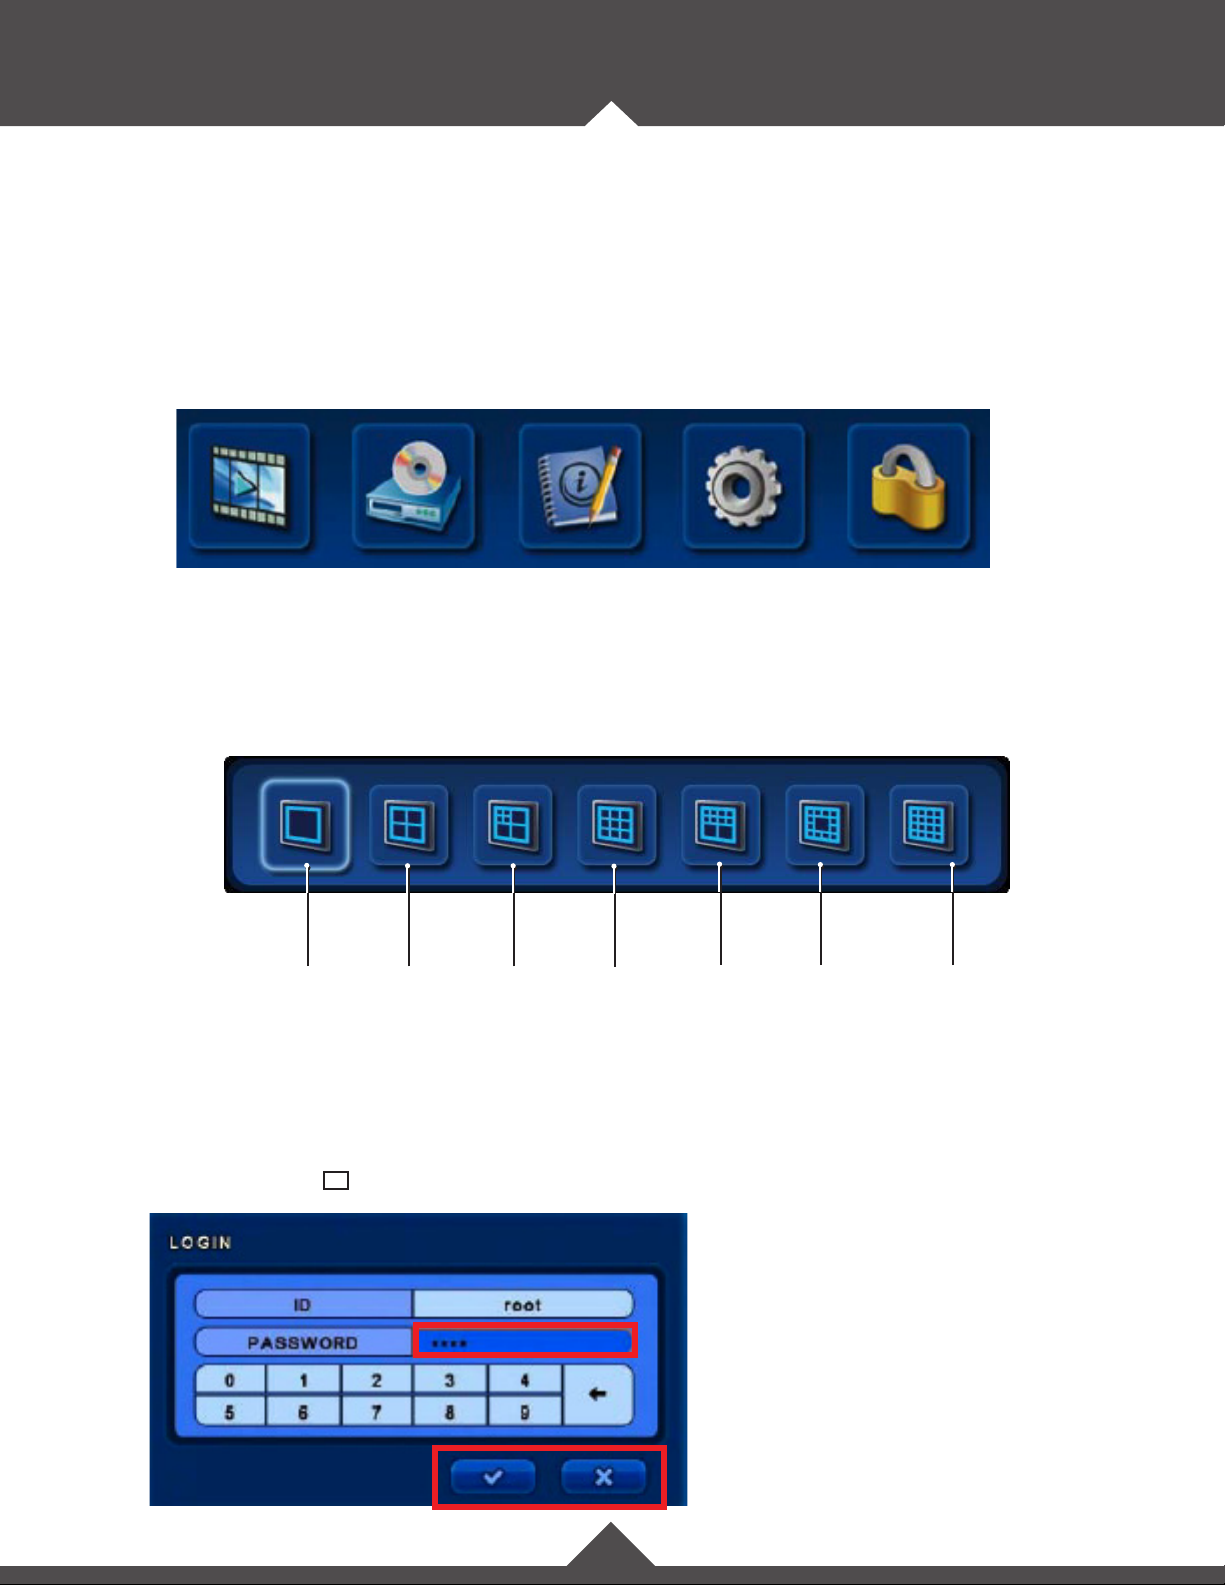
Top Menu
In live screen, move the mouse cursor over the top portion of the screen, or press the ▲ button on
the remote control to show the menu. Click on an icon to enter the menu. Login may be necessary.
Search Backup Status Setup Log-Out
Bottom Menu
In the live screen, press the down button on the remote control, or move the mouse cursor over the bottom
area of the screen. The bottom menu will automatically appear.
Full
Screen
Login Box
Before you can access any controls, you must rst login with your user ID and password.
The default ID is “root” and the default password is “1111”. Click the check-mark with your mouse
cursor or press the 8 enter button on the remote to proceed.
Quad
Screen
4-Mini
3-Large
9-up
8-Mini
2-Large
Default Password: 1111
The ✔ icon Accepts a setting.
The ✖ icon Cancels out of the selection.
12-Perimeter
Large Center
16-up
1
Page 3

SEARCH
There are multiple methods for searching footage,
but for best results use calendar search function.
Click the Search Button in the top menu to start.
• Calendar: Narrow your search by selecting date and time.
1. Select a highlighted calendar day.
2. Select the hour you wish to begin viewing footage.
3. Select the minute you wish to begin viewing footage.
Color Indication:
A highlighted day indicates recorded content
Click in the content
window, or move
the arrow indicator
to select the desired
time frame. Click the
✔ icon to proceed.
Color Indications:
Blue: Continuous Rec.
Teal: Audio Recording
Red: Event recording
Use the side scroll bar to see all cameras.
During playback select the search icon in the
top menu, and select “Go to Jump” to quickly change
the playback time as much as 12 hours at a time.
Move the mouse cursor to the bottom of the screen to bring up the control panel. Control panel functions
can alternatively be selected by using the corresponding buttons on the remote control.
Reverse Play
Fast
Reverse
Pause / Play
1-Frame
Backward
Stillshot
Toggle
1-Frame
Forward
Stillshot
Play
Jump to Start
Fast
Forward
1st Mouse Click or Lock Button Press (rem.): Segment Start
2nd Mouse Click or Lock Button Press (rem.): Segment End
3rd Mouse Click or Lock Button Press (rem.): Exit Repeat
Jump to End
Repeat Segment:
Split Screen
Exit
Search
2
Page 4

BACKUP
Backup:
In this category you can back-up recorded footage to an external device. Select the Backup Button
from the top menu.
• Targe t : Select the backup destination device. (USB / DVD)
• From: Select the start date and time.
• To: Select the end date and time.
• Backup Title: Input a title for your backup le.
• Select Camera: Select the desired camera(s) for backup.
• Earliest Record: Shows the earliest content that has been recorded.
• Latest Record: Shows the latest content that has been recorded.
• Require Space: Select “Estimate” to show the data capacity for the selected data.
Note:
Estimate must be selected before the backup selection will be written to the media.
• Write: Start the backup.
Backup from Search:
When a search is in progress (as shown on the previous page) move the cursor to the
top of the dvr screen to display the top-menu. Click on the backup button to start
the backup (notice the “S” with timestamp in lower left-hand corner of the screen to indicate the start
time). Click the backup icon again to end the backup, (“E” will appear in the lower left-hand corner of the
screen). This will automatically pull up the Backup screen with the correct information inputted. Simply
choose the target backup device, and click “Write” to save to the selected CD/DVD or thumb drive.
3
v.10. 08.12
 Loading...