

Page 1
CHAT™15 0 Group Speaker Phone
QUICK START GUIDE
Page 2

CHATTM150 Group Speaker Phone
TABLE OF CONTENTS
Installing The Chat 150 Software . . . . . . . . . . . . . . . . . . . . . . . . . . 1
Configuring and Testing Your Chat 150 . . . . . . . . . . . . . . . . . . . . . 2
Connecting Chat 150 to a PC . . . . . . . . . . . . . . . . . . . . . . . . . . . . 7
Connecting Chat 150 to a Telephone. . . . . . . . . . . . . . . . . . . . . . . 8
Connecting Chat 150 to a Video Conferencing Device . . . . . . . . 13
Using The Chat 150 . . . . . . . . . . . . . . . . . . . . . . . . . . . . . . . . . . . 17
Page 3

INSTALLING THE CHAT 150 SOFTWARE (WINDOWS)
1. Insert the Chat 150 CD into your computer’s CD-ROM/DVD drive.
> Note: This procedure shows Windows XP screenshots. The
installation instructions apply to both Windows XP and Windows
Vista.
2. Follow the instructions in the Setup Wizard to complete installation
of the Chat 150 software.
> Note: If you do not have the Chat 150 Installation CD, you can down-
load the latest version of the software at
http://www.clearone.com/support/downloads.php?content=main
1
QUICK START GUIDE
Page 4

CONFIGURING AND TESTING YOUR CHAT 150
1. Using the included USB 2.0 cable, connect the Chat 150 to your PC
(Figure 1.0).
FIGURE 1.0
2
CHATTM150 Group Speaker Phone
Page 5
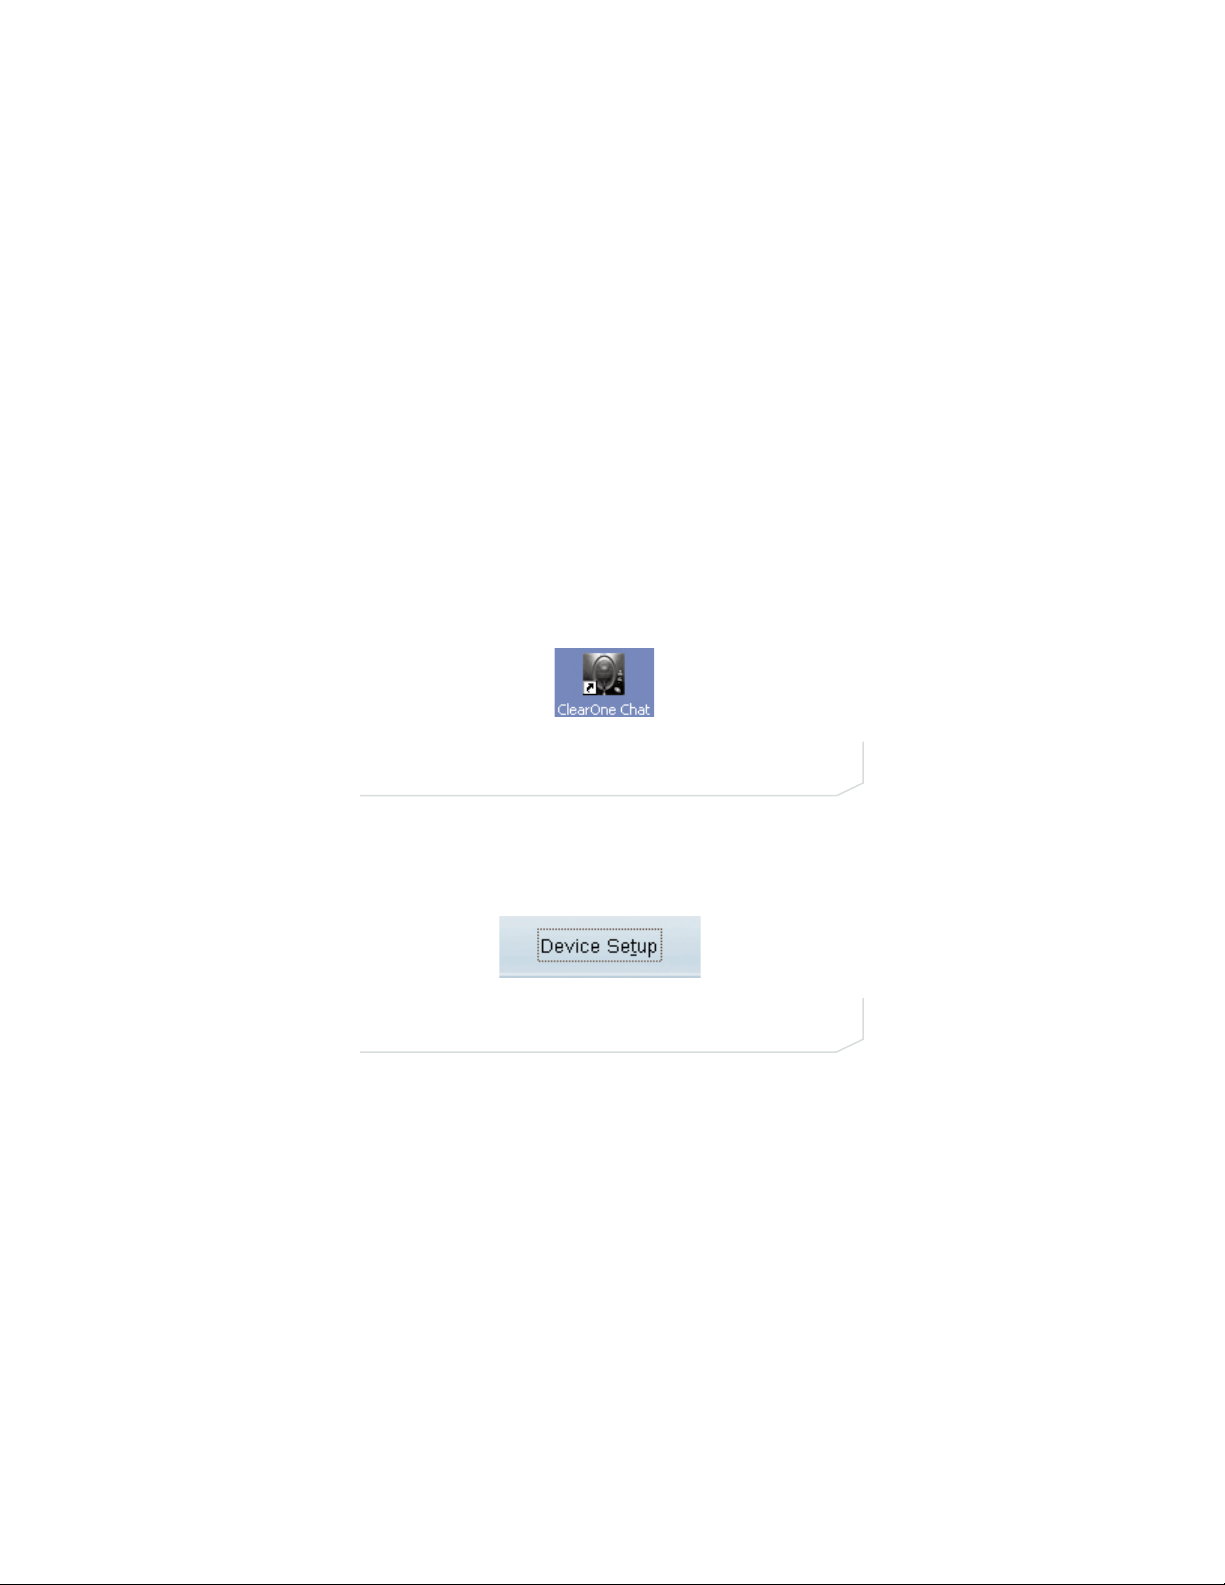
2. Start the Chat 150 configuration software by double-clicking the
ClearOne Chat icon on your desktop.
3. Click the Device Setup button.
ClearOne Chat desktop icon
Chat 150 Device Setup button
3
QUICK START GUIDE
Page 6
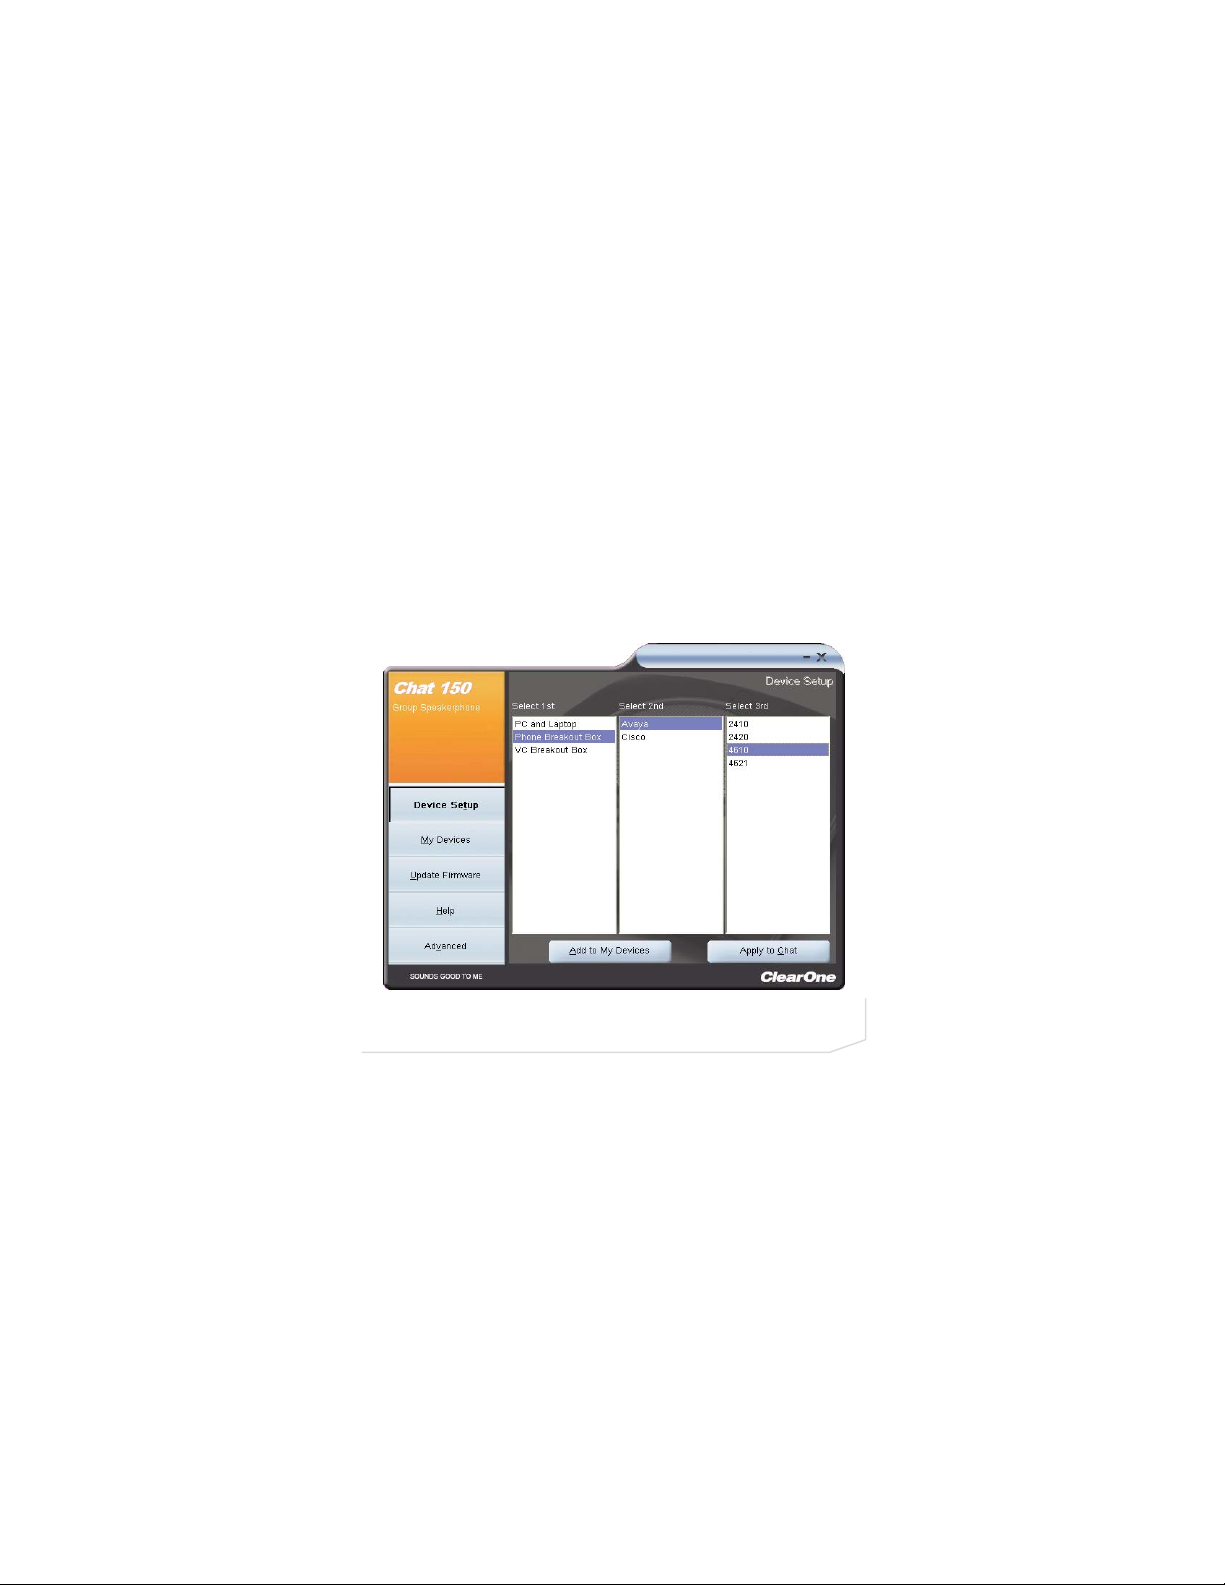
4. Select the type of device you are using with your Chat 150 in the
Select 1stcolumn (Figure 2.0).
FIGURE 2.0
4
CHATTM150 Group Speaker Phone
Page 7

5. Select the manufacturer of your device in the Select 2ndcolumn;
select Other or All, if not listed
6. Select the model of your device in the Select 3
rd
column; select Other
or All, if not listed. Once you select a model, the Add to My Devices
and Apply to Chat buttons become active.
7. Click the Apply to Chat button to apply these audio settings to your
Chat 150.
8. You can now adjust the preconfigured audio setting and save the customized device setting using My Devices. Refer to the Chat 150
User’s Manual for more information.
5
QUICK START GUIDE
Chat 150 Apply to Chat button
Page 8

CHATTM150 Group Speaker Phone
6
9. Connect your Chat 150 to the device you just configured for (see the
specific connection instructions in the following paragraphs).
> NOTE: When connecting to an analog device, you can leave the
Chat 150 connected to your PC if you wish. (If you do, then you
do not need to connect the power supply because the Chat 150
is being powered through the USB 2.0 cable.)
10. To ensure optimal sound quality, you need to customize the Chat
150’s audio settings for every application and device you will use.
Refer to the tuning procedures in the Optimizing Sound Quality
section in the user manual.
11. If you wish to further adjust the Chat 150 audio settings for this
device, refer to the Chat 150 User’s Manual for more information.
Page 9

QUICK START GUIDE
7
CONNECTING THE CHAT 150 TO A PC
1. Using the included USB 2.0 cable, connect the Chat 150 to your PC
(Figure 3.0).
FIGURE 3.0
Page 10

CONNECTING THE CHAT 150 TO A TELEPHONE
Perform the following steps to connect your Chat 150 to a telephone:
1. Using the included 25’ RJ-45 cable, connect the Phone Breakout Box
to your Chat 150 (Figure 4.0).
FIGURE 4.0
8
CHATTM150 Group Speaker Phone
Page 11

2. Using the included 2’ RJ-9 telephone cable, connect the Phone
Breakout Box’s phone jack to your telephone’s headset jack
(Figure 5.0)
WARNING: DO NOT plug the cable into the telephone’s line
jack, handset jack, or to phones other than those listed on
your Chat 150 package labeling. Damage to the telephone
and/or Chat 150 might occur.
9
QUICK START GUIDE
FIGURE 5.0
Page 12

3. If you have a headset that you typically use with your telephone,
connect it to the headset jack on the Chat 150 Phone Breakout Box
(Figure 6.0).
FIGURE 6.0
10
CHATTM150 Group Speaker Phone
Page 13

4. Slide the correct power supply clip for your country into the included
power supply (Figure 7.0). The power supply may contain a plastic
shield that must be removed before inserting the clip.
FIGURE 7.0
11
QUICK START GUIDE
Page 14

5. Using the included power supply, connect the Chat 150 Phone
Breakout Box to a power outlet (Figure 8.0).
6. The blue LED indicators on the Chat 150 illuminate, indicating that it
has power.
7. Run the Chat software and configure the Chat 150 for use with your
telephone by clicking on Device Setup. For detailed instructions, refer
to the Chat 150 User’s Manual.
FIGURE 8.0
12
CHATTM150 Group Speaker Phone
Page 15

CONNECTING THE CHAT 150 TO A VIDEO
CONFERENCING DEVICE
Perform the following steps to connect your Chat 150 to a video
conferencing device:
1. Using the included 25’ RJ-45 cable, connect the Chat 150 VC
Breakout Box to your Chat 150 (Figure 9.0).
FIGURE 9.0
13
QUICK START GUIDE
Page 16

2. Using the included 6’ RCA audio cables, connect the VC Breakout
Box’s audio in port to your video conferencing device’s audio out
port, and the audio out port to your video conferencing device’s audio
in port (Figure 10.0). For more detailed instructions, refer to the Chat
150 User’s Manual.
FIGURE 10.0
14
CHATTM150 Group Speaker Phone
Page 17

3. Slide the correct power supply clip for your country into the included
power supply (Figure 11.0). The power supply may contain a plastic
shield that must be removed before inserting the clip.
FIGURE 11.0
15
QUICK START GUIDE
Page 18

4. Using the included power supply, connect the Chat 150 VC Breakout
Box to a power outlet (Figure 12.0).
5. The blue LED indicators on the Chat 150 illuminate, indicating that the
Chat 150 has power.
6. Run the Chat software and configure the Chat 150 for use with your
video conferencing device by clicking on Device Setup. For detailed
instructions, refer to the Chat 150 User’s Manual.
FIGURE 12.0
16
CHATTM150 Group Speaker Phone
Page 19

USING THE CHAT 150
CHAT 150 LED Indicators
The three microphone LED indicators illuminate blue when the Chat 150
microphones are active. The indicators illuminate red when the microphones are muted.
The seven volume LED indicators illuminate blue to indicate the current
volume setting—more lights indicate higher volume.
CHAT 150 Volume Up/Down & MUTE Buttons
Use the Volume Up/Down buttons (indicated by a large dot and a small
dot) to adjust the volume level of the Chat 150. Holding down either button will change the volume rapidly.
Use the Mute button to mute the Chat 150’s microphone until the Mute
button is pressed again. If you are using the Chat 150 with a PC, you can
also use the Speaker Volume Control in Windows, as well as the Chat 150
software to adjust the volume and mute the microphone.
17
QUICK START GUIDE
Page 20

CHAT 150 PHONE BREAKOUT BOX
Press the Headset button on the phone breakout box to send audio from
the phone to the headset connected to the Chat 150 Breakout Box. This
will also disable audio going from the breakout Box to the Chat 150—it is
only routed to the headset. The phone Breakout Box LED indicator illuminates, indicating that headset audio is activated. The Chat 150 LED indicators remain lit, although audio is not routed to the Chat 150 from the
Breakout Box (USB audio is still active). Press the Headset button again
to disable headset audio and reactivate audio from the Breakout Box to
the Chat 150.
CHAT 150 VC BREAKOUT BOX
Once you have properly connected the Chat 150 VC Breakout Box to your
video conferencing device and TV using the included RCA Connection
Cable, all settings changes such as mute, microphone and speaker level
adjustments, etc., are controlled through the Chat 150 software.
The Breakout Box itself has no buttons and no functionality for making
settings changes. It does have an LED light that indicates power to the
device.
18
CHATTM150 Group Speaker Phone
Page 21

QUICK START GUIDE
19
CHAT 150 SOFTWARE
The Chat 150 includes software that has a database of pre-configured
device settings, which allows you to instantly select and apply optimal
audio settings for supported devices. It also allows you to create customized audio settings and save them as custom devices. To learn more
about this software, refer to your Chat 150 User’s Manual.
To download the latest version of the Chat 150 software, visit
http://www.clearone.com/support/downloads.php?content=main and
select Chat 150 from the product drop-down list. Select the Chat 50/150
Software from the list to download the most current version of the Chat
150 software. For detailed installation instructions, refer to your Chat 150
User’s Manual.
Page 22

TELEPHONE 1.800.283.5936
1.801.974.3760
FAX 1.801.974.3669
EMAIL tech.support@clearone.com
TECHNICAL SUPPORT
Caution: Read the Safety Information
in the instruction manual
© 2007 ClearOne Communications, Inc. All rights reserved. Information in this document is subject to change without
notice. 800-156-202 Rev. 1.3 March 2008
U.S. PATENTS: D539,274; D556,189; D531,999.
OTHER PATENTS PENDING.
 Loading...