

Page 1
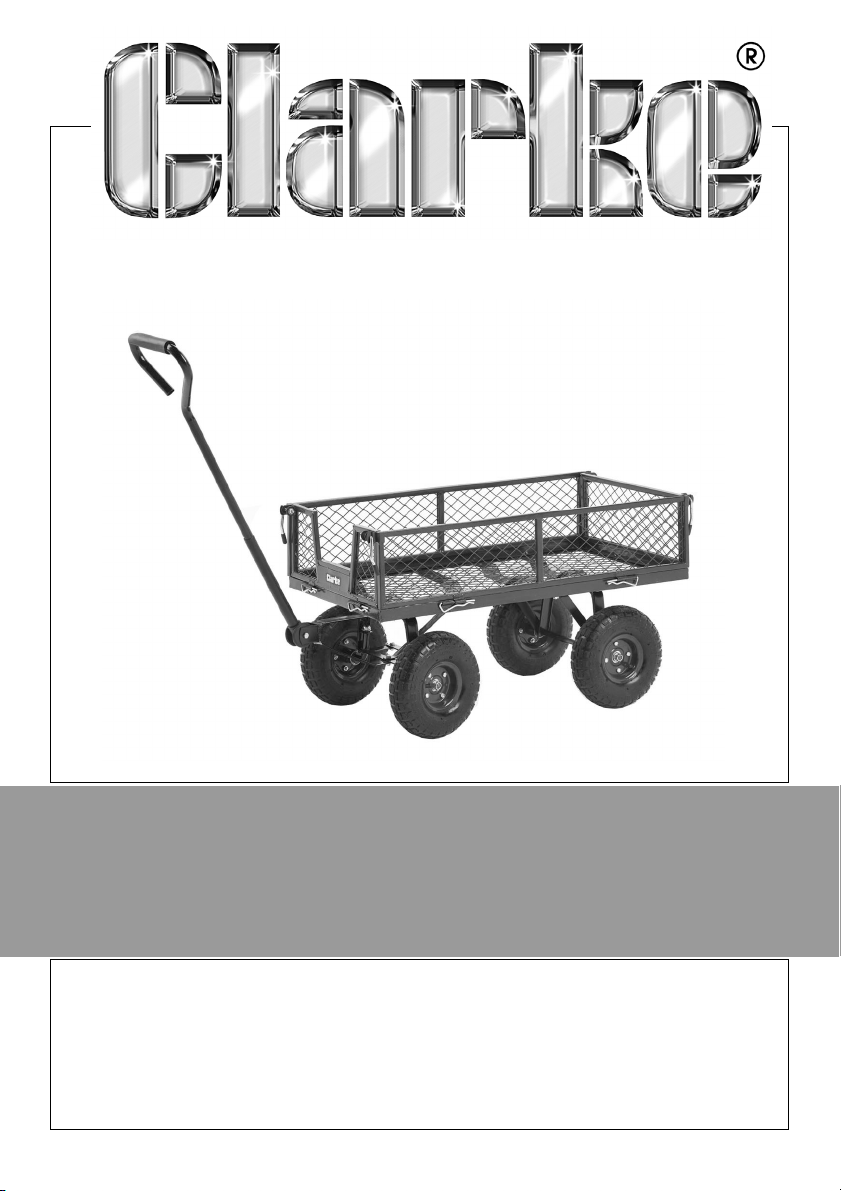
GARDEN TROLLEY
MODEL NO: GT4
PART NO: 3400189
ASSEMBLY INSTRUCTIONS
GC0714
Page 2
INTRODUCTION
Thank you for purchasing this CLARKE GT4 Garden Trolley. Before attempting
to use this product, please follow the instructions carefully. In doing so you will
ensure the safety of yourself and that of others around you, and you can look
forward to your purchase giving you long and satisfactory service.
SAFETY PRECAUTIONS
1. Always be sure you are strong enough to move heavy loads.
2. Do not exceed the 150kg maximum working load for this trolley.
3. Do not park the trolley on a gradient without securely chocking the wheels.
4. Do not allow children to play with, or ride in the trolley.
5. Never use the trolley if any of the tyres are deflated.
6. Never use the trolley to transport personnel or animals.
7. Always inspect the trolley for signs of wear or damage before use.
8. Always ensure the load is evenly distributed and is stable.
ASSEMBLY
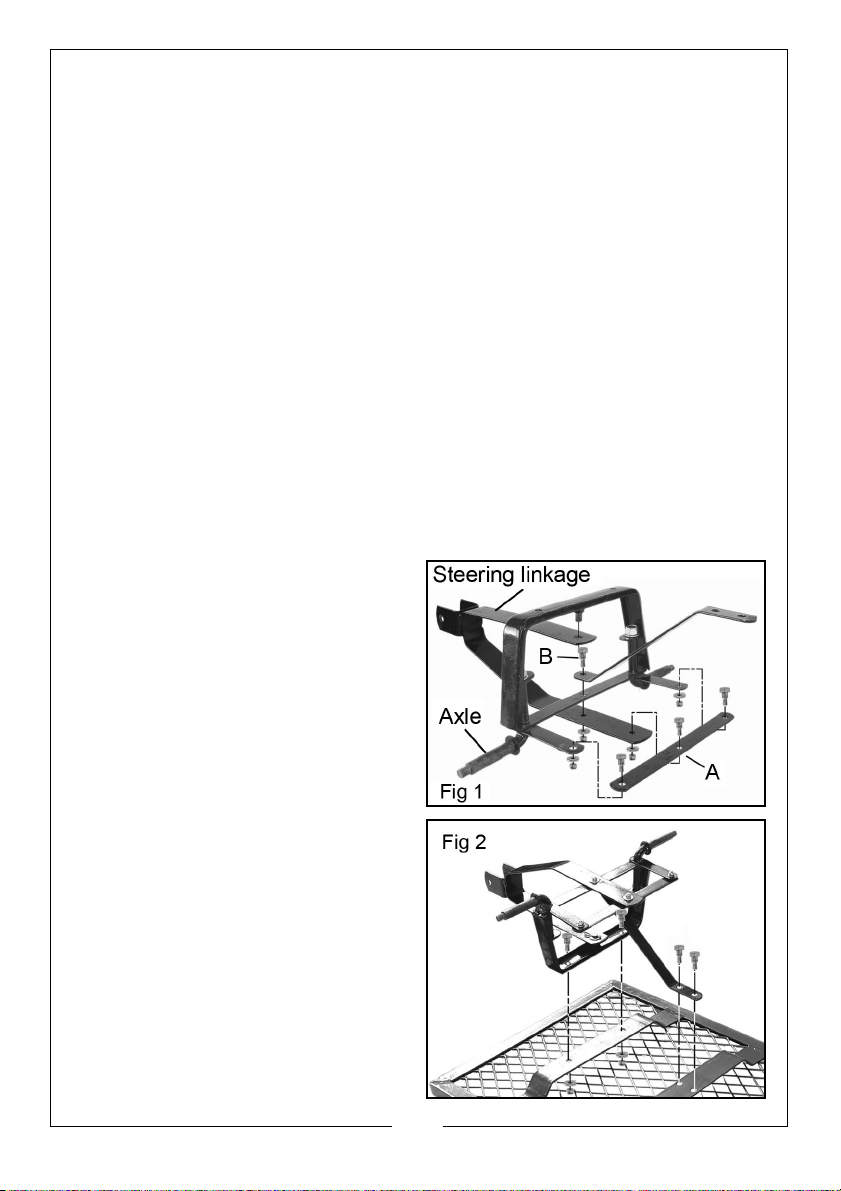
1. Assemble the steering linkage
components to the front axle
bracket as shown in fig.1.
• Bolts are used at all linkage
points, the longest bolt is used
at point ‘A’.
2. Secure the linkage at point ‘B’
using the flat washer and split pin.
3. Turn the trolley bed on its back
and attach the sub-assembly to
the bed using the bolts, flat
washers and locknuts supplied as
shown in Fig 2.
NOTE: Flat washers should be used
against the nuts. Do not
overtighten.
2
Parts & Service: 020 8988 7400 / E-mail: [email protected] or [email protected]
Page 3
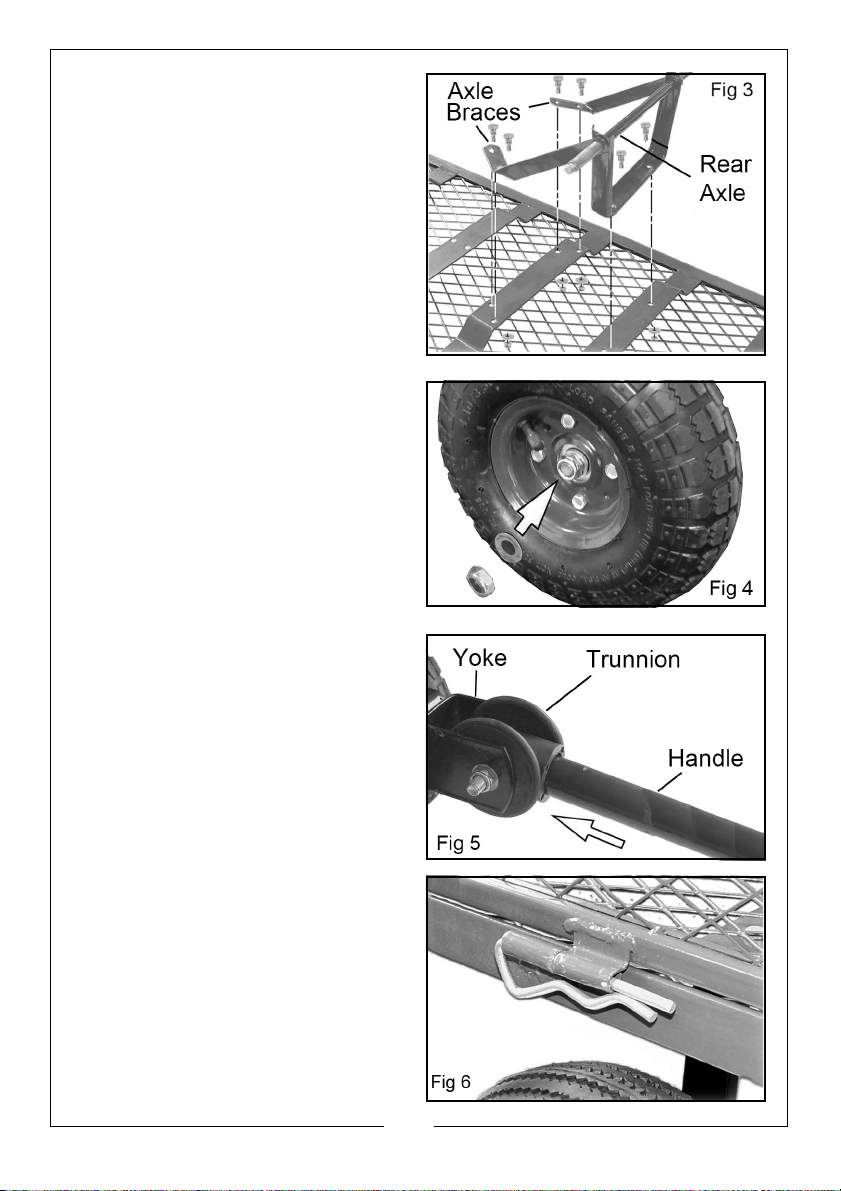
4. Slide the axle braces, over the
ends of the rear axle and attach
the assembly to the trolley bed
using the bolts, flat washers and
locknuts supplied as shown in
Fig.3.
5. Attach the wheels, securing with
the large flat washers and nuts as
shown in fig 4, taking care not to
overtighten.
6. Turn the complete trolley
assembly the right way up.
7. Slide the handle into the trunnion
and attach the assembly to the
yoke on the steering assembly as
shown in Fig 5.
8. Slide the long bolt through the
yoke and trunnion and secure
with the washer and nut.
9. Attach the side and end fences to
the bed using the ‘R’ clips as
shown in Fig 6.
Replacement parts are available
from your CLARKE dealer. Please
quote:
Wheel assembly: part no: QDGT401,
Handle: part no QDGT402.
3
Parts & Service: 020 8988 7400 / E-mail: [email protected] or [email protected]
Page 4

 Loading...