

Page 1
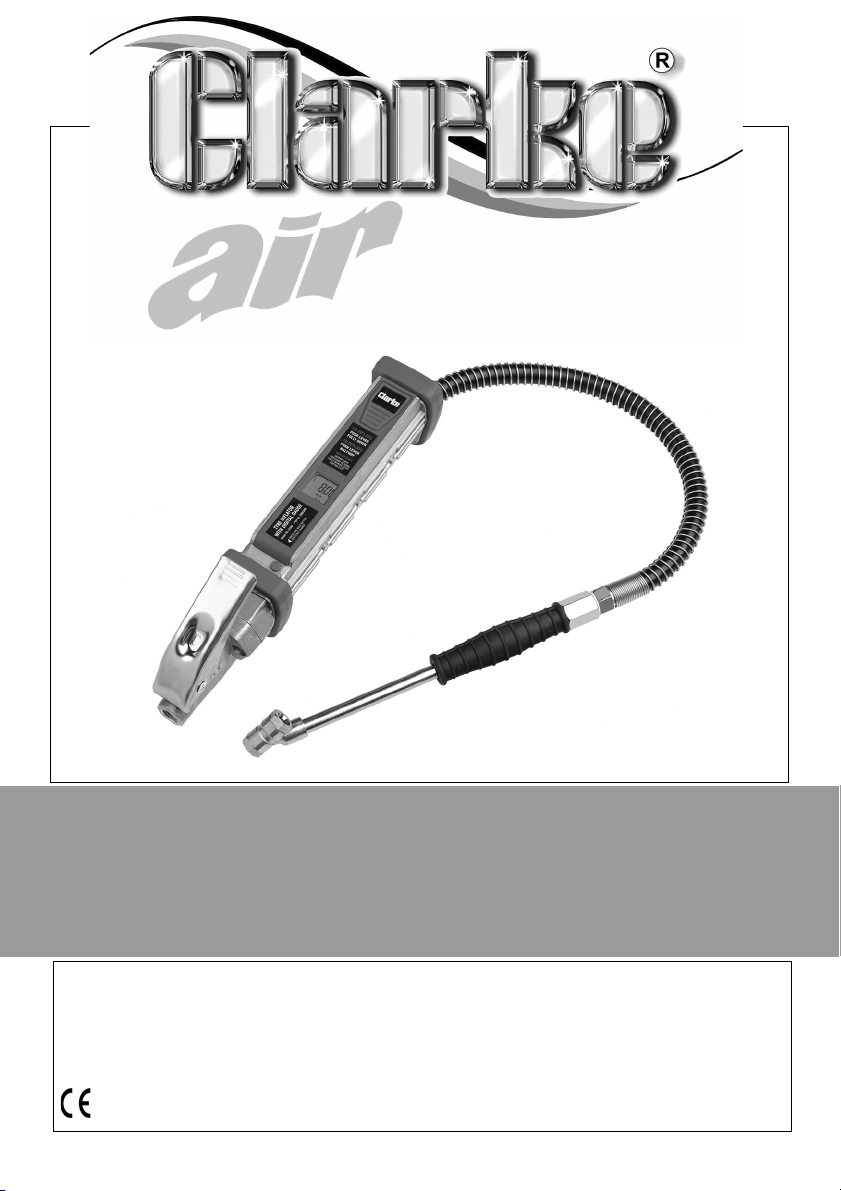
DIGITAL TYRE INFLATOR
MODEL NO: CTIDG
PART NO: 5060289
OPERATION INSTRUCTIONS
GC0616
Page 2
INTRODUCTION
Thank you for purchasing this CLARKE product. This tyre inflator complete with
digital air pressure gauge is suitable for inflating tyres on motor vehicles and
trailers etc.
Before attempting to use this product, please read this manual thoroughly and
follow the instructions carefully. In doing so you will ensure the safety of yourself
and that of others around you, and you can look forward to your purchase
giving you long and satisfactory service.
GUARANTEE
This product is guaranteed against faulty manufacture for a period of 12
months from the date of purchase. Please keep your receipt which will be
required as proof of purchase.
This guarantee is invalid if the product is found to have been abused or
tampered with in any way, or not used for the purpose for which it was
intended.
Faulty goods should be returned to their place of purchase, no product can
be returned to us without prior permission.
This guarantee does not effect your statutory rights.
SPECIFICATION
Weight 0.95 kg
Connecting Hose Length 500 mm (350mm working length)
Max Working Pressure 13.8 bar (200 p.s.i.)
Operating Pressure Range 0-174 p.s.i., 0-1200 kPa, 0-12 bar
Airline Connection Size 1/4” BSP Female
Display (Digital) Displays in psi, kPA or Bar
Accuracy +/-2p.s.i. @ 25-75 p.s.i.
Automatic Functions Auto OFF after 8 seconds.
Auto ON once pressure is detected or
air inflation takes place
Battery Life (Full Battery) 80 hours
2
Parts & Service: 020 8988 7400 / E-mail: [email protected] or [email protected]
Page 3

GENERAL SAFETY PRECAUTIONS
WORK ENVIRONMENT
Before using your tyre inflator it is in your own interest to read and pay
attention to the following safety rules.
1. Keep the work area clean and well lit. Cluttered areas invite accidents.
2. Keep children away. Children must never be allowed in the work area.
3. Store idle equipment when not in use. Airlines and air tools should be stored
so as not to create a trip hazard.
4. Stay alert, watch what you are doing and use common sense. Do not
operate any tool when you are tired.
5. Check for damaged parts. Before using any tool or equipment, any part
that appears damaged should be carefully checked to determine that it
will operate properly and perform its intended function.
6. Do not operate tools or equipment if under the influence of alcohol or
drugs. If there is any doubt, do not operate the equipment.
3
Parts & Service: 020 8988 7400 / E-mail: [email protected] or [email protected]
Page 4

COMPRESSED AIR EQUIPMENT
CAUTION: THIS PRODUCT MAY HAVE A LOWER WORKING PRESSURE
THAN SOME COMPRESSORS WILL SUPPLY, THEREFORE, AN AIRLINE
REGULATOR SHOULD BE INSTALLED.
CAUTION: AIRLINE LUBRICATORS SHOULD NOT BE USED WITH THIS ITEM.
CAUTION: ALWAYS USE DRY FILTERED COMPRESSED AIR & AVOID UNDUE
EXPOSURE TO MOISTURE.
USING COMPRESSED AIR EQUIPMENT
1. Compressed air can be dangerous. Ensure that you are thoroughly familiar
with all precautions relating to the use of compressors and a compressed
air supply.
2. Never direct a jet of compressed air at people or animals.
3. Always ensure that the equipment being used has a safe working pressure
exceeding the output pressure of the compressor that it is connected to.
4. Never exceed the operating pressure stated in the specification.
5. Always ensure that the air supply is turned off at the tool outlet and vent all
compressed air from the air hose and the equipment attached to it, before
disconnecting air hose or other equipment from your compressor.
6. Ensure all fixed air connections are properly sealed using PTFE tape or pipe
sealant.
7. Never exceed the maximum pressure of the tyre.
8. Under or over inflated tyres are dangerous. Consult the vehicle Owners
Handbook before using this tyre inflator.
9. Attach the airline hose to the tyre inflator and fully tighten. Use PTFE tape if
needed. Turn on the air supply and check that the airline pressure does not
exceed 13.8 bar (200 psi).
AIRLINE ACCESSORIES AND EQUIPMENT
An extensive range of airline equipment is available from your Clarke dealer
including hoses, retractable hose reels, filter/regulators, in-line regulators,
pressure gauges, spray gun cleaning kit, respiratory masks and safety goggles.
Replacement hose and chuck assemblies are available from your Clarke
dealer for the CTIDG tyre inflator.
4
Parts & Service: 020 8988 7400 / E-mail: [email protected] or [email protected]
Page 5
OPERATION
TO READ THE TYRE PRESSURE
1. Remove the dust cap from the tyre valve and check that the tyre valve is
clean before connecting.
2. Push the connector fully home onto the tyre valve. (If an airtight seal is not
achieved, the connector may need repositioning). Correct position is
confirmed by a steady reading on the display.
3. Check the tyre pressure on the
gauge. The digital display will
activate once pressure is sensed.
Without pressure, the display will
not turn on.
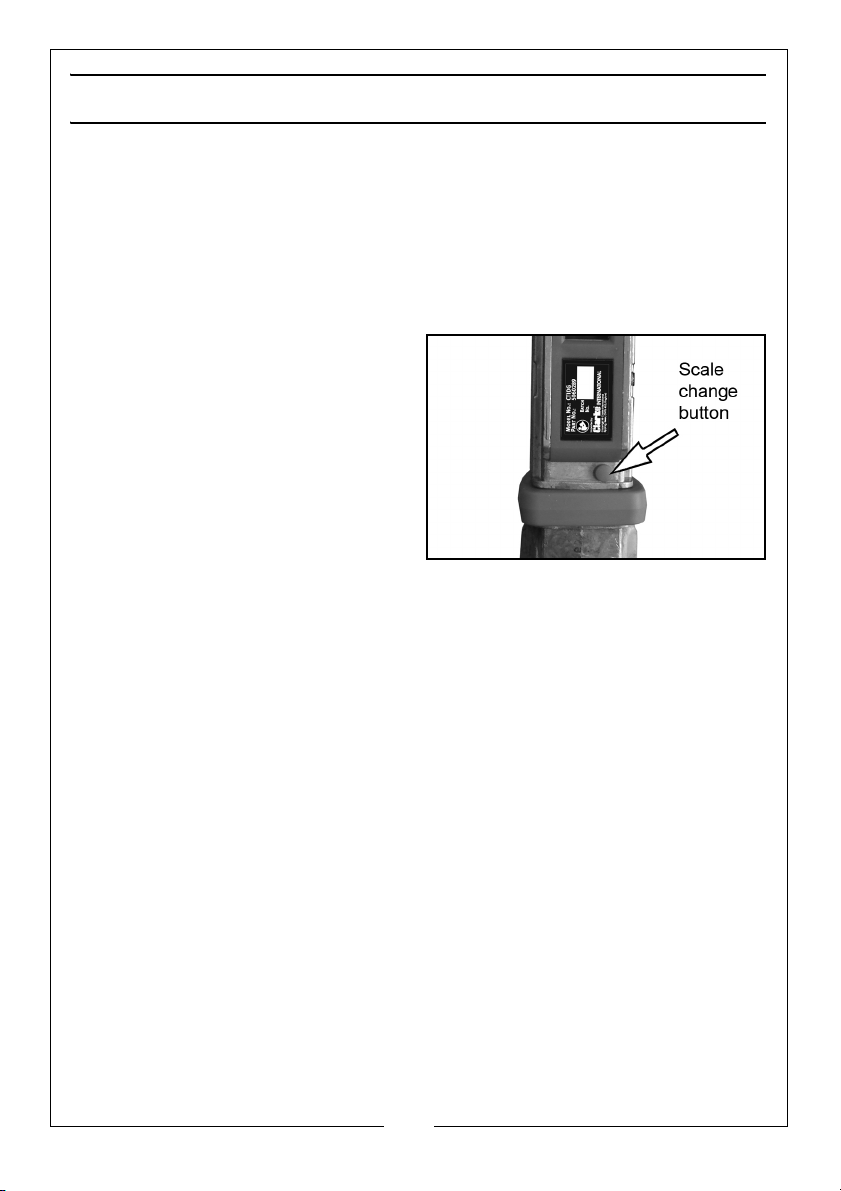
4. To change the display scale, press
and hold the scale change
button for 2 seconds to change
the display.
TO INFLATE THE TYRE
1. With the connector firmly on the valve, depress the trigger to inflate the
tyre.
2. Release the trigger and re-check the tyre pressure. Repeat until the correct
pressure is achieved.
TO DEFLATE THE TYRE
1. To deflate the tyre, push the connector firmly onto the tyre valve and
depress the trigger half way until air can be heard escaping for a short
time, then release the trigger.
2. Check the pressure and repeat until the correct pressure is achieved.
3. When the tyre pressure is correct, disconnect and remove the connector.
Replace the dust cap on the tyre valve.
5
Parts & Service: 020 8988 7400 / E-mail: [email protected] or [email protected]
Page 6
MAINTENANCE
The only maintenance other than to replace worn or broken parts is to keep
the product clean and lubricated.
Occasionally clean the product and lubricate the trigger parts.
Inspect the air hose for wear or damage periodically and replace if necessary.
DO NOT use damaged or leaking hoses.
BATTERY REPLACEMENT
If the battery voltage is too low, the ‘LO’ battery icon will flash while the power
is on and then shuts the tyre inflator down automatically. The batteries must be
replaced with 2 x AAA batteries.
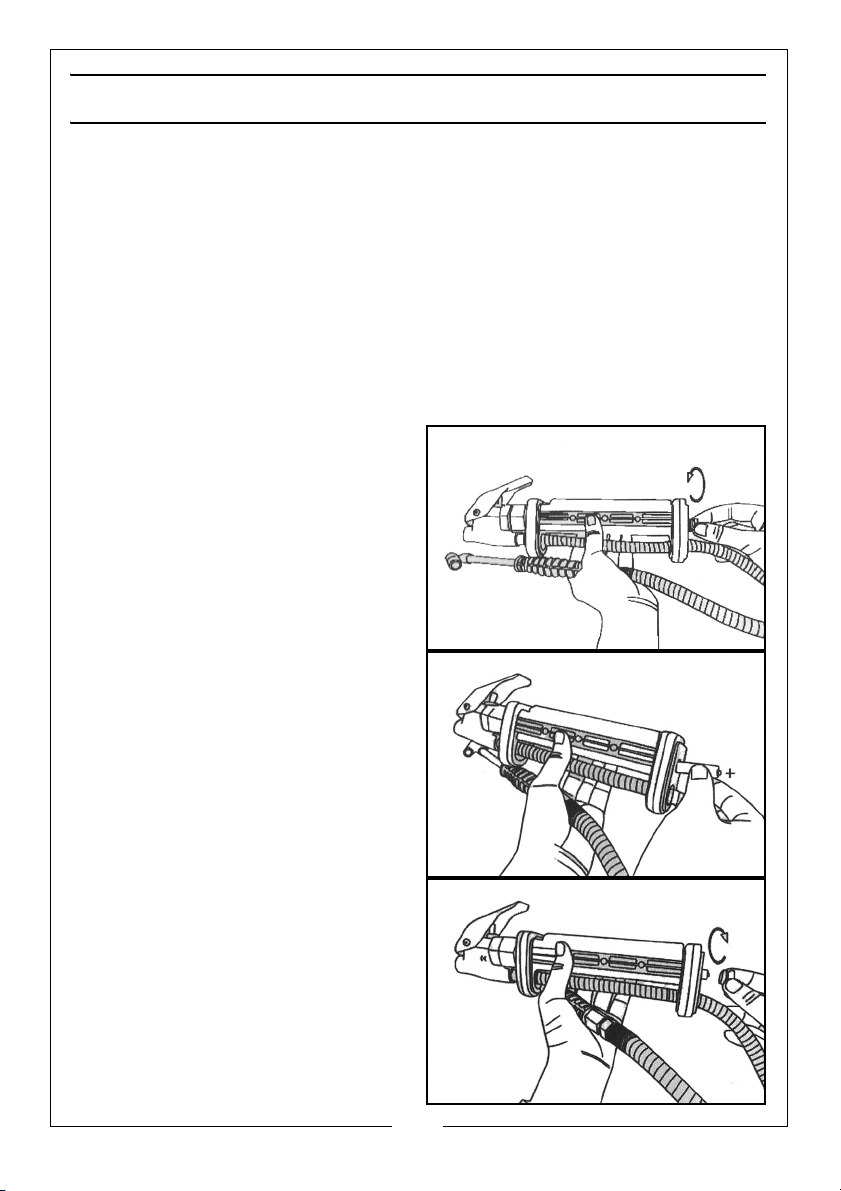
TO REPLACE THE BATTERIES
1. Unscrew the battery cap.
2. Slide the batteries into the tyre
inflator with the positive end
facing outwards.
3. Replace the battery cap carefully
and do not overtighten.
6
Parts & Service: 020 8988 7400 / E-mail: [email protected] or [email protected]
Page 7
Page 8
CALIBRATION CERTIFICATE
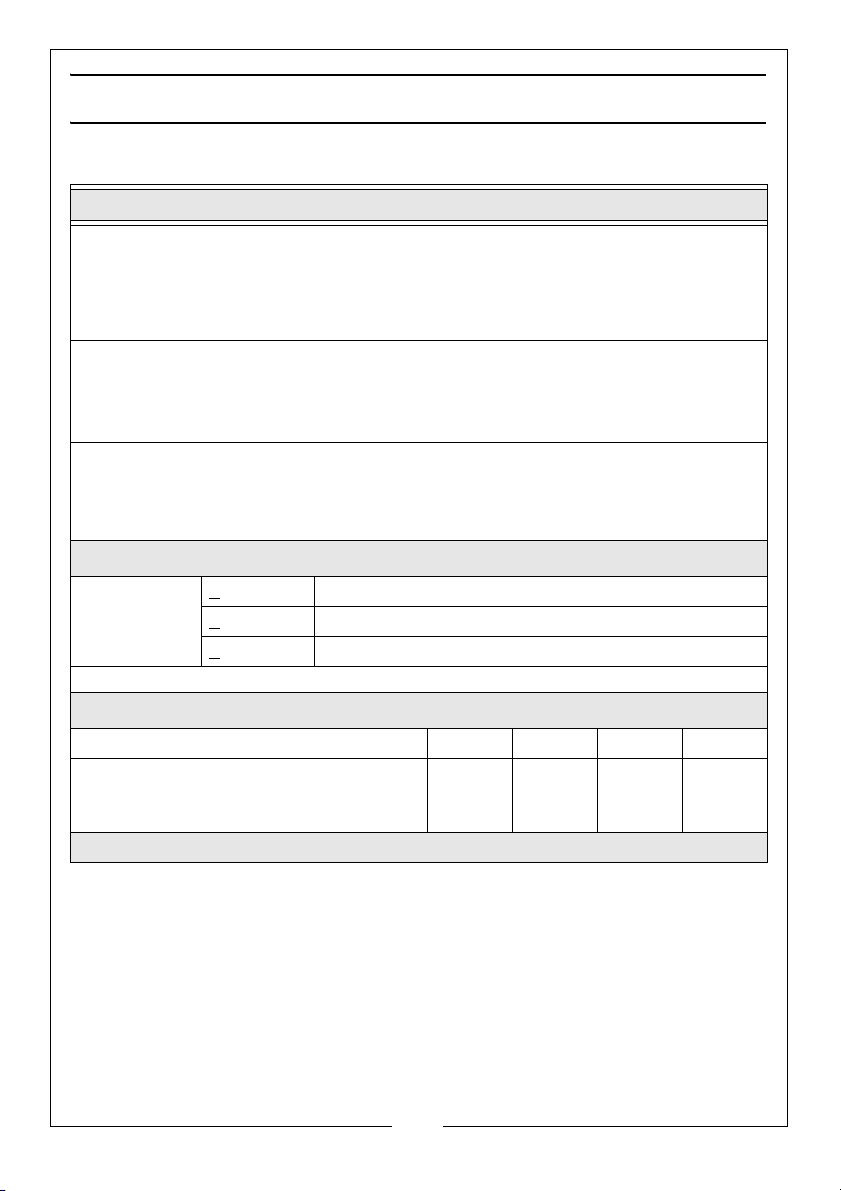
CERTIFICATE OF CALIBRATION
This tyre inflator has been calibrated in its normal working position on the test
equipment with an accuracy that is traceable to International Standards
according to 86/217/EEC.
Serial Number
Date
ALLOWABLE TOLERANCE
P.S.I.
+ 1.2 Up to and including 58 p.s.i.
2.3 Between 5and 145 p.s.i. inclusive
+
3.6 Greater than 145 p.s.i.
+
TEST RESULTS
REFERENCE PRESSURE P.S.I. 29.0 58.0 87.0 116.0
DISPLAY PRESSURE P.S.I.
8
Parts & Service: 020 8988 7400 / E-mail: [email protected] or [email protected]
 Loading...