


MODEL:
CVAC45BW
OPERATING & MAINTENANCE
INSTRUCTIONS
Distributed by CLARKE International Ltd.
0706

SPARE PARTS LIST
No. Description Qty Part No. No. Description Qty Part No.
PARTS & SERVICE CONTACTS
For Spare Parts and Service, please contact your nearest dealer,
or CLARKE International, on one of the following numbers.
PARTS & SERVICE TEL: 020 8988 7400
PARTS & SERVICE FAX: 020 8558 3622
or e-mail as follows:
PARTS: Parts@clarkeinternational.com
SERVICE: Service@clarkeinternational.com
1 Basket, Hose Storage 1 HTCVAC01
2 End Cover, Motor 1 HTCVAC02
3 Cover, Motor 1 HTCVAC03
4 Switch 1 HTCVAC04
5 Power Cord 1 HTCVAC05
6 Inner Cover, Motor 1 HTCVAC06
7 PCB 1 HTCVAC07
8 Seal Ring, 1 HTCVAC08
9 Lid 1 HTCVAC09
10 Handle, Lid 2 HTCVAC10
11 Gasket 1 HTCVAC11
12 Seal, Motor 1 HTCVAC12
13 Motor 1 HTCVAC13
14 Lower Seal Ring 1 HTCVAC14
15 Base, Motor 1 HTCVAC15
16 Seal Ring, Float 1 HTCVAC16
17 Seal Ring, Filter 1 HTCVAC17
18 Float 1 HTCVAC18
19 Cage, Float 1 HTCVAC19
20 Base Plate, Cage 1 HTCVAC20
21 Cartridge Filter 1 HTCVAC21
22 Spring 2 HTCVAC22
23 Fixed Bracket 1 HTCVAC23
24 Dust Bag 1 HTCVAC24
25 Filter 1 HTCVAC25
26 Seal Ring, Tank 1 HTCVAC26
27 Handle, Tank 2 HTCVAC27
28 Clamp, Push Rod 3 HTCVAC28
29 Latch 3 HTCVAC29
30 Hose Connector 1 HTCVAC30
31 Tank 1 HTCVAC31
32 Handle 1 HTCVAC32
33 Clamp, Tank 2 HTCVAC33
34 Thumb Screw 2 HTCVAC34
35 Upright 2 HTCVAC35
36 Axle 1 HTCVAC36
37 Frame, Rear 1 HTCVAC37
38 Frame, Front 1 HTCVAC38
39 Bracket, Caster 1 HTCVAC39
40 Plastic Cover 1 HTCVAC40
41 Wheel 2 HTCVAC41
42 Castor, 3" 1 HTCVAC42
43 Circlip, 4 HTCVAC43
44 Brush, Water 1 HTCVAC44
45 Brush, Dust 1 HTCVAC45
46 Hose 1 HTCVAC46
47 Crevace Tool 1 HTCVAC47
48 Tube Extension 2 HTCVAC48
49 Bolt, Motor Base 4 HTCVAC49
- 11 -- 2 -

SPARE PARTS DIAGRAM
Thank you for selecting this VAC KING Vacuum Cleaner, which will provide you
with a cleaner and safer working environment.
This machine is capable of collecting both wet and dry materials as well as water.
DO NOT, however, collect any other type of liquid as this could be dangerous.
Before attempting to use this machine, please read this leaflet thoroughly and
follow the instructions carefully. In doing so you will ensure the safety of yourself
and that of others around you, and you can look forward to this Vacuum Cleaner
giving you long and satisfactory service.
GUARANTEE
This product is guaranteed against faulty manufacture for a period of 12 months from
the date of purchase. Please keep your receipt therefore, as proof of purchase.
This guarantee is invalid if the product is found to have been abused or tampered
with in any way, or not used for the purpose for which it was intended.
Faulty goods should be returned to their place of purchase, no product can be
returned to us without prior permission.
This guarantee does not effect your statutory rights.
SAFETY PRECAUTIONS
1. Do not allow the machine to run unattended.
2. Do not use with accessories other than those provided.
3. Do not use if the electric cable, plug, motor filter or the cleaner itself, is in poor
condition.
4. Do not attempt any electrical repair yourself. Consult a qualified electrician,
or our Service Departrment on 020 8988 7400
5. Do not pick up flammable or readily combustible material, hot ashes, coals,
or use in the presence of explosive liquids or vapour.
6. Do not use in enclosed areas where flammable, explosive or toxic vapours
are given off, by oil based paints, paint thinner, petrol etc.
7. Do not pick up burning cigarettes or other smoking substances.
8. When you have finished with the machine, ensure the electric cable is stowed
away and not left as a hazard, i.e. for others to trip over.
9. Do not change filters, or carry out any cleaning or servicing, without first
disconnecting the machine from the mains supply.
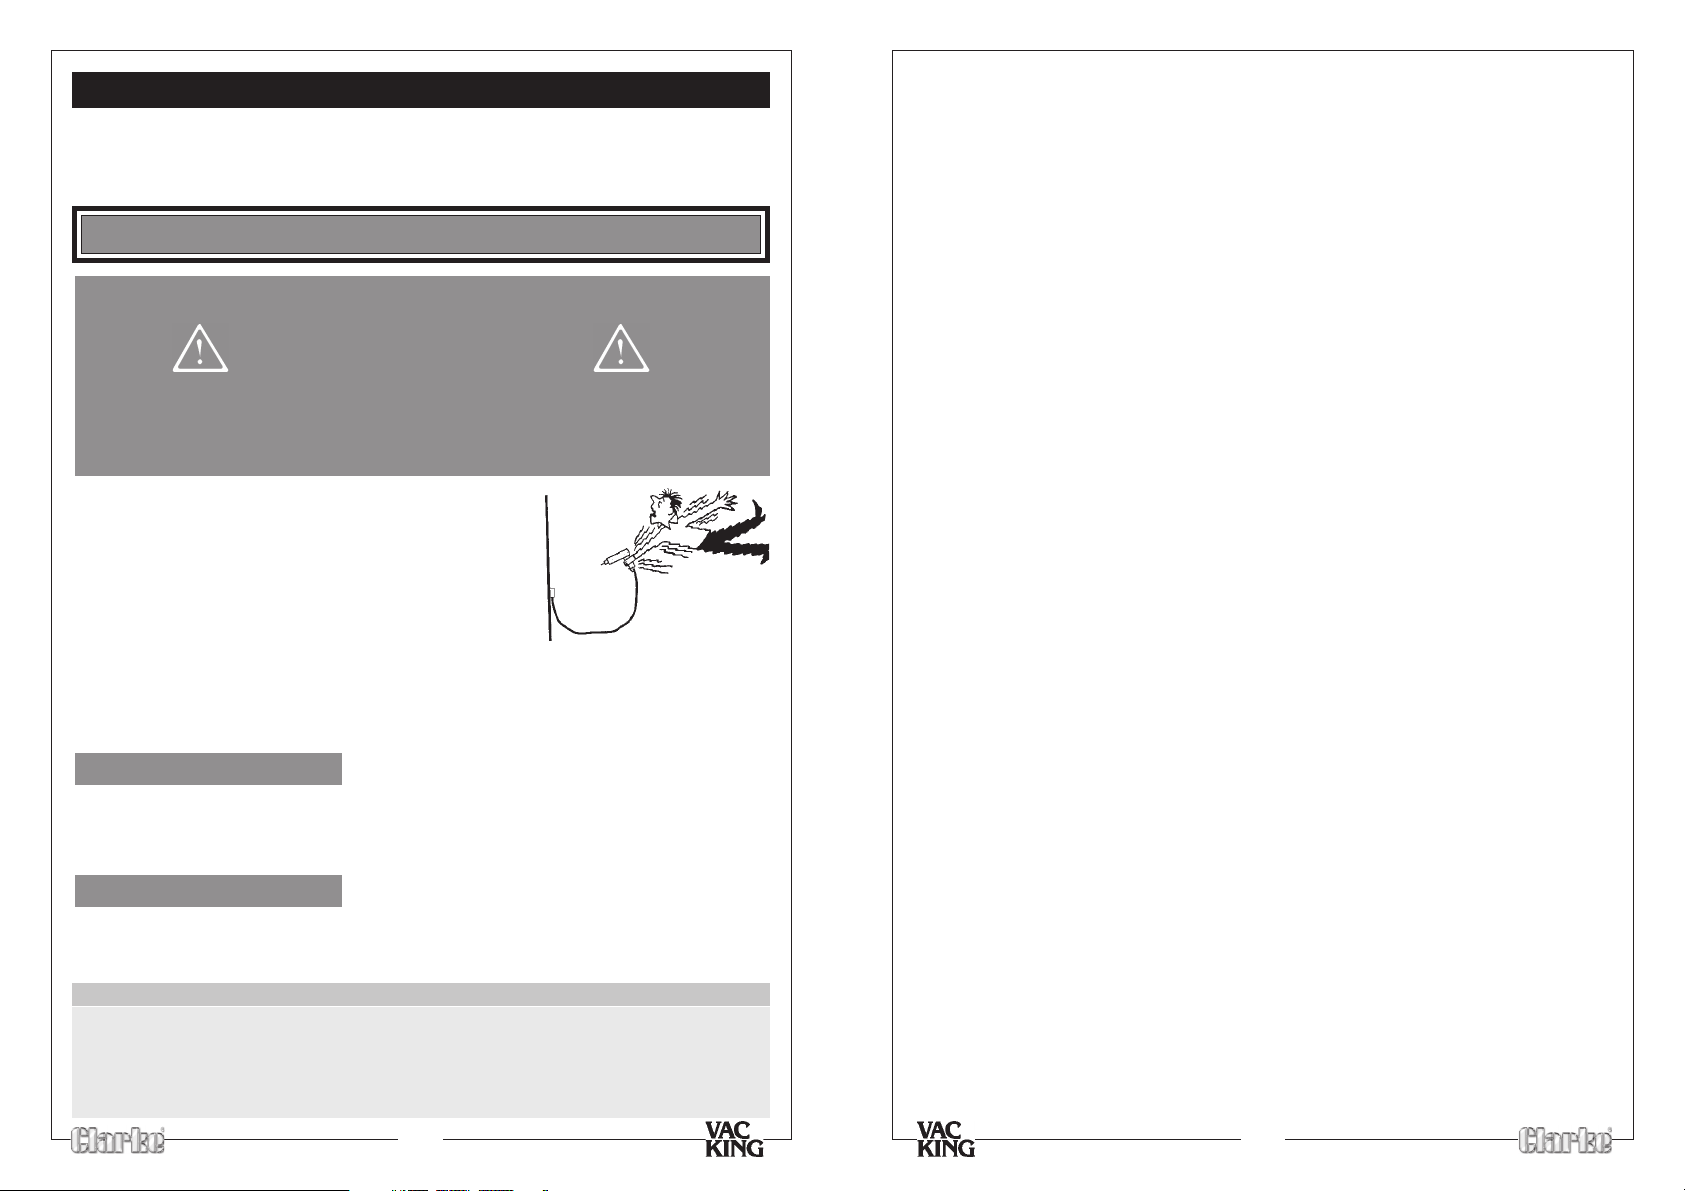
10. Do not pull the machine along by the electric cable, or pull the cable to
disconnect the plug from the mains socket. Keep the electric cable away
from heat , oil and sharp edges. Do not close doors on the cable, or allow it to
become snagged under furniture or objects with sharp edges.
11. If this machine is used outdoors, on no account must it be exposed to rain.
Ensure it is stored indoors.
- 10 -
- 3 -
ELECTRICAL CONNECTIONS
This product is provided with a standard 13 amp, 230 volt (50Hz), BS 1363 plug, for
connection to a standard, domestic electrical supply. Should the plug need changing at
any time, ensure that a plug of identical specification is used.
WARNING ! THIS APPLIANCE MUST BE EARTHED
This machine must be wired up in accordance with the following colour code:
BLUE - NEUTRAL
BROWN - LIVE
GREEN/YELLOW - EARTH
• Connect the BLUE coloured cord to the plug terminal marked “N”
• Connect the BROWN coloured cord to the plug terminal marked “L”
• Connect the GREEN/YELLOW coloured cord to the plug terminal marked “E”
If this appliance is fitted with a plug which is moulded on to
the electric cable (i.e. non-rewireable) please note:
1. The plug must be thrown away if it is cut from the
electric cable. There is a danger of electric shock if it
is subsequently inserted into a socket outlet.
2. Never use the plug without the fuse cover fitted.
PARTS LIST
3. Should you wish to replace a detachable fuse carrier, ensure that the correct
replacement is used (as indicated by marking or colour code).
4. Replacement fuse covers can be obtained from your local dealer or most electrical
stockists.
Fuse Rating
The fuse in the plug must be replaced with one of the same rating (13 amps) and this
replacement must be approved to BS1362.
If in doubt, consult a qualified electrician. Do not attempt any electrical repairs yourself.
Cable Extension
Always use an approved cable extension suitable for the power rating of this tool (see
specifications), the conductor size should also be at least the same size as that on the
machine, or larger. When using a cable reel, always unwind the cable completely.
IMPORTANT:
If a cable extension is needed, it is essential to comply with the following data.
Voltage Extension length Cable section
230v Up to 20m 2.5mm
230v From 20 to 50m 4mm
- 4 -
2
2
&
DIAGRAMS
- 9 -

4. Ensure the appropriate filter is properly in place and secured with the spring
clamp, before selecting the appropriate tool for attaching to the end of the
tube extension, plugging into the power supply and switching ON.
Be aware that when picking up water, the tank will gradually fill up. Check
and empty at frequent intervals, otherwise the float located within the filter
unit will rise and eventually shut off suction. This is a safety feature to prevent
water from coming into contact with electrical components.
Should suction cease, switch OFF immediately and empty the tank, otherwise
the motor could overheat.
UNPACKING
Carefully unpack and check components against the list below. Should there be
any transit damage, please contact your Clarke dealer immediately
MAINTENANCE
Maintenance is limited to inspecting the filters regularly, and replacing when
necessary. The linen bag may be washed as required and dried before use.
Also ensure that the hose is kept in good condition. A damaged hose will seriously
effect the efficiency of the machine, and should be replaced immediately.
Inspect all other components periodically, and replace damaged castors or
accessories when necessary. Contact your CLARKE dealer for replacements.
Regular inspection and the correct maintenance of the filters, will ensure the
efficient running and prolong the life of your machine.
SPECIFICATIONS
Motor - Power Rating ............................................. 1.2kW
Voltage ....................................................... 230V 50Hz 1Ph
Insulation Rating ........................................ E
Duty Cycle ............................................................... S1 (Continuous)
Tank Capacity - water ............................................ 23 Litres
Dust Capacity .......................................................... 39 Litres
Sound Pressure Level (at 2M) ................................. 90dB(A)
Dimensions ............................................................... 600x1005x490mm
Weight .................................................................... 16.5kg
Part No. .................................................................... 6470562
- 8 -
A. Frame - Front
B. Frame Rear
C. Caster with Bracket
D. Upright (2)
E. Handle
F. Axle
G. Wheel (2)
H. Cover
I. Tube Extension (2)
J. Crevace Tool
K. Wet Pickup
L. Master Brush
M. Flexible Hose
N. Vac. Cleaner
P. Loose Parts (see below)
Loose Parts
A. Hex. Slot Head Screw (1)
B. M5x20 Hex. Screw, w/ Nut,
flat & spring washer (4)
C. M4x20 Hex. Screw, w/ Nut,
flat & spring washer (4)
D. Flat Washer (4)
E. ‘E’ Ring(4)
F. Clamp assemblies (2)
- 5 -
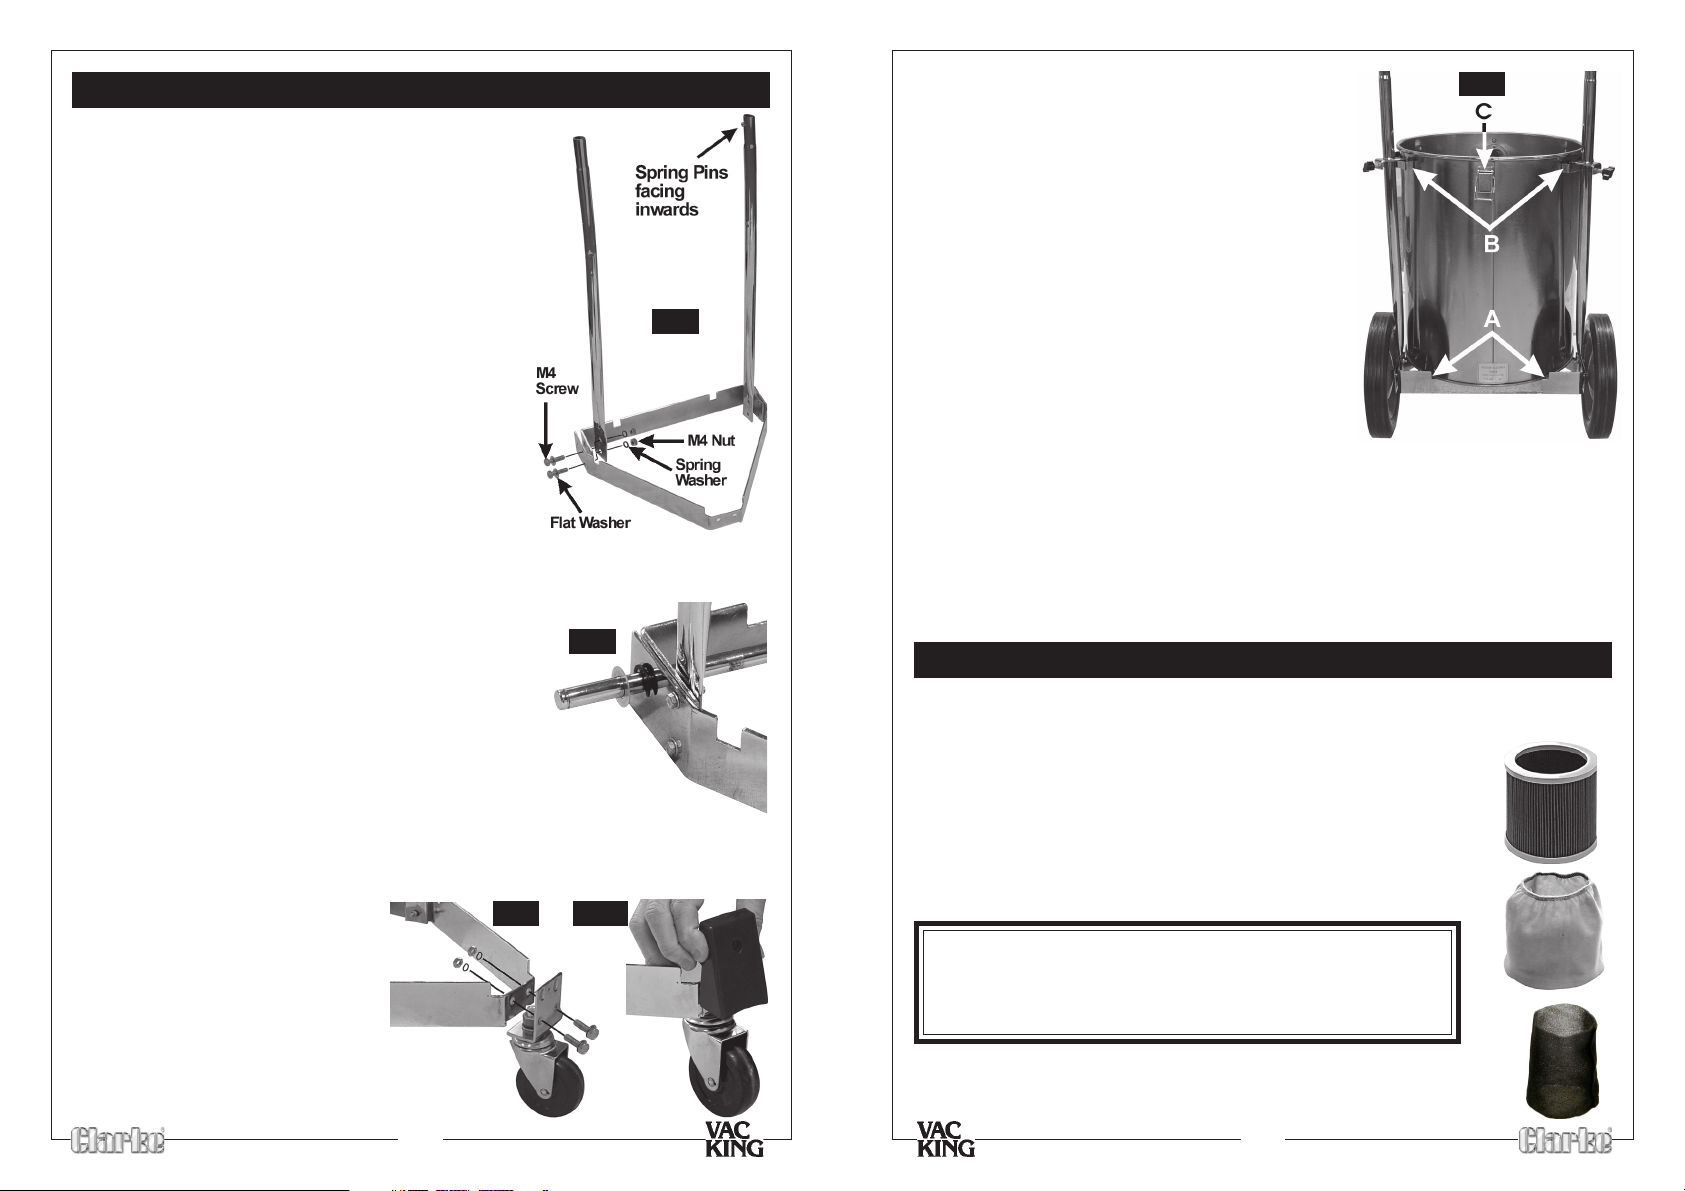
ASSEMBLY
1. Assemble the front and rear frames as indicated
in Fig.1, and attach an upright to each side in
turn, ensuring the spring loaded pins are facing
inwards.
Secure using M4x20 screws with flat, spring
washers and nut. Ensure all are tight.
Fig.1
4. With the hose connector on the tank facing
forwards, carefully lower the tank on to the frame
and locate in the slots provided - the rear two
shown at ‘A’ Fig 4. The tank should sit snugly in
each slot in both the front and rear frames.
5. Slide a clamp assembly on to each upright,
ensuring the clamping claws face downwards.
Push the spring pins, in the uprights - in, to allow
the clamps to drop.
At this point attach the handle to the uprights,
securing with the spring pins.
Engage the clamping claws firmly in the brackets
provided on the tank as shown at ‘B’ Fig.4, and,
ensuring the rear buckle ‘C’ is midway between
the uprights, tighten the clamping screws.
6. Finally slide the handle over the uprights ensuring
each side is locked using the spring pins.
7. Undo the three buckles. securing the tank lid with cage and motor assembly,
and lift off the lid complete.
8. Turn the lid assembly and rest it on its cage, with the filter uppermost.
Lift off the filter clamp pull off the cartridge filter complete with linen bag. A
foam filter cover, is housed within the cartridge filter. This should be removed
and retained.
Fig.4
2. Slide the axle through the holes in the rear frame
and locate an ‘E’ ring in the groove adjacent to
the frame, then thread on a flat washer, as shown
in Fig.2
Slide a wheel on to each side, followed by a flat
washer, then locate an ‘E’ ring in the outer
groove.
3. Bolt the caster to the bracket
using the nut and washers
provided, then attach to the
front frame in the manner
shown in Fig.3, using 2 M5x20
screws with flat, spring washers
and nut. Ensure all are tight.
Slide the cover on to the caster
bracket and secure using the
single screw provided.
- 6 -
Fig.3 Fig.3a
Fig.2
OPERATION
NOTE: Filters are essential to ensure that dust or foreign matter does not enter the
motor compartment which would reduce motor effeciency, and eventually cause
serious damage.
Three filters are supplied with the machine.
1. The Cartridge filter is the primary filter, and must be fitted
over the filter cage. This is used only for dry vacuuming.
2. The Linen Bag filter is the secondary filter and must be placed
securely over the cartridge filter for all normal operations,
i.e. dry vacuuming.
IMPORTANT: This double filtering action not only ensures
that the motor is kept dirt free, but is essential in ensuring
that the cleanest air possible is exhausted, therefore
preventing dust from being spread into the environment.
3. The Foam filter. This is only used for picking up water, and
replaces both the Cartridge filter and Linen Bag during this
operation.
- 7 -
 Loading...