

Page 1
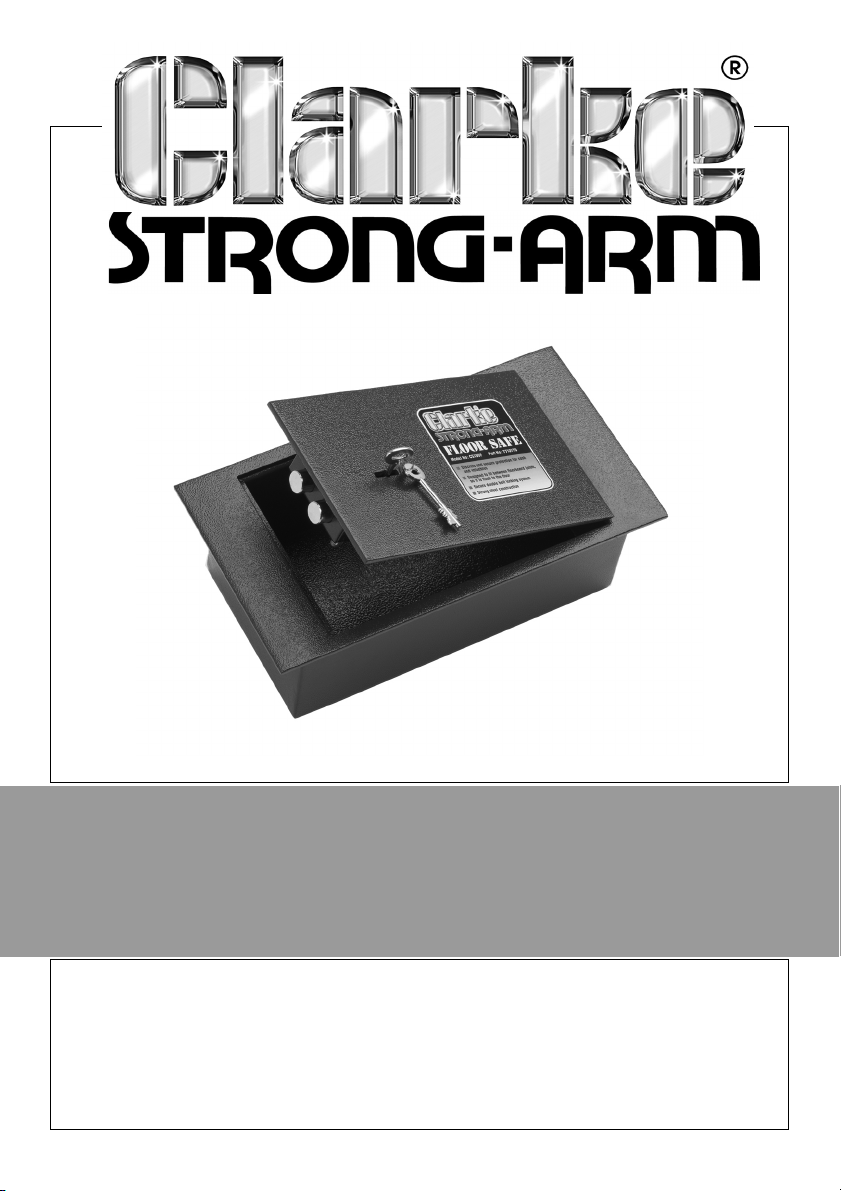
CAUTION: Do not keep the spare key inside the safe!
FLOOR SAFE
MODEL NO: CS150F
PART NO: 7710175
OPERATION & MAINTENANCE
INSTRUCTIONS
LS0818 - ISS 3
Page 2
INTRODUCTION
Thank you for purchasing this CLARKE Floor Safe, designed for discrete fitting beneath
floorboards.
It is strongly recommended that installation is carried out by a qualified tradesman to
avoid the possibility of structural damage - to pipes, cables, joists etc., which may be in
the vicinity. It is also possible to wall mount the safe if desired.
GUARANTEE
This CLARKE product is guaranteed against faulty manufacture for a period of 12 months
from the date of purchase. Please keep your receipt as proof of purchase.
This guarantee is invalid if the product is found to have been abused or tampered with
in any way, or not used for the purpose for which it was intended.
Faulty goods should be returned to their place of purchase, no product can be
returned to us without prior permission.
This guarantee does not effect your statutory rights.
REPLACEMENT KEY
A small label is located on the front of each safe with a key number. The number will
contain several digits. This number must be registered with us in the event you require a
replacement key.
Please complete the registration form supplied and send it to the address stated with
the form. If you fail to register the safe we will not be able to provide you with a
replacement key.
We recommend that in addition to sending the completed from you remove the label
from the safe and fix it to the space below. Please retain this document for future
reference.
Fix or record the key number here
2
Parts & Service: 020 8988 7400 / E-mail: [email protected] or [email protected]
Page 3
INSTALLING YOUR SAFE
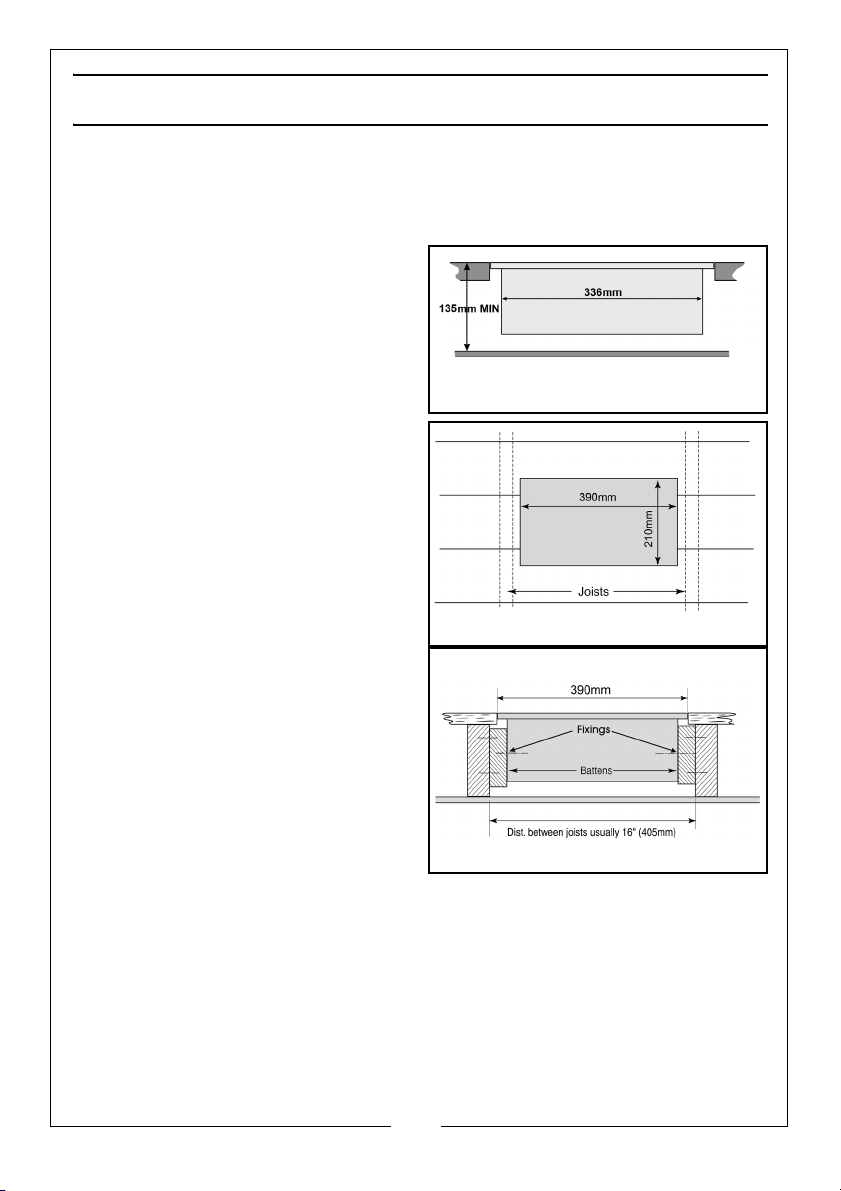
Fig. 1
Fig. 2
Fig. 3
NOTE: To install the safe, it will be necessary to cut a hole into the floorboards, which
must be located between two joists. Great care must be exercised to ensure
there are no cables or pipes at the installation point, which could be
damaged when drilling or sawing through the floorboards.
When locating the safe, and BEFORE
cutting floorboards, ensure the
measurement from the top surface of the
floorboard to the floor below is at least
135mm, see Fig.1. This is to ensure the safe
does not bottom out when fitted.
Once the location has been determined
proceed as follows.
1. Mark the hole position, the dimensions
being 390mm x 210mm (see Fig.2).
2. Using a suitably sized drill bit, drill a
hole in each corner of the marked
hole to enable a jig saw blade to pass
through.
3. Using the jigsaw, carefully cut out the
hole, finishing off by sandpapering all
rough edges.
NOTE: Generally, floor joists are 16”
(405mm) apart. The safe box is
336mm in length (see Fig.1). It is
necessary therefore to attach
battens to the joists as shown in
Fig.3, in order for the safe to be
properly secured.
4. Measure the distance between the
joists, then deduct 336mm from that
measurement. Divide the result by 2 to
determine the thickness of the
battens.
5. Ensure the battens are of sufficient size to fully support the safe, then secure them to
the joists using four suitably sized wood screws.
6. Lower the safe into the space between the battens, and ensuring the top face is
flush with the floorboards, secure it to the battens using the fixing screws supplied.
,
3
Parts & Service: 020 8988 7400 / E-mail: [email protected] or [email protected]
Page 4

 Loading...