

Page 1
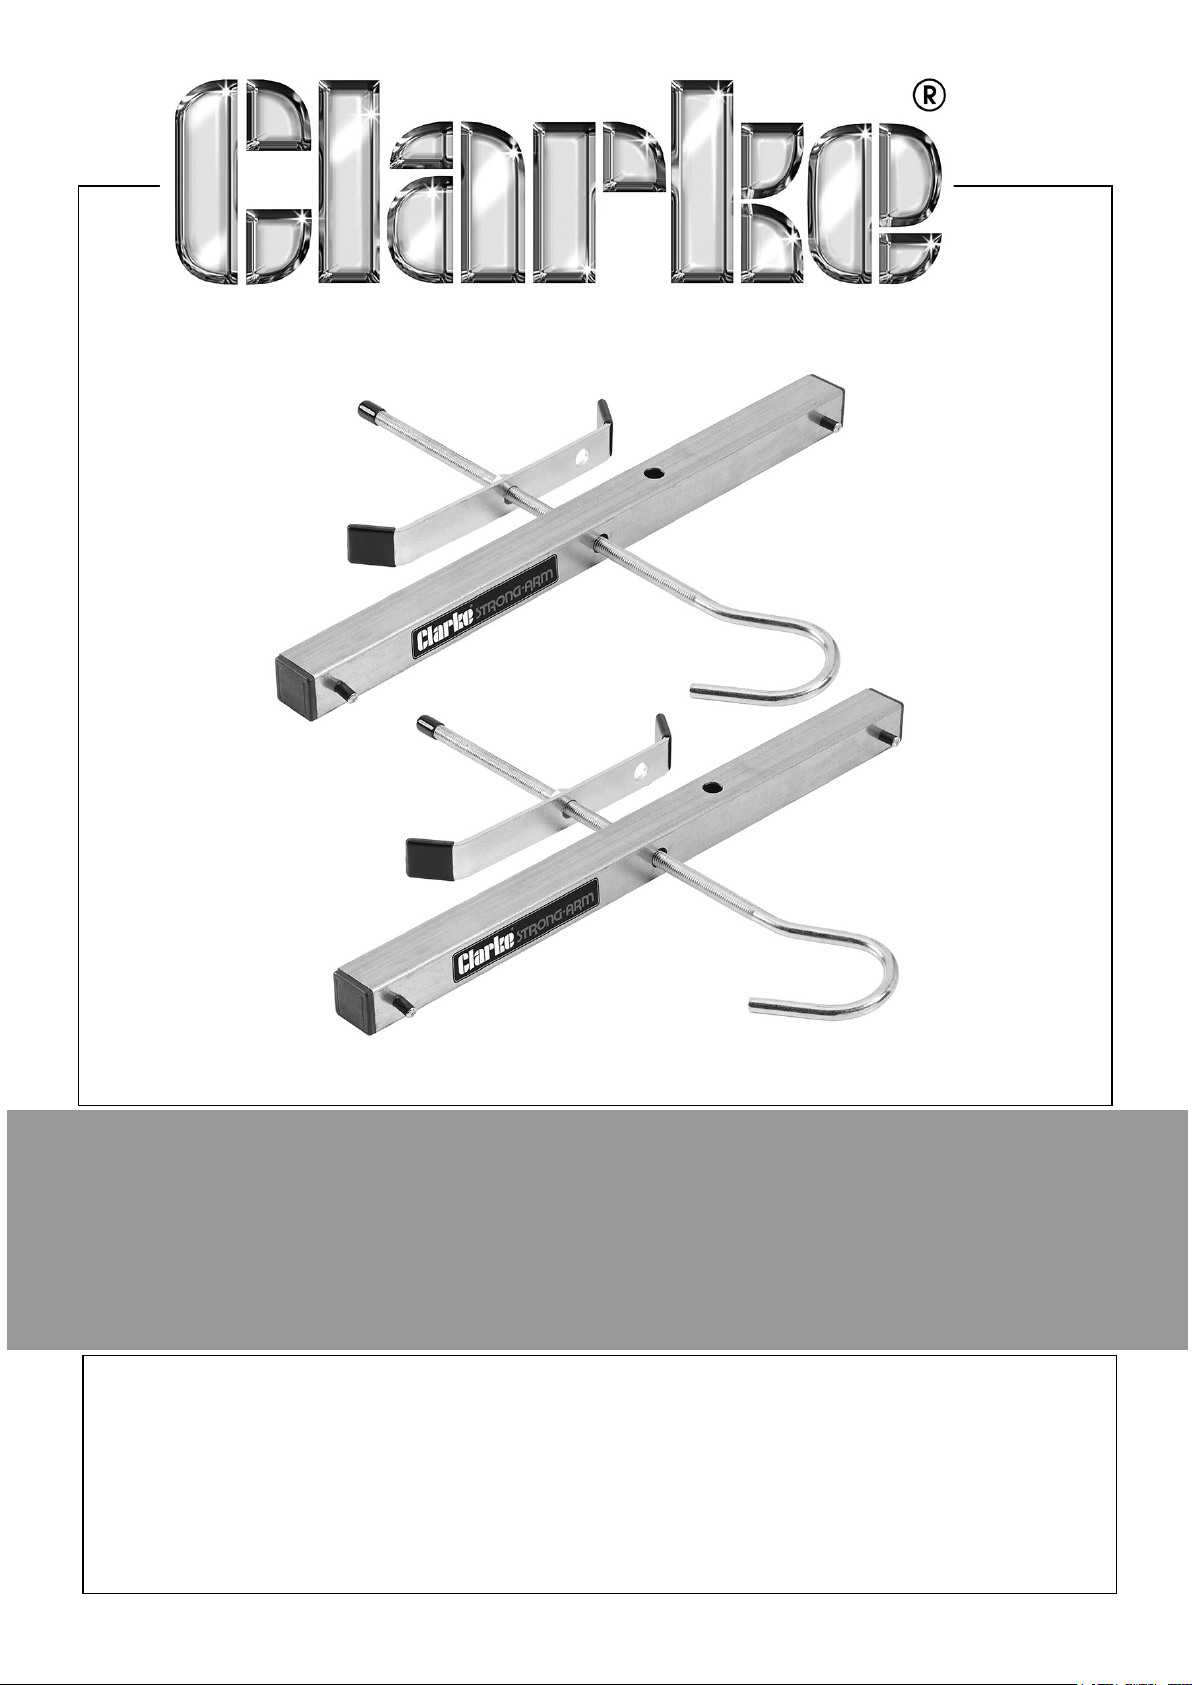
LADDER RACK CLAMPS
MODEL NO: CRC1
PART NO: 4501163
USER INSTRUCTIONS
ORIGINAL INSTRUCTIONS GC-06/25
Page 2

INTRODUCTION
Thank you for purchasing this CLARKE product. Before attempting to use this product,
please read this manual thoroughly and follow the instructions carefully. In doing so
you will ensure the safety of yourself and that of others around you, and you can look
forward to your purchase giving you long and satisfactory service.
SAFETY PRECAUTIONS
WARNING: Due to the variety in the design of vehicles and roof bars/racks, it is the
user’s responsibility to ensure the ladder rack clamps are fitted and attached
correctly.
DO NOT use the ladder rack clamps if any parts are damaged or missing, as this may
cause failure and/or possible personal injury.
ALWAYS maintain the ladder rack clamps in good condition.
Replace or repair damaged parts. Use genuine parts only. Unauthorised parts may be
dangerous and will invalidate the warranty
ALWAYS familiarise yourself with the applications and limitations of the ladder rack
clamps, as well as all potential hazards.
DO NOT use the clamps for any purpose other than that for which they are designed.
ALWAYS use the ladder rack clamps in pairs. One at the front and one at the rear.
During use frequently check that the ladder rack clamps and ladder are secure.
DO NOT over tighten the ladder rack clamps. This may cause damage to the roof
bar/rack or the clamps.
Only use this product to clamp ladders.
Remove any loose objects from the ladder prior to clamping to the roof bar/rack.
WARNING! Ensure that neither the ladder rack clamps or the ladder project beyond
the maximum profile of the vehicle.
WARNING! When a ladder is clamped to the roof bars/rack, the characteristics of
the vehicle will change. Driving techniques should be altered to allow for this. Reduce
speeds and allow longer braking distances.
ALWAYS check that the ladder is secure and stable prior to transit.
WARNING! The security and safety of the load carried is the responsibility of the
vehicle driver.
WARNING! The warnings, cautions and instructions in this manual cannot cover all
possible conditions and situations that may occur. It must be understood by the
operator that common sense and caution are factors which cannot be built into this
product but must be applied by the operator.
2
Parts & Service: 020 8988 7400 / E-mail: [email protected] or [email protected]
Page 3
CONTENTS
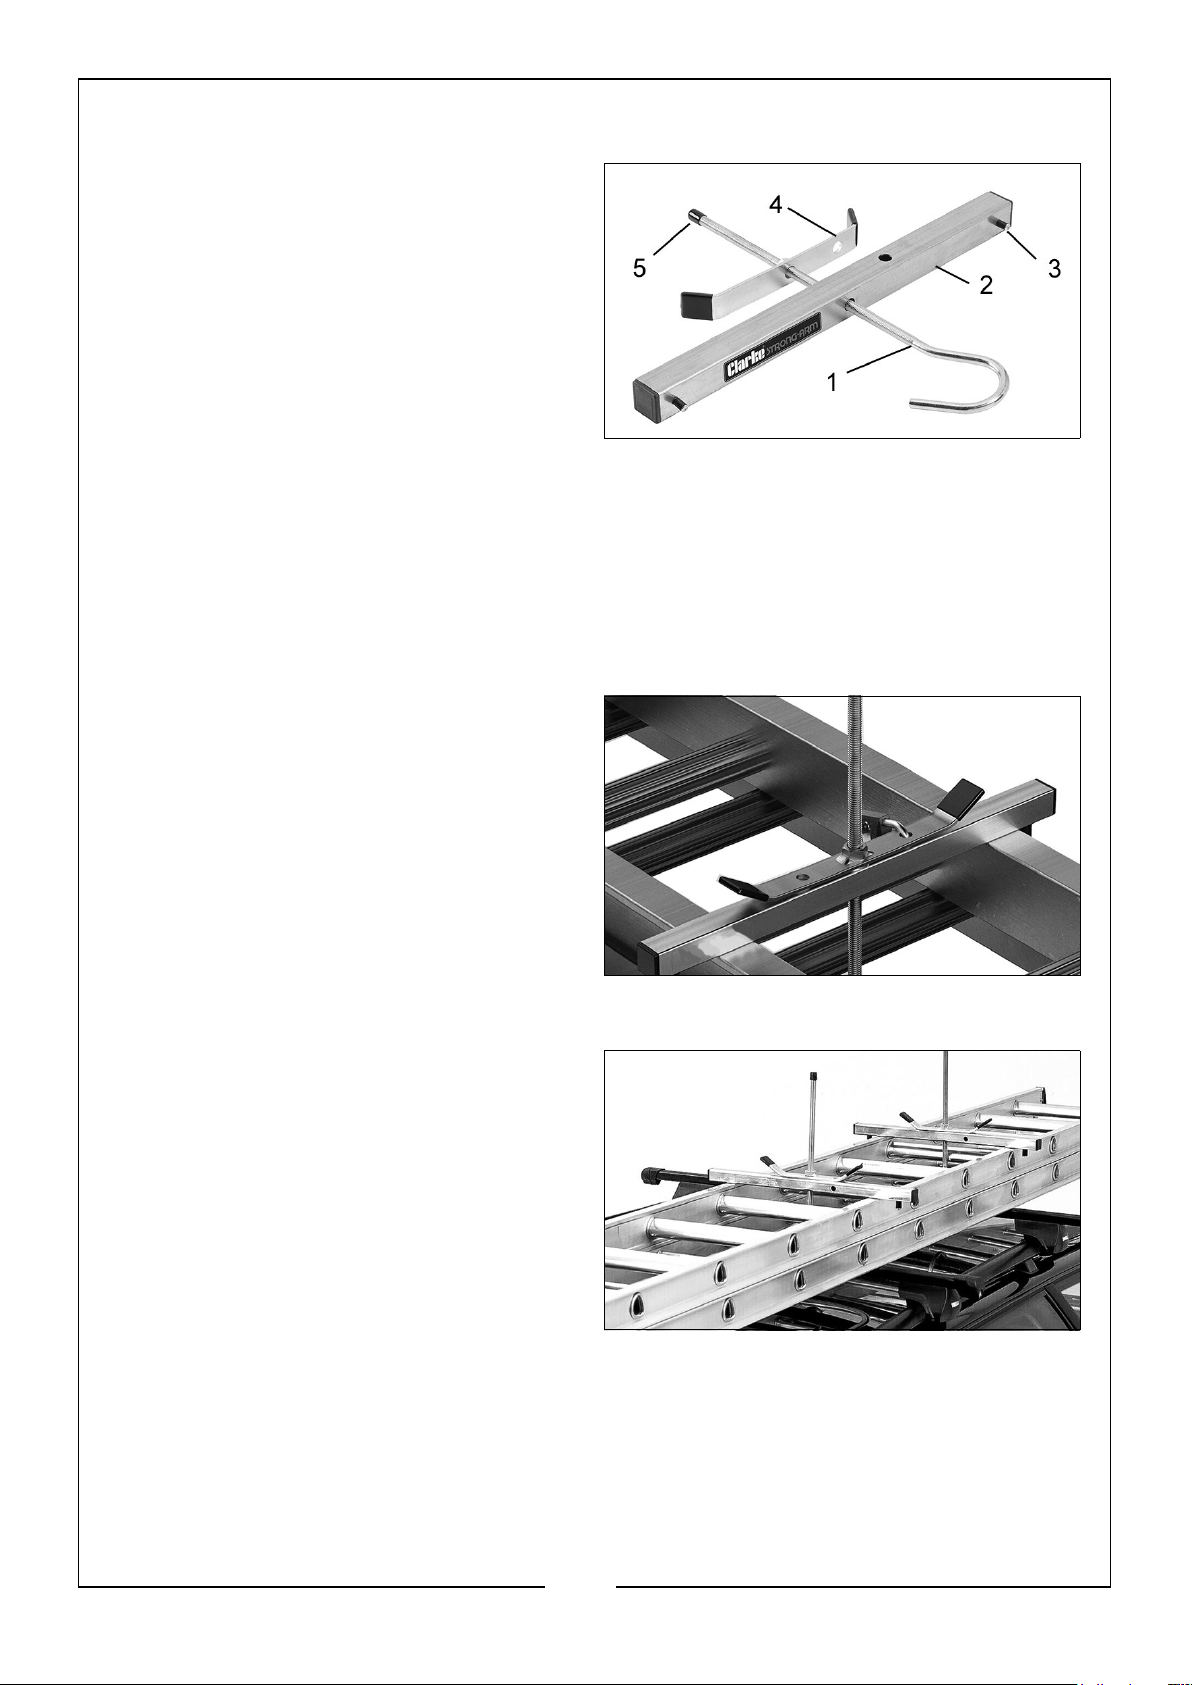
1. Roof bar hook
2. Clamp bar
3. Ladder stop
4. Locking bar
5. Thread protector
CLAMP ASSEMBLY
1. Remove the thread protector (5) from the roof hook bar (1).
2. Slide the clamp bar (2), fitted with ladder stops (3), over the roof bar hook.
3. Thread the locking bar (4) onto the roof bar hook.
4. Replace the thread protector.
SECURING THE LADDER TO THE RACK
1. Inspect the roof bars/rack to ensure
they are fitted and assembled
correctly to the manufacturer’s
instructions and are in a safe, sound
condition.
2. Load the ladder onto the roof bars/
rack. Seek the assistance of another
person for heavier or longer ladders.
3. Position the ladder on the roof bars/
rack evenly ensuring that there is no excessive overhang.
4. If a long ladder is carried it should be
secured to the front and rear of the
vehicle. Any rear overhang should
have a visible warning indicator.
5. Pass the roof bar hook through the
ladder and under one of the roof rack
bars.
6. Screw down the lock bar onto the
clamp bar.
• Ensure that the ladder is located between the ladder stops.
7. When the ladder is secure any available padlock can be fitted through the lock
down bar and the clamp bar securing them in place.
3
Parts & Service: 020 8988 7400 / E-mail: [email protected] or [email protected]
Page 4

 Loading...