

Page 1
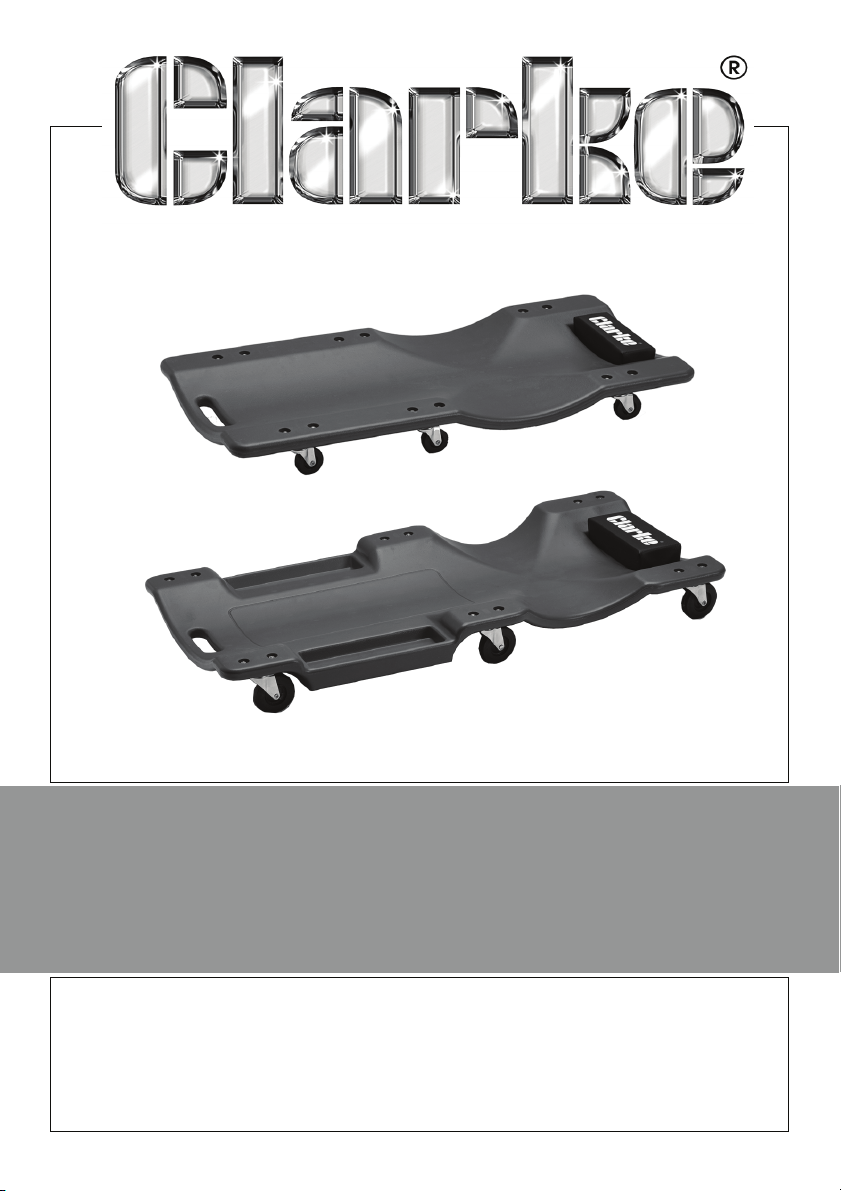
CAR CREEPERS
MODEL NO: CMC36B & CMC40B
PART NO: 7630207 & 7630208
ASSEMBLY INSTRUCTIONS
ORIGINAL INSTRUCTIONS
GC0422
Page 2
INTRODUCTION
Thank you for purchasing this CLARKE Car Creeper. Before attempting to use
this product, please read this manual thoroughly and follow the instructions
carefully. In doing so you will ensure the safety of yourself and that of others
around you, and you can look forward to your purchase giving you long and
satisfactory service.
SPECIFICATIONS
CMC36B CMC40B
Dimensions (L x W x H) 910 x 410 x 100mm 1010 x 475 x 125mm
Underside clearance min 29mm/max 65mm min 38mm/max 87mm
Maximum load 113kg (250lb) 113kg (250lb)
Weight 3.25kg 5kg
GUARANTEE
This product is guaranteed against faulty manufacture for a period of 12
months from the date of purchase. Please keep your receipt which will be
required as proof of purchase.
This guarantee is invalid if the product is found to have been abused or
tampered with in any way, or not used for the purpose for which it was
intended.
Faulty goods should be returned to their place of purchase, no product can
be returned to us without prior permission. This guarantee does not effect your
statutory rights.
PRODUCT INVENTORY
• 1 Car creeper body
•6 Castors
• 12 M6 x 23mm Coachbolts
• 12 M6 Nylock nuts
• 12 Washers 16mm o/d
• 12 Spacers
• Plastic nut key
If any parts are missing or damaged contact your CLARKE dealer immediately.
2
Parts & Service: 020 8988 7400 / E-mail: [email protected] or [email protected]
Page 3
SAFETY PRECAUTIONS
1. NEVER allow the creeper to be used as a plaything such as a skateboard.
Keep children away at all times...this is NOT a toy.
2. ALWAYS use on a hard level surface, not in the vicinity of drains, holes,
curbs, cracks etc., as this could cause serious damage to the castors.
3. ALWAYS check your car creeper regularly for damage before use and if
any is apparent, have it repaired before use. Remember, broken, worn or
missing parts could result in injury.
4. DO NOT modify this product in any way. Unauthorized modifications may
impair the function and/or safety and could effect the life of the product.
5. DO NOT exceed the maximum rated load capacity.
6. DO NOT stand on the car creeper or use as a stepping device.
7. ALWAYS sit down slowly & carefully on the creeper to avoid shock loading.
8. DO NOT place under a car tyre to move or reposition a vehicle.
9. ALWAYS make sure the vehicle being worked on is properly supported with
axle stands and the wheels are chocked before going under the vehicle.
10. DO NOT drop the creeper onto the ground.
11. When not in use, it should be stored carefully and not left lying around for
others to trip over.
ASSEMBLY
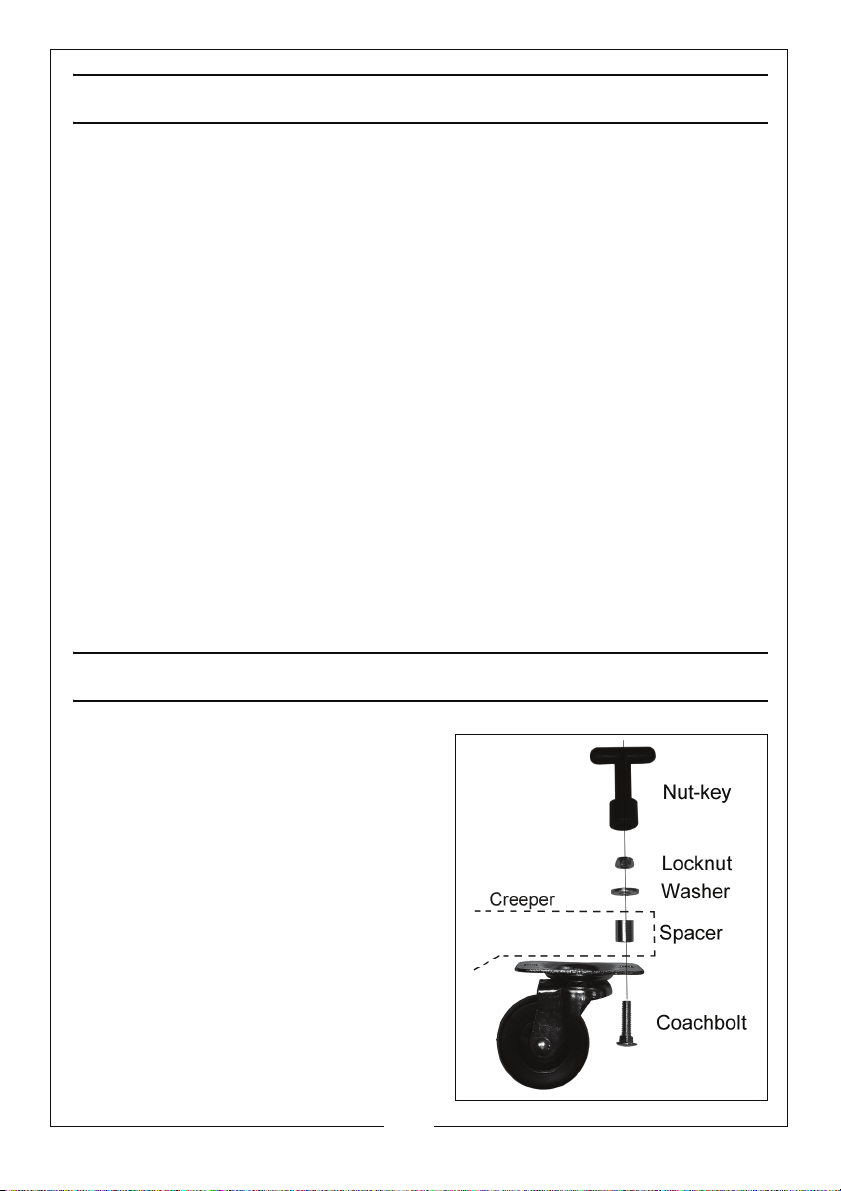
1. Fit each castor to the creeper body
using the fastenings provided.
2. Insert the coachbolts through the
castors from below, inserting the
spacers into each of the mounting
holes before adding the washers and
locknuts from above.
3. Use the nut key supplied, or a suitable
socket wrench to tighten the nuts.
3
Parts & Service: 020 8988 7400 / E-mail: [email protected] or [email protected]
Page 4

 Loading...