

Page 1
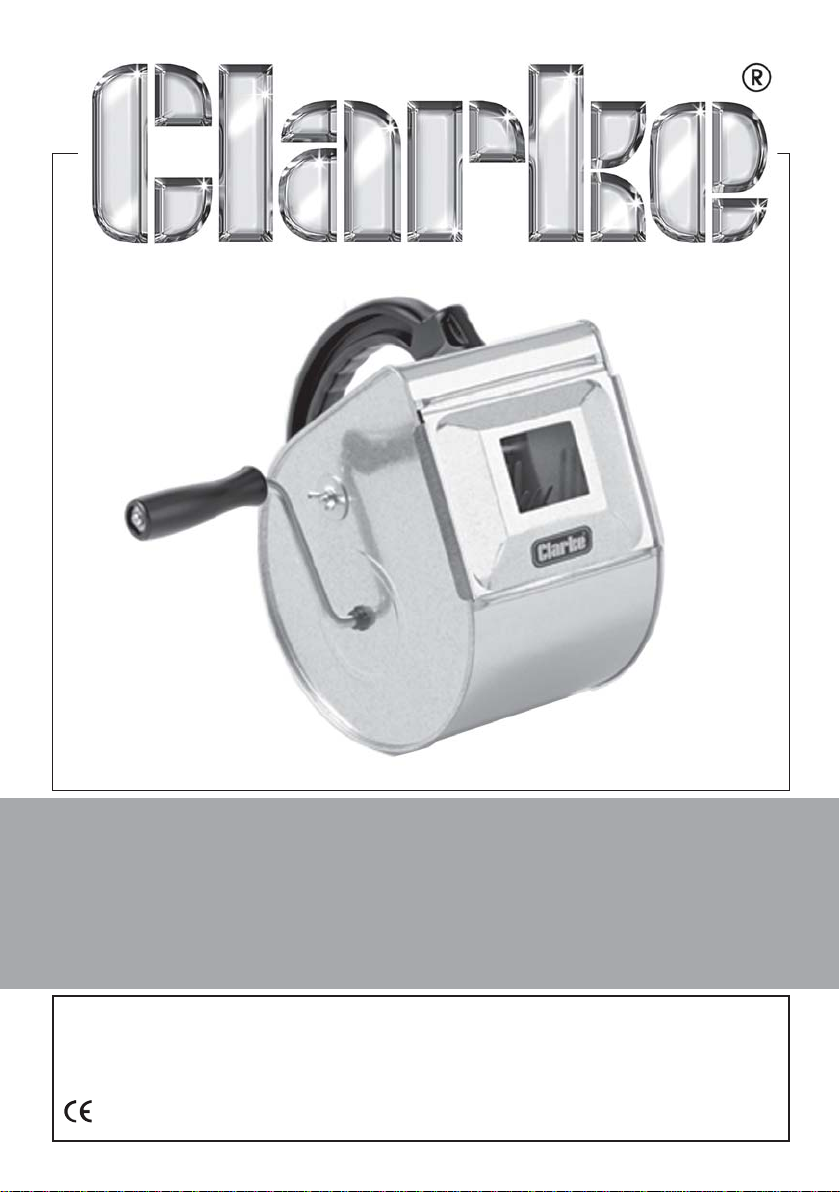
TYROLEAN APPLICATOR GUN
Model: CHT691
Part No: 1801691
OPERATING INSTRUCTIONS
GC01/12
Page 2
INTRODUCTION
Thank you for purchasing this CLARKE applicator gun.
Before using the product, be sure to read these instructions thoroughly. In
doing so you will ensure the safety of yourself and of others around you, and
you can look forward to the product giving you long and satisfactory service.
GUARANTEE
This CLARKE product is guaranteed against faulty manufacture for a period of
12 months from the date of purchase. Please keep your receipt as proof of
purchase. This guarantee is invalid if the product is found to have been
abused or tampered with in any way, or not used for its intended purpose.
Faulty goods should be returned to their place of purchase, no product can
be returned to us without prior permission.
This guarantee does not effect your statutory rights.
CONTENTS
1 x Applicator Gun Assembly c/w comb assembly & spindle
1 x Operating Handle
1 x Reducer Plate
ASSEMBLY
The applicator gun should be
delivered with the revolving comb
and spindle assembled within the
unit, and the handle supplied loose.
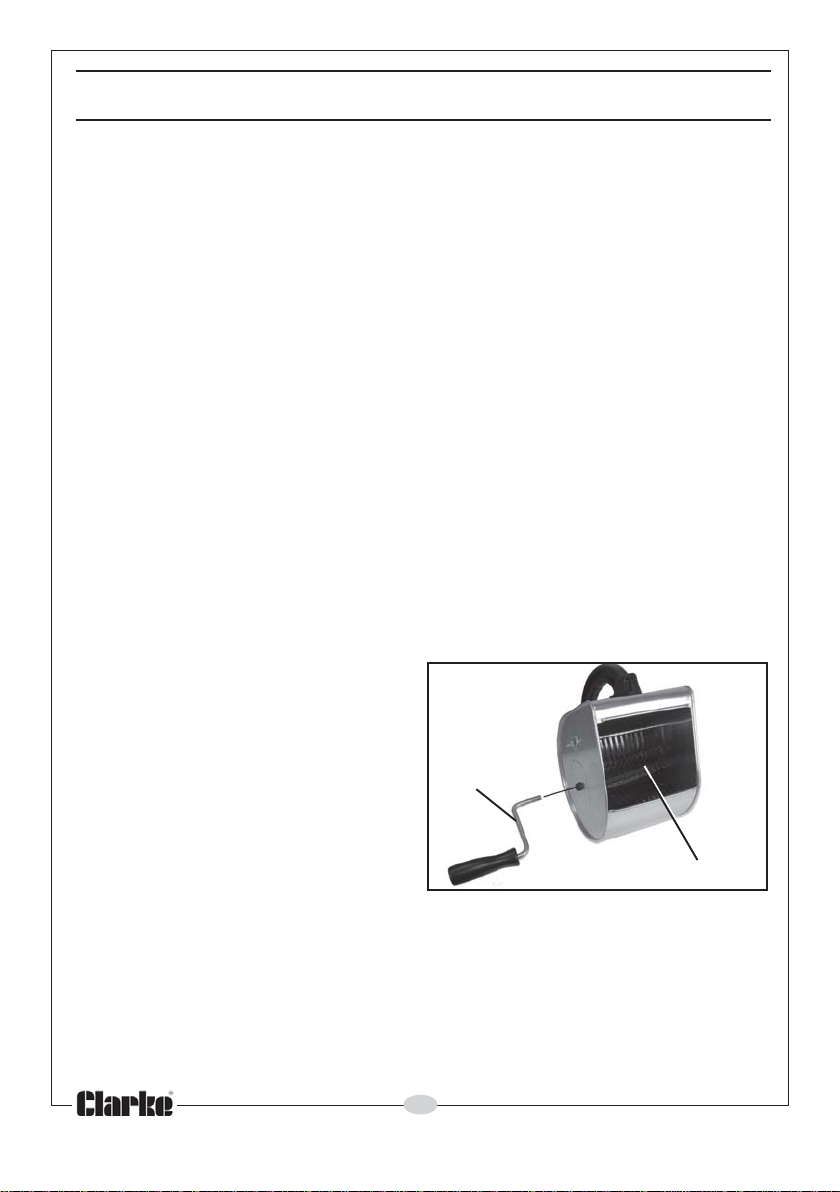
1. Screw the handle into the right
hand end of the comb assembly
through the hole in the casing as
shown in Fig 1.
Note: If the handle were assembled at the left side, the handle would
unscrew during operation, therefore, the applicator gun is for
right-handed operation only.
Parts & Service: 020 8988 7400/E-mail:[email protected] or [email protected]
Fig 1
Handle
Comb Assembly
2
Page 3
OPERATION
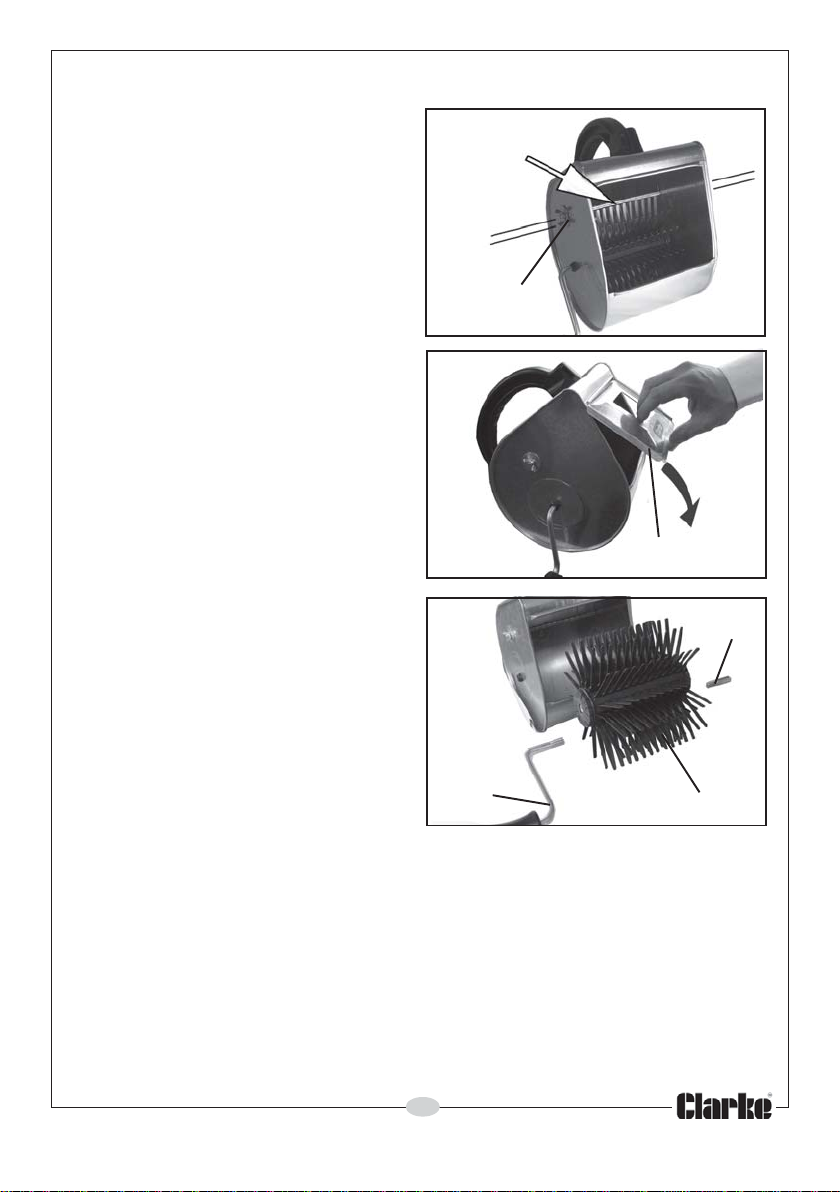
1. Set the rod as required, by
tightening the wing nuts at each
side, as shown in Fig 2, taking
care the rod is set level.
2. Fill the body of the unit half full of
wall coating material. Do not
overfill.
• Wall coating materials are heavy
and easier to handle in small
quantities.
3. Rotate the handle in a clockwise
direction to spray the wall
coating material.
4. If required, attach the reducer
plate to the front of the unit for
coating small areas and retouching work. Insert the plate,
first, into the top of the front
opening, before sliding the lower
edge down into position as
shown in Fig 3.
Comb just
touches rod
High
Low
Wingnut
Fig 3
Fig 2
Reducer plate
CLEANING
1. To keep your applicator gun
clean and ready for use, wash
out thoroughly as soon as you
stop work.
• Residual material lodged in the
comb will greatly reduce its
future performance.
2. Unscrew the handle from one
end of the comb and the spindle
from the other end, then lift the comb assembly out of the casing as
shown in Fig 4, in order to clean it thoroughly with water.
Fig 4
Handle
Spindle
Comb Assembly
REPLACEMENT PARTS
Replacement comb assemblies are available from your Clarke dealer as part
number: HTCHT69101.
ENVIRONMENTAL PROTECTION
Do not dispose of this product or damaged components with general
household waste. All tools, accessories and packaging should be sorted,
taken to a recycling centre and disposed of appropriately.
3
Parts & Service: 020 8988 7400/E-mail:[email protected] or [email protected]
Page 4
 Loading...