

Page 1
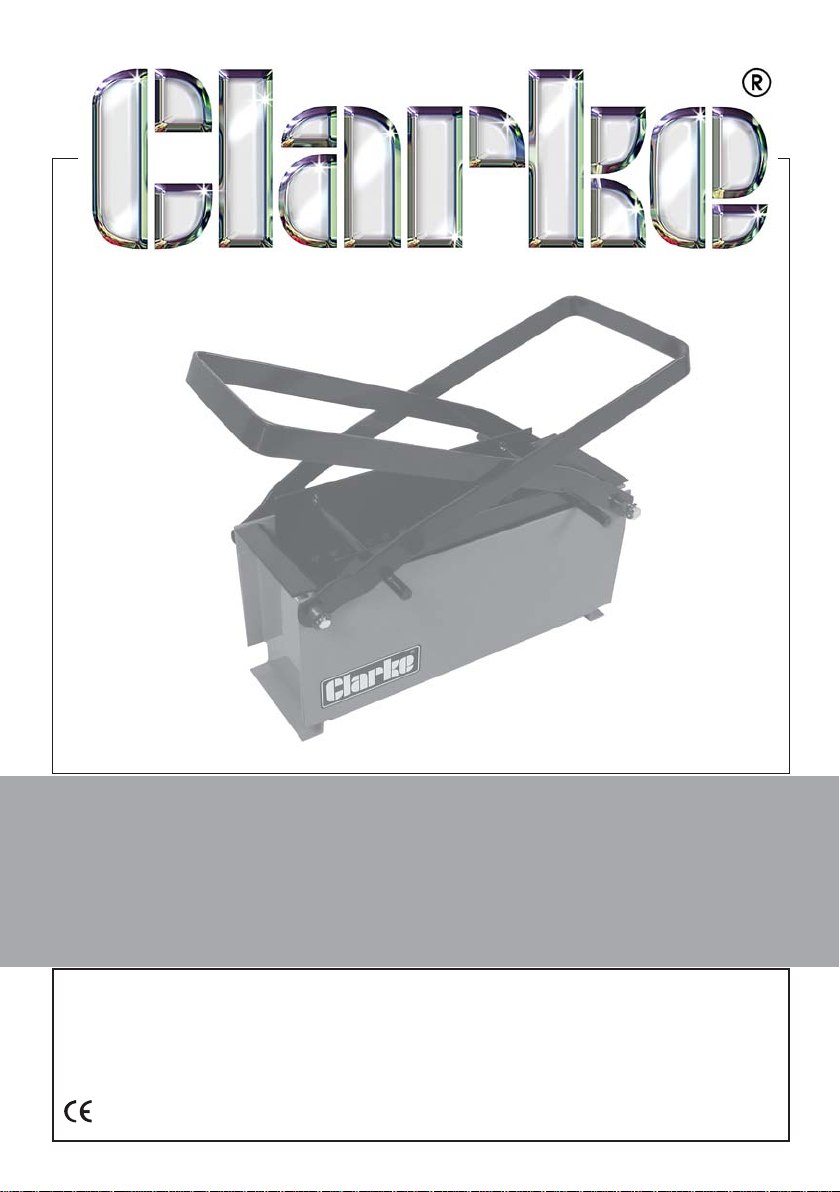
PAPER BRIQUETTE MAKER
Model CHT617
Part No 1801617
USER INSTRUCTIONS
GC0709
Page 2
INTRODUCTION
Thank you for purchasing this CLARKE Paper Briquette Maker which allows for
the recycling of old waste paper into briquettes for fuel for cast iron stoves,
fireplaces, chimineas & fire pits.
Before attempting to use this product, it is essential that you read this manual
thoroughly and carefully follow all instructions given. In doing so you will
ensure the safety of yourself and that of others around you, and you can also
look forward to the product giving you long and satisfactory service.
GUARANTEE
This CLARKE product is guaranteed against faulty manufacture for a period of
12 months from the date of purchase. Please keep your receipt as proof of
purchase. This guarantee is invalid if the product is found to have been
abused or tampered with in any way, or not used for its intended purpose.
Faulty goods should be returned to their place of purchase, no product can
be returned to us without prior permission. This guarantee does not effect
your statutory rights.
ENVIRONMENTAL PROTECTION
Do not dispose of this product with general household waste. All tools,
accessories and packaging should be sorted, taken to a recycling
centre and disposed of appropriately.
TECHNICAL SPECIFICATION
Dimensions (L x H x W) 315 mm closed (845 mm open) x 240 mm closed
(390 mm open) x 145 mm max
Weight 2.8 kg
Contents Press body c/w handles, upper/lower screens
SUITABLE MATERIALS
Suitable materials include any kind of paper but newspaper will be less likely
to fall apart than glossy ‘junk mail’. Cardboard, wrapping paper, sawdust or
wood scraps can be added in smaller amounts. Documents which have
already been shredded are ideal. Note that only non-toxic materials should
be used.
2
Page 3
MAKING BRIQUETTES
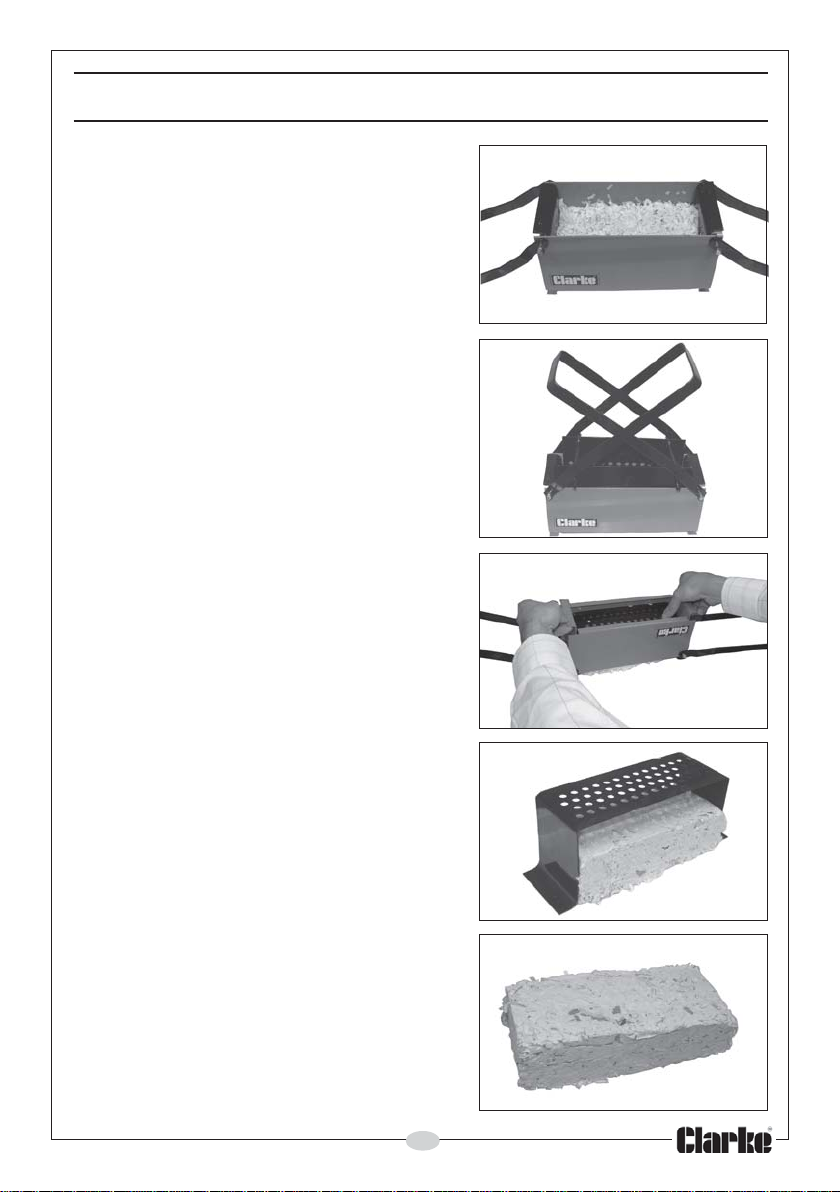
1. Tear the paper and card and place in
a bucket of water to soak the paper
thoroughly.
• This may take a couple of hours
dependant on type or it could be left
overnight.
2. Create a first layer comprising several
sheets of wet paper which will help to
keep the briquette together before
placing any other shredded material in
the middle. Fill the available space
before folding over any overhanging
paper to encapsulate any loose
material. (1)
3. Place the top screen on top as shown
in (2) and squeeze out as much water
as possible, using the handles to push
firmly down on the wet material. If the
material packs down too far, add more
material to fill the space and repeat.
4. Turn the unit over and push out the
briquette. (3 & 4)
5. Leave the briquettes (5) to dry out
completely.
• The warmer & dryer the location, the
more effective the drying process. A
warm greenhouse is ideal but any dry
room or shed is suitable. They can also
be left on a dry pavement to dry out
initially, especially on hot days.
• Briquettes should be made up during
the summer months and left to dry out
ready for winter. They should ideally be
stacked with an airspace between.
• The briquettes should burn with a
minimum of ash (depending upon
content & composition). They should
not require firelighters or toxic
chemicals to light.
(1)
(2)
(3)
(4)
(5)
3
Page 4
 Loading...