

Page 1
3-Way Staple Gun
Model No: CHT539
Part No: 1801539
Thank you for purchasing this CLARKE
3-WAY Staple Gun.
Please read this leaflet thoroughly and
follow the instructions carefully, in
doing so you will ensure the safety of
yourself and that of others around you,
and you can look forward to the Staple
Gun giving you long and satisfactory
service.
GUARANTEE
This CLARKE product is
guaranteed against faulty
manufacture for a period of 12
months from the date of
purchase. Your receipt is required
as proof of purchase.
This guarantee is invalid if the
product is found to have been
abused or tampered with in any
way, or not used for the purpose
for which it was intended.
Faulty goods should be returned
to their place of purchase, no
product can be returned to us
without prior permission.
This guarantee in no way effects
your statutory rights under
common law.
FEATURES
This staple gun is capable of accepting
the following;
• Staples ...............................
• ‘U’ shaped Staples ..........
• Nails ....................................
See ‘Accessories’ on reverse
An adjustable ‘Wire Attachment’ is
provided, which allows the stapling of
electric cables, tubing etc, without
damaging the cable or tube integrity.
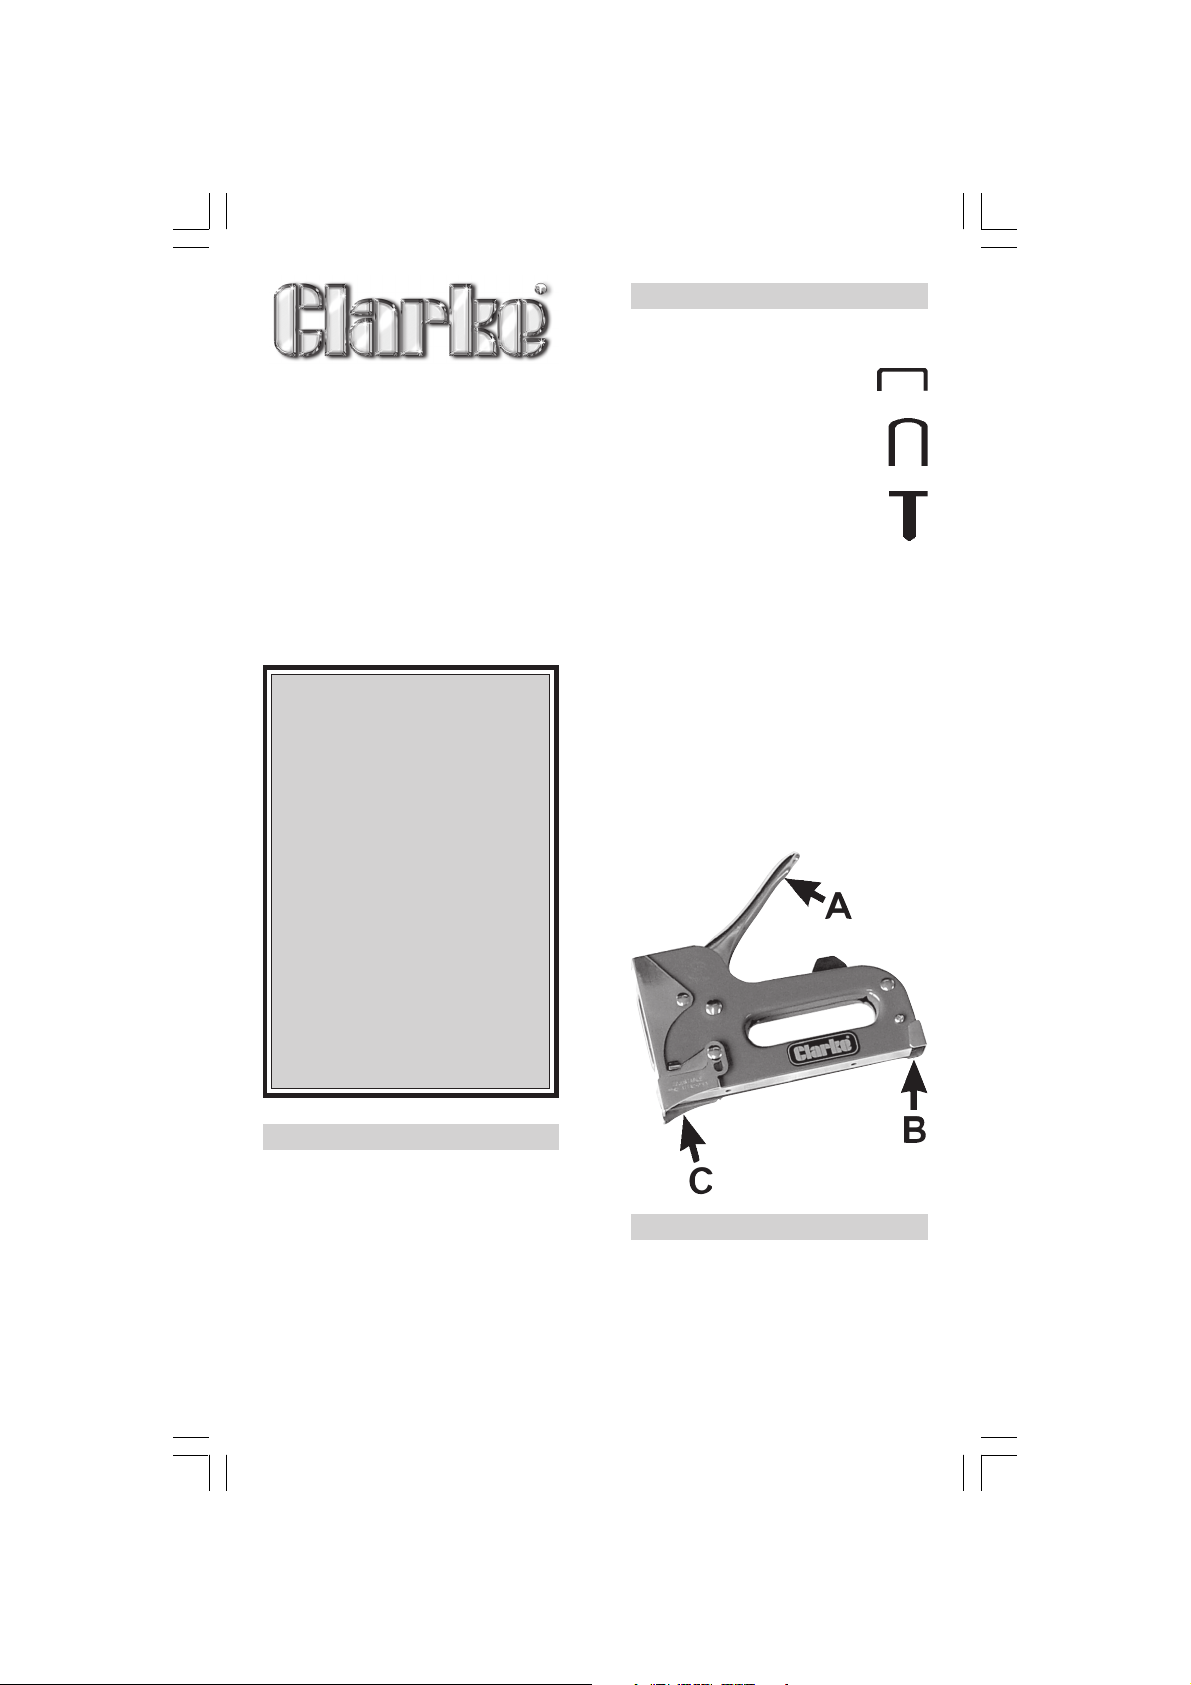
This is shown at ‘C’ in the illustration
below. Its method of use is detailed
below.
IMPORTANT!
NEVER staple cables whilst electric
current is switch ON. Additionally, it is
vital to ensure that cables are
completely undamaged before
switching power ON
SAFETY PRECAUTIONS
Extreme care should be exercised
when using the Staple Gun.
• Never point it at anyone.
• Do not allow children to use the gun.
• When not in use, you should always
remove any staples or nails remaining
in the gun.
• Take extra care when stapling into
walls. The danger of coming in to
contact with electric cables or plastic
water pipes should not be overlooked.
OPERATION
1. Loading the Gun
(a) Press in the plate (B), against spring
pressure, dislocating the tab from
its slot, and with slight downwards
movement, remove the Pressure Rod
and spring assembly from the back of
the gun.
Page 2
(b) Ensure there are no old or disfigured
staples or nails in the gun, as these
could cause it to jam
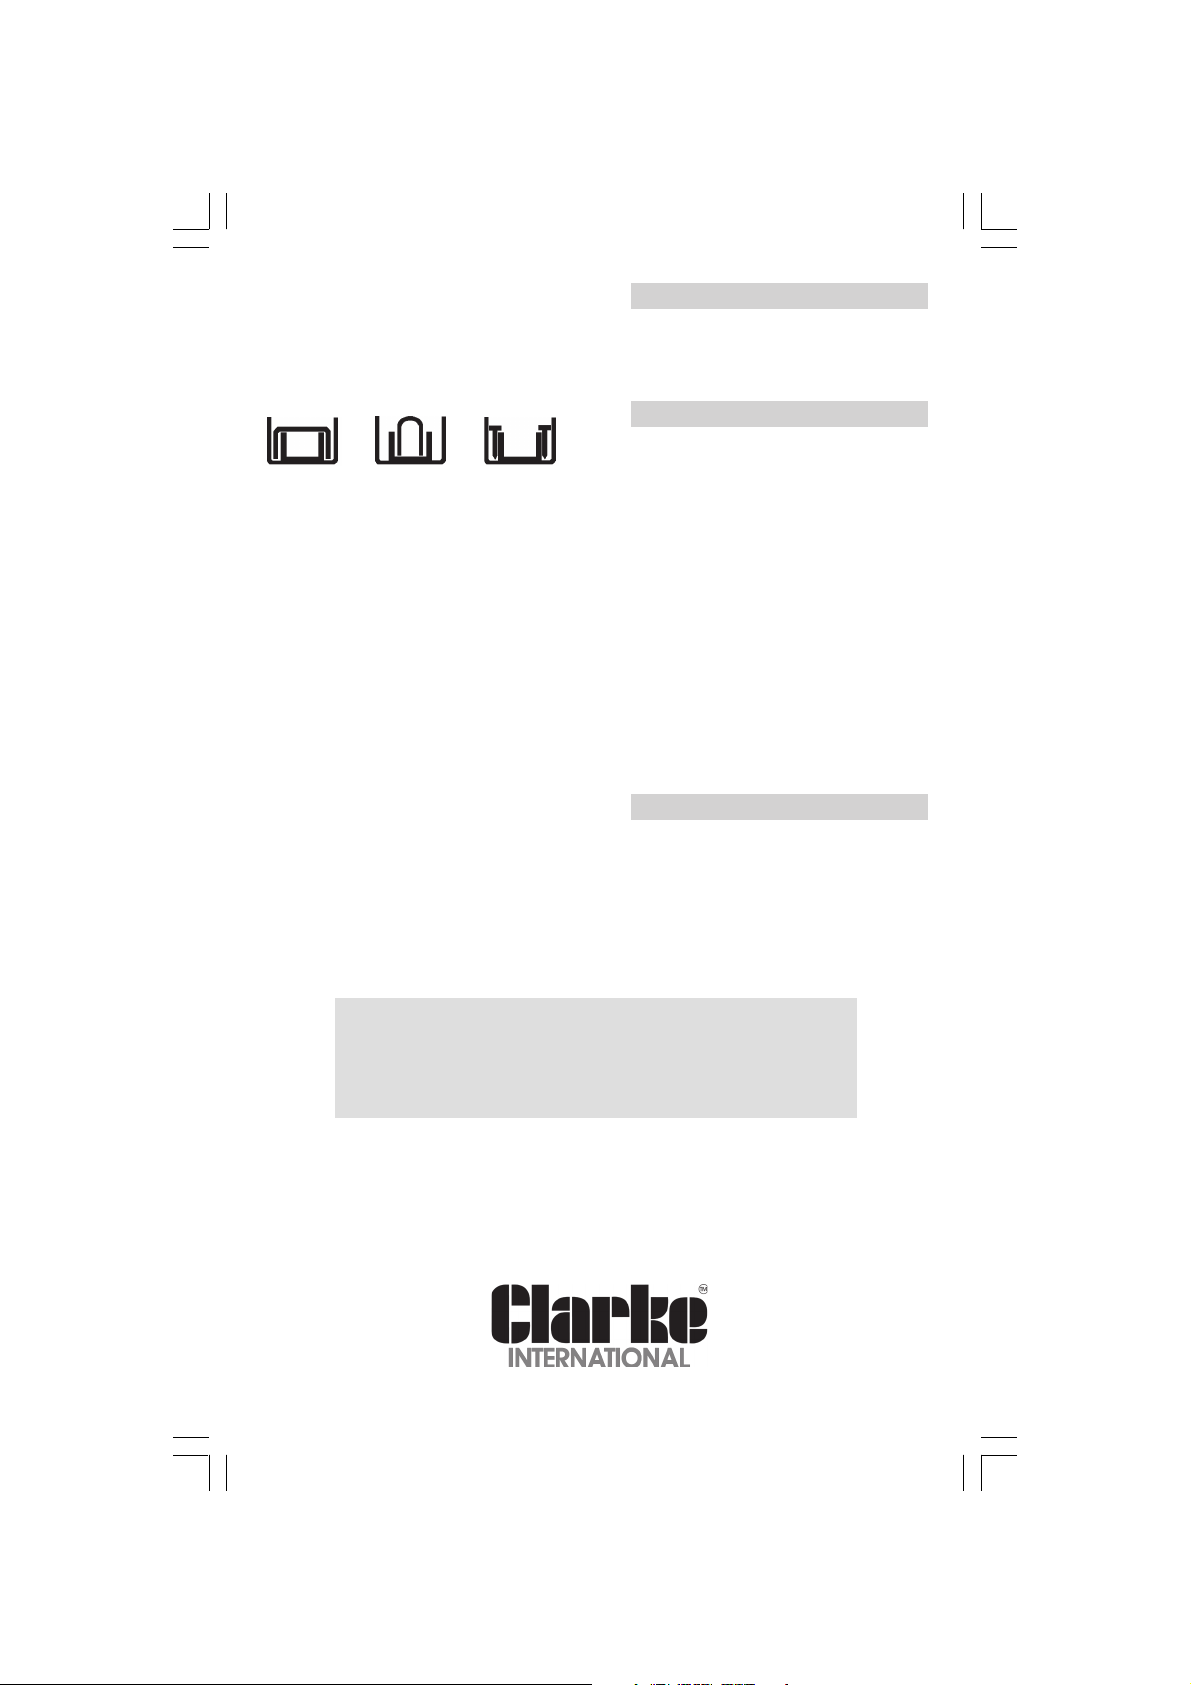
Slide the appropriate staples into the
carriage as shown below
(c) Replace the pressure rod assembly,
against spring pressure ensuring the
locating tab is correctly located
in the slot in the gun body.
2. Operating the Gun
The gun is operated by first, placing it
directly over the point to be stapled, and
holding down firmly with the palm of
one hand, whilst pressing down firmly
and progressively on the handle (A),
until the gun ‘fires’, and the staple or
nail is inserted.
MAINTENANCE
When you have finished using the gun,
always remove any unused staples or
nails.
ACCESSORIES
Replacement staples and nails are
available from your CLARKE dealer,
quoting the following part numbers:
Item Part No.
Nails 8mm 1800205
Nails 14mm 1800210
Round Staples 12mm 1800230
Square Staples 4mm 1800235
Square Staples 6mm 1800240
Square Staples 8mm 1800245
Square Staples 10mm 1800250
Square Staples 12mm 1800255
Square Staples 14mm 1800260
3. Using The Wire Attachment
Undo the nut securing the wire
attachment, and position the
attachment according to the height
desired. A scale is provided to assist in
setting a specific height, measurinjg
up to 3/8” (10mm). Nip up the nut
before use.
For Sales and Service, contact your Clarke dealer. For details of
your nearest dealer contact:
CLARKE International on 01992 565300
or e-mail: [email protected]
SPARE PARTS
Description Part No.
Pressure Rod Assembly CHT50901
Hemnall Street, Epping, Essex CM16 4LG
 Loading...