

Page 1
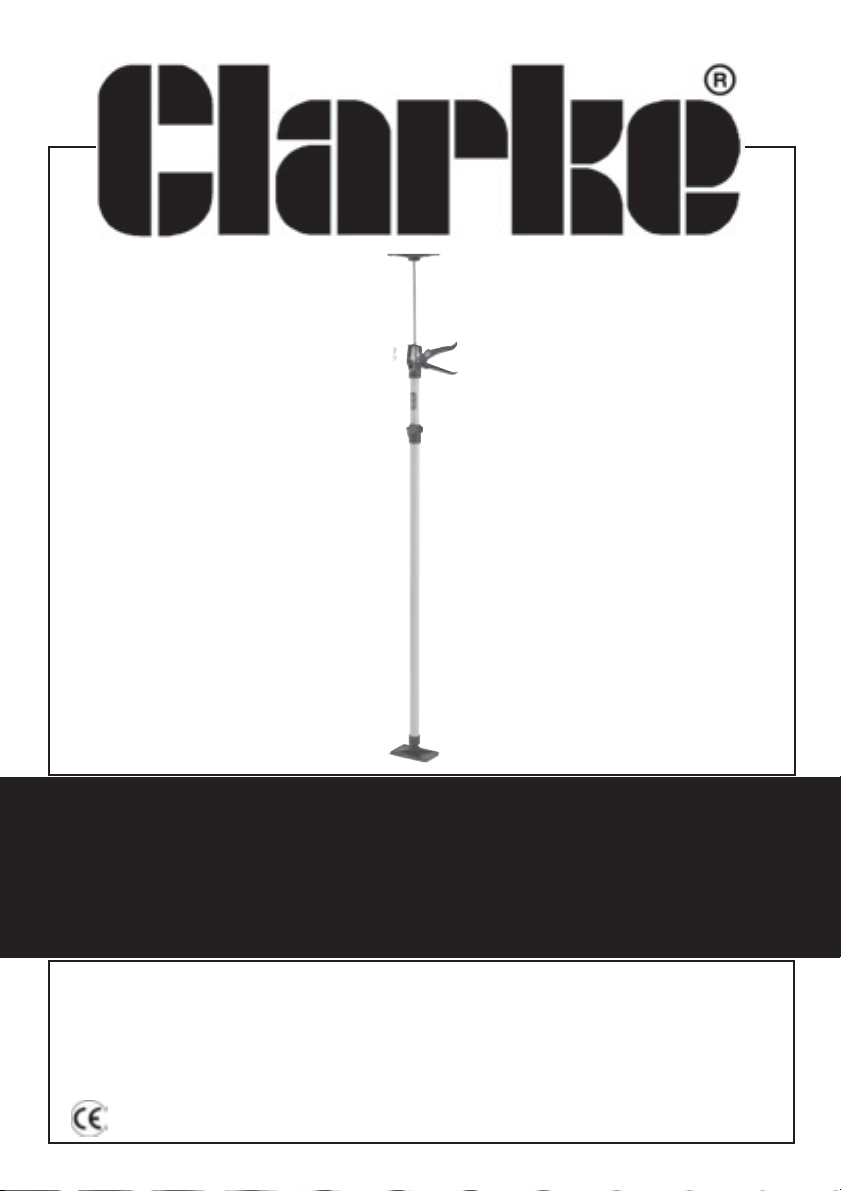
SUPPORT ARM
SUPPORT ARM
MODEL NO: CHT399
PART No: 1801399
OPERATION & MAINTENANCE
INSTRUCTIONS
1102
Page 2
Please read these instructions carefully before operating the tool
Thank you for purchasing this CLARKE Support Arm.
Before using the device, please read this manual thoroughly and carefully
follow all instructions given. This is for your own safety and that of others around
you, and is also to help you achieve long and trouble free service from your
new tool.
Ideal ‘third arm’ for installing plasterboard, suspended ceiling panels, kitchen
cupboards or similar operations.
takes the strain out of overhead work. Quick and easy to erect.
CLARKE GUARANTEE
This CLARKE product is guaranteed against faulty manufacture for a period of
12 months from the date of purchase. Please keep your receipt as proof of
purchase.
This guarantee is invalid if the product is found to have been abused or
tampered with in any way, or not used for the purpose for which it was intended.
Faulty goods should be returned to their place of purchase, no product can
be returned to us without prior permission.
This guarantee does not affect your statutory rights.
SPECIFICATIONS
Model :.................................................................................. CHT399
Part No : ............................................................................... 1801399
Adjustable Range : ............................................. 1.15 to 2.9 metres
Maximum Capacity : ............................................................... 25kg
TUV/GS approved.
WARN IN G
DO NOT USE THE SUPPORT TO LIFT LOADS, Failure to observe this instruction
would invalidate your guarantee and may cause damage to your support,
and could even result in personal injury, and even damage to property.
Please note that the details and specifications contained herein are correct at the time of
going to print. However CLARKE International reserve the right to change specifications at any
time without prior notice. Always consult the product data plate.
-2-
Page 3

Safety Precautions
IMPORTANT
Failure to follow these precautions could result in personal injury, and/or
damage to property.
1. ALWAYS seek help with large items such as plasterboard etc.
2. ALWAYS wear a safety helmet, shoes gloves and goggles, manufactured to the latest
European Safety Standards.
3. ALWAYS keep work area clean. Cluttered areas invite accidents.
4. ALWAYS keep children away. All visitors should be kept a safe distance from the work
area.
5. ALWAYS concentrate on the job in hand, no matter how trivial it may seem. Be aware
that accidents are caused by carelessness due to familiarity.
6. ALWAYS keep your proper footing and balance at all times - don’t overreach. For
best footing, wear rubber soled footwear. keep floor clear of oil, scrap wood, etc.
7. ALWAYS wear proper apparel. loose clothing or jewellery may get caught in moving
parts. wear protective hair covering to contain long hair.
8. ALWAYS Check tool is in perfect working order before using.
9. NEVER use the tool if it becomes damaged, i.e.; bent etc.
10. NEVER use where a risk exceeding the rated capacity exists.
Special Safety Precautions When Using Your Support Arm
1. ALWAYS ensure floor is firm and reasonably level.
2. ALWAYS check load to be supported does not exceed maximum capacity, (25kg).
3. ALWAYS ensure when adjusting support arm length, a minimum of 2½”(64mm) of top
tube remains in bottom tube, NEVER less.
4. ALWAYS ensure the support arm is as near vertical as possible, DO NOT use at an
angle.
5. ALWAYS check load is supported safely before starting work.
5. NEVER use support arm to lift weight, it is designed to support weight only.
If in any doubt, contact Clarke’s service department on 020 8988 7400
-3-
Page 4
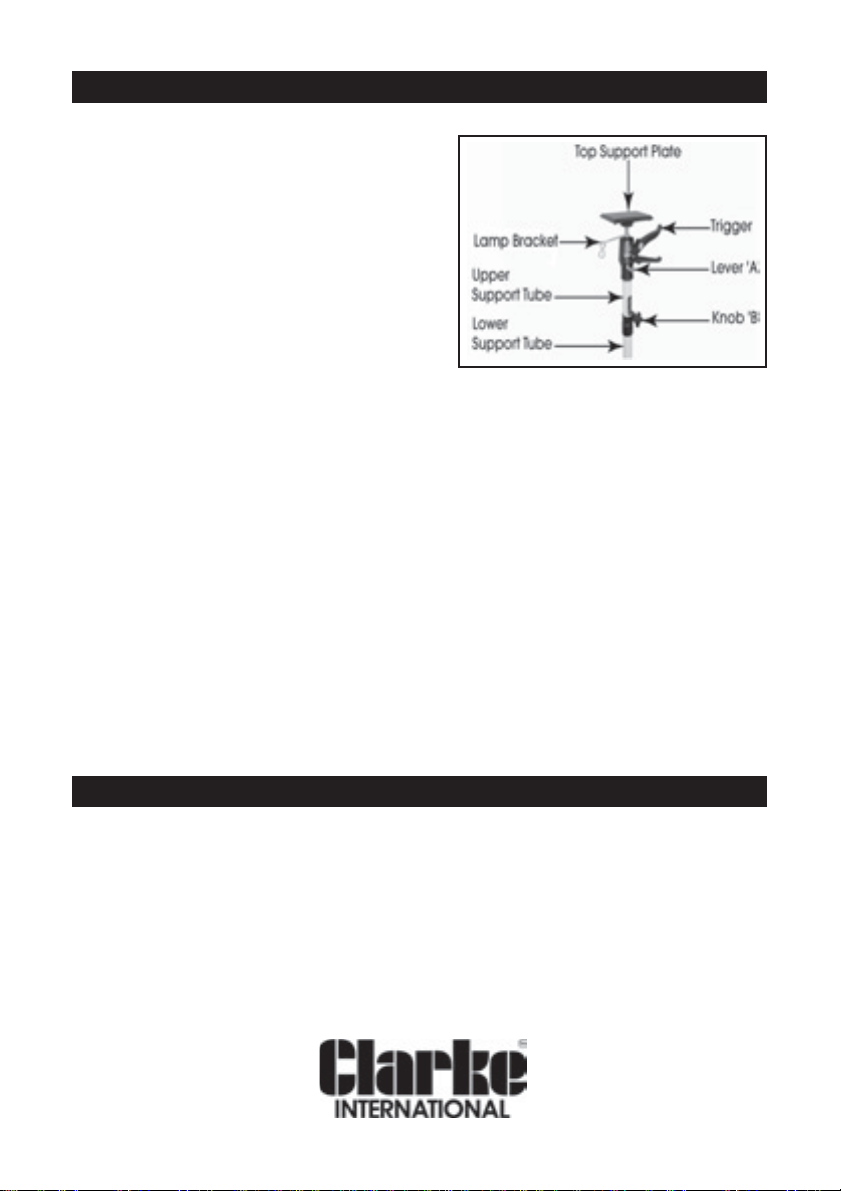
Directions For Use
1. Ensure floor is firm and reasonably level
before starting, if not, use boards to obtain
it, once satisfied continue as follows.
2. Seek assistance to lift plasterboard etc into
position.
3. Set arm/arms to the approximate height
as follows.
a) Lift lever ‘A’ whilst pushing down the top
support plate.
b) Loosen knob ‘B’, withdraw upper support
tube from lower support tube, by holding
lower tube and pulling upper tube upwards, until the desired height is reached, firmly
tighten Knob ‘B’. (hand tight only), With the upper and lower support tubes fully
extended, (see special safety precautions on page 3), more height is required,
continue with C.
c) Lift lever ‘A’ and pull the top support plate upwards, again until required height is
reached, release lever, the support is now ready to use.
4. Place support arm/arms in a position where they can be easily reached once object
to be supported is in position.
5. Carefully lift object to be supported into position, place supports underneath and
slowly pump trigger until support is firmly in place.
6. Check supports are vertical, if not, correct before continuing.
7. When finished securing plasterboard etc, permanently into position, remove by, either
lifting Lever ‘A’, or loosening Knob ‘B’, and pushing support upwards against ceiling
etc.
Tools and Accessories
A wide range of tools and accessories are available from your nearest CLARKE dealer, for
further information, contact your nearest dealer, or telephone CLARKE International Sales
department on 01992 565300.
-4-
Page 5
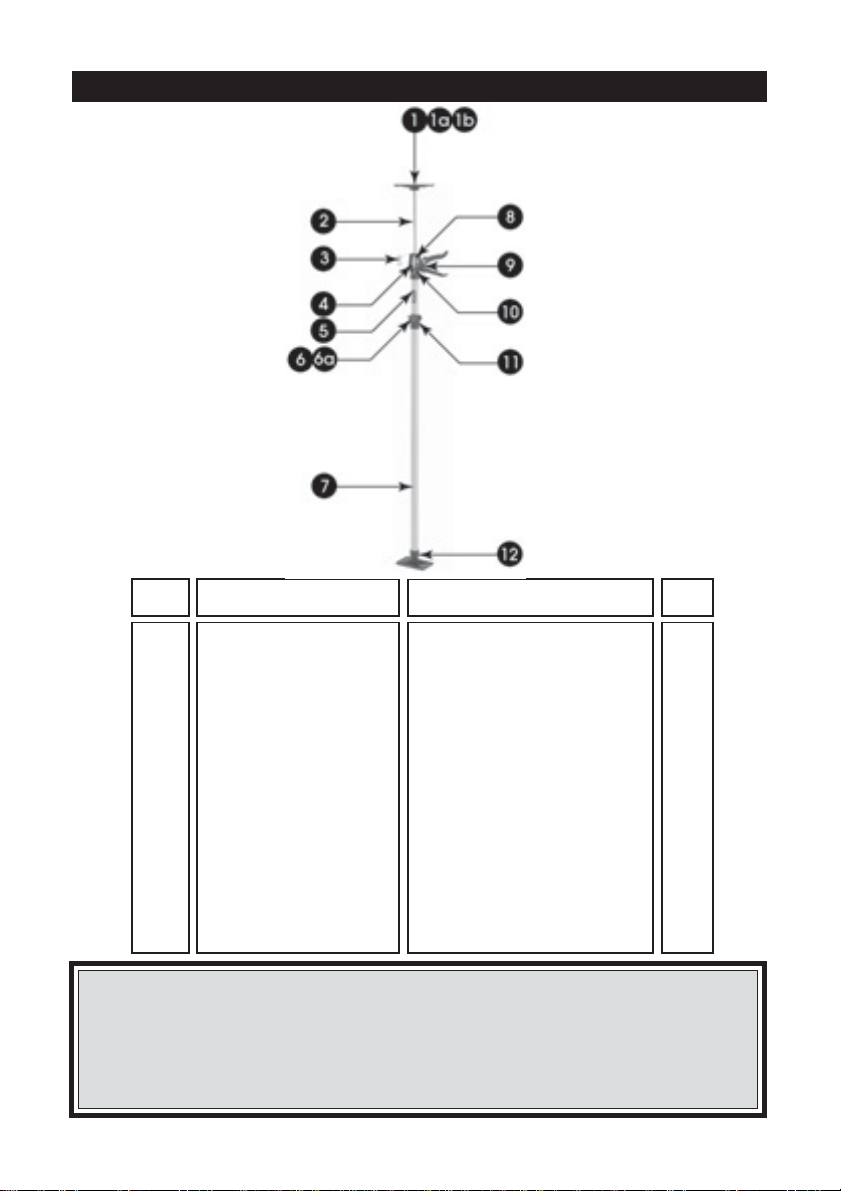
PARTS LIST
Item Part Number Description Qty
1 JB39901 Plate 2
1a JB39901A Pad 2
1b JB39901B Ball 1
2 JB39902 Shaft 1
3 JB39903 Lamp Bracket 1
4 JB39904 Lever ‘A’ 1
5 JB39905 Upper Support Tube 1
6 JB39906 Knob ‘B’ 1
6a JB39906A Bolt 1
7 JB39907 Lower Support Tube 1
8 JB39908 Spring 1
9 JB39909 Trigger Assy 1
10 JB39910 Spring 1
11 JB39911 Clamp 1
12 JB39912 Ball Joint/Base 1
PARTS & SERVICE TEL: 020 8988 7400
or e-mail as follows:
PARTS: [email protected]
SERVICE: [email protected]
-5-
 Loading...