

Page 1
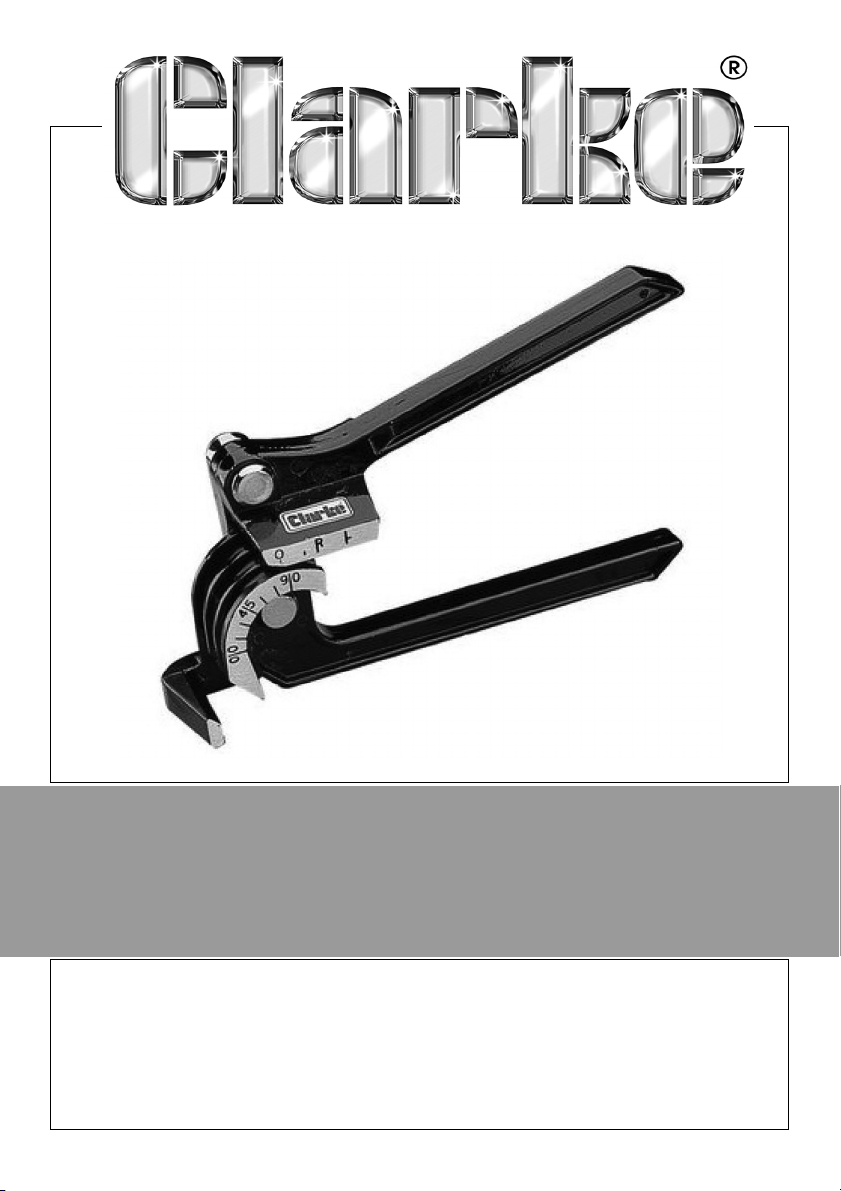
3 IN 1 AUTOMOTIVE PIPE BENDER
MODEL NO: CHT264
PART NO: 1801264
OPERATION & MAINTENANCE
INSTRUCTIONS
ORIGINAL INSTRUCTIONS GC0221- rev 1
Page 2
INTRODUCTION
Thank you for purchasing this CLARKE Pipe Bender.
Before attempting to use the pipe bender it is essential that you read this
manual thoroughly and carefully follow all instructions given. In doing so you
will ensure the safety of yourself and that of others around you, and you can
also look forward to the product giving you long and satisfactory service.
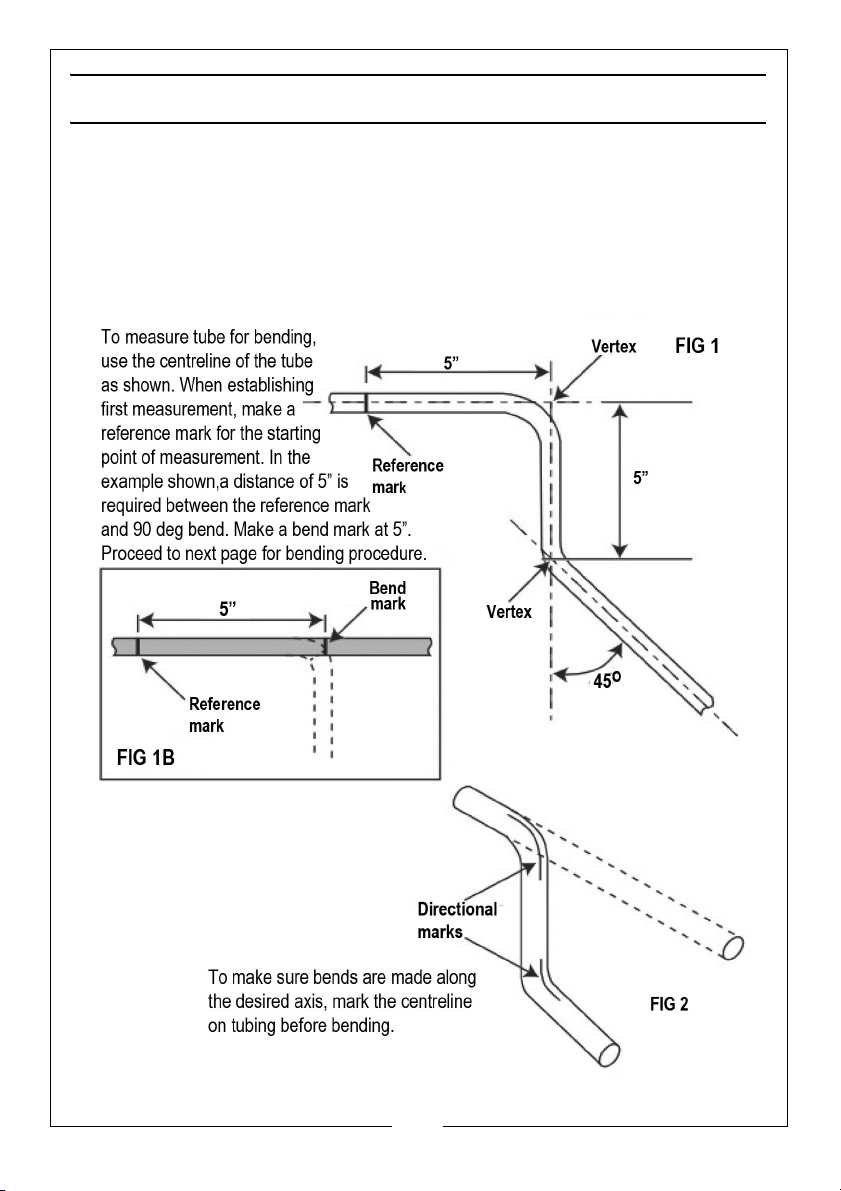
BEND LAYOUT EXAMPLE
2
Parts & Service: 020 8988 7400 / E-mail: [email protected] or [email protected]
Page 3
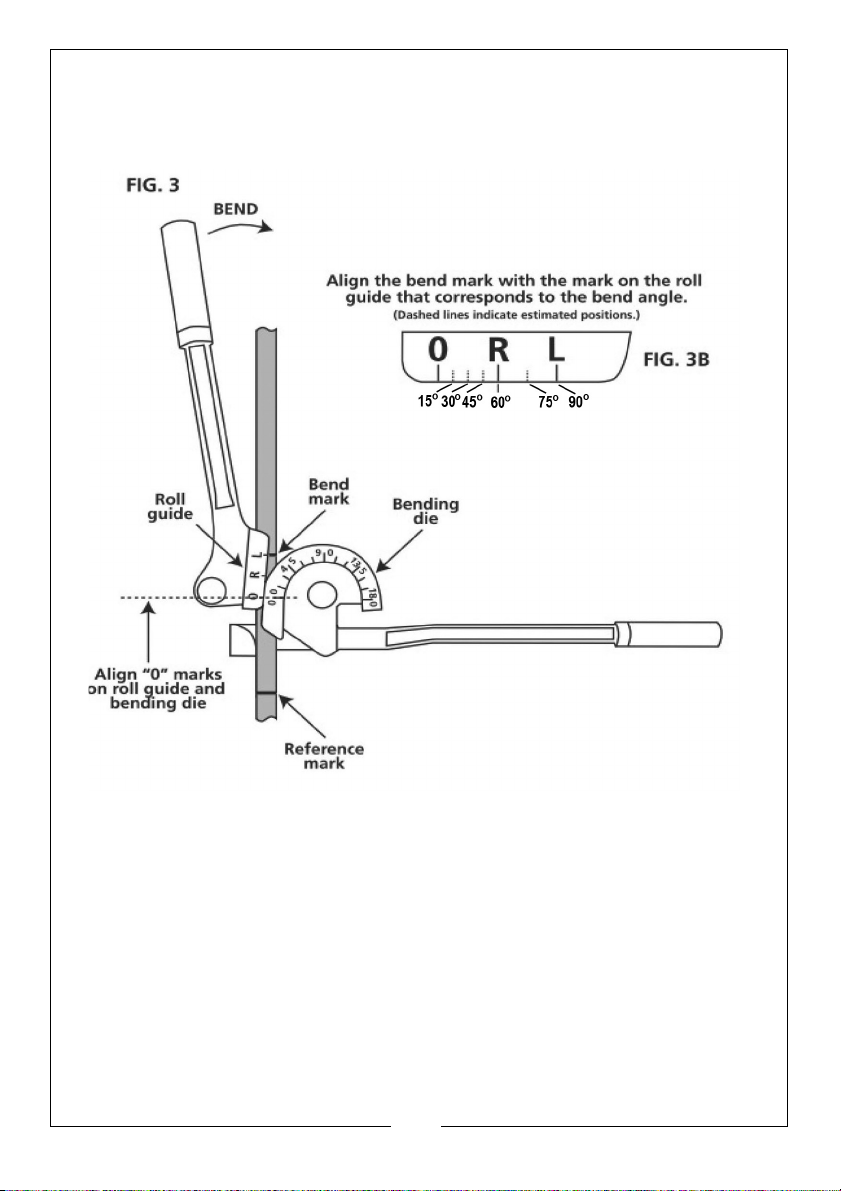
COMMON BEND
(Shown aligned for 90o bend)
For common bending, open arms of tubing bender to position shown above.
Insert tubing into correct size channel. Align “0” mark on roll guide with “0”
mark on bending die. For a 90 deg bend, align the BEND mark made earlier
with the “L” line on roll guide (for other angles less than 90deg, BEND mark
must be adjusted to a different alignment on roll guide - see Fig 3B.
Note that the reference mark is below the tubing bender. Holding both
handles of the tubing bender, draw them together with a slow, steady motion
to create the bend. The bend is complete when the “0” mark on the roll guide
is aligned with the desired angle mark on the bending die. Release the
handles. The tubing may naturally try to spring back against the bend,
resulting in an angle less than intended. Check the bend on an angle
template or protractor to verify.
3
Parts & Service: 020 8988 7400 / E-mail: [email protected] or [email protected]
Page 4
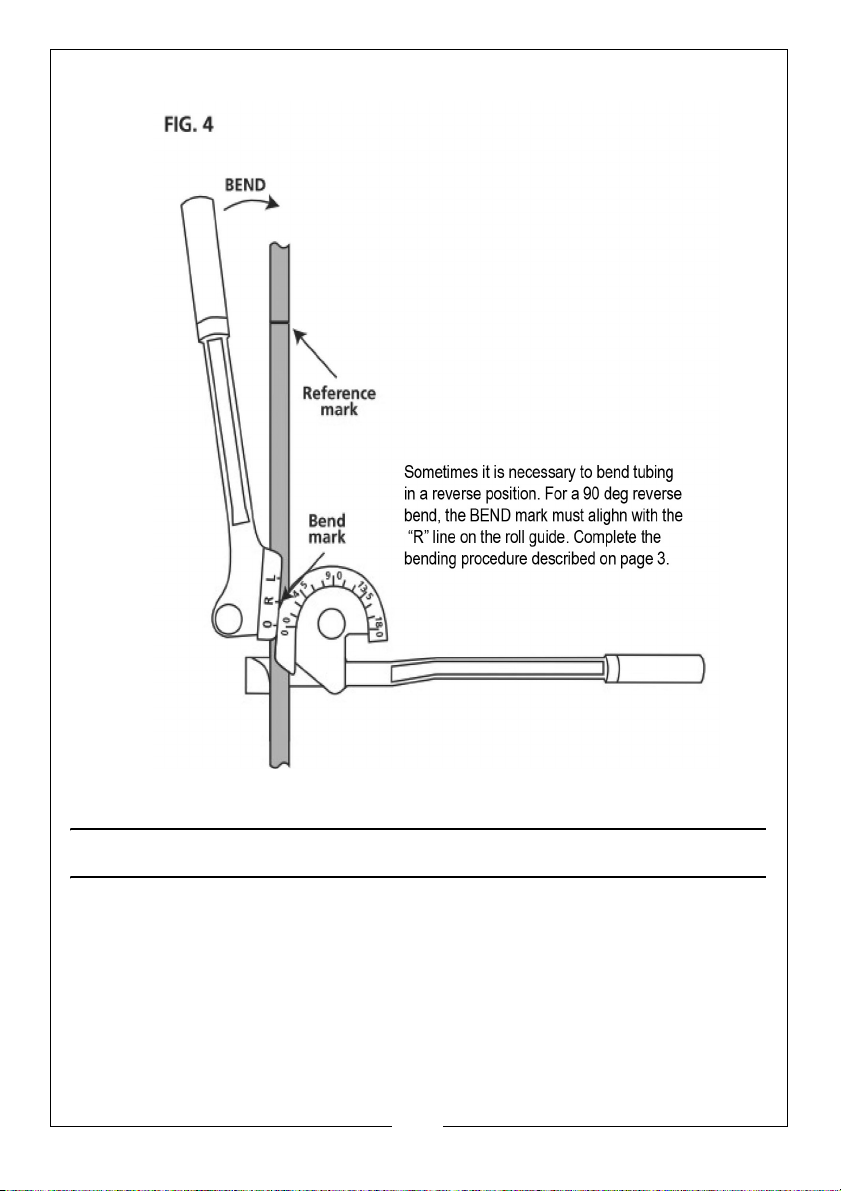
REVERSE BEND
GUARANTEE
This CLARKE product is guaranteed against faulty manufacture for a period of
12 months from the date of purchase. Please keep your receipt as proof of
purchase.
This guarantee is invalid if the product is found to have been abused or
tampered with in any way, or not used for the purpose for which it was
intended. Faulty goods should be returned to their place of purchase, no
product can be returned to us without prior permission. This guarantee does
not effect your statutory rights.
4
Parts & Service: 020 8988 7400 / E-mail: [email protected] or [email protected]
 Loading...