

Page 1
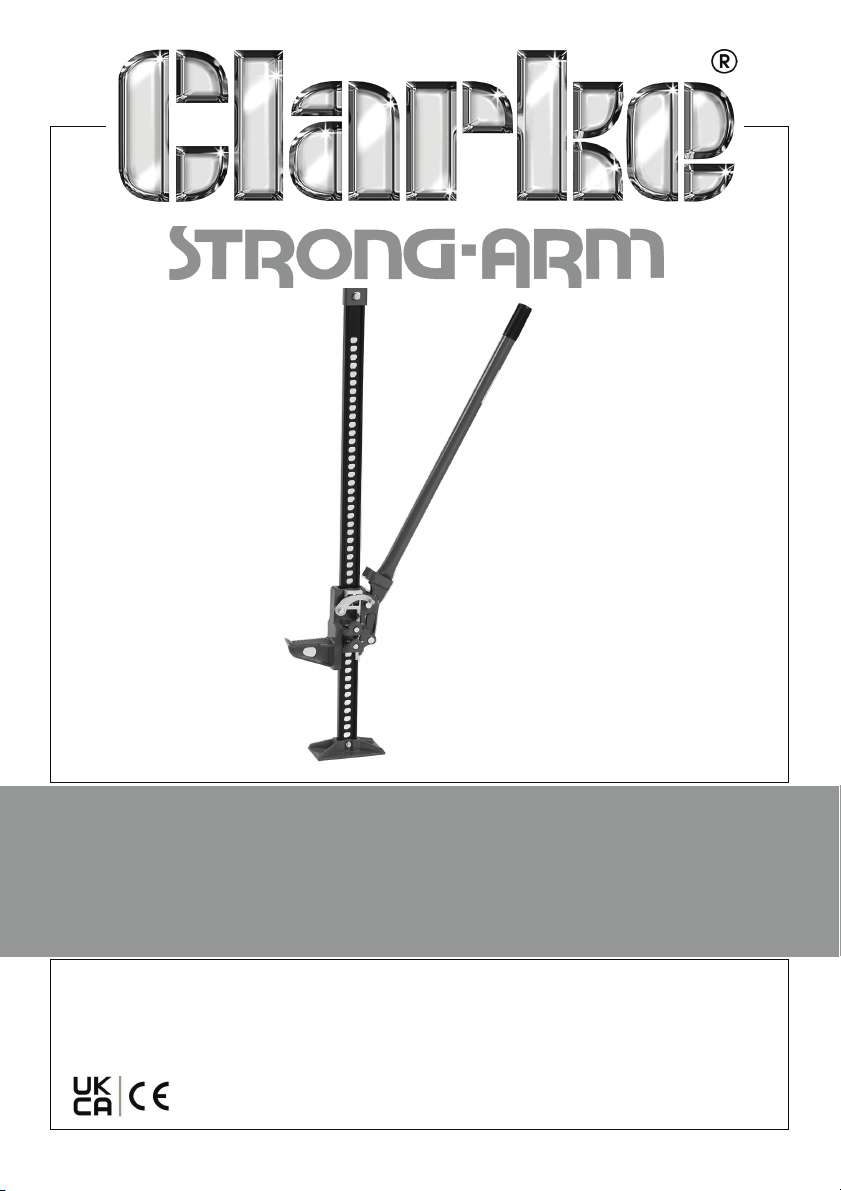
60” FARM JACK
MODEL NO: CFJ60
PART NO: 3400310
USER INSTRUCTIONS
ORIGINAL INSTRUCTIONS GC07/23 Rev 2
Page 2
INTRODUCTION
Thank you for purchasing this CLARKE Farm Jack.
Before attempting to use this product, please read these instructions carefully.
In doing so you will ensure your safety and you can look forward to your
purchase giving you long and satisfactory service.
This extremely versatile device is designed to lift, pull or push. Its applications
are many and varied, from lifting equipment and machinery, to removing tree
stumps or fence posts etc. pulling posts and poles and it can equally serve as
a hoist or winch.
The lever-ratchet operation with reversible ratchet mechanism enables the
jack to be used for both lifting or lowering.
SPECIFICATIONS
Product size 1520 x 250 x 140 mm
Product weight 13.7kg
No of strokes from min to max height 56
Distance raised per stroke 22mm (ave)
Maximum Saddle Height from floor 1320mm
Minimum Saddle Height from floor 125mm
Maximum Support Load 1500kg
Minimum Load (for lowering) 50kg
Maximum pulling load 1500kg
Maximum clamp load 340kg
Maximum rated lift load 400kg
Handle Length 800mm
GUARANTEE
This product is guaranteed against faulty manufacture for a period of 12
months from the date of purchase. Please keep your receipt which will be
required as proof of purchase.
This guarantee is invalid if the product is found to have been abused or
tampered with in any way, or not used for its intended purpose. Faulty goods
should be returned to their place of purchase, no product can be returned to
us without prior permission. This guarantee does not effect your statutory rights.
2
Parts & Service: 020 8988 7400 / E-mail: [email protected] or [email protected]
Page 3

SAFETY PRECAUTIONS
1. ALWAYS inspect the jack before use. Inspect for distortion of the column
and locking pins and the security of all parts. Check all parts are in good
condition and operating smoothly and that no cracks or distortion is
apparent. If in doubt DO NOT use.
2. If any part of jack fails to work properly, stop use and have it repaired or
replaced. NEVER attempt to repair jack while it is under load.
3. DO NOT use the jack for any purpose other than for which it is designed.
4. Ensure the jack is on a firm solid base and that there is no likelihood of it
slipping or sinking when under load.
5. Ensure the load is taken by the FULL lifting nose and that the point of lift on
the load is of sufficient strength to support the full load adequately.
6. ALWAYS ensure that the load is stabilised or supported in such a way that it
will not shift during lowering or lifting. Always lock and/or stabilise the load
to be lifted. The jack will not act as a load stabiliser.
7. ALWAYS use supports to stabilise the load once lifted. DO NOT rely upon the
jack to hold the load in position.
8. NEVER push a load off the jack.
9. All persons shall be clear of load being raised, lowered or pulled. NEVER
work under a raised load without using additional supports such as axle
stands. As an extra precaution insert a M12 steel bolt (not included)
through the hole in the beam immediately below the lifting mechanism to
act as a safety pin. Ensure there are no persons or obstructions beneath a
load before lowering.
10. Ensure there is a working gap between a vehicle being lifted and any
adjacent wall or object.
11. Ensure the vehicle handbrake is securely on and/or an automatic vehicle
transmission is in the park position before lifting.
12. Take care not to trap fingers within the moving parts.
13. ALWAYS keep a firm grip on the handle and support beam.
14. When using the jack to pull or drag a load, be aware that the load may
suddenly ‘give’, eg. pulling a tree stump etc. Take appropriate
precautions.
15. NEVER exceed the rated load of the jack as given in the specifications.
WARNING/If you exceed rated capacity, the shear pin will break and the
handle will drop.
3
Parts & Service: 020 8988 7400 / E-mail: [email protected] or [email protected]
Page 4

16. DO NOT use additional bars/tubes in conjunction with the handle to
provide extra leverage. Use hand power only.
17. NEVER carry the jack by the handle as the column may drop and cause
harm to persons or property.
18. ALWAYS ensure that the lifting head climbing pin is located and locked in a
hole in the steel beam before releasing the pumping handle otherwise the
lifting head will automatically lower, causing the handle to move up and
down rapidly presenting a risk of serious injury.
19. The jack must have a minimum load of 50kg (110Ibs) to activate the
lowering step by step otherwise lifting head will drop.
4
Parts & Service: 020 8988 7400 / E-mail: [email protected] or [email protected]
Page 5
OPERATING INSTRUCTIONS
OVERVIEW
RAISING A LOAD
WARNING: BEFORE LIFTING ENSURE SAFETY PRECAUTIONS ARE READ AND
UNDERSTOOD.
1. Before lifting assess the correct
jacking point for the load. If the
load is a vehicle, consult the
vehicle manufacturer's handbook
for the correct lifting point.
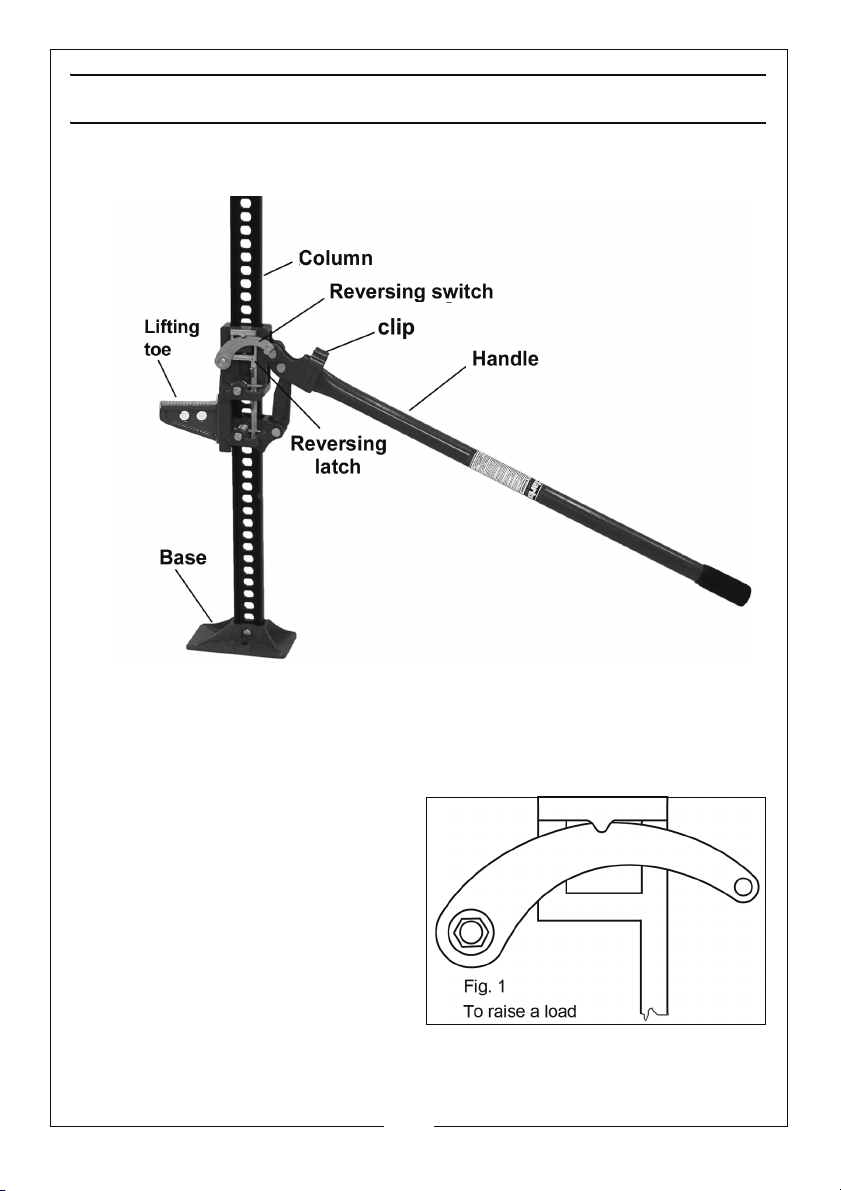
2. Pull the direction latch upwards
(fig.1) until it clicks into place.
Ensure it is locked in position with
the indent of the latch firmly
engaged with the notch on the
reversing switch.
3. Ensure that the foot of the jack is placed on a stable, strong base capable
of supporting the jack and the load.
5
Parts & Service: 020 8988 7400 / E-mail: [email protected] or [email protected]
Page 6

• The foot of the jack should be immediately below the chosen lifting
point so that the lifting action is vertical. DO NOT attempt a lift with
the jack at an angle.
4. Raise the lifting toe to the jacking point on the load. The lifting head can be
raised manually into position.
• You will hear the mechanism clicking as you do this.
5. Place the lifting toe under the object to be lifted. You can pull the lifting
head up to the point of lift (or strain) without pumping the handle.
6. Hold the column (2) steady. Unclip the handle (4) by pulling it downwards
and pump it up and down with a full stroke to bring the lifting toe into
contact with the jacking point. Check that the toe is fully under the load
and lifting at the right point.
7. When you are sure that the jack and load are stable commence lifting by
pulling the handle down a full stroke. As the handle is pulled down you will
hear the climbing pin click into place as it locates in the next hole in the
column. At this point, relax the handle allowing the pin to take the load.
Raise the handle to the top of its stroke to take a fresh purchase and pump
the handle down again. Pressure will be felt on the downward stroke.
ALWAYS keep a firm grip on the handle.
• No extension of any sort should be applied to the handle to gain
extra leverage.
8. When the desired lifting height has been achieved, raise the handle
towards the column and clip it in the vertical position.
9. Place a M12 steel bolt (not supplied) through the hole immediately below
the lifting mechanism to act as a safety pin.
10. Put the handle in upright position before tripping the reversing latch to
lower the load.
WARNING: THE JACK IS FOR LIFTING OR PULLING AND MUST NOT BE USED TO
CONTINUOUSLY SUPPORT A LOAD. PLACE AXLE STANDS OR OTHER APPROPRIATE
SUPPORTS BENEATH A VEHICLE/LOAD.
LOWERING A LOAD
WARNING: THE JACK MUST BE LOADED WITH A MINIMUM OF 50KG (110LBS) TO
LOWER STEP BY STEP OTHERWISE THE LIFTING TOE WILL DROP RAPIDLY TO THE
BOTTOM OF THE COLUMN WHEN THE DIRECTION LATCH IS MOVED TO THE
LOWERING POSITION.
1. Jack the load up slightly, remove the safety pin if fitted and any previously
placed supports. Place the handle in the fully upright position.
6
Parts & Service: 020 8988 7400 / E-mail: [email protected] or [email protected]
Page 7
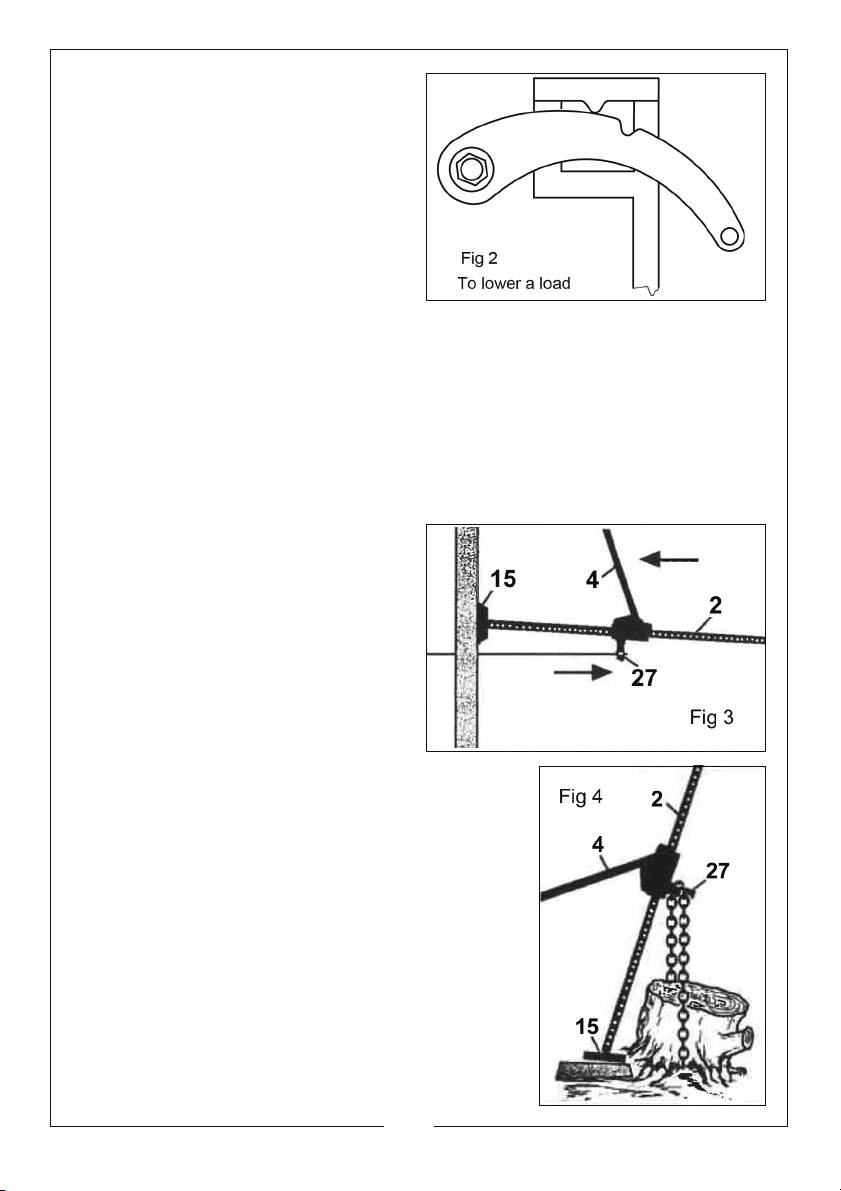
2. Trip the reversing latch so that it is
in the down position with the
indentation on the latch
disengaged from the notch on the
reversing switch (see fig.2).
Keeping a firm grip on the handle,
commence lowering by pumping
the handle steadily up and down.
When lowering, you will feel
resistance on the upward (or
backward) stroke of the handle.
CAUTION: DO NOT RELEASE THE HANDLE UNTIL THE CLIMBING PIN HAS LOCKED
INTO PLACE. IF THE CLIMBING PIN IS NOT LOCKED INTO PLACE AND THE HANDLE IS
RELEASED, THE LIFTING HEAD WILL AUTOMATICALLY LOWER CAUSING THE HANDLE
TO MOVE UP AND DOWN RAPIDLY, PRESENTING A RISK OF SERIOUS INJURY.
PULLING, TENSIONING AND POSITIONING
WARNING: DO NOT PLACE AN EXCESSIVE STRAIN ON THE LOAD, EQUIPMENT OR
SUPPORTS WHEN USING THE JACK FOR PULLING OR TENSIONING.
The jack may be used for a variety of
other purposes such as tensioning
fences (See fig.3), pulling out tree
stumps (See fig.4) and positioning of
heavy items such as machinery. In all
cases, such operations should begin
with a risk assessment exercise
including consideration of the
following points.
When the jack is used for pulling or tensioning there
will be a tendency for the pulling force to move the
column away from the line of pull unless the far
end is restrained or fixed using suitable chains,
bolts, ropes etc. Any fixing/restraining items used
must be sufficiently robust for the pulling force that
will be applied to them.
Where other structures are used to stabilise the
column the operator must be certain that these
structures are sufficiently strong to resist the force
applied to them otherwise damage may occur to
the structure resulting in a sudden and dangerous
loss of tension.
7
Parts & Service: 020 8988 7400 / E-mail: [email protected] or [email protected]
Page 8
When repositioning heavy items such as machinery, consideration should be
given to how the load will move once it is set in motion and sufficient
precautions taken to restrain the item from moving too far or in an
unpredictable way. Similar caution needs to be exercised when choosing
attachment/pushing/pulling points on machinery. These points must be
sufficiently strong to resist the forces applied to them.
It is the responsibility of the owner of the equipment to assess the safety
requirements for every new usage of the equipment and to take sufficient
safety precautions.
MAINTENANCE
Keep the moving parts clean and free from debris especially if used in a dirty
environment eg for tree stump removals.
Keep all parts of the jack gently lubricated to prevent any possibility of
corrosion If stored for long periods.
Store in a dry, childproof location where it cannot be damaged by the
elements.
ACCESSORIES
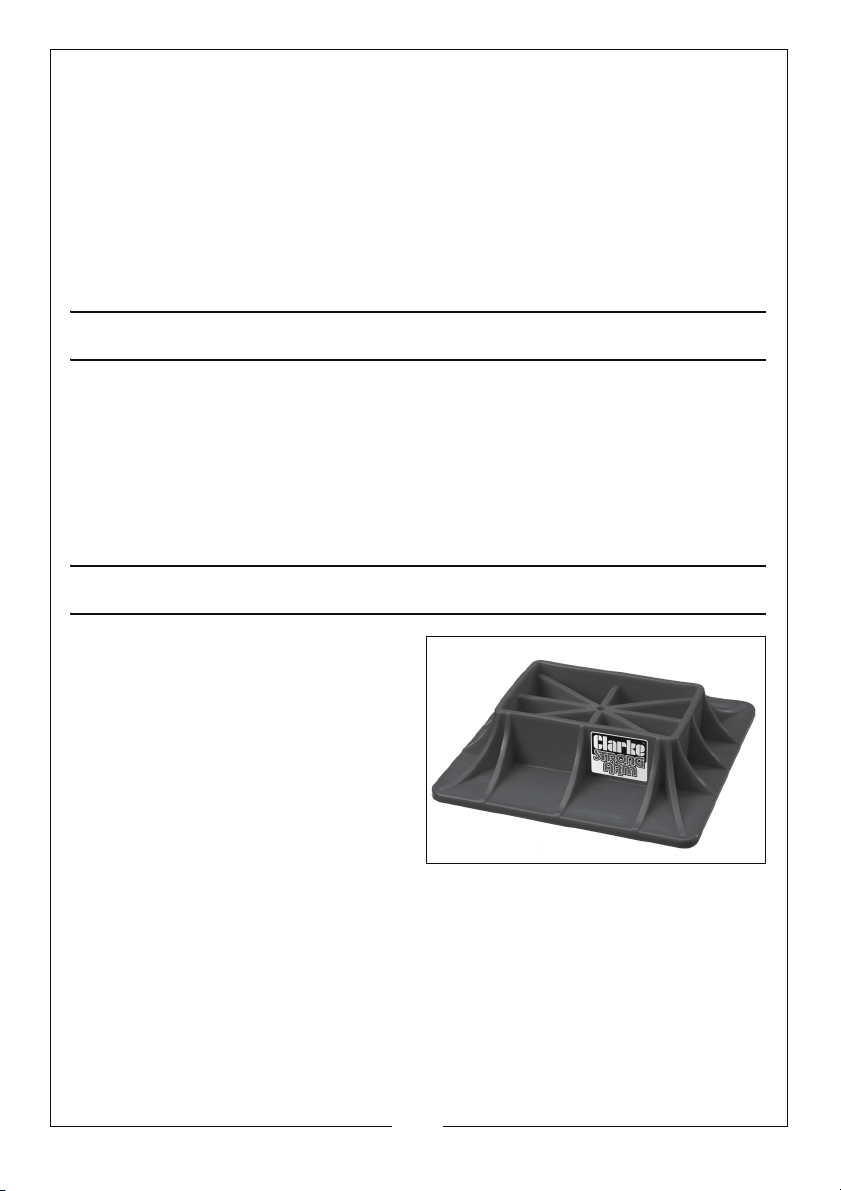
The CLARKE Off-Road Farm Jack Base
CORFJB1 (Part No 7620060) is
available for use with this product.
8
Parts & Service: 020 8988 7400 / E-mail: [email protected] or [email protected]
Page 9
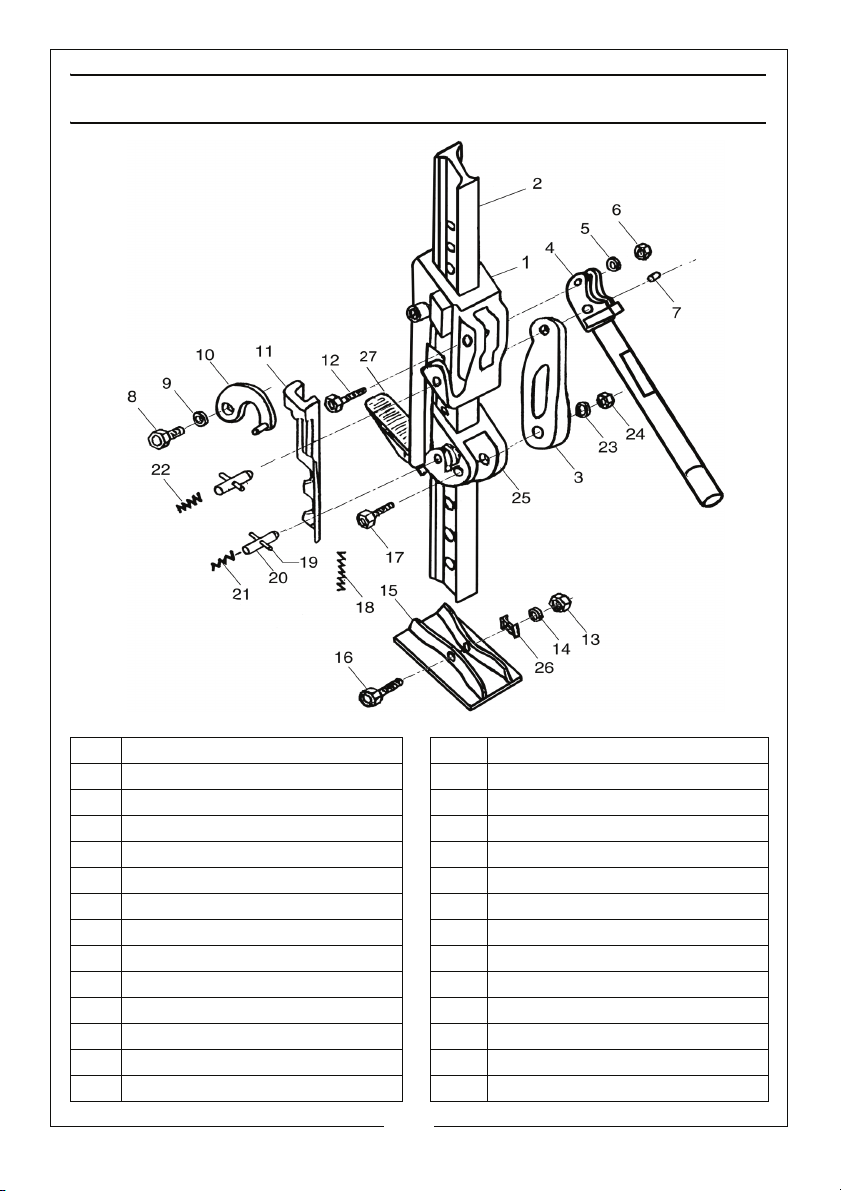
COMPONENT PARTS
1 Large runner 15 Base
2 Column 16 Bolt
3 Connecting link 17 Bolt
4 Handle 18 Spring
5Washer 19Pin
6 Nut 20 Locking Pin
7Pin 21Spring
8 Screw 22 Spring
9 Washer 23 Washer
10 Direction latch 24 Nut
11 Reversing switch 25 Small runner
12 Bolt 26 Spring locking washer
13 Nut 27 Lifting toe
14 Washer
9
Parts & Service: 020 8988 7400 / E-mail: [email protected] or [email protected]
Page 10
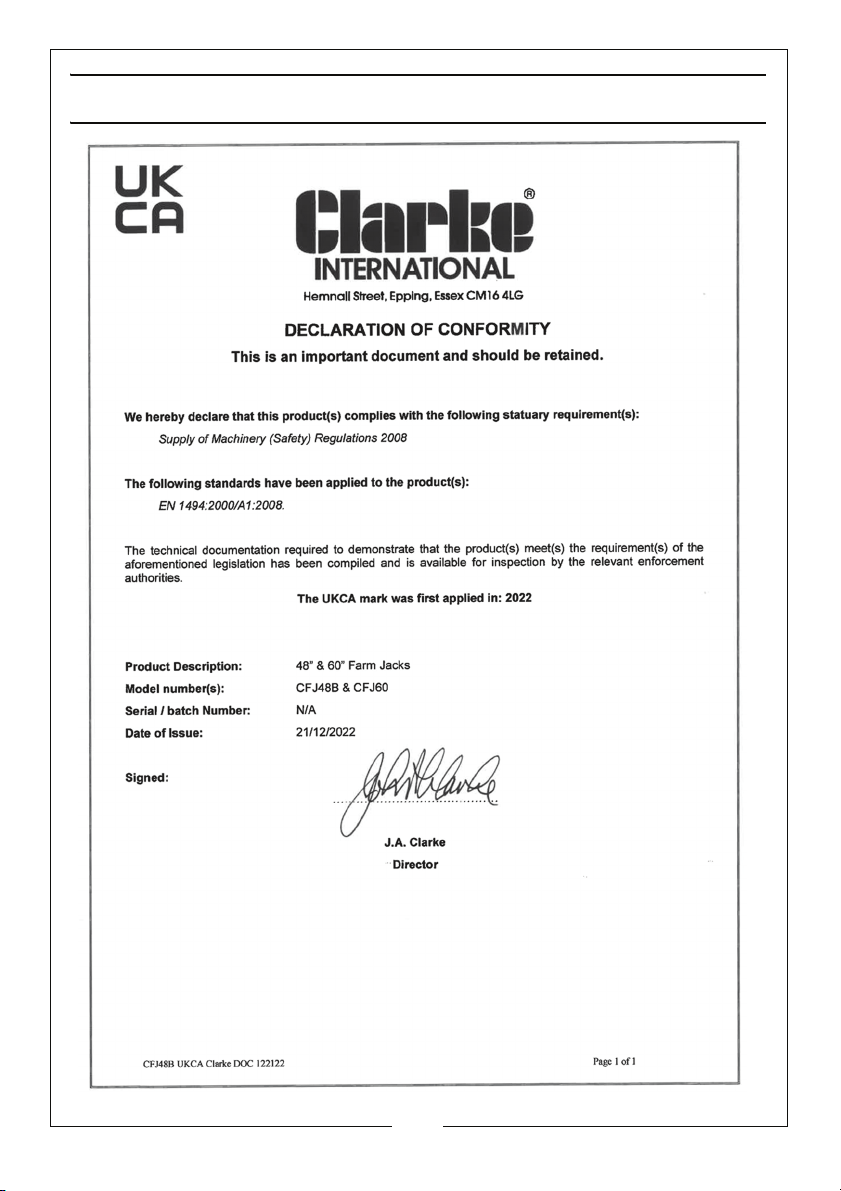
DECLARATION OF CONFORMITY-UK
10
Parts & Service: 020 8988 7400 / E-mail: [email protected] or [email protected]
Page 11
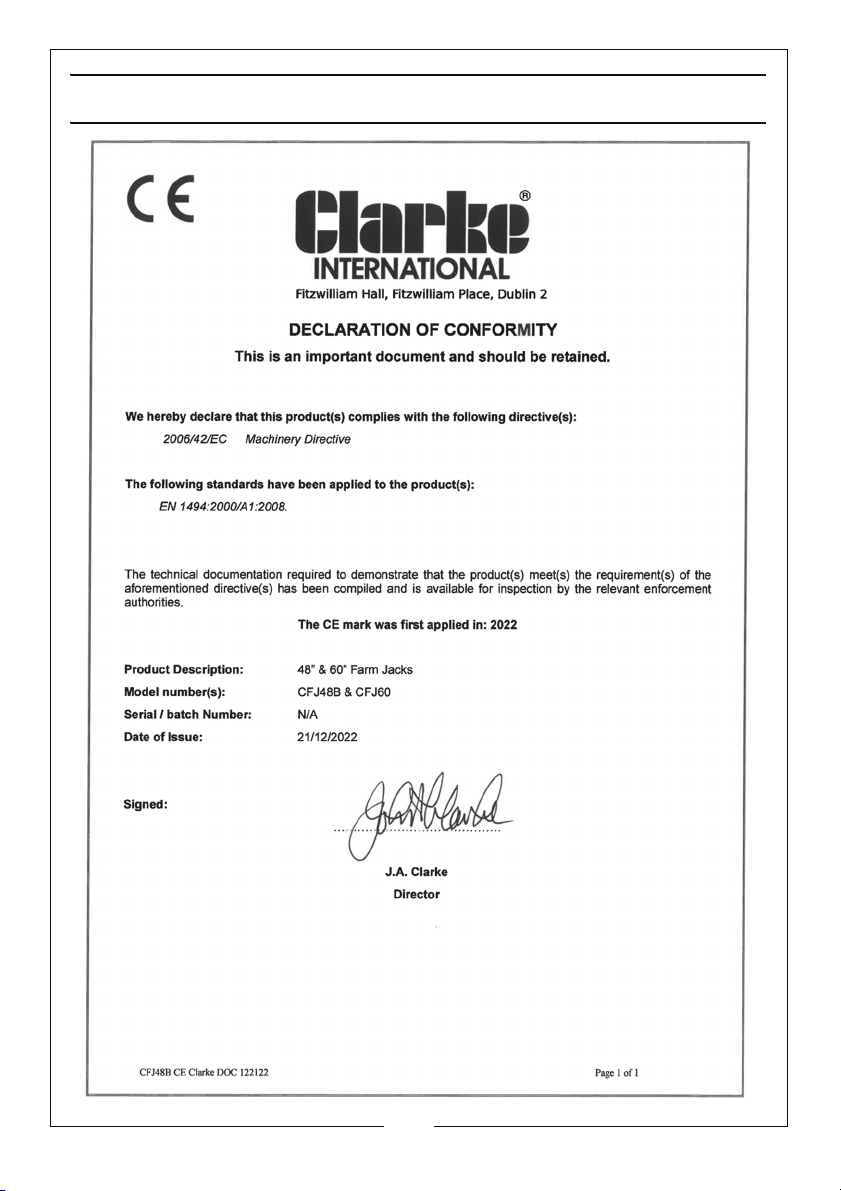
DECLARATIONS OF CONFORMITY-CE
11
Parts & Service: 020 8988 7400 / E-mail: [email protected] or [email protected]
Page 12

 Loading...