

Page 1
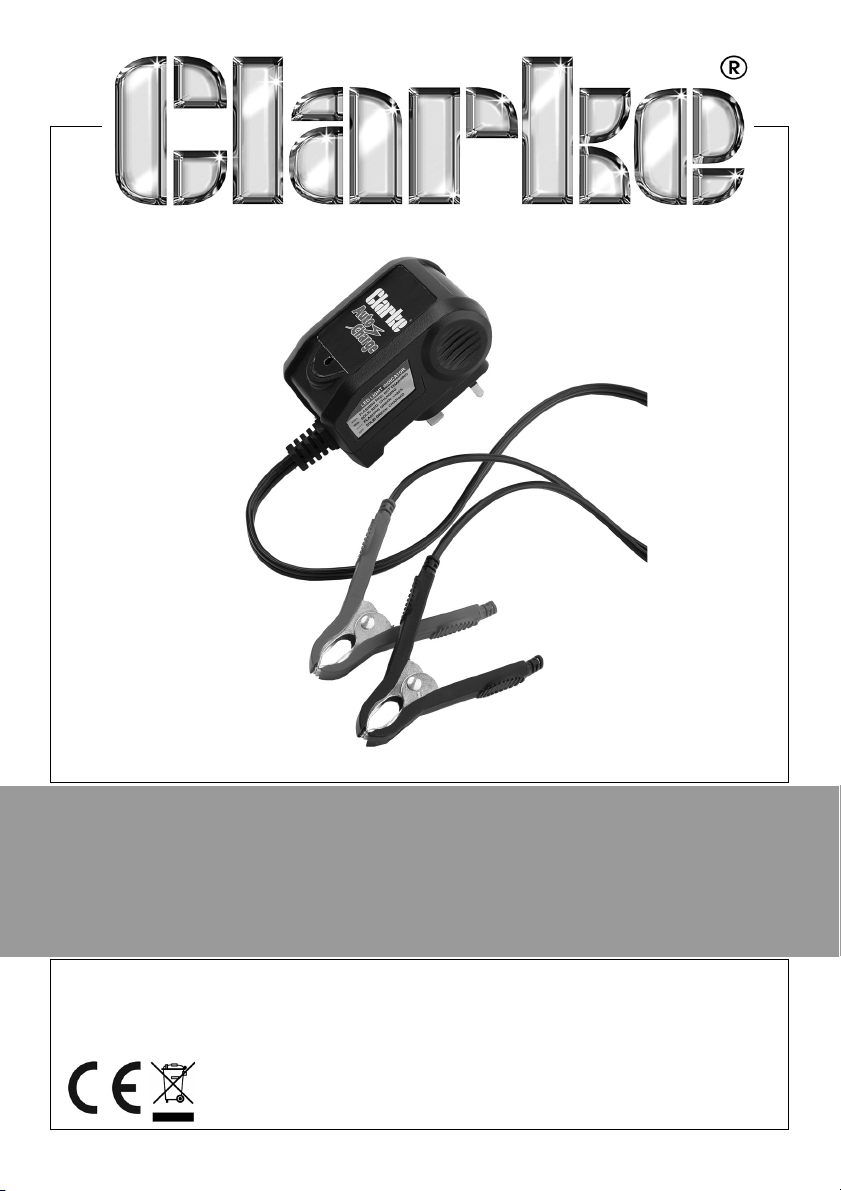
TRICKLE CHARGER
MODEL NO: ATC12VB
PART NO: 6266012
OPERATION & MAINTENANCE
INSTRUCTIONS
ORIGINAL INSTRUCTIONS
LS0618 ISS 2
Page 2
INTRODUCTION
Thank you for selecting this Clarke Trickle Charger.
Read this manual before use. The warnings and cautions in this manual help
you use the trickle charger safely. Please store these instructions for future
reference.
RECOMMENDED USE
This charger must not be used for the charging of non-rechargeable batteries.
This charger is suitable for charging 12V lead acid, sealed lead-acid, GEL,
maintenance-free and AGM batteries of capacities up to 100Ah (Ampere
hours).
Check with your battery manufacturer if you are unsure about the suitability of
this charger for use with your battrey.
GUARANTEE
This product is guaranteed against faulty manufacture for a period of 12
months from the date of purchase. Please keep your receipt which will be
required as proof of purchase.
This guarantee is invalid if the product is found to have been abused or
tampered with in any way, or not used for the purpose for which it was
intended.
Faulty goods should be returned to their place of purchase, no product can
be returned to us without prior permission.
This guarantee does not effect your statutory rights.
2
Parts & Service: 020 8988 7400 / E-mail: [email protected] or [email protected]
Page 3
SAFETY INSTRUCTIONS
• This charger must not be used by children under 8 years old or people
with reduced physical, sensory or mental capabilities or lack of
experience and knowledge.
• Children must be supervised when using this charger.
• The casing should not be opened. There are no user-serviceable parts.
• Store this product in a dry place to prevent moisture damage.
• Do not use this product if it is damaged.
• Only use this product for the purposes described in this instruction
booklet. Damage resulting from incorrect use will not be covered by
your warranty.
• The use of safety goggles and gloves when working with lead acid
batteries is strongly advised.
• Avoid contact with the electrolyte as this is acidic and is likely to cause
burns to the skin or clothes.
• Prevent short circuits which can result in a dangerous electrical
discharge that could result in personal injury or damage to equipment
and property.
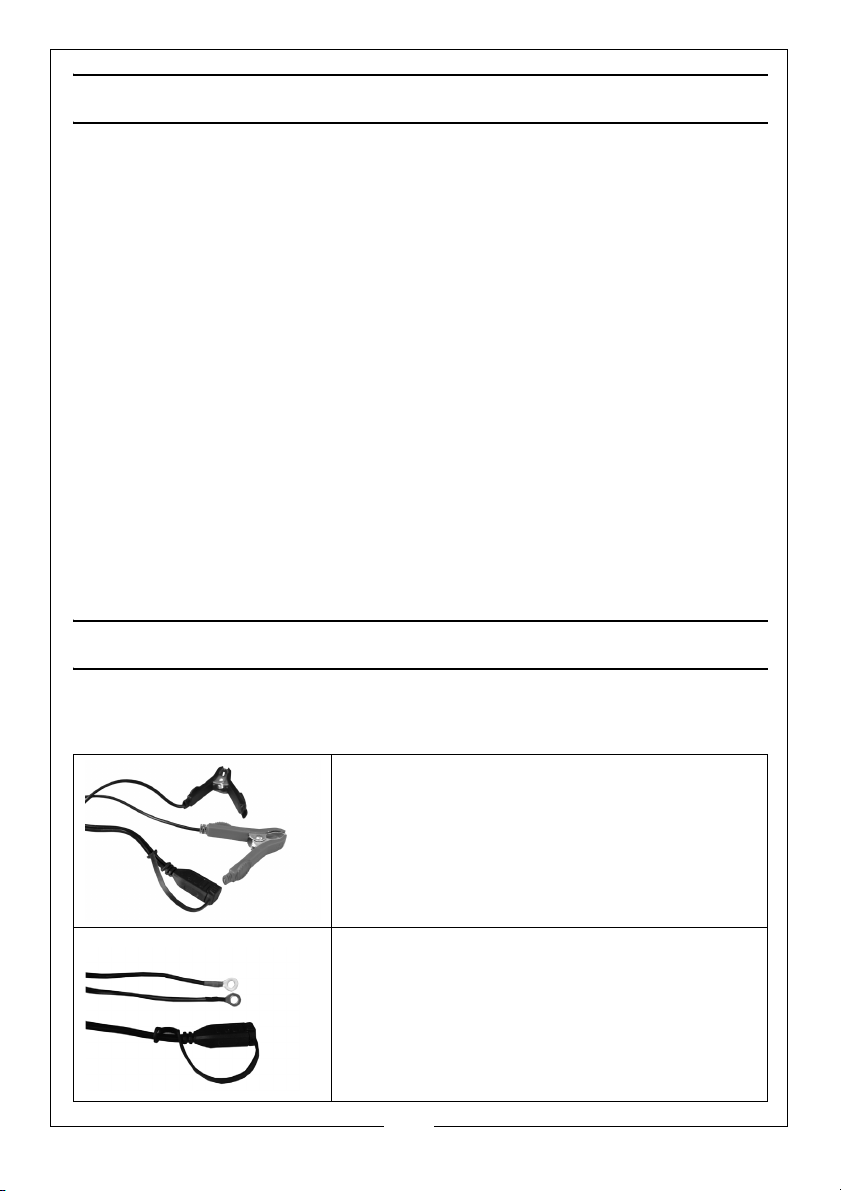
OUTPUT CONNECTIONS
The output cable from the charger terminates in a socket. Connect one of the
following leads into this socket.
Crocodile clips - for connecting direct to the
battery terminals, positive (Red) and negative
(Black).
For semi permanent connection to the battery
via eyelets. For motorcycles, Boats, ATVs, Quad
bikes and Scooter.
3
Parts & Service: 020 8988 7400 / E-mail: [email protected] or [email protected]
Page 4
LED STATUS INDICATOR
NOT LIT The battery is not correctly connected or the charger is not
plugged into AC power.
RED LIGHT
FLASHING
RED LIGHT
ON STEADY
GREEN LIGHT
FLASHING
GREEN LIGHT
ON STEADY
Indicates that the battery charger has AC power available. If
the red light continues to flash after connection, then either the
battery voltage is too low (Less than 2.0 Volts) or the output clips
are not connected correctly.
The battery is connected and charging. The red light will stay on
until the charger completes the charging step.
The battery is greater than 80% charged and may be removed
from the charger and used if necessary.
Charging is complete. The charger can stay connected to keep
the battery fully charged for an indefinite period of time.
OPERATION
1. PREPARATION OF THE BATTERY (FOR NON-SEALED LEAD-ACID BATTERIES ONLY)
If possible, inspect the liquid levels in each cell and top up if required, using
deionized or distilled water.
The cell caps must be replaced but not tightened until charging is complete.
2. BATTERY CONNECTIONS
The mains supply should always be disconnected before making or breaking
battery connections.
Connect the clips to the battery in the following order:
1. Connect the positive charging lead (RED) to the positive post of the
battery
FOR BATTERIES INSTALLED IN THE VEHICLE:
2. Connect the negative charging lead (BLACK) to the vehicle chassis, well
away from the battery, fuel line, and hot or moving parts.
FOR BATTERIES THAT HAVE BEEN REMOVED FROM THE VEHICLE:
3. Connect the negative charging lead (BLACK) to the negative post of the
battery.
4. After connecting the clips, rotate them slightly to remove dirt or oxidation,
thus ensuring a good contact.
4
Parts & Service: 020 8988 7400 / E-mail: [email protected] or [email protected]
Page 5
MAINS CONNECTION - CHARGING
WARNING: DO NOT ATTEMPT TO START THE VEHICLE WITH THE CHARGER
CONNECTED. THIS MAY DAMAGE YOUR BATTERY CHARGER.
Connect the charger to mains power supply.
• If the battery is in an acceptable condition the charge cycle will now
commence and the LED's will show charging information.
• If the battery is not connected properly, the red LED will flash. Charging
will not begin while the red LED flashes.
• When charging begins, the red LED will turn on.
• When the battery is fully charged, the charger will switch to provide a
maintenance charge and may be left connected.
AUTOMATIC - CHARGE CYCLE
Stage 1 Diagnosis/
Analysis:
Stage 2 Bulk Mode
(Constant
Current)
Stage 3 Absorption Mode
(Constant
Voltage):
Stage 4 Storage/Float
maintenance
mode:
To check if the battery can accept a charge or
not and prevent charging a defective battery;
Fast speed charging, the battery is 0% to 80%
charged;
Absorption to voltage 14.6V, battery is 80% to
100% charged.
Automatic On-off Monitoring. The charger will
shut off and will monitor the battery.
If the battery falls below 12.8VDC, the charger
will restart and enter into stage one.
DISCONNECTION
1. Switch off the mains supply and unplug the charger.
2. Disconnect the clips, Negative (BLACK lead) -ve first, followed by the
Positive (Red lead) +ve.
3. If the battery has been removed from the vehicle for charging, replace it
and reconnect the cables.
5
Parts & Service: 020 8988 7400 / E-mail: [email protected] or [email protected]
Page 6
MAINTENANCE
WARNING: ALWAYS BE SURE THE CHARGER IS UNPLUGGED BEFORE
PERFORMING ANY MAINTENANCE OR CLEANING.
This charger requires minimal maintenance. As with any appliance or tool, a
few common sense rules will prolong the life of the battery charger.
1. Store in a clean, dry place
2. Coil up the leads when not in use.
3. Clean the case and leads with a slightly damp cloth.
4. Clean any corrosion from the clamps with a solution of water and baking
soda.
5. Examine the leads periodically for cracking or other damage and have
them replaced if necessary.
WARNING: ALL OTHER SERVICE SHOULD BE DONE BY QUALIFIED
PERSONNEL ONLY
6
Parts & Service: 020 8988 7400 / E-mail: [email protected] or [email protected]
Page 7
ENVIRONMENTAL PROTECTION
Through purchase of this charger, the customer is taking on the
obligation to deal with the WEEE in accordance with the WEEE
regulations in relation to the treatment, recycling & recovery and
environmentally sound disposal of the WEEE.
In effect, this means that this charger must not be discarded with general
waste. Refer to the laws governing Waste Electrical and Electronic Equipment
(WEEE) at a recognised disposal facility.
7
Parts & Service: 020 8988 7400 / E-mail: [email protected] or [email protected]
Page 8

 Loading...