

Page 1
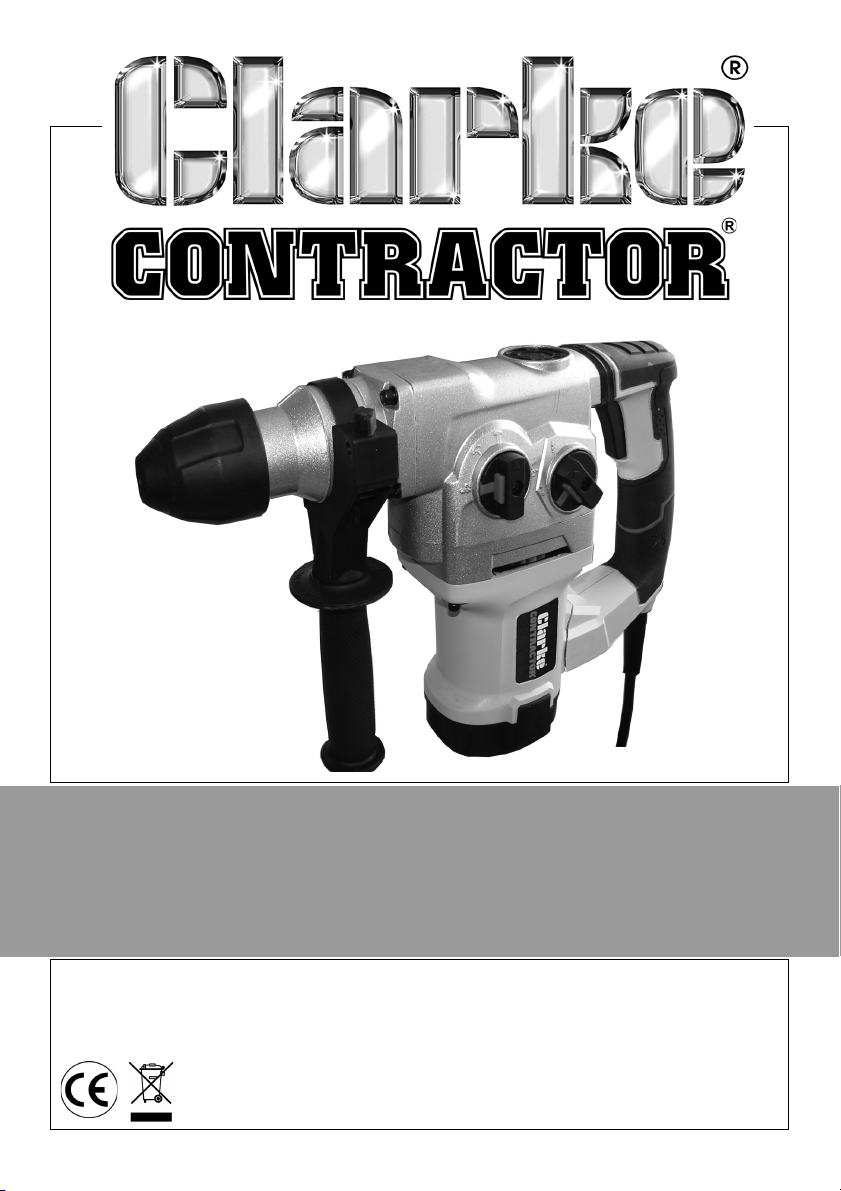
6 FUNCTION HAMMER DRILL
MODEL NO: CON1500RHD
PART NO: 6479508
OPERATION & MAINTENANCE
INSTRUCTIONS
GC0712
Page 2
INTRODUCTION
Thank you for purchasing this CLARKE 6 Function Hammer Drill.
Before attempting to use this product, please read this manual thoroughly and
follow the instructions carefully. In doing so you will ensure the safety of yourself
and that of others around you, and you can look forward to your purchase
giving you long and satisfactory service.
GUARANTEE
This product is guaranteed against faulty manufacture for a period of 12
months from the date of purchase. Please keep your receipt which will be
required as proof of purchase.
This guarantee is invalid if the product is found to have been abused or
tampered with in any way, or not used for the purpose for which it was
intended.
Faulty goods should be returned to their place of purchase, no product can
be returned to us without prior permission.
This guarantee does not effect your statutory rights.
WHAT’S SUPPLIED
Unpack your tool and make sure that the following items are present. Should
there be any damage caused during transit contact your Clarke dealer
immediately.
Rotary Hammer Drill Side Handle Assembly (fitted)
1 x Pin Wrench 1 x Metal Key Chuck & Adaptor
1 x 250 mm Depth Stop Rod 1 x Dust Shield Cup
1 x 250 mm Bull Point Chisel 1 x 250 mm x 20 mm Flat Chisel
1 x 150 mm x 8 mm Drill Bit 1 x 150 mm x 10 mm Drill Bit
1 x 150 mm x 12 mm Drill Bit
2
Parts & Service: 020 8988 7400 / E-mail: [email protected] or [email protected]
Page 3
GENERAL SAFETY RULES
WARNING: READ ALL INSTRUCTIONS. FAILURE TO FOLLOW ALL
INSTRUCTIONS LISTED MAY RESULT IN ELECTRIC SHOCK, FIRE AND/OR
SERIOUS INJURY. THE TERM “POWER TOOL” IN ALL OF THE WARNINGS
LISTED BELOW REFERS TO YOUR MAINS OPERATED (CORDED) POWER
TOOL OR BATTERY OPERATED (CORDLESS) POWER TOOL.
WORK AREA
1. Keep work area clean and well lit. Cluttered and dark areas invite
accidents.
2. Do not operate power tools in explosive atmospheres, such as in the
presence of flammable liquids, gases or dust. Power tools create sparks
which may ignite the dust or fumes.
3. Keep children and bystanders away while operating a power tool.
Distractions can cause you to lose control.
ELECTRICAL SAFETY
1. Power tool plugs must match the outlet. Never modify the plug in any way.
Do not use any adapter plugs with earthed (grounded) power tools.
Unmodified plugs and matching outlets will reduce risk of electric shock.
2. Avoid body contact with earthed or grounded surfaces such as pipes,
radiators, ranges and refrigerators. There is an increased risk of electric
shock if your body is earthed or grounded
3. Do not expose power tools to rain or wet conditions. Water entering a
power tool will increase the risk of electric shock.
4. Do not abuse the cord. Never use the cord for carrying, pulling or
unplugging the power tool. Keep cord away from heat, oil, sharp edges or
moving parts. Damaged or entangled cords increase the risk of electric
shock.
5. When operating a power tool outdoors, use an extension cord suitable for
outdoor use. Use of a cord suitable for outdoor use reduces the risk of
electric shock.
3
Parts & Service: 020 8988 7400 / E-mail: [email protected] or [email protected]
Page 4

PERSONAL SAFETY
1. Stay alert, watch what you are doing and use common sense when
operating a power tool. Do not use a power tool while you are tired or
under the influence of drugs, alcohol or medication. A moment of
inattention while operating power tools may result in serious personal injury.
2. Use safety equipment. Always wear eye protection. Safety equipment such
as dust mask, non-skid safety shoes, hard hat, or hearing protection used
for appropriate conditions will reduce personal injuries.
3. Avoid accidental starting. Ensure the switch is in the off position before
plugging in. Carrying power tools with your finger on the switch or plugging
in power tools that have the switch on invites accidents.
4. Remove any adjusting key or wrench before turning the power tool on. A
wrench or a key left attached to a rotating part of the power tool may
result in personal injury.
5. Do not overreach. Keep proper footing and balance at all times. This
enables better control of the power tool in unexpected situations.
6. Dress properly. Do not wear loose clothing or jewellery. Keep your hair,
clothing and gloves away from moving parts. Loose clothes, jewellery or
long hair can be caught in moving parts.
7. If devices are provided for the connection of dust extraction and collection
facilities, ensure these are connected and properly used. Use of these
devices can reduce dust related hazards.
POWER TOOL USE AND CARE
1. Do not force the power tool. Use the correct power tool for your
application. The correct power tool will do the job better and safer at the
rate for which it was designed.
2. Do not use the power tool if the switch does not turn it on and off. Any
power tool that cannot be controlled with the switch is dangerous and
must be repaired.
3. Disconnect the plug from the power source before making any
adjustments, changing accessories, or storing power tools. Such
preventative safety measures reduce the risk of starting the power tool
accidentally.
4. Store idle power tools out of the reach of children and do not allow persons
unfamiliar with the power tool or these instructions to operate the power
tool. Power tools are dangerous in the hands of untrained users.
5. Maintain power tools. Check for misalignment or binding of moving parts,
breakage of parts and any other condition that may affect the power tools
operation. If damaged, have the power tool repaired before use. Many
accidents are caused by poorly maintained power tools.
4
Parts & Service: 020 8988 7400 / E-mail: [email protected] or [email protected]
Page 5

6. Keep cutting tools sharp and clean. Properly maintained cutting tools with
sharp cutting edges are less likely to bind and are easier to control.
7. Use the power tool, accessories and tool bits etc., in accordance with
these instructions and in the manner intended for the particular type of
power tool, taking into account the working conditions and the work to be
performed. Use of the power tool for operations different from those
intended could result in a hazardous situation.
SERVICE
1. Have your power tool serviced by a qualified repair person using only
identical replacement parts. This will ensure that the safety of the power
tool is maintained.
HAMMER DRILL SAFETY INSTRUCTIONS
1. Only use the drill in the manner and for the functions described in these
instructions.
2. Using the correct bit. Use the appropriate drill bit for the material being
drilled. Different bits are available from your Clarke dealer.
3. Use of the mains cable. Keep the mains cable well away from the drill and
ensure an adequate electrical supply is close at hand so that the
operation is not restricted by the length of the cable.
4. Working on the bench. Allow sufficient clearance beneath the work to
ensure the drill bit does not come into contact with the floor, table etc.
5. Switching off. Never place the drill on a table or bench if it has not
completely stopped. The drill bit will continue to rotate for a short time after
the trigger has been released to stop the drill.
6. Drilling into walls. Do not drill into walls or cavities before checking for
hidden electrical wires or water pipes etc.
7. Finishing drilling. Do not touch the drill bit immediately after use, allow time
for it to cool.
8. Use outdoor extension leads. If working outdoors, always use an approved
cable extension suitable for the power rating of this tool (see
specifications), the conductor size should also be at least the same size as
that on the machine, or larger. When using a cable reel, always unwind the
cable completely. We strongly recommend that this machine is connected
to the mains supply via a Residual Current Device (RCD).
9. Cooling agents. When drilling metals, always use a cooling agent i.e.
cutting/soluable oil.
5
Parts & Service: 020 8988 7400 / E-mail: [email protected] or [email protected]
Page 6

SPECIFIC SAFETY RULES
10. For your safety, do not plug in your power tool until you have read and
understood this owner's manual.
11. Wear eye protection. Use face or dust mask along with safety goggles if
operation is dusty.Use hearing protection, particularly during extended
periods of operation, wear safety shoes.
12. Wear ear protectors with impact drills. Exposure to noise can cause
hearing loss.
13. DO NOT wear gloves, jewellery, neckties or loose clothing.
14. DO NOT drill, cut or sand material too small to be securely held.
15. ALWAYS keep hands out of the path of the drill bit and saw blade. Avoid
awkward hand positions where a sudden slip could cause your hand to
move into the path of the drill bit.
16. Secure the workpiece. Use clamps or a vice to hold the work when
practical.It is safer than using your hand and it frees both hands to operate
the tool.
17. Make sure there are no nails or foreign objects in the part of the workpiece
to be cut, drilled or sanded.
6
Parts & Service: 020 8988 7400 / E-mail: [email protected] or [email protected]
Page 7
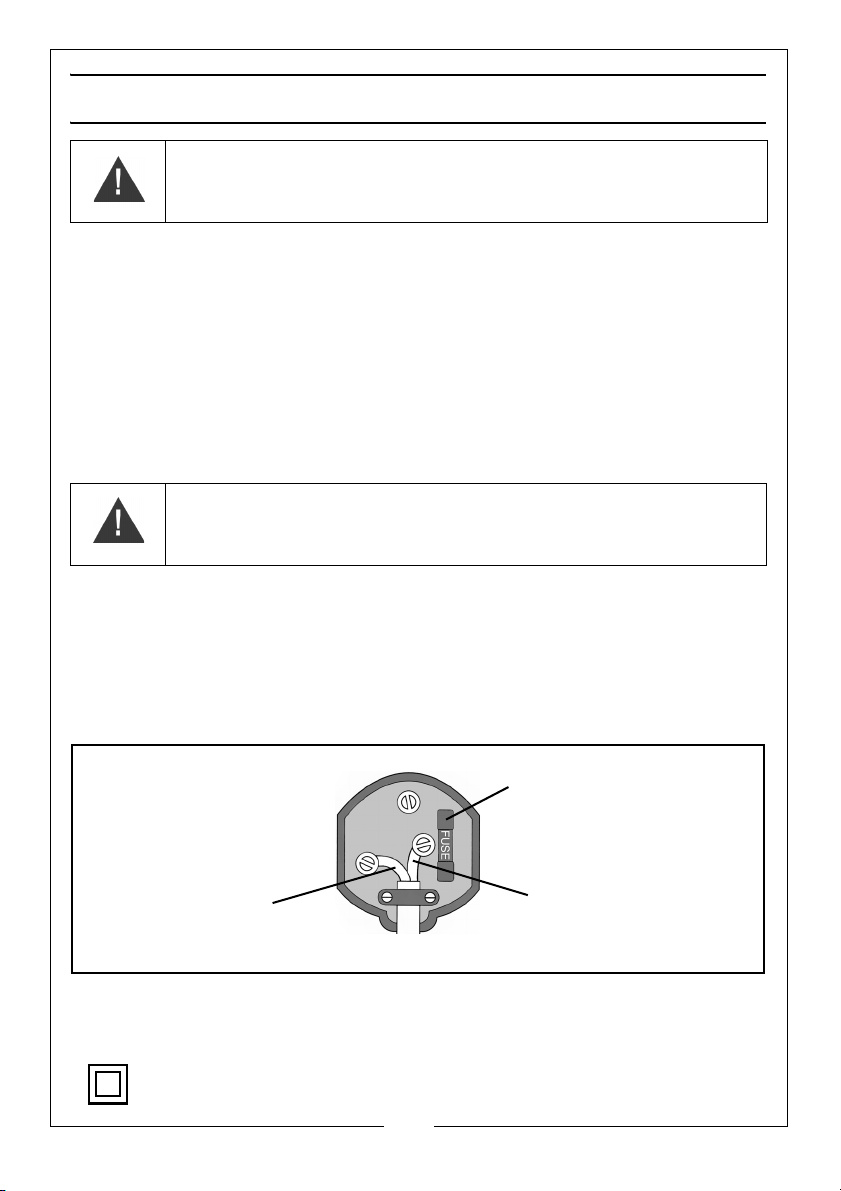
ELECTRICAL CONNECTIONS
Plug must be BS1363/A approved.
Always fit a 13 Amp fuse.
Ensure that the outer sheath of the cable is firmly held by the clamp
Neutral
(Blue)
Live
(Brown)
WARNING! Read these electrical safety instructions thoroughly
before connecting the product to the mains supply.
Before switching the product on, make sure that the voltage of your electricity supply is
the same as that indicated on the rating plate. This product is designed to operate on
230VAC 50Hz. Connecting it to any other power source may cause damage.
This product may be fitted with a non-rewireable plug. If it is necessary to change the
fuse in the plug, the fuse cover must be refitted. If the fuse cover becomes lost or
damaged, the plug must not be used until a suitable replacement is obtained.
If the plug has to be changed because it is not suitable for your socket, or due to
damage, it should be cut off and a replacement fitted, following the wiring instructions
shown below. The old plug must be disposed of safely, as insertion into a mains socket
could cause an electrical hazard.
WARNING! The wires in the power cable of this product are
coloured in accordance with the following code:
Blue = Neutral Brown = Live
If the colours of the wires in the power cable of this product do not correspond with the
markings on the terminals of your plug, proceed as follows.
• The wire which is coloured Blue must be connected to the terminal which is
marked N or coloured Black.
• The wire which is coloured Brown must be connected to the terminal which is
marked L or coloured Red.
We strongly recommend that this machine is connected to the mains supply via a
Residual Current Device (RCD)
If in any doubt, consult a qualified electrician. DO NOT attempt any repairs yourself.
This symbol indicates that this is a Class II product, and does not require an earth
connection.
Parts & Service: 020 8988 7400 / E-mail: [email protected] or [email protected]
7
Page 8
SETUP
WARNING: TO REDUCE THE RISK OF PERSONAL INJURY, TURN THE UNIT OFF
AND DISCONNECT IT FROM THE MAINS SUPPLY BEFORE INSTALLING AND
REMOVING ACCESSORIES
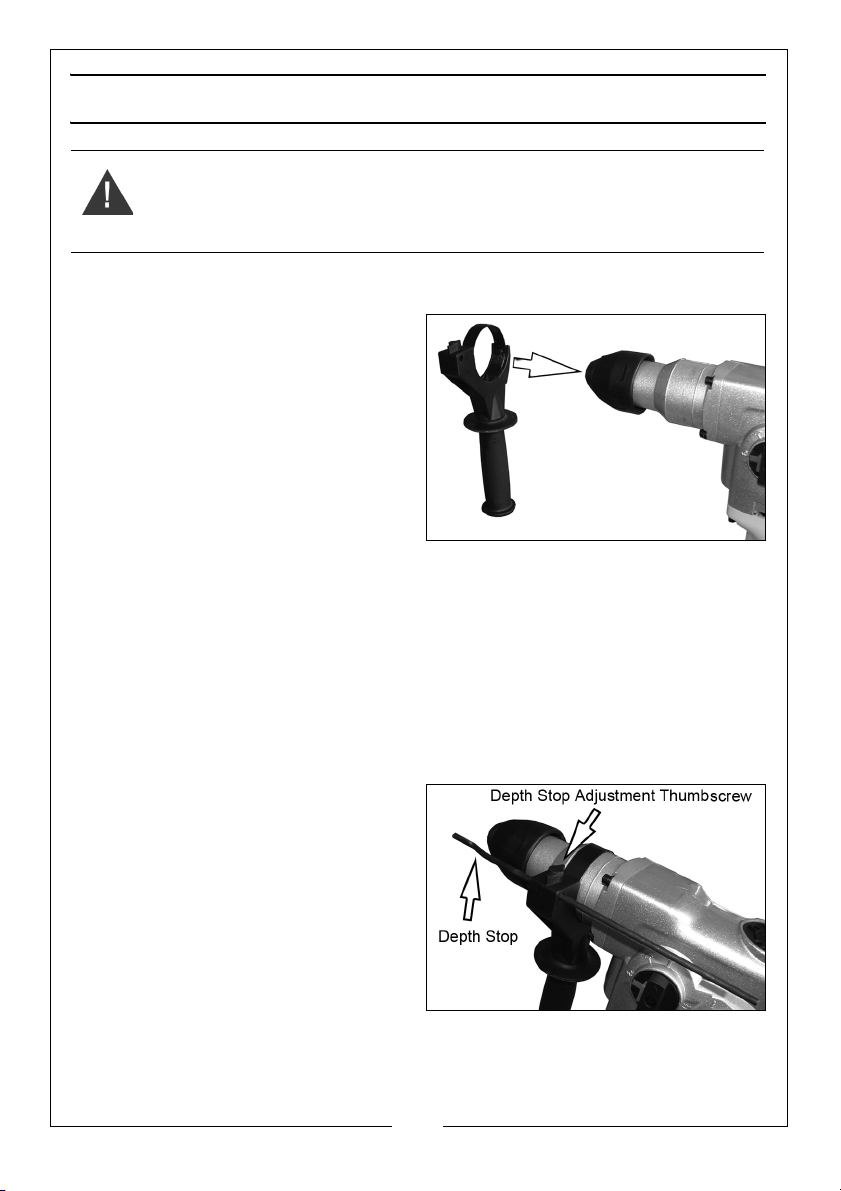
ADJUSTING THE SIDE HANDLE
1. Loosen the handle by rotating the
shaft of the handle clockwise
(when viewed from above)
2. Slide the handle assembly over
the chuck and onto the body of
the drill.
3. Set the handle in the desired
position.
4. Secure the handle in position by
rotating the shaft of the handle
anticlockwise (when viewed from above), DO NOT overtighten.
FITTING THE DEPTH STOP
The depth stop is fitted within the side handle and can only be used if this
handle is fitted.
1. To install the depth stop, undo the thumbscrew until the depth stop can be
passed through the opening.
2. To set the depth stop, release the
thumbscrew and slide the rod in
and out to the required position .
8
Parts & Service: 020 8988 7400 / E-mail: [email protected] or [email protected]
Page 9
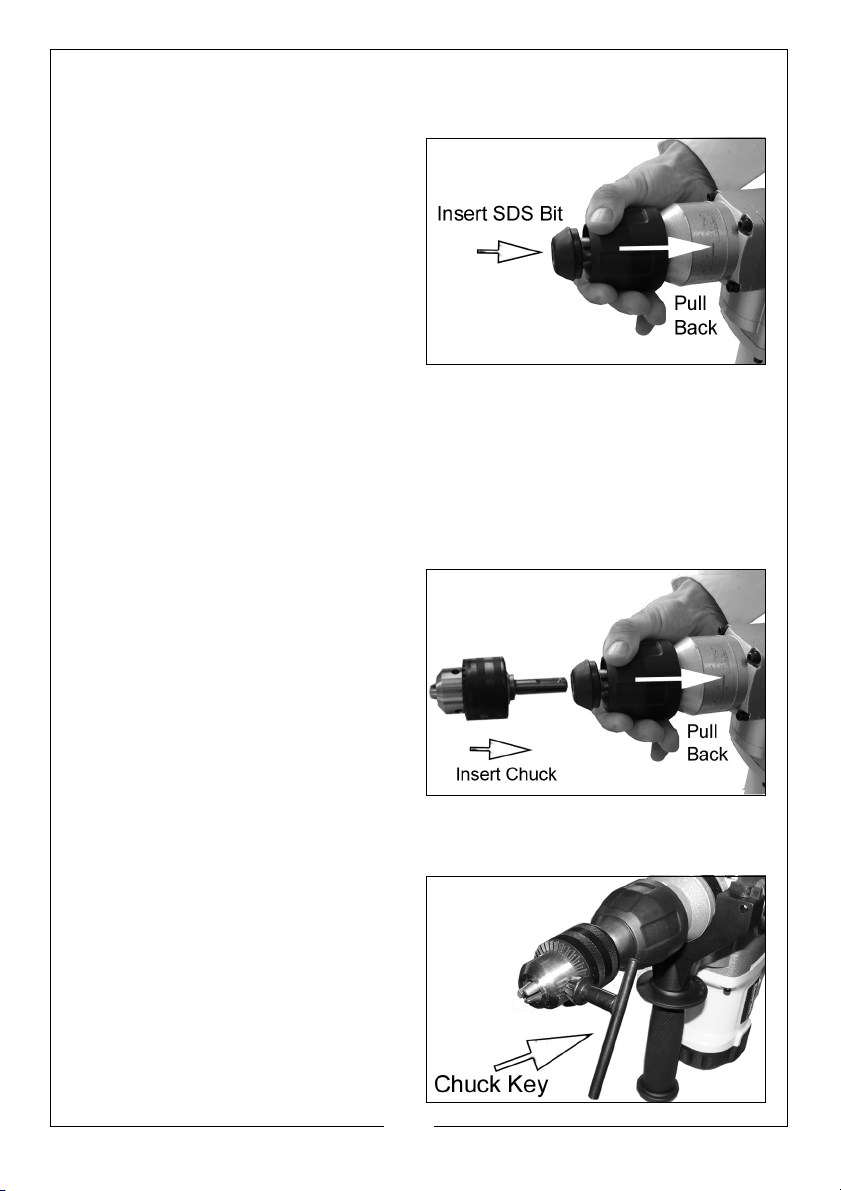
INSERTING AND REMOVING SDS BITS.
This machine uses SDS bits and chisels
1. Wipe the bit shank clean.
2. Pull back the locking sleeve and
insert the SDS bit.
3. Release the locking sleeve.
4. Pull on the bit to check that it is
properly locked.
• The hammering function
requires the bit to be able to
move axially when locked in
the tool holder.
5. To remove a bit pull back the locking sleeve and pull the bit out of the
chuck.
NOTE: The rubber dust cover can be placed over the shaft of the bits
before inserting them into the SDS chuck.
FITTING THE STANDARD CHUCK
1. Pull back locking sleeve and hold
it back.
2. Insert the standard chuck.
3. Release the chuck collar.
NOTE: Make sure the chuck is
secure before use.
CAUTION: DO NOT USE THE STANDARD
CHUCK IN HAMMER MODE.
INSERTING A STANDARD DRILL BIT INTO NON-SDS CHUCK
1. Use the chuck key to open the
chuck by rotating the chuck key
anticlockwise until the jaws are
open sufficiently to take the drill
bit.
2. Place the drill bit in the jaws of the
chuck as far as it will go.
3. Use the chuck key to tighten the
chuck and secure the drill.
9
Parts & Service: 020 8988 7400 / E-mail: [email protected] or [email protected]
Page 10
OPERATION
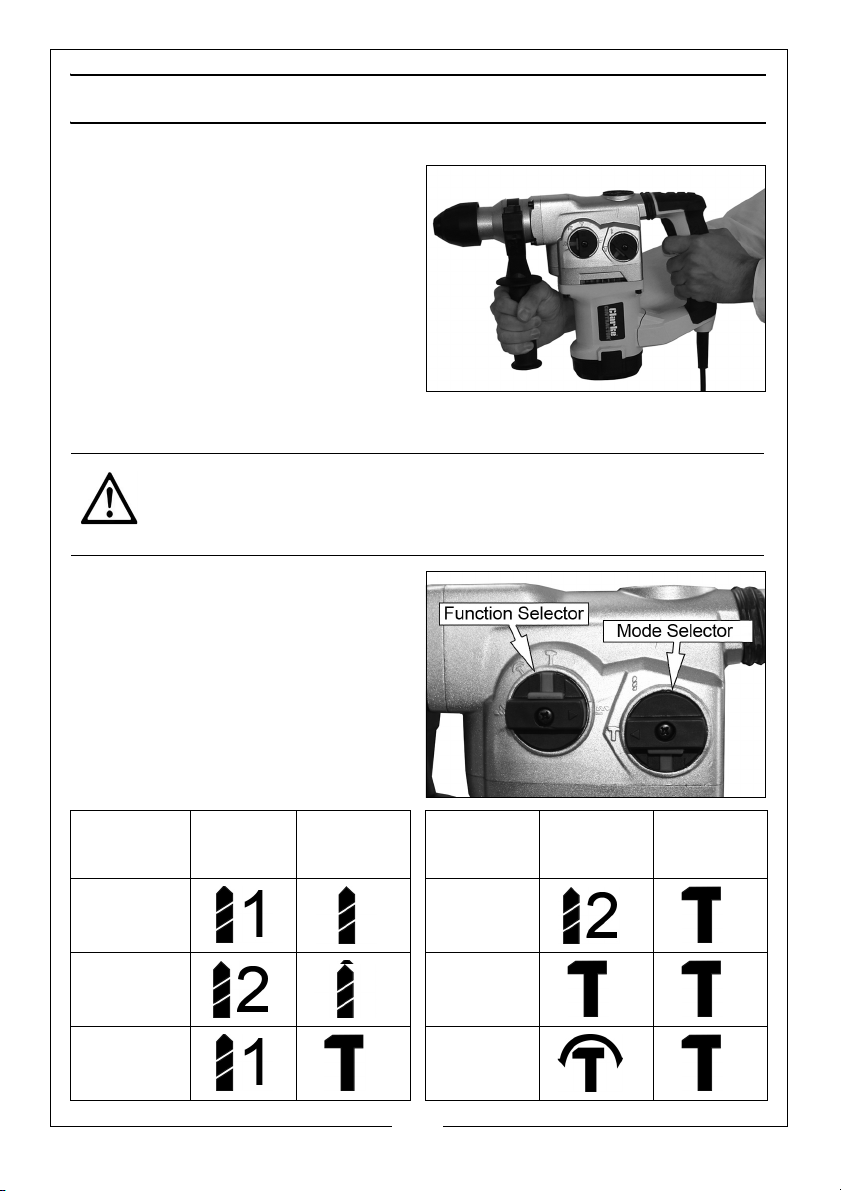
PROPER HAND POSITION
Always hold the drill securely and use
the auxiliary handle as shown.
SELECTING THE OPERATING MODE
CAUTION: THIS OPERATION SHOULD ONLY BE PERFORMED WHEN THE
DRILL IS AT A COMPLETE STOP.
1. Push and hold the red button on
the Function/Mode selectors.
2. Rotate the Function/Mode
selector to the required position.
• The following table describes
each position.
Mode Set the
Function
Selector To
Drill Speed 1
(430 rpm)
Drill Speed 2
(850 rpm)
Hammer Drill
Speed 1
(430 rpm)
Set the
Mode
Selector To
Mode Set the
Function
Selector To
Hammer Drill
Speed 2
(850 rpm)
Hammer
Only
Chisel
orientation
Set the
Mode
Selector To
10
Parts & Service: 020 8988 7400 / E-mail: [email protected] or [email protected]
Page 11
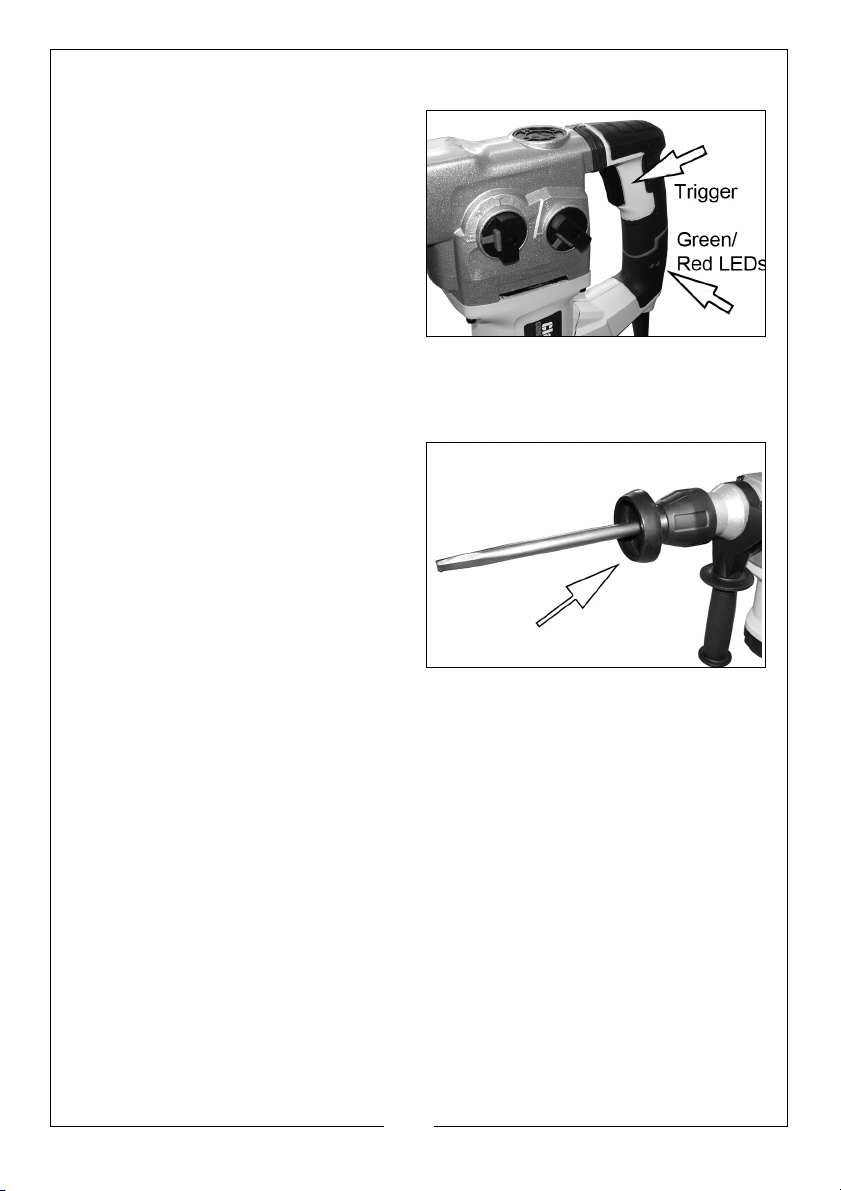
SWITCHING ON & OFF
1. Insert the mains plug into a mains
power socket.
• The green LED on the handle of
the drill will come on to indicate
that power is present.
• If the red LED comes on, it is to
indicate that the carbon
brushes in the drill motor are
worn and should be replaced
by your dealer.
2. Squeeze the trigger to start the drill.
USING THE DUST SHIELD
1. When chiselling masonry, always
use the shield to reduce the
amount of particles likely to strike
the operator. Slide it over the
chisel before fitting the chisel into
the chuck.
11
Parts & Service: 020 8988 7400 / E-mail: [email protected] or [email protected]
Page 12
MAINTENANCE
WARNING: MAKE SURE THAT THE DRILL IS SWITCHED OFF AND
DISCONNECTED FROM THE MAINS SUPPLY BEFORE STARTING ANY
CLEANING OR MAINTENANCE PROCEDURES.
Before commencing any maintenance procedures, always ensure the drill is
isolated from the electrical supply by switching off and removing the plug
from the socket.
BEFORE USE
1. Ensure all fixing screws remain tight to ensure the drill is in safe working
condition.
2. Inspect the power cable to ensure it is free from cracks, bare wires etc.
CLEANING
1. Ensure all air ventilation slots are clear of blockages, (use compressed air to
clean the machine if possible).
2. After use, clean all dust and swarf from the drill.
3. Clean the exterior of the drill with a soft cleaning cloth. Never use any
chemicals or harsh abrasives to clean the tool.
• Avoid using solvents when cleaning plastic parts; most plastics are
susceptible to damage from various types of commercial solvents.
GENERAL MAINTENANCE
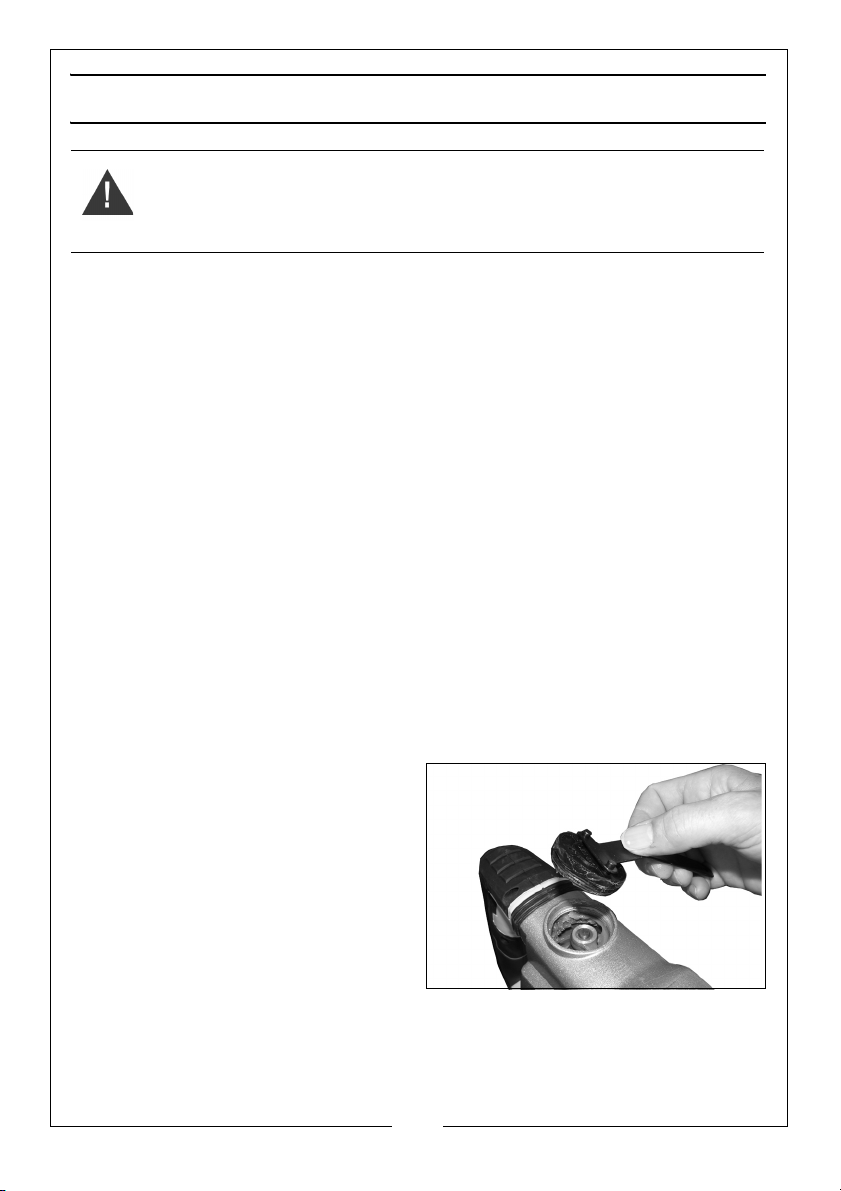
After extensive use, grease may be
added to the hammer drill
mechanism via the maintenance
apperture provided.
Remove the cover using the wrench
supplied as shown, and add a
smearing of grease to the moving
parts.
• All other bearings etc, in this
tool are lubricated with
sufficient high grade lubricant for the tools lifetime under normal
operating conditions, therefore no further lubrication is necessary.
• There are no other user servicable parts in this machine. Refer to your
CLARKE dealer if internal maintenance is required.
12
Parts & Service: 020 8988 7400 / E-mail: [email protected] or [email protected]
Page 13
SPECIFICATIONS
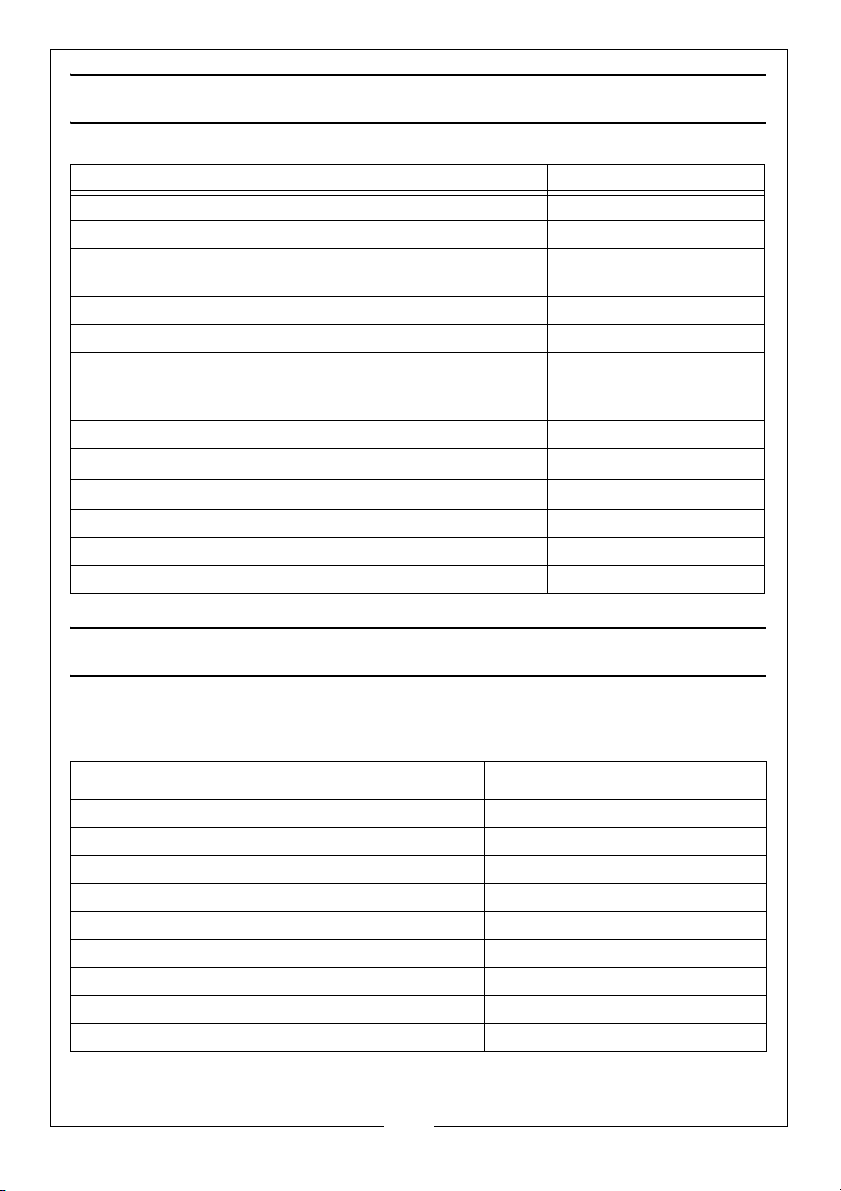
CON1500RHD
Electrical Supply 230V @ 50Hz
Power Rating 1500W
Impact Rating 0-430 rpm (Drill Mode 1)
0-850 rpm (Drill Mode 2)
Impacting Rate 0-4200 Impacts per minute
Impact Energy 5.0 J
Max Drilling Diameter Wood: 40 mm
Steel: 13 mm
Concrete: 32 mm
Sound Pressure Level 92 dB LWA
Sound Power dB L
Vibration (at main handle)
Protection Class II
Dimensions (L x W x H) 390 x 250 x 105 mm
Weight 5.95 Kg
Wa
103 dB LWA
18.826 m/s
2
REPLACEMENT PARTS
The following parts are replaceable by the end user, refer to the Clarke servicing
department for any other repairs or damage.
DESCRIPTION PART NUMBER
Dust proof cover TMCCON1500RHD201
Flat chisel 20 x 250 mm TMCCON1500RHD202
Point chisel 14 x 250 mm TMCCON1500RHD203
Drill bit 12X150 mm TMCCON1500RHD204
Drill bit 10X150 mm TMCCON1500RHD205
Drill bit 8X150 mm TMCCON1500RHD206
Auxiliary handle + Depth Gauge TMCCON1500RHD501
SDS Chuck TMCCON1500RHD502
3-jaw Chuck TMCCON1500RHD503
13
Parts & Service: 020 8988 7400 / E-mail: [email protected] or [email protected]
Page 14
DECLARATION OF CONFORMITY
14
Parts & Service: 020 8988 7400 / E-mail: [email protected] or [email protected]
Page 15

NOTES
_____________________________________________________________________________
_____________________________________________________________________________
_____________________________________________________________________________
_____________________________________________________________________________
_____________________________________________________________________________
_____________________________________________________________________________
_____________________________________________________________________________
_____________________________________________________________________________
_____________________________________________________________________________
_____________________________________________________________________________
_____________________________________________________________________________
_____________________________________________________________________________
_____________________________________________________________________________
_____________________________________________________________________________
_____________________________________________________________________________
_____________________________________________________________________________
_____________________________________________________________________________
_____________________________________________________________________________
_____________________________________________________________________________
_____________________________________________________________________________
_____________________________________________________________________________
15
Parts & Service: 020 8988 7400 / E-mail: [email protected] or [email protected]
Page 16
 Loading...