

Page 1
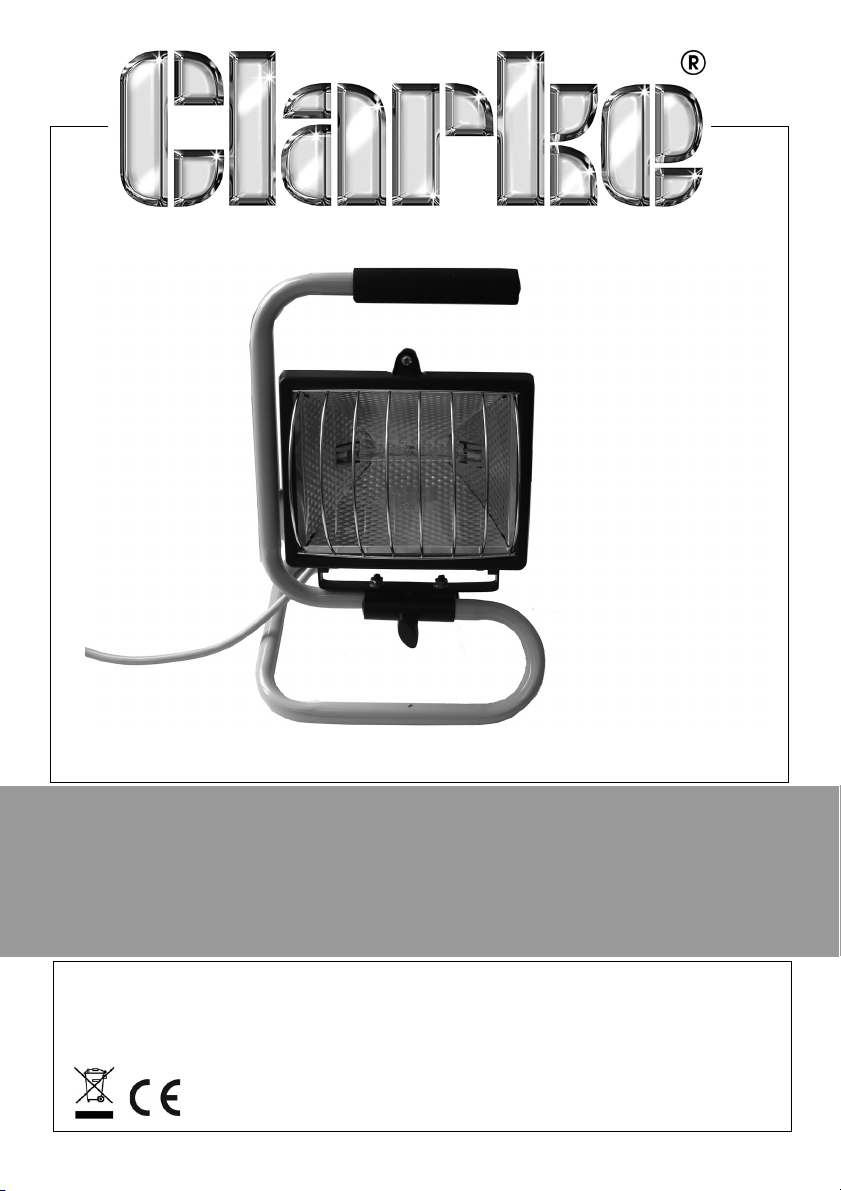
HALOGEN WORKLIGHT(110V)
MODEL NO: HLC400/110
PART NO: 5460685
ASSEMBLY & USER
INSTRUCTIONS
ORIGINAL INSTRUCTIONS GC1119 -ISS 2
Page 2
INTRODUCTION
Thank you for purchasing this CLARKE halogen floodlight with handle and grill.
The floodlight is suitable for internal or external use as described in this manual
and is suitable for lighting construction sites and similar applications.
Before attempting to use this product, please read this manual thoroughly and
follow the instructions carefully. In doing so you will ensure the safety of yourself
and that of others around you, and you can look forward to your purchase
giving you long and satisfactory service.
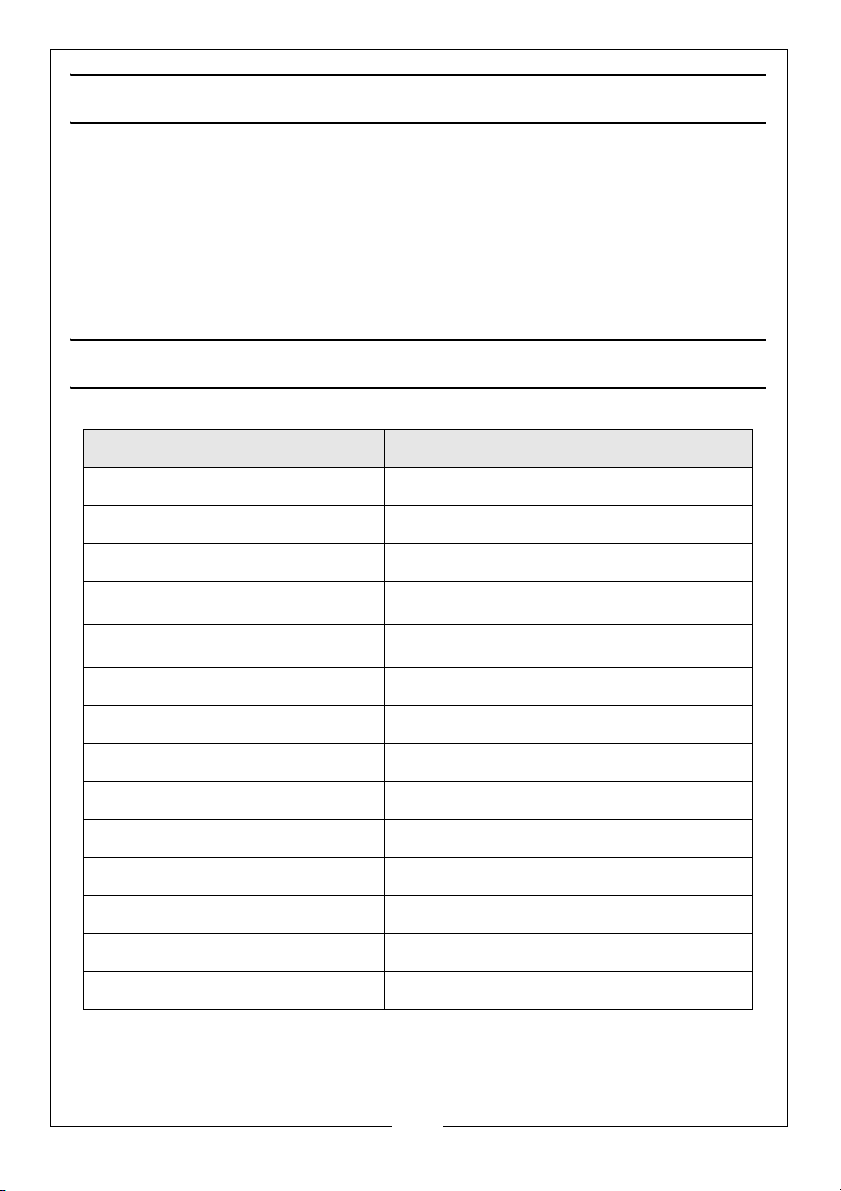
TECHNICAL INFORMATION
Model HLC400 /110
Model type 0203/110
Dimensions (L x W x H) 225 x 205 x 310 mm
Weight 1.5 kg
Tilt adjustment
Operating Temperature
Power Supply 110V 50Hz
LED Wattage consumption 400W
Insulation Class I
IP Rating IP54 (external use)
Energy Efficiency Class# C Class Tube
Colour Temperature# 2900 K
Efficiency# 21.4 lm/W
Lumen output# (luminous flux) 8545 Lm
Halogen Tube Type R7s-J118 (max 400W)
# - values given for the bulb supplied
2
Parts & Service: 020 8988 7400 / E-mail: [email protected] or [email protected]
o
-90
o
C to + 50oC
-20
to +90
o
Page 3
GUARANTEE
This product is guaranteed against faulty manufacture for a period of 12
months from the date of purchase. Please keep your receipt which will be
required as proof of purchase.
This guarantee is invalid if the product is found to have been abused or
tampered with in any way, or not used for the purpose for which it was
intended.
Faulty goods should be returned to their place of purchase, no product can
be returned to us without prior permission.
This guarantee does not effect your statutory rights.
SAFETY PRECAUTIONS
1. This worklight must not be immersed in water.
2. Do not look directly into the lamp when switched on as this can damage
the eyes.
3. If used with an extension cable always ensure that the extension cable is
fully unwound.
4. Do not use this worklight if it has a broken lens, casing or damaged supply
cable.
5. Always unplug the worklight before moving it or performing maintenance.
Do not touch the lamp when your hands are wet.
6. Do not attempt to disassemble or repair the worklight.
7. Always unplug the worklight when it is not in use.
8. Never unplug the worklight by holding the cable. Unplug by holding the
plug.
9. Never use the worklight if the cable or plug are damaged.
10. Always stand on a firm, level surface.
11. Do not operate within 1m of combustable materials.
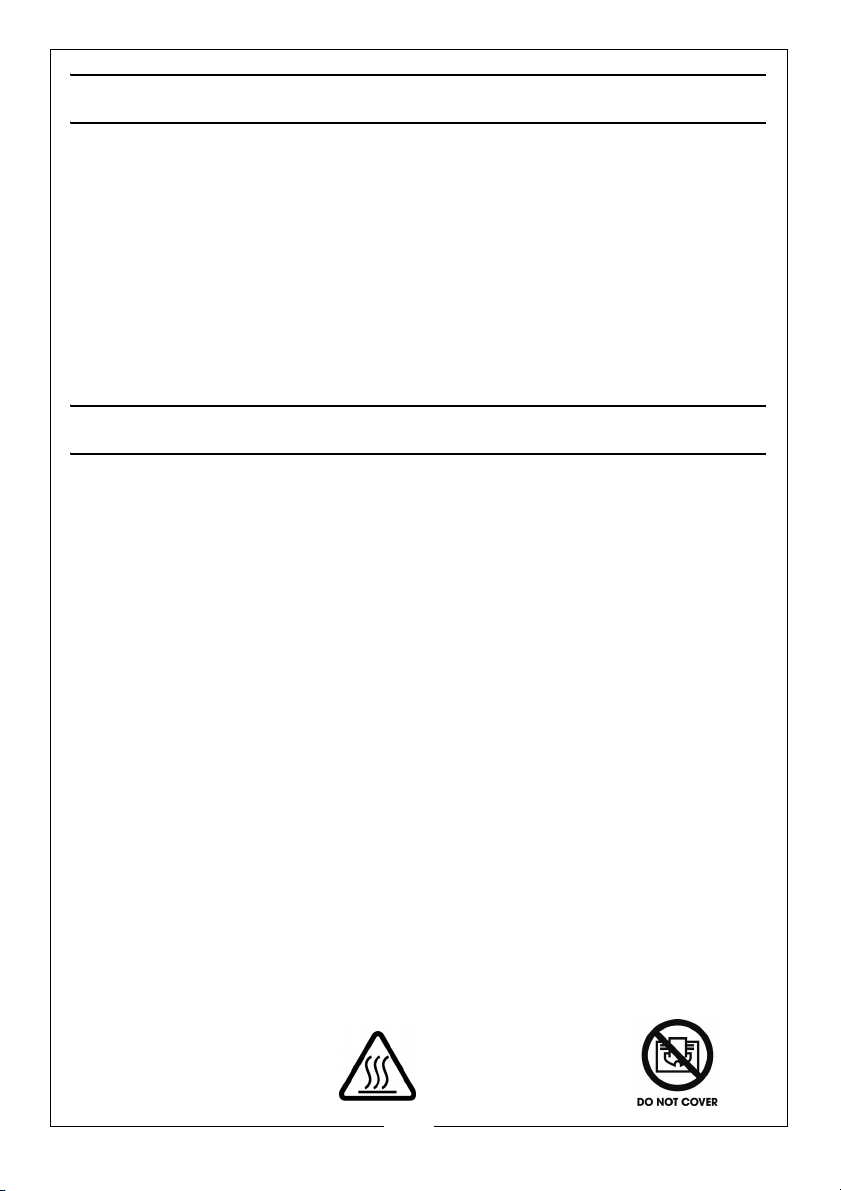
SAFETY SYMBOLS
The following symbols appear on the unit.
Hot surface, do not touch. Do not cover
3
Parts & Service: 020 8988 7400 / E-mail: [email protected] or [email protected]
Page 4
ELECTRICAL CONNECTIONS - 110VOLT
WARNING! READ THESE ELECTRICAL SAFETY INSTRUCTIONS
THOROUGHLY BEFORE CONNECTING THE PRODUCT TO A
POWER SUPPLY.
This lamp is to be used with a 16A-4H/100-130V 50~60Hz 2P+E and IP44BS
EN60309 cable/plug and can be connected to one of the following power
supplies:
• 110V generator
• 110V isolating transformer
• 110V site supply
• 230V generator or mains supply via a 110V transformer.
Connecting it to any other power source may cause damage.
This product includes a fitted industrial plug and a
cable for use with a 110 volt supply. On no account
can a 230V,13amp (BS1363) plug be used.
If using a portable 110V transformer make sure it has a
rated capacity sufficient to take the load of the
worklight.
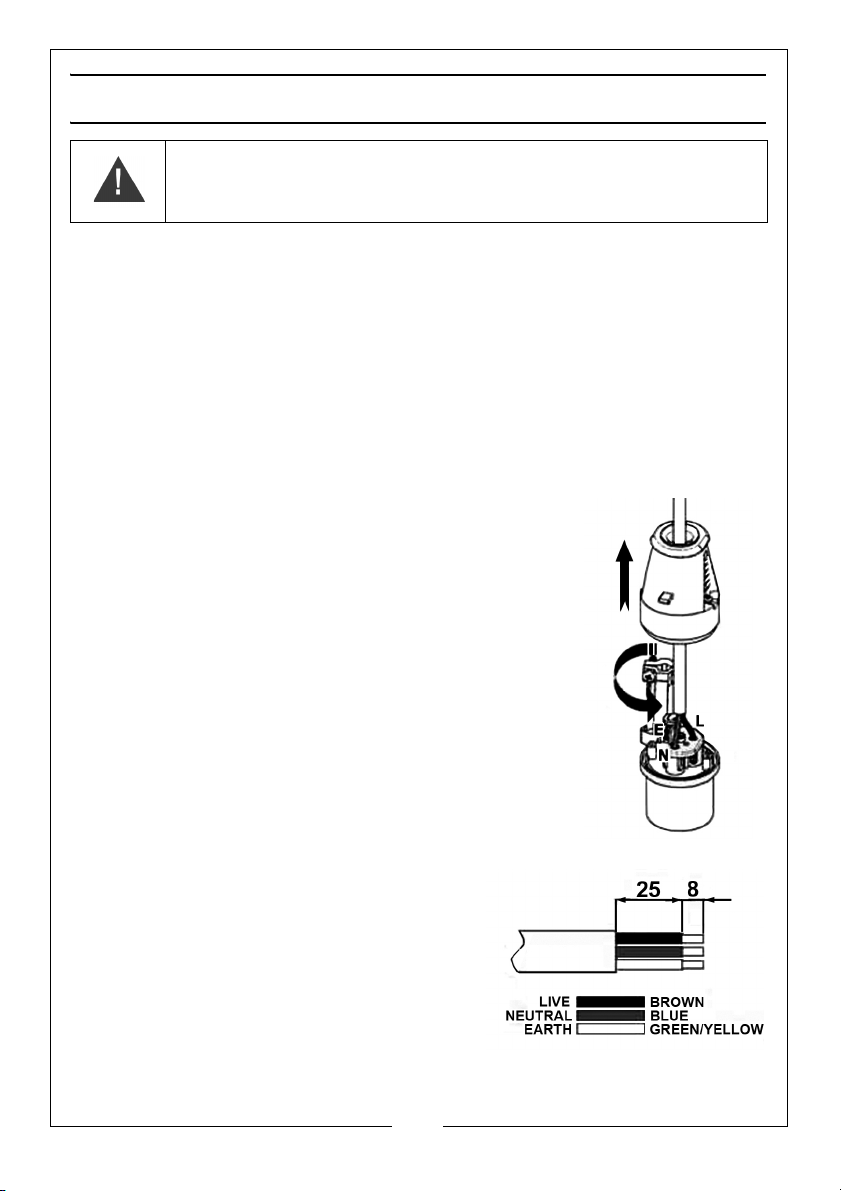
Should the plug need changing at any time, ensure
that a plug of identical specification is used and
proceed as follows:
1. Undo the socket screws & remove the rear section.
2. Rotate the cable clamp clear of the terminals.
3. Feed the cable through the rear gland in the plug.
4. Remove the cable sheath to the required lengths
as shown in the diagram.
5. Terminate the correct wires in the
correct terminal blocks as shown.
6. Remove the cable clamp screws. Clip
the cable clamp back into position and
place the clamp around the outer
sheath of the cable. Replace the screws
and tighten until the cable is securely
held.
7. Replace the rear cover and tighten the cover screws.
4
Parts & Service: 020 8988 7400 / E-mail: [email protected] or [email protected]
Page 5
If in any doubt, consult a qualified electrician. DO NOT attempt any repairs
yourself.
The user should purchase a suitable connecting lead which is compatible with
the worklight socket. The length giving mobility to the worklight but without
becoming a trip hazard.
ASSEMBLY & MOUNTING
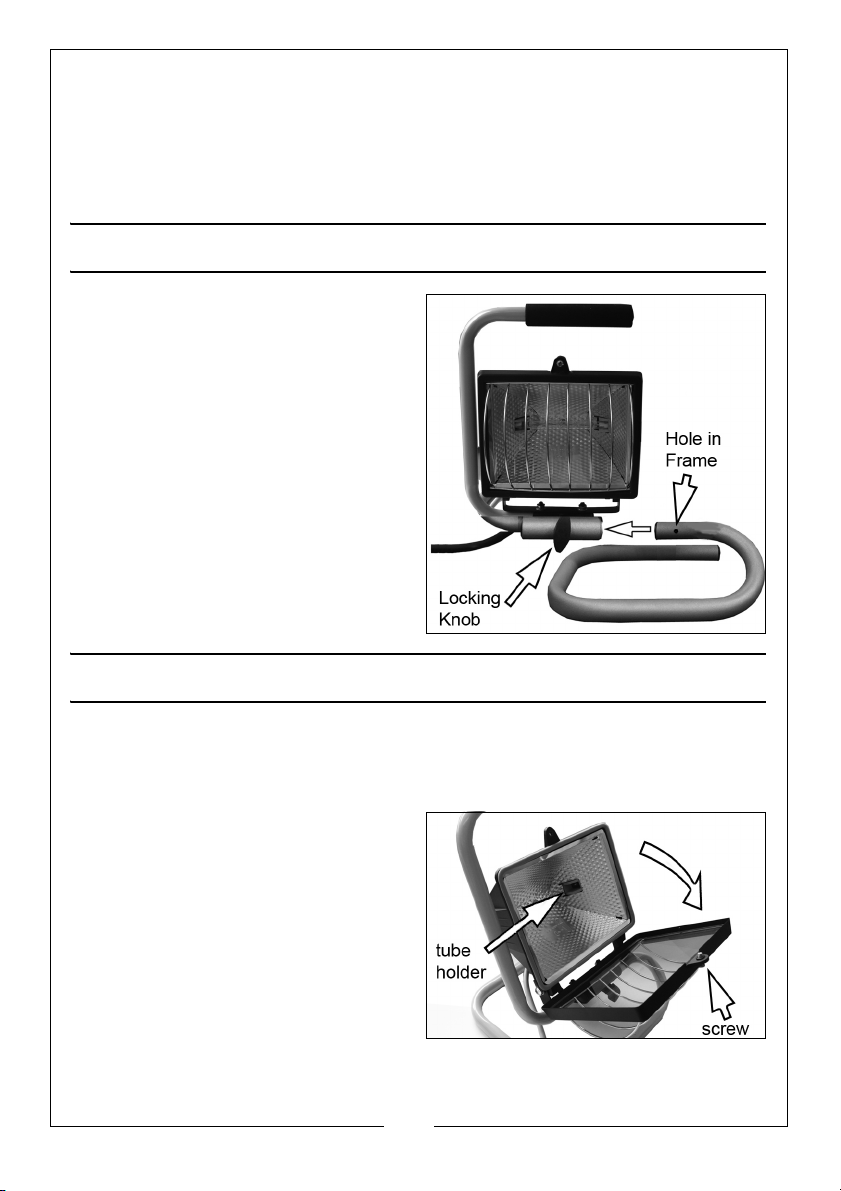
The worklight must be mounted on
the carry frame as shown.
1. Remove the locking knob from
the base section of the carry
frame, then insert the tubular base
into the frame attachment, as
shown.
2. Line up the holes in the two
sections of the frame then
replace and tighten the locking
knob.
MAINTENANCE
Always allow the lamp to cool before performing any maintenance.
The halogen tubes supplied have a life expectancy of approximately 1000
hours and can be replaced by the user.
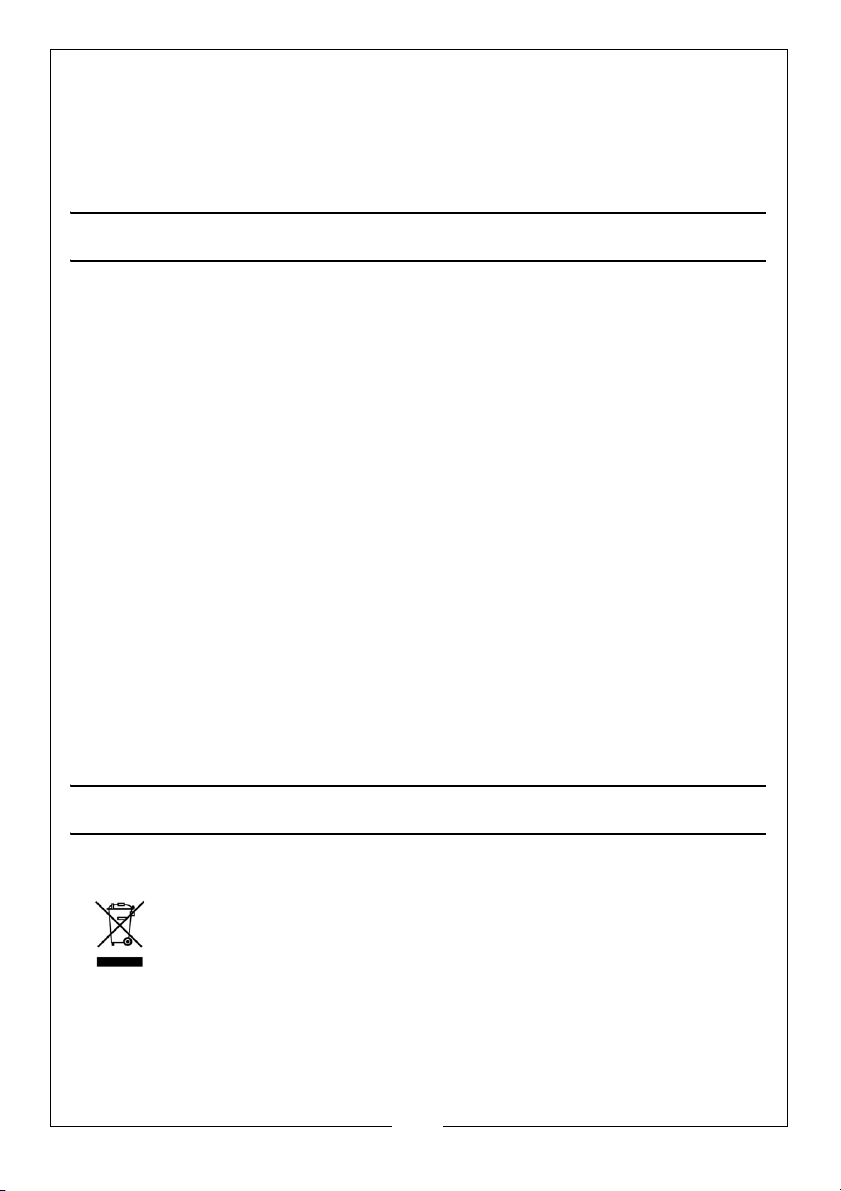
1. Release the screw holding the
front of the lamp closed and
hinge it away from the lamp.
• The tube is a simple press-fit in
the holder at each end.
2. Do not touch the tube if hot.
When handling the new tube use
clean paper or cloth...DO NOT
allow your fingers to come into
contact with the glass. If this
happens, clean the glass with methylated spirit.
3. Close the cover and re-tighten the screw.
5
Parts & Service: 020 8988 7400 / E-mail: [email protected] or [email protected]
Page 6
4. Clean the lens at regular intervals using a non-abrasive glass cleaner.
Further replacement tubes can be obtained from your local dealer or Clarke
International Spares Department.
Type R7s-J118 - 110V -Max 400W Part No. 5460675
CARE & STORAGE
1. When not in use, switch off & unplug from the power supply.
2. Store this worklight in a secure, dry place, out of the reach of children. DO
NOT leave it exposed to the elements and avoid direct sunlight, direct
heat, rain/moisture etc.
3. Keep the external surfaces clean. Avoid impact damage & do not allow
this worklight to come into contact with abrasive or corrosive materials.
4. Do not use solvents, thinners or alcohol for cleaning, (with the exception of
the halogen tubes), as these chemicals will damage the finish. With the
worklight unplugged from the power supply, use a dry cloth to wipe over
the components.
5. Only use extension leads that are of an appropriate power rating and
suitable for the work environment. Inspect the extension lead regularly and
replace if damaged.
6. Never use unauthorised accessories or attachments which may result in
personal injury or damage to the product.
7. Do not attempt to repair or modify this product or attempt any electrical
repair yourself beyond replacing halogen tubes. Consult the Clarke Service
Department on 020 8988 7400.
ENVIRONMENTAL RECYCLING POLICY
Through purchase of this product, the customer is taking on the obligation to
deal with the WEEE in accordance with the WEEE regulations in
relation to the treatment, recycling & recovery and environmentally
sound disposal of the WEEE.
In effect, this means that this product must not be disposed of with
general household waste. It must be disposed of according to the laws
governing Waste Electrical and Electronic Equipment (WEEE) at a recognised
disposal facility.
6
Parts & Service: 020 8988 7400 / E-mail: [email protected] or [email protected]
Page 7
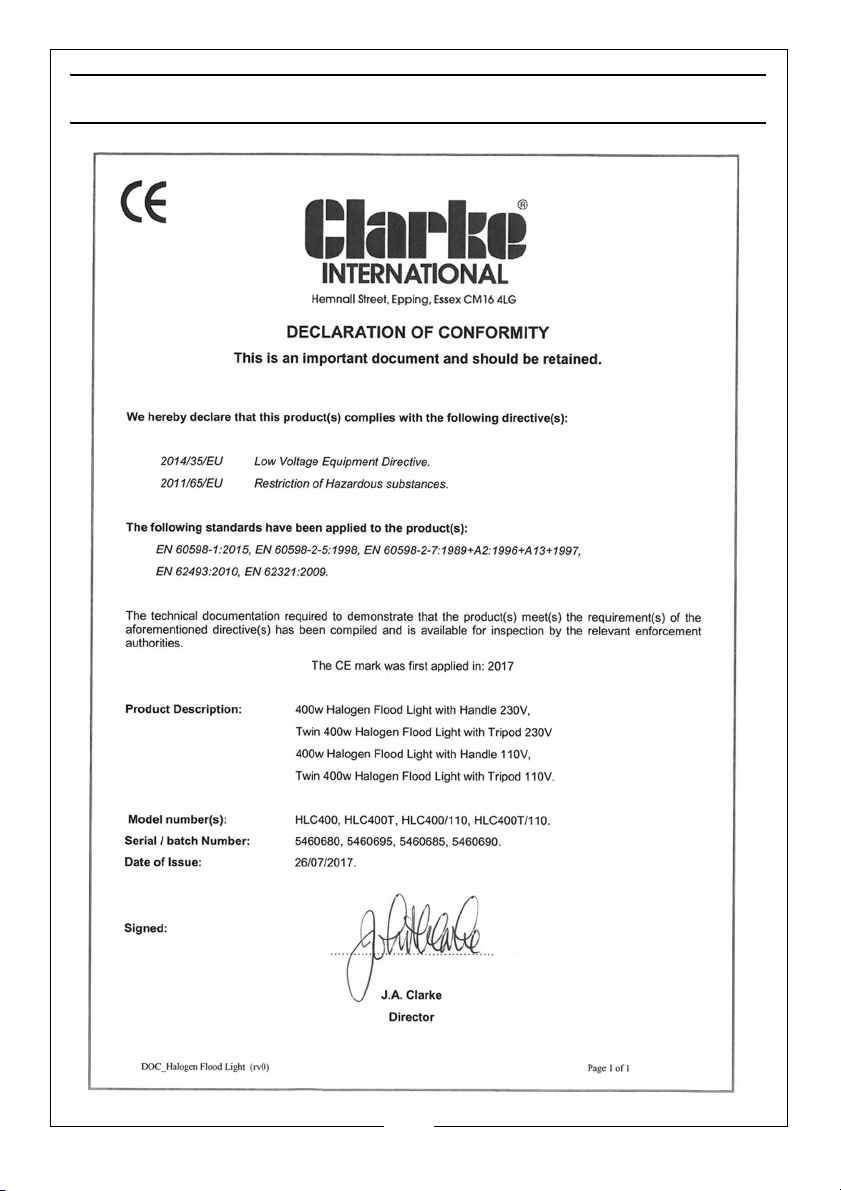
DECLARATION OF CONFORMITY
7
Parts & Service: 020 8988 7400 / E-mail: [email protected] or [email protected]
Page 8

 Loading...