

Page 1
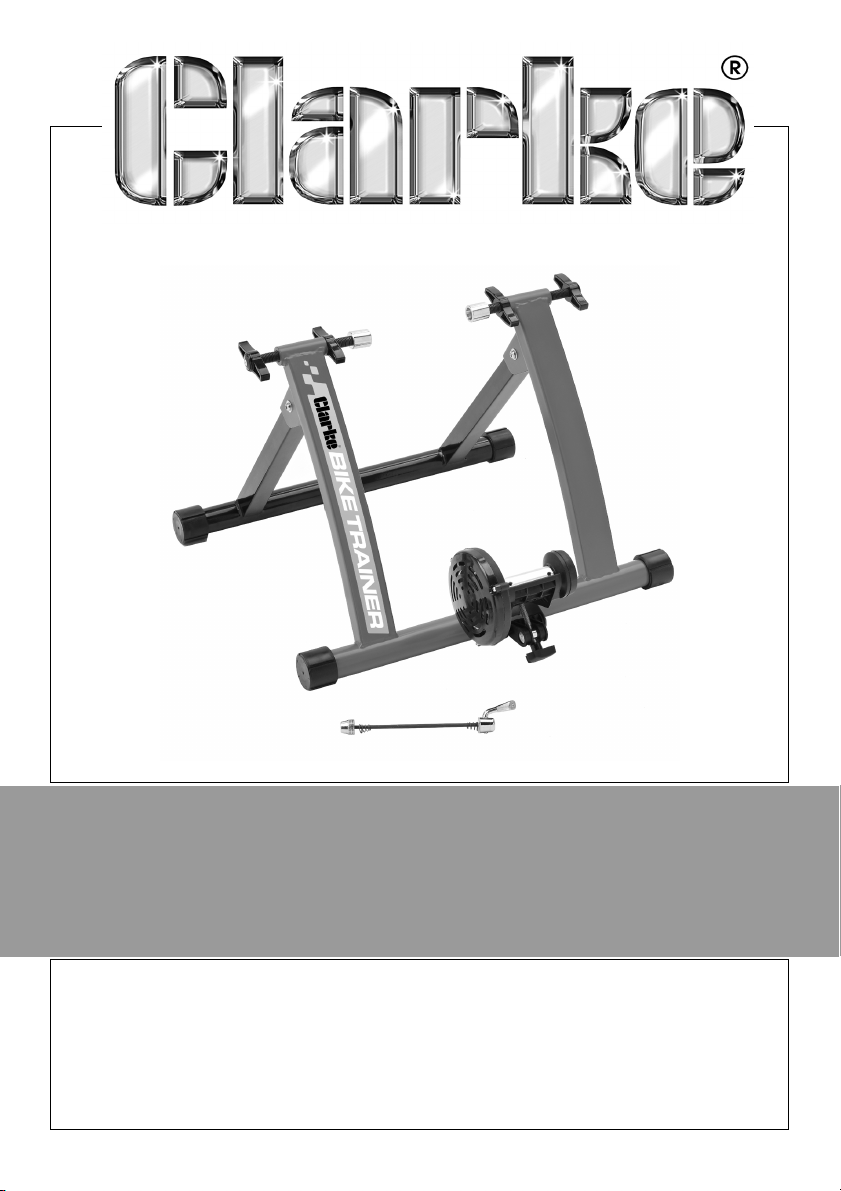
BIKE TRAINER
MODEL NO: CCTS
PART NO: 4510001
OPERATION & MAINTENANCE
INSTRUCTIONS
LS0211
Page 2
INTRODUCTION
Thank you for purchasing this CLARKE bike trainer.
Before attempting to use the bike trainer, it is essential that you read this manual
thoroughly and carefully follow all instructions given. In doing so you can look forward to
the bike trainer giving you long and satisfactory service.
SAFETY WARNINGS
• Do not touch the spinning roller or wheels at any time whilst using the trainer.
• Maintain a normal riding position and keep both hands on the handlebars.
• Check the bike trainer regularly for damage.
• Do not allow small children to use the bike trainer.
• Ensure all wing nuts are securely tightened before using the bike trainer.
• Do not brake suddenly when using the bike trainer.
• Do not use the bike trainer if you are feeling unwell or under the influence of
alcohol of medication.
• You should satisfy yourself that there is no medical reason that you should not
used the bike trainer
SPECIFICATIONS
Maximum weight capacity 150 kg
Bi cy cl e W he el Si ze s: (m in . - ma x) 26 ” - 28 ”
Dimensions: (unfolded) 545 x 472 x 380 mm
Weight 6.1kg
SPARE PARTS
The following spare parts are available from the Clarke Spares department.
Locking Wing Nuts HKCCTS01 Roller Adjustment Knob HKCCTS03
Skewer HKCCTS02 Rubber Feet HKCCTS04
2
Parts & Service: 020 8988 7400 / E-mail: [email protected] or [email protected]
Page 3
INSTALLING YOUR BIKE
Specialised training tyres are not required to use this bike trainer, but they are
recommended if you intend to use the bike trainer for prolonged periods of time.
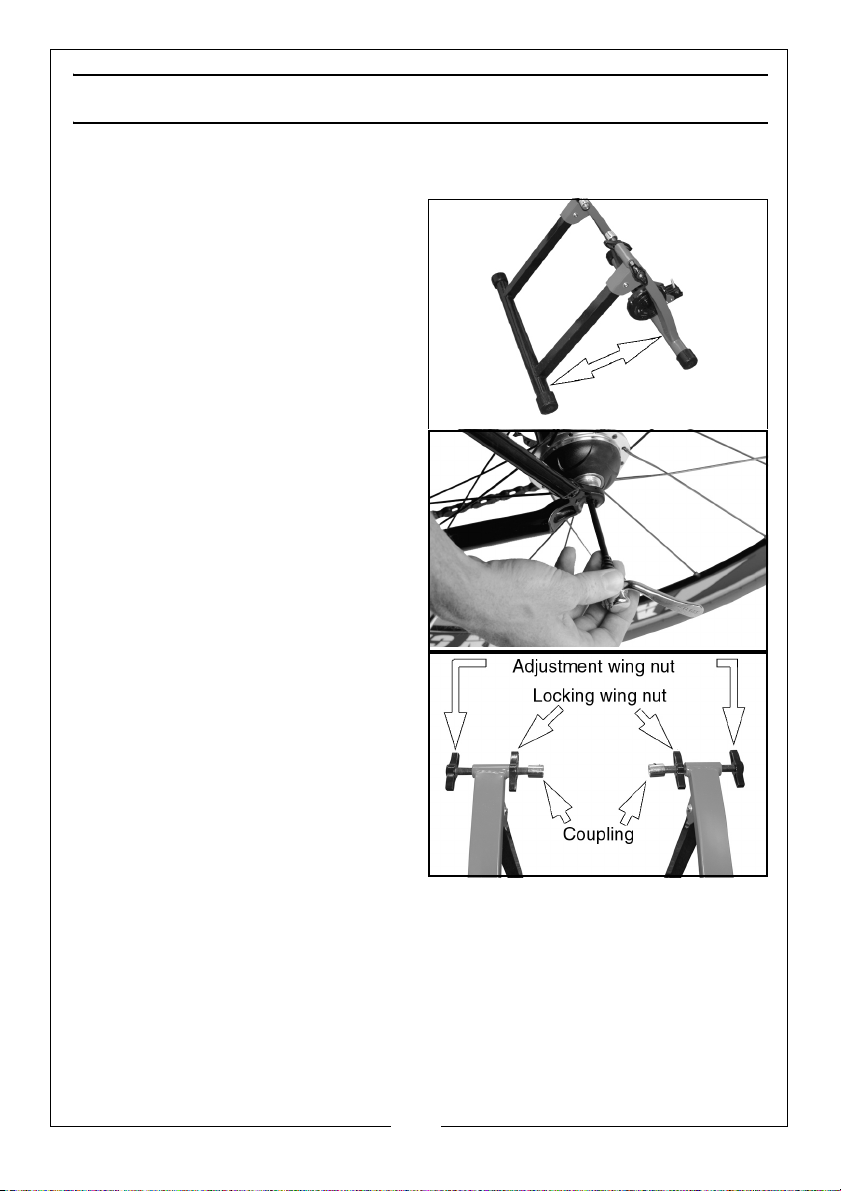
1. Fully extend trainer legs and set the
trainer on a flat level surface.
2. The trainer is designed for use with the
supplied skewer.
• You must replace your rear skewer
with the one supplied.
• This ensures ideal clamping and
stability on the trainer.
• Make sure the wheel is securely
clamped to the bike using the
supplied skewer.
3.
Rotate both locking wing nuts so that
they are positioned next to the
couplings.
4. Rotate the adjustment wing nuts to
create a wide clearance between
the couplings.
5. Hold the bike by the saddle and hold
the rear wheel between the two
couplings
6. Rotate the adjustment wing nuts to
position the couplings over the ends of
the skewer.
• The wheel should be in the centre of the bike trainer.
7. Adjust the locking wing nuts to lock the couplings in place.
3
Parts & Service: 020 8988 7400 / E-mail: [email protected] or [email protected]
Page 4
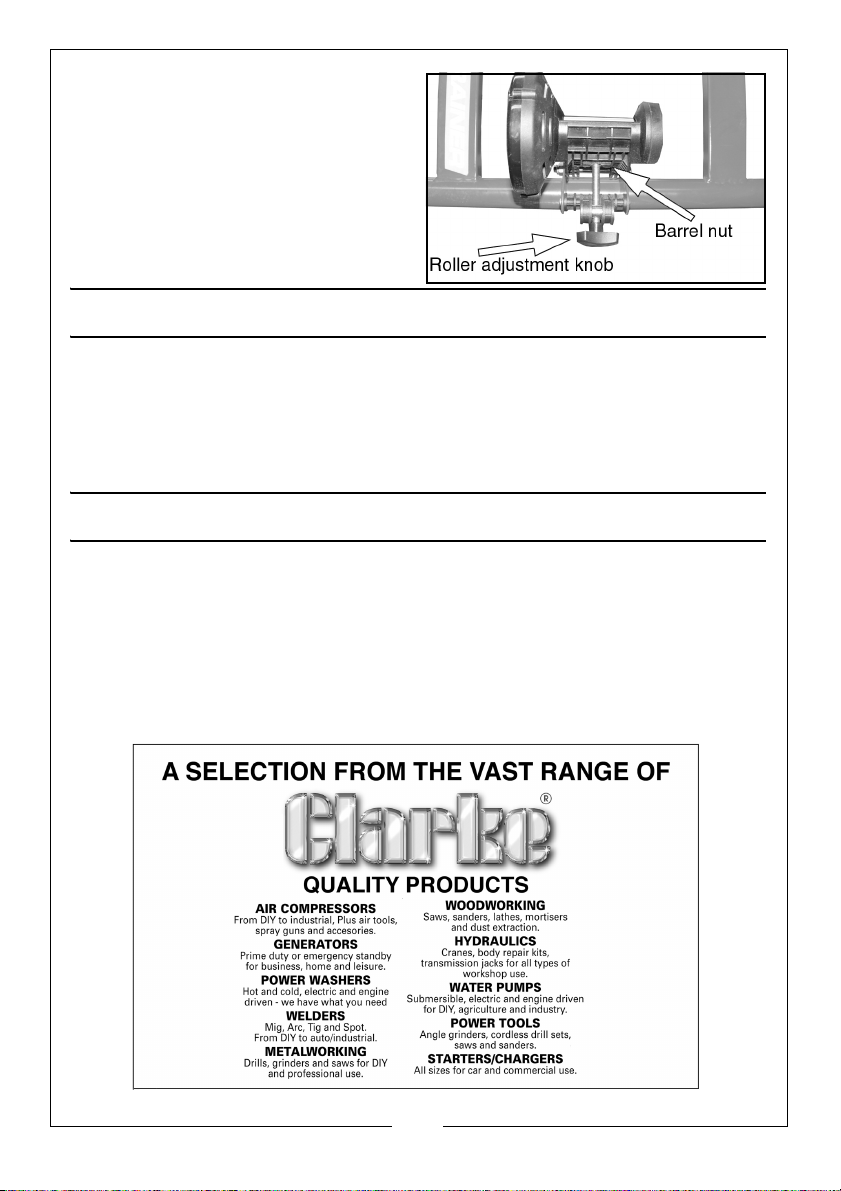
8. Ensure roller adjustment knob is fitted
correctly as shown through the barrel
nut.
9. Tighten the roller adjustment knob until
the roller is touching the rear tyre.
• Tighten further if the tyre slips on the
roller.
REMOVING YOUR BIKE:
1. Loosen roller adjustment knob, until the wheel is clear of the roller.
2. Hold the bike and loosen the locking wing nuts and adjustment wing nuts
• Make sure you’re holding onto your bike before releasing it.
3. Remove your bike from the trainer.
GUARANTEE
This CLARKE product is guaranteed against faulty manufacture for a period of 12
months from the date of purchase. Please keep your receipt as proof of purchase.
This guarantee is invalid if the product is found to have been abused or tampered with
in any way, or not used for the purpose for which it was intended.
Faulty goods should be returned to their place of purchase, no product can be
returned to us without prior permission.
This guarantee does not effect your statutory rights.
4
Parts & Service: 020 8988 7400 / E-mail: [email protected] or [email protected]
 Loading...