

Page 1
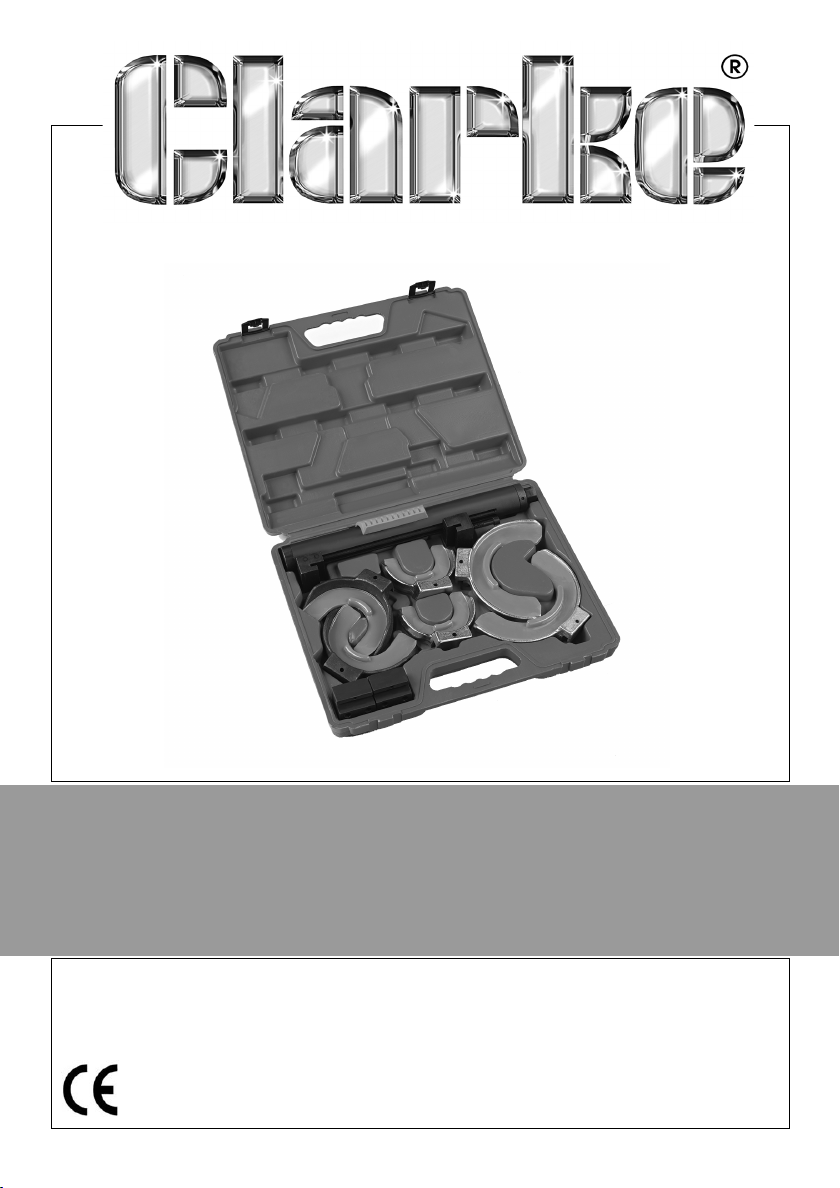
PROFESSIONAL COIL SPRING COMPRESSOR
MODEL NO: CHT747
PART NO: 1801747
OPERATION & MAINTENANCE
INSTRUCTIONS
LS0813
Page 2
INTRODUCTION
Thank you for purchasing this CLARKE Professional Coil Spring Compressor.
which is suitable for straight or conical springs including Macpherson strut
assemblies (cars and small commercial vans only).
Before attempting to use this product, please read this manual thoroughly and
follow the instructions carefully. In doing so you can look forward to your
purchase giving you long and satisfactory service.
GUARANTEE
This product is guaranteed against faulty manufacture for a period of 12
months from the date of purchase. Please keep your receipt which will be
required as proof of purchase.
This guarantee is invalid if the product is found to have been abused or
tampered with in any way, or not used for the purpose for which it was
intended.
Faulty goods should be returned to their place of purchase, no product can
be returned to us without prior permission.
This guarantee does not effect your statutory rights.
WHATS SUPPLIED
Contact your Clarke dealer if any items are missing or damaged.
• Compressor Column (with hand
grip attached)
• Bolts (4 x Large and 2 x Small) • Small Extension blocks
• 3 pairs of Yokes (Gold, Black and
Silver)
TECHNICAL SPECIFICATION
Maximum Spring Load 1000 kg
Size/Suitability Gold Ø 80-105 mm,
Black Ø 105-140 mm,
Silver Ø 145-190 mm
Jaw Opening 265 mm
Drive 21 mm Hex
2
Parts & Service: 020 8988 7400 / E-mail: [email protected] or [email protected]
Page 3
SAFETY INSTRUCTIONS
WARNING: ENSURE HEALTH & SAFETY, LOCAL AUTHORITY, AND
GENERAL WORKSHOP PRACTICE REGULATIONS ARE
ADHERED TO WHEN USING THIS EQUIPMENT.
WARNING: WEAR APPROVED SAFETY EYE PROTECTION (STANDARD
SPECTACLES ARE NOT ADEQUATE).
WARNING: DO NOT COMPRESS THE SPRING TO AN EXTENT WHERE THE
COIL WINDINGS OR JAWS TOUCH.
WARNING: MEASURE THE OUTSIDE DIAMETER OF THE SPRING TO BE
COMPRESSED AND SELECT THE CORRECT SET OF JAWS TO
FIT THE SPRING.
• DO NOT operate the spring compressor if parts are damaged or
missing as this can cause failure or injury.
• DO NOT force the spring compressor to achieve a task it was not
designed to perform.
• DO NOT use Air tools to adjust the spring compressor.
• DO NOT allow untrained persons to use the spring compressor.
• Familiarise yourself with the applications, limitations and potential
hazards of the spring compressor.
• Maintain the spring compressor in good condition. Replace or repair
damaged parts. Use genuine parts only. Unauthorised parts may be
dangerous and will invalidate the warranty.
• Keep the work area clean, uncluttered and ensure there is adequate
lighting.
• Keep hands and body clear of the spring when operating the spring
compressor.
• Maintain correct balance and footing. Ensure the floor is not slippery
and wear non-slip shoes.
• Remove ill fitting clothes. Remove ties, watches, rings, other loose
jewellery. Contain and/or tie back long hair.
• Wear appropriate protective clothing.
• When not in use, clean and store the spring compressor in a safe, dry,
childproof location.
3
Parts & Service: 020 8988 7400 / E-mail: [email protected] or [email protected]
Page 4
INSTRUCTIONS FOR USE
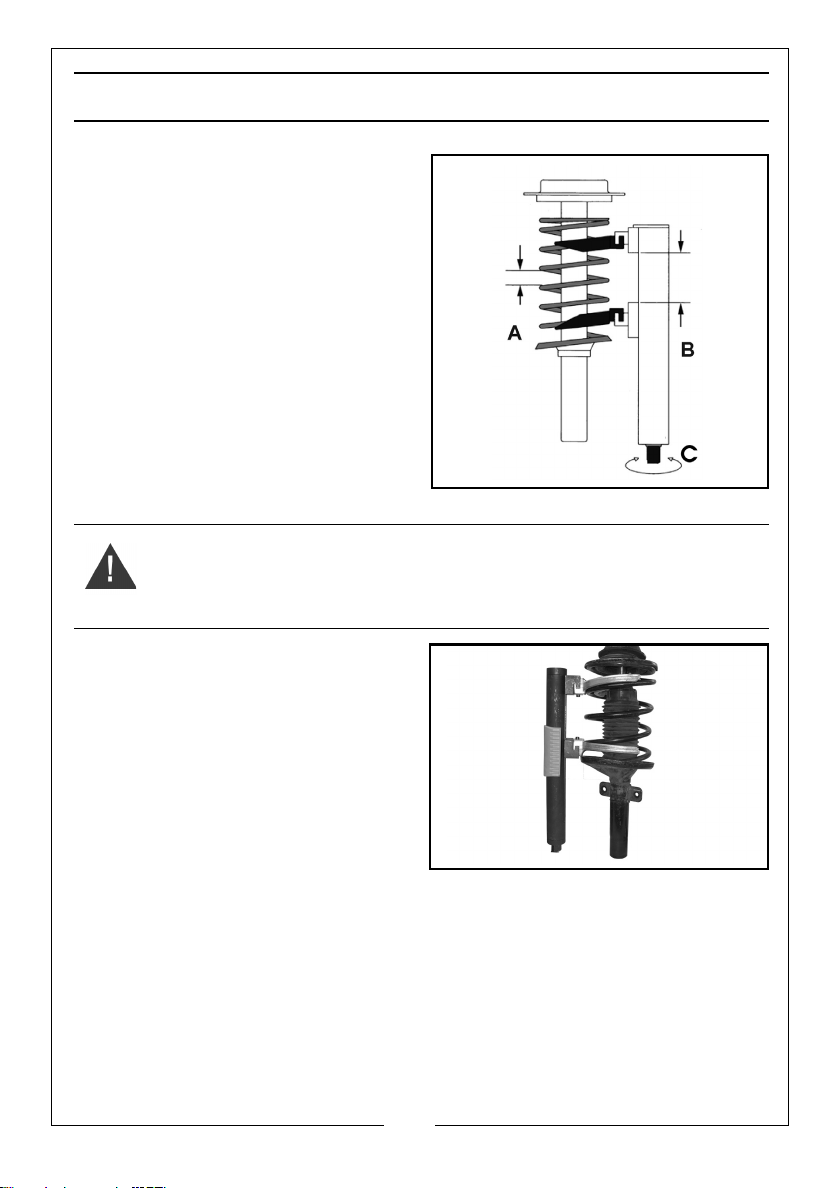
1. The basic setup is as shown on the
right.
• Each yoke has safety lips to
prevent slippage and is angled
to fit the pitch of the spring to
achieve maximum surface
contact between the yokes
and the spring,
2. The yokes are adjusted by rotating
the Hex nut (C).
• Do not use air tools to tighten or
loosen the Hex nut (C)
WARNING: DO NOT COMPRESS THE SPRING TO AN EXTENT WHERE THE
COIL WINDINGS (A) OR JAWS TOUCH (B).
3. Ensure the yokes and the column
of the compressor are correctly
aligned at all times during
compression.
• Do not allow the spring to
touch the column of the
compressor, use extension
blocks if required see next
section.
4
Parts & Service: 020 8988 7400 / E-mail: [email protected] or [email protected]
Page 5
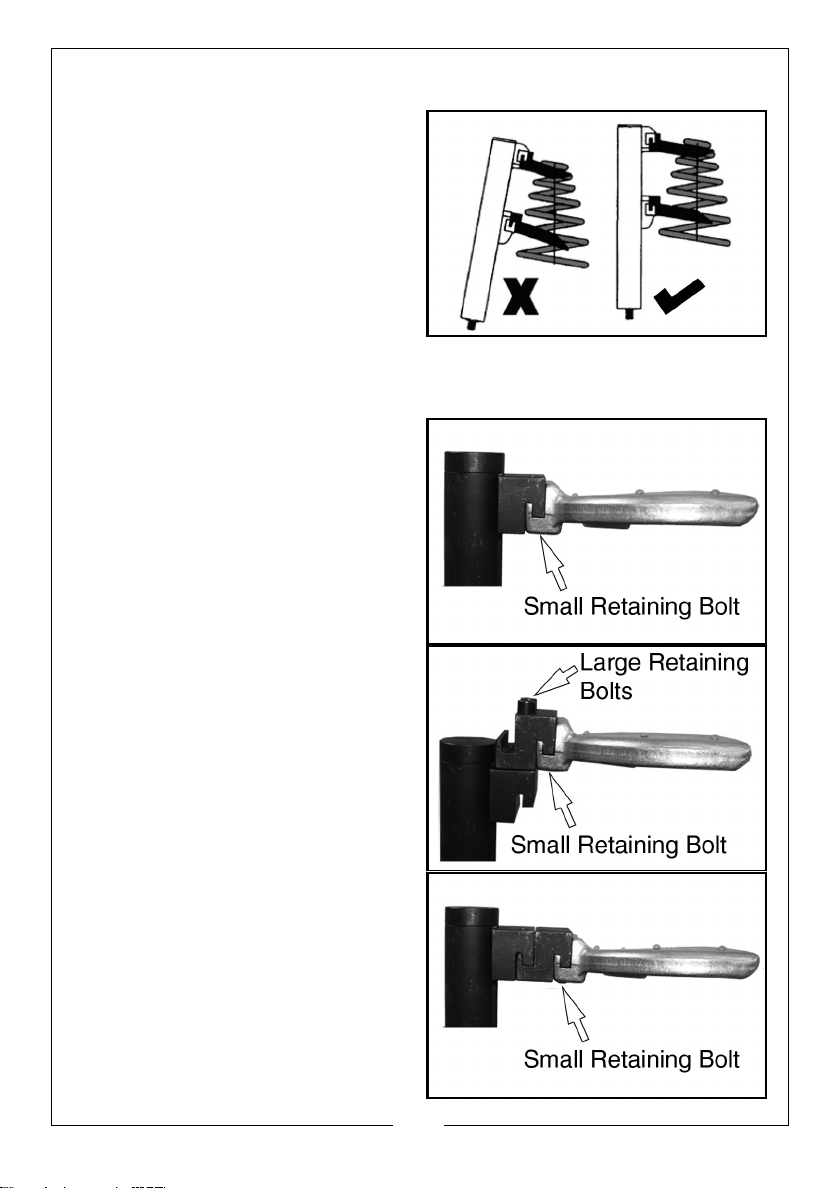
CONICAL/WIDE BODIED SPRINGS
4. For conical springs, the centre axis
of the spring should always stay
parallel to the compressor
column.
• You may need to use different
sized yokes for the top and
bottom of the spring.
5. If necessary, use the extension
block(s) as shown to keep the
spring and compressor body
parallel.
The extension blocks can be fitted in various ways.
•
•
•
5
Parts & Service: 020 8988 7400 / E-mail: [email protected] or [email protected]
Page 6
TO COMPRESS A SPRING REMOVED FROM A VEHICLE.
1. Measure the outside diameter of the spring to be compressed and select
the correct set of jaws to fit the spring.
2. Mount the selected jaws on the compressor body, using the retaining bolts
and tighten securely.
3. Rotate the hexagonal nut, to drive the jaws apart to the length of the
spring and to allow compression of as many windings as possible.
4. Place the spring compressor onto the spring, ensuring the spring seats
correctly between the safety lips and the outer ribs and cannot slide out
during compression.
5. Ensure the jaws and body are correctly aligned.
6. Rotate the hexagonal nut and compress the spring.
WARNING: DO NOT COMPRESS THE SPRING TO AN EXTENT WHERE THE
COIL WINDINGS OR JAWS TOUCH.
WARNING: DO NOT USED AIR TOOLS.
7. Secure the spring with a spring clamp or other suitable device.
TO DECOMPRESS A SPRING REMOVED FROM A VEHICLE.
1. To decompress the spring, reverse the compress procedure.
• Make sure you release the tension slowly to reduce the risk of the
spring slipping/flying out.
MAINTAINING THE SPRING COMPRESSOR
• Before each use check the compressor to ensure it is not damaged
or worn.
• If suspect, do not use the unit, but contact your local Clarke Dealer
who will be able to advise you regarding repair and spare parts.
• Grease the compressor spindle as necessary to inhibit corrosion.
• Keep the compressor clean, and when not in use, store in a safe,
dry, location.
6
Parts & Service: 020 8988 7400 / E-mail: [email protected] or [email protected]
Page 7
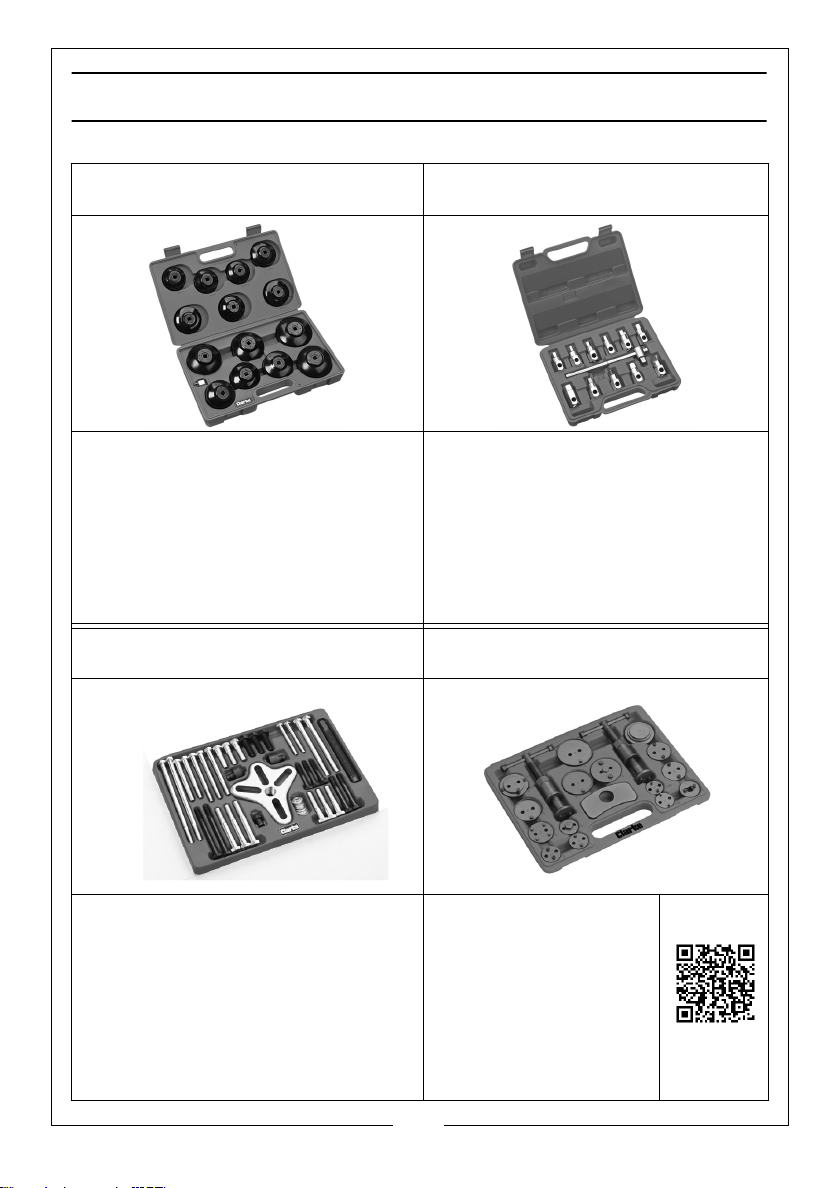
ALSO AVAILABLE FROM YOUR CLARKE DEALER
CHT695 OIL FILTER CAP WRENCH SET CHT701 12 PIECE OIL DRAIN PLUG
KEY SET
• Can withstand up to 85lb ft torque
• Oxide finish for rust protection
• Can be used with 3/8” & 1/2”
square drive wrenches
• Kit includes 14 wrenches, adaptor
and tough carry case
CHT698 46 PIECE HARMONIC
BALANCE PULLER
• Removes flywheels and
pulleys 36 to 95mm diameter
• Solid yoke designed for 2 or 3
point fixing
• 5" pressure screw
• 3/8" square drive carbon steel
tommy bar
• 7 Hex key drives 3/8", 8, 9, 10, 12, 14
& 17mm
• 4 Square key drives 3/8", 8, 11 &
13mm
CHT658 BRAKE CALIPER WIND BACK
TOOL SET
• Left & right hand
threaded bolt
assemblies
•Rewind tools and
reaction plate
• 15 adaptor plates to
suit a range of
vehicles
QR CODE
7
Parts & Service: 020 8988 7400 / E-mail: [email protected] or [email protected]
Page 8
 Loading...