

Page 1

Fig Name Description
1
Handset With
Indicator Light
Indicator light blinks when phone rings and remains lit to indicate a
new voicemail message
2
Lcd Screen
Displays features such as: time, date, phone number, caller ID, etc.
3
Line/Speed Dial
Opens a new line, speed dials the number programmed
and displayed
4
Foot Stand Adjust
Adjusts the angle of the phone base
5
Messages
Provides access to voicemail system
6
Directories
Provides access to call histories such as missed, received and placed
calls
7
Help
Displays help on your LCD screen for a phone key or function
8
Settings
Provides access to user preferences such as ring sounds and
backgrounds
9
Services
Provides access to phone services such as extension mobility
10
Volume
Increases/decreases volume of handset, headset, or speakerphone
11
Speaker
Toggles the speaker on or off
12
Mute
Toggles the mute on or off
13
Headset
Toggles the headset on or off
14
Navigation
Used to scroll and select
15
Dial Pad
Works exactly like the dial pad on a traditional telephone
16
Softkeys
Enables you to select any of the functions displayed on the LCD tabs
Making a Phone Call
1. Lift the handset orPress the
Speaker button.
2. On the keypad, enter the extension (inside TU) or
Type 6 and then
the phone number
(outside TU).
3. You will hear it
ringing.
Answering a Phone Call
Pick up the handset or press the
Speaker button.
Placing a Call on Hold
1. While on a call, press
the Hold softkey .
2. Press the Resume softkey to return
to the phone call or press the ashing green line button
Transfer a Call
1. During a call, press the Transfer
soft key. This puts the call on hold.
2. Dial the number or
ofce extension to
which you want to
transfer the call.
3. When it rings on the other end, press
Transfer again. Or, when the party
answers, announce the call and then
press Transfer.
4. If you are using a handset, hang up.
5. If the party refuses the call, press
the Resume soft key to return to
the original call.
Answering Multiple Calls
on One Phone Line
1. While on a phone call
and when another call
comes in, press the
navigation button to
move to the second
call. The second call
will become
highlighted.
2. Press the Answer softkey or press
the green line button to pick up the
second call.
3. The rst call will automatically
be put on hold.
CISCO IP Phone
Quick User Guide
CISCO IP Phone Quick User Guide
Page 2
During the
Message
After the
Message
1
Restarts the
message
Repeats the
message
3
Deletes the
message
4
Forwards the
message
5
Saves the message Saves the
message
6
Speeds up the
message
Marks the
message
as new
7
Slows down the
message
Skips back
9
Plays the message
properties
*
Cancels playing
the message
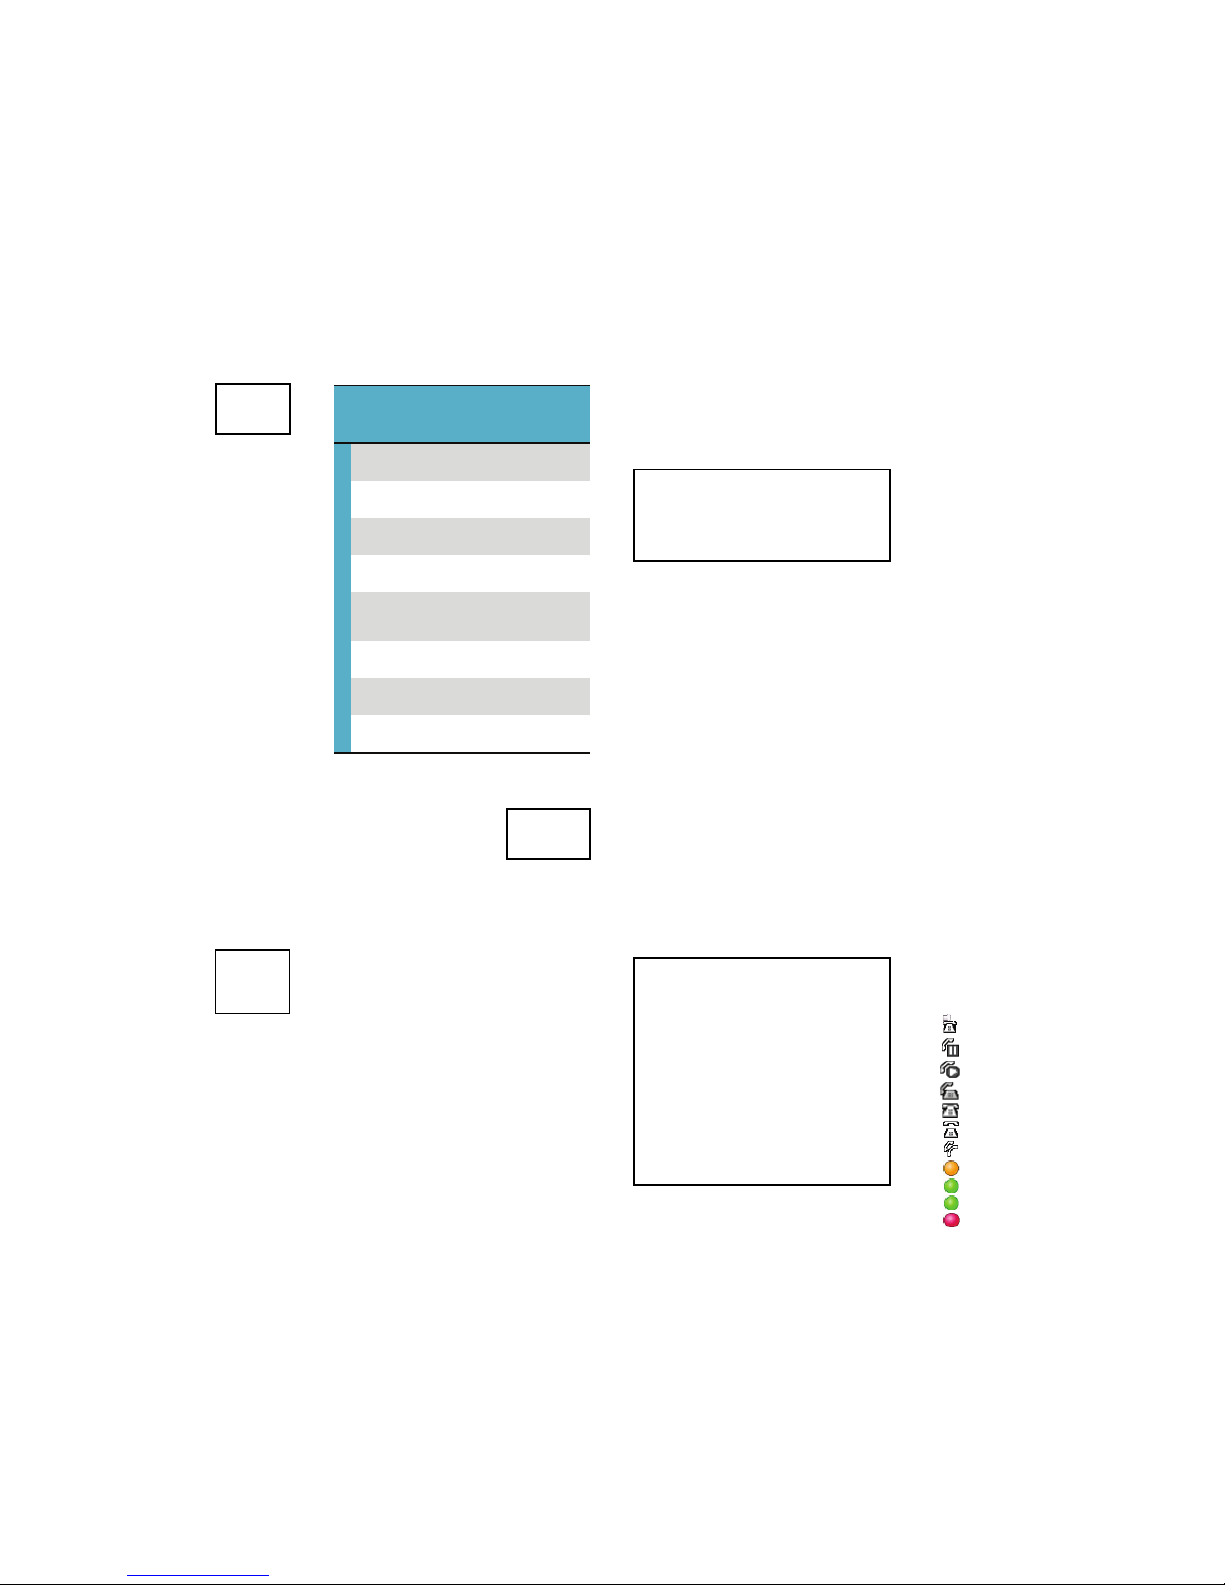
Call Forwarding Enabled
Call on Hold
Connected Call
Off-Hook
On-Hook
Incoming Call
Shared Line in Use
Incoming Call (flashing amber)
Line is Active (steady green)
Call on Hold (flashing green)
Shared Line in Use (steady red)
Changing the Ringer Sound
1. Press the settings
button on your
phone.
2. Press 1 on your keypad for User
Preferences.
3. Press 1 on your keypad for Rings.
4. Select the line you wish to change
the ring for by pressing the navigation button to highlight.
5. Press the Select softkey.
6. An array of different ring tones will
appear on the screen. Press the
navigation button to move from tone
to tone.
7. Press the Play softkey to hear a
sample if you wish.
8. When you nd a tone you like, press
the Select softkey.
9. After you have selected your ring
tone, press the Save softkey.
10. Press the Exit softkey.
Adjusting the Ringer Volume
1. Press the + or – on the VOLUME
button while the handset is in its
cradle.
2. The setting is automatically saved.
Creating a Conference Call
1. During an existing call, press the
More softkey.
2. Press Confrn (Conference) softkey.
The rst caller will be put on hold
automatically.
3. Enter the phone number of the
conference participant on the keypad.
(you may have 6 total participants)
4. After the call connects and you speak
with the conference participant,
press the Confrn softkey.
5. This will add the other party to the
call. Your display will change to say
To Conference.
6. Repeat these steps to add additional
participants.
7. To end the conference call, press the
EndCall softkey. All calls are ended.
Changing the Background
1. Press the setting button.
2. Press 1 for User Preferences.
3. Press 2 for Background Images.
4. Use the Navigation buttons to select
an image or press the number of the
image on your keypad.
5. Press the Select softkey.
6. Press the Save softkey.
7. Press the Exit softkey twice.
Changing the LCD Brightness
1. Press the setting button.
2. Press 1 for User Preferences.
3. Choose 4 for Brightness.
4. Press the Up or Down softkeys to
move to the desired setting.
5. Press the Save softkey.
6. Press the Exit softkey twice.
Help
• Questions about this project can be
directed to the OTS Telecom Help
Desk at 410-704-5151.
• Self-help documents and a video tutorial may be found at www.towson.
edu/phones. Click on the Training &
Support link.
Call Icons on Phone Display
Voicemail CommandsSetting Up Voicemail
1. Press the
messages button.
2. You will be prompted
to enter your PIN. If this is the rst
time you have gone through this process, type 1234 on the keypad.
3. You will be guided through the
mailbox setup. You will be prompted
to record your rst and last name.
You will also be prompted to record
a personal greeting (or you may use
the default greeting which is supplied by the phone). You will then be
prompted to enter a new PIN number. This number must be at least 4
digits long.
Retrieving Voicemail from
your Phone
1. Press the messages button.
2. You will be prompted to enter your
PIN followed by #. You will be told
how many new messages you have
and any saved messages you have.
New messages will begin to play.
Note: You will also receive the voicemail
message in your Outlook Inbox
as a .wav le.
Sending All Calls to
Voicemail
1. On your handset, press
the CFwdALL softkey.
2. Press the messages
button on your handset.
3. There are two indicators that you
have forwarded all your calls to
voicemail:
• Forwarded to Voicemail appears at
the bottom of the display.
• There is a telephone icon in the top
right corner of the display with an
arrow pointing to the right.
4. To cancel, press the CFwdAll softkey
again on your handset.
CISCO IP Phone Quick User Guide
 Loading...