

Page 1
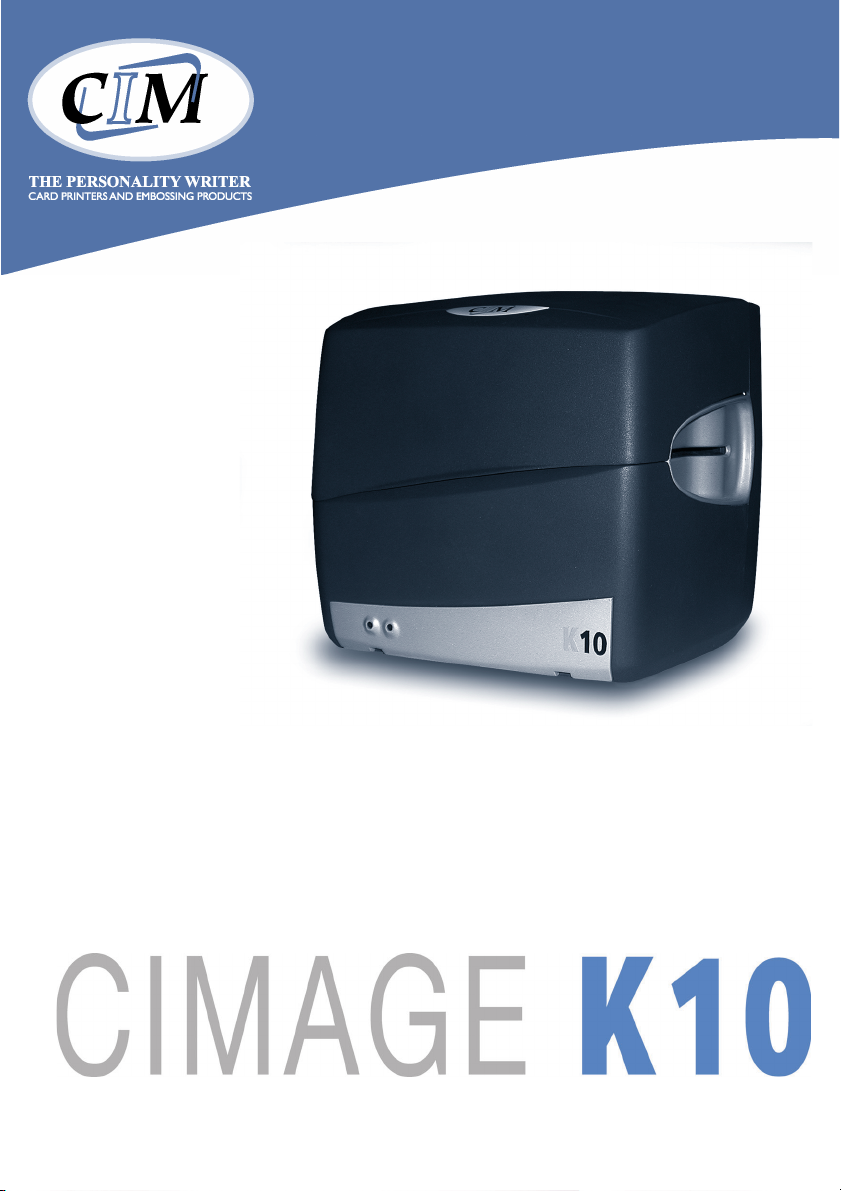
USER’S
MANUAL
Page 2

I INDEX
I INDEX .............................................................................. 2
0 FOREWORD ................................................................. 3
0.1 Using the workshop manual ................................... 3
0.1.1 Importance of the manual .................................... 3
0.1.2 Conserving the manual ......................................... 4
0.1.3 Consultation the manual ....................................... 4
0.2 Procedure for updating manual
in case of modifications to machine ............................ 5
0.3 Ordering original replacement parts ...................... 5
1 INTRODUCTION.......................................................... 6
1.1 Introduction ................................................................ 6
2 CHARACTERISTICS ........................................................ 7
2.1 Characteristics ............................................................ 7
3 INSTALLATION ............................................................ 8
3.1 Connect the serial cable .......................................... 8
3.2 Connect the power supply ...................................... 9
3.3 Use of the CD-ROM ............................................... 10
3.3.1 Operating system ................................................. 10
3.3.2 Autorun .................................................................. 10
3.3.3 CD-ROM contents ............................................... 10
4 PRINTER USE ............................................................. 11
4.1 The leds..................................................................... 11
4.2 The 3 printing modes ............................................. 11
4.3 How to place a ribbon ........................................... 12
4.4 Card insertion ........................................................... 14
4.5 Remove the ribbon ................................................. 15
5. WARNINGS ............................................................... 16
English
2
Page 3

0 FOREWORD
0.1 Using the workshop manual
0.1.1 Importance of the manual
This manual contains the instruction for putting into service,
using and maintainance of the THERMAL PRINTER SERIES
(K10).
Before to install and put into service the machine we
recommend that you carefoully read all the instructions in
this manual, as the effectiveness of any servicing operation
depends on the correct and methodical application of the
information contained herein.
If you run into difficulties or setbacks, CIM S.p.A. SERVICE
DEPARTMENT will be happy to provide you with the
necessary advice and assistance.
CIM S.p.A. declines any liability for any injury or damage
resulting from incorrect or unsuitable operations.
CIM S.p.A. reserves the right to make any modifications
aimed at improving its products without prior notification.
Please ensure that any amendments or updates you may
receive are kept with the original version of this manual.
3
English
Page 4

0.1.2 Conserving the manual
Do not tear or remove pages from the manual, or overwrite
any parts of the manual for any reason.
Keep the manual in safe place protected from excess heat
and humidity.
0.1.3 Consultation the manual
This manual comprises:
• COVER PAGE IDENTIFYING THE TYPE OF
PRODUCT
• TABLE OF CONTENTS
• INSTRUCTIONS AND/OR NOTES ON THE
PRODUCT
The INSTRUCTIONS AND/OR NOTES ON THE
PRODUCT define the safe working practices, correct
procedures and skills required to service the machine
correctly.
Please note that some of the illustrations in the manual,
which are included to help you identify the parts described
in the text, show standard engines and therefore may differ
in some details with respects to the product in your
possession.
English
4
Page 5

0.2 Procedure for updating manual in case of modifications to machine
If the MACHINE or MANUAL are MODIFIED in any way,
an UPDATE will be sent for insertion into the Manual.
0.3 Ordering original replacement parts
To help us provide a fast and efficient service, always specify
the following information when ordering replacement
parts:
- Thermal Printer type as indicated on nameplate;
- Serial number as indicated on nameplate and
stamped on crankcase;
- Quantity of each item required.
- Code of required part.
5
English
Page 6

1 INTRODUCTION
1.1 Introduction
Contents of the package :
• A Quick Start sheet
• A printer
• A power supply with its power cord
• A CDROM
• A serial cable
English
6
Page 7

2 CHARACTERISTICS
2.1 Characteristics
Resolution : 300 dpi
Printing technologies : Thermal transfert
Direct thermal
Direct thermal rewritable
Interface : serial RS232C
Card insertion : manual
Consumables : Plastic cards ABS, PVC, PET
Thickness : 0,3 mm up to 0,8 mm
1mil up to 3 mils’
Size : ISO 7810
Power supply : INPUT : 100-240 V
50-60Hz
consommation : max. 70W
operating conditions : temperature : 15°C to 35°C
Humidity : 20 to 80% without condensation
Dimensions 185 x 145 x 160 mm (W x D x H)
(7.28” x 5.71” x 6.30”)
Weight : 2,2 Kg (4.80 Lbs)
Approvals : CE, FCC class B
7
English
Page 8
3 INSTALLATION
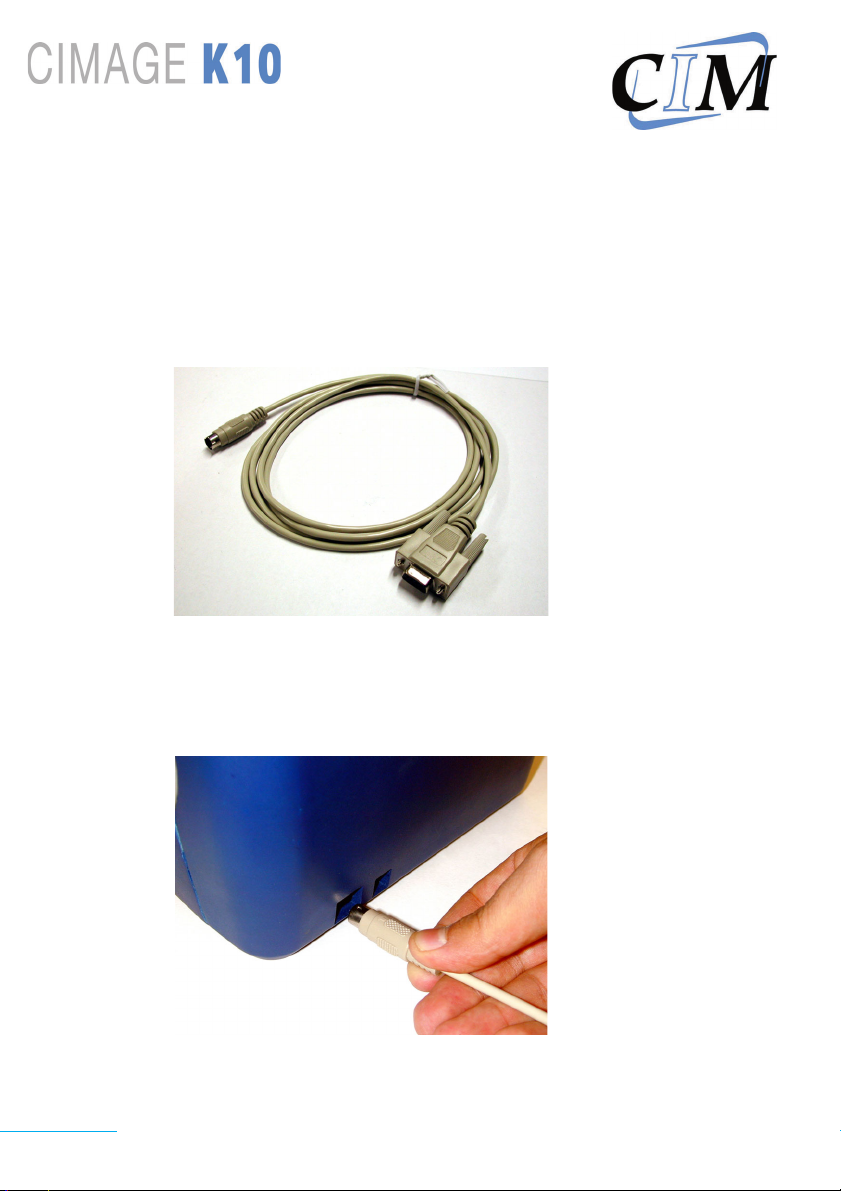
3.1 Connect the serial cable
Only use the serial cable supplied with the printer
• Connect the 8 way mini-DIN connector to the printer
• Connect the DB9 connector to your PC serial port
COM1 or COM2
English
8
Page 9
3.2 Connect the power supply
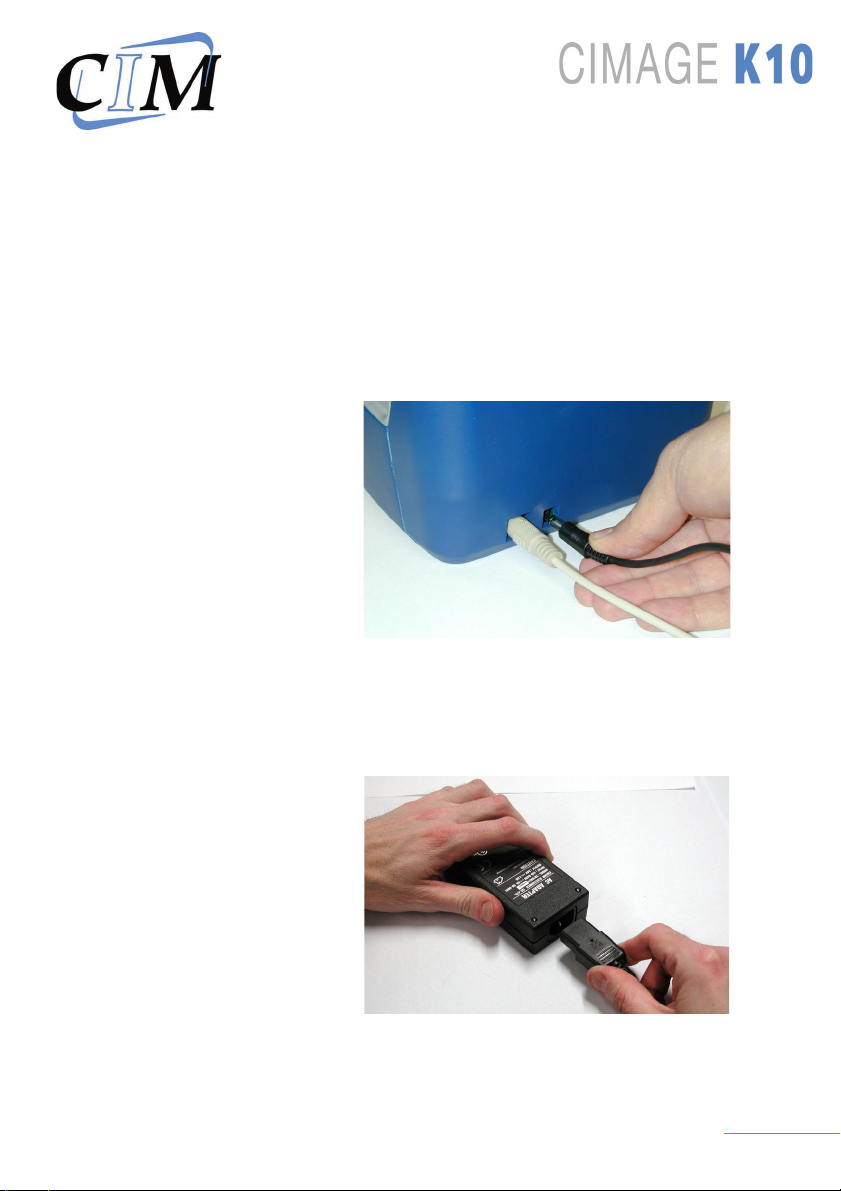
THE PRODUCT SAFETY IS WARRANTED ONLY WHEN
USED WITH THE EXTERNAL POWER SUPPLY DELIVERED
WITH THE PRINTER
The wall plug must be easily accessible and close to the
printer. The product safety is only warranted with standart
power connector (NFC15-100 or CEI364).
• Connect the JACK connector to the printer
• Connect the power cord to the power supply
• Connect the other end of the power cord to the wall
plug
• The printer is now ready
The printer power ON / OFF is done by plugging /
unplugging the jack connector.
9
English
Page 10

3.3 Use of the CD-ROM
Warning : the supplier assumes no responsibility for any
damage, liability or other loss resulting from the use of
these CD-ROM.
3.3.1 Operating system
• Windows 95/98/ME
• Windows NT 4.0
• Windows 2000
3.3.2 Autorun
• Insert the CD-ROM into the CD-ROM drive and follow
the instructions
or
• Open the index.htm file which is on the CD-ROM then
follow the instructions
3.3.3 CD-ROM contents
• The WINDOWS driver
• The user’s manual
• The Quick Start
English
Install the driver needed for your Operating System.
Connect the K10 to serial port (Com1/Com2) and use your
software to realize your card.
10
Page 11
4 PRINTER USE
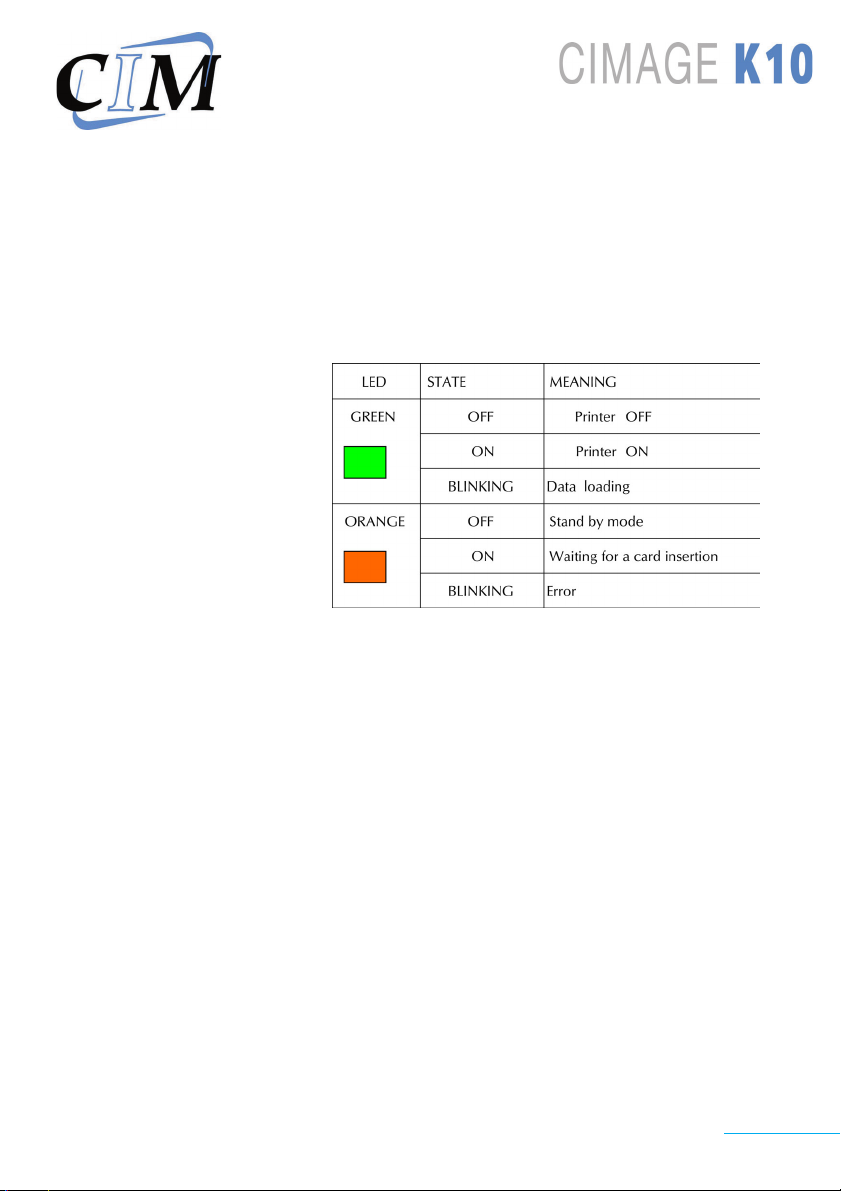
4.1 The leds
Only use the serial cable supplied with the printer
When you switch on the printer, if the green led is OFF and
the orange led is ON your printer is in the boot mode
(contact your technical support).
4.2 The 3 printing modes
With the Windows driver you can select 3 printing modes:
• Thermal transfert mode with thermal monochrom ribbon
• Direct thermal mode
• Direct thermal rewritable mode
11
English
Page 12
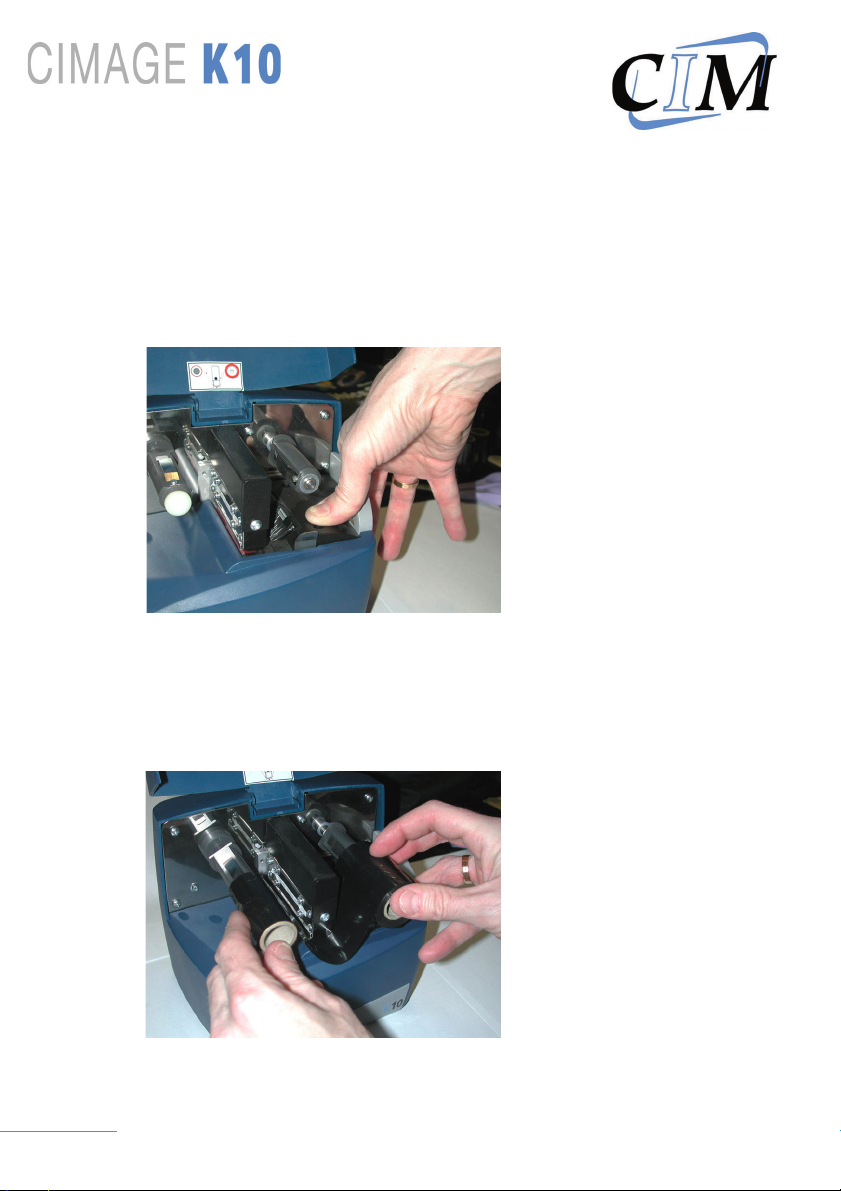
4.3 How to place a ribbon
• Open the printer
• Take the new ribbon
• Push down the card carrier with your finger until it is
locked down
• Put the full reel on the right side
• Put the empty reel on the left side by sliding the ribbon
under the printer
English
12
Page 13
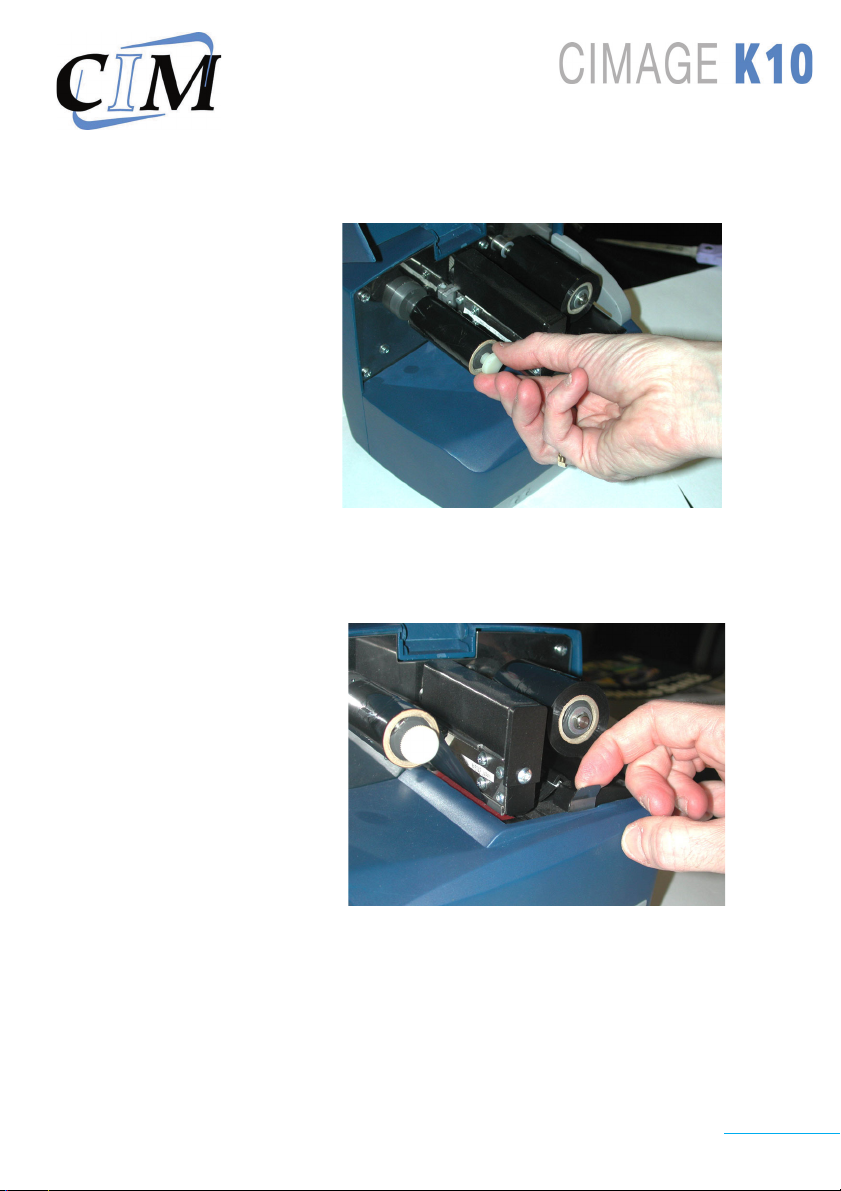
• Tighten the ribbon
• Maintain the card carrier with your finger and pull the
string plate, until the card carrier gets in upper position
• Close the printer
• The printer is now ready to print
13
English
Page 14
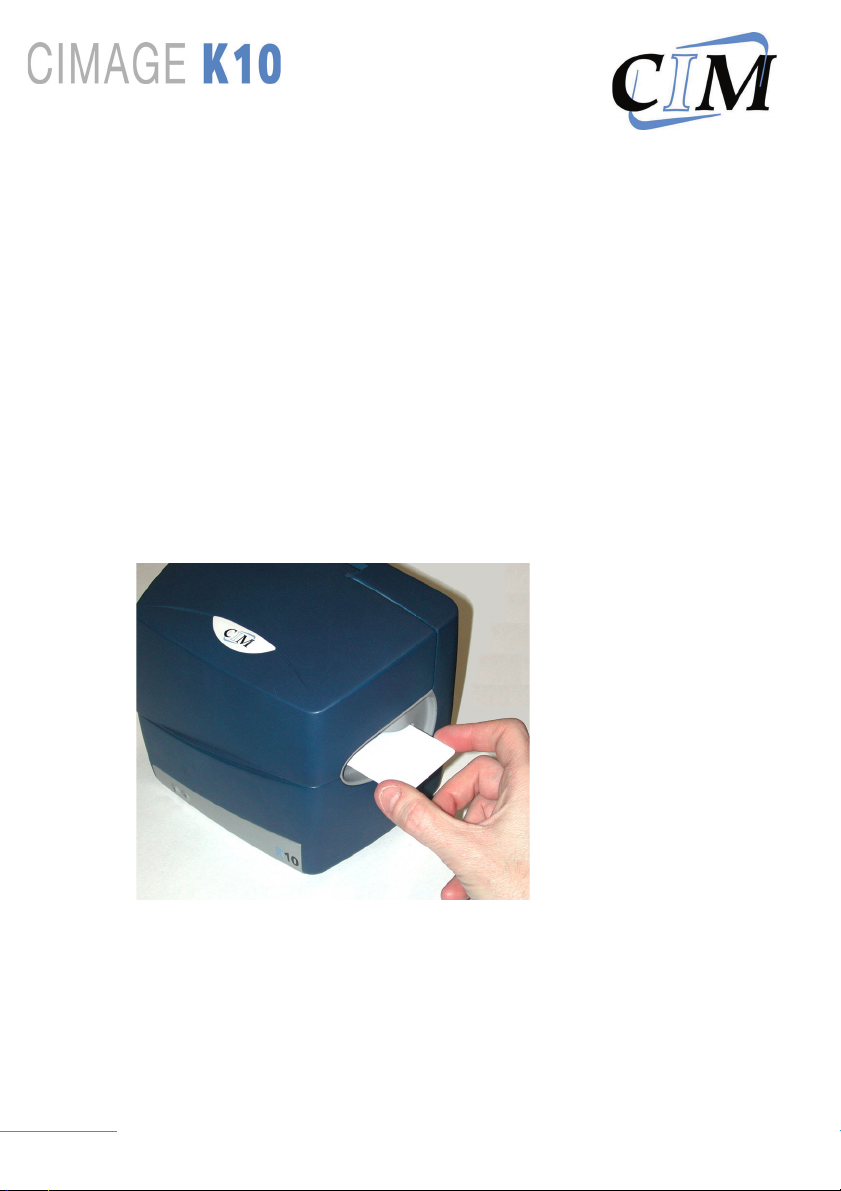
4.4 Card insertion
• When the orange led is on, the printer is waiting for a
card insertion
• Insert the card
• Push until the roll takes it
• Wait until end printing
• If you insert a card and remove it, the printer will go to
error state
• If you do not insert a card enought to be taken by the
roll, after a timeout the printer will go to error state
English
14
Page 15
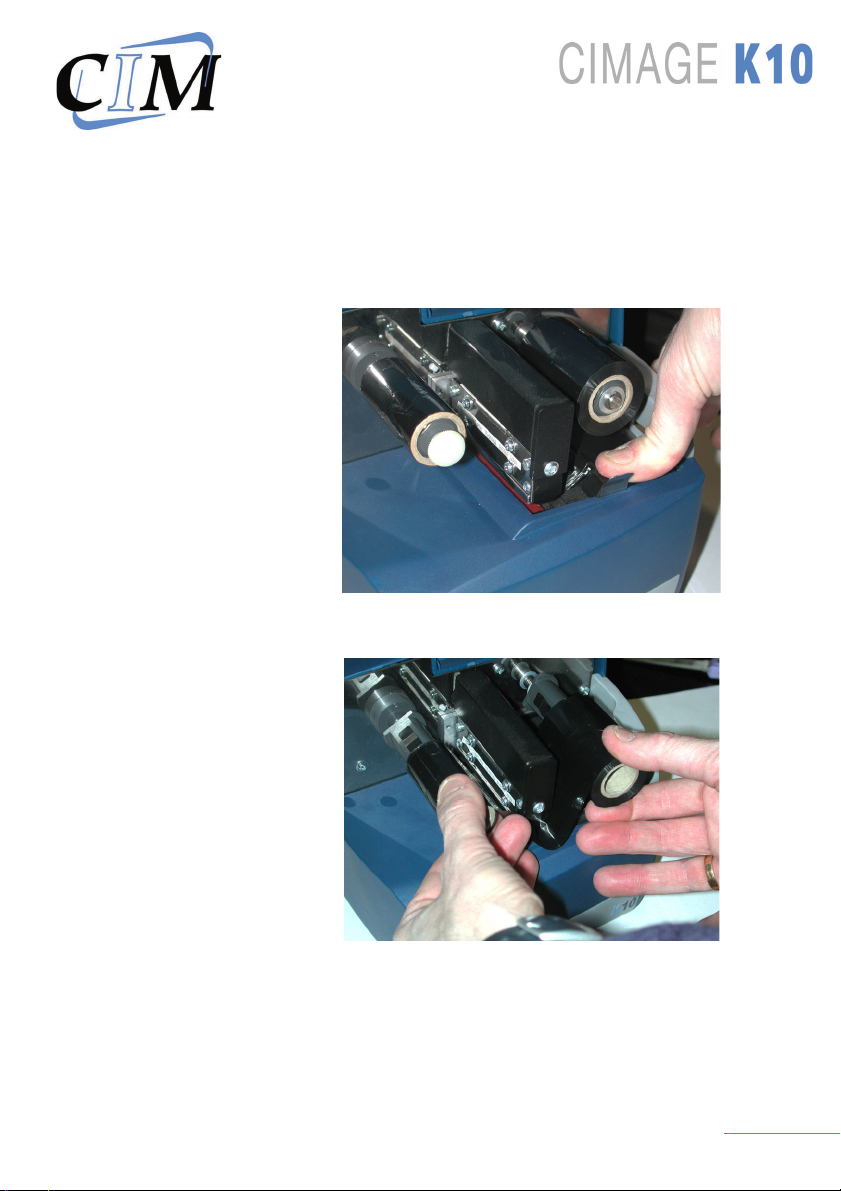
4.5 Remove the ribbon
• Open the printer
• Push down the card carrier with your finger until it is
locked down
• Remove the empty reel
• Remove the full reel
15
English
Page 16
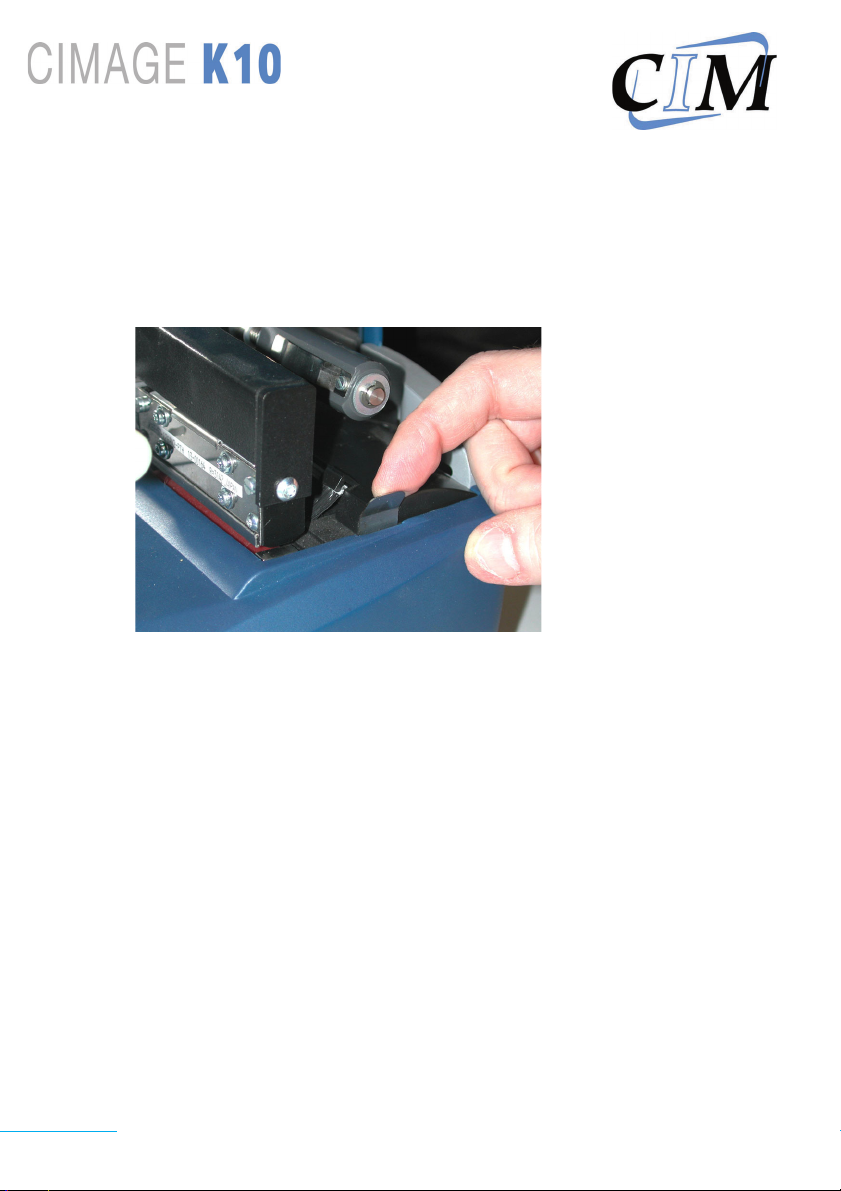
• Maintain the card carrier with your finger and pull
the string plate, until the card carrier gets in upper
position
• Close the printer
5. WARNINGS
• Use only clean dry cards
• Cleanning the print header : see Maintenance/tools
menu on the CDROM
• Cleanning the outside of the printer : do not use volatile
solvents such as alcohol, paint thinner, gasoline, benzine,
etc. Use only a clean dry cloth
English
16
Page 17

NOTES:
.................................................................................................................................
..................................................................................................................................
..................................................................................................................................
..................................................................................................................................
..................................................................................................................................
...................................................................................................................................
.................................................................................................................................
..................................................................................................................................
..................................................................................................................................
..................................................................................................................................
..................................................................................................................................
...................................................................................................................................
.................................................................................................................................
..................................................................................................................................
..................................................................................................................................
..................................................................................................................................
..................................................................................................................................
...................................................................................................................................
.................................................................................................................................
17
English
Page 18

SEDE / HEADQUARTERS:
CIM S.p.A.
Via O. Serra 2
40012 Calderara di Reno
BOLOGNA - ITALY
Tel. +39 051.64.65.011
Fax +39 051.64.65.012
Assistenza Tecnica / Technical Assistance
Filiale di Roma / Branch Office:
Via Corona Boreale 86
00054 Fiumicino, ROMA - ITALY
Tel. +39 06.65.00.22.25-26-27
Fax +39 06.65.00.22.28
ACIM SDN. BHD. - Asia Pacific
Suite 13-5, 13th floor
Wisma UOA II, Jalan Pinang
50450 Kuala Lumpur - MALAYSIA
Tel. +60 3.2166.4166
Fax +60 3.2166.4163
http://www.cimasia.com
[email protected]
http://www.cimchina.com
[email protected]
Assistenza Tecnica / Technical Assistance
CIM USA, Inc. - Americas
10813 N.W. 30th Street - Suite 108
Miami, FL 33172 - USA
Tel. +1 305.639.30.40
Fax +1 305.639.30.60
http://www.cim-usa.com
[email protected]
Assistenza Tecnica / Technical Assistance
English
Sales Mark
18
 Loading...