

Chord Mojo Operating Instructions Manual
Chord Limited
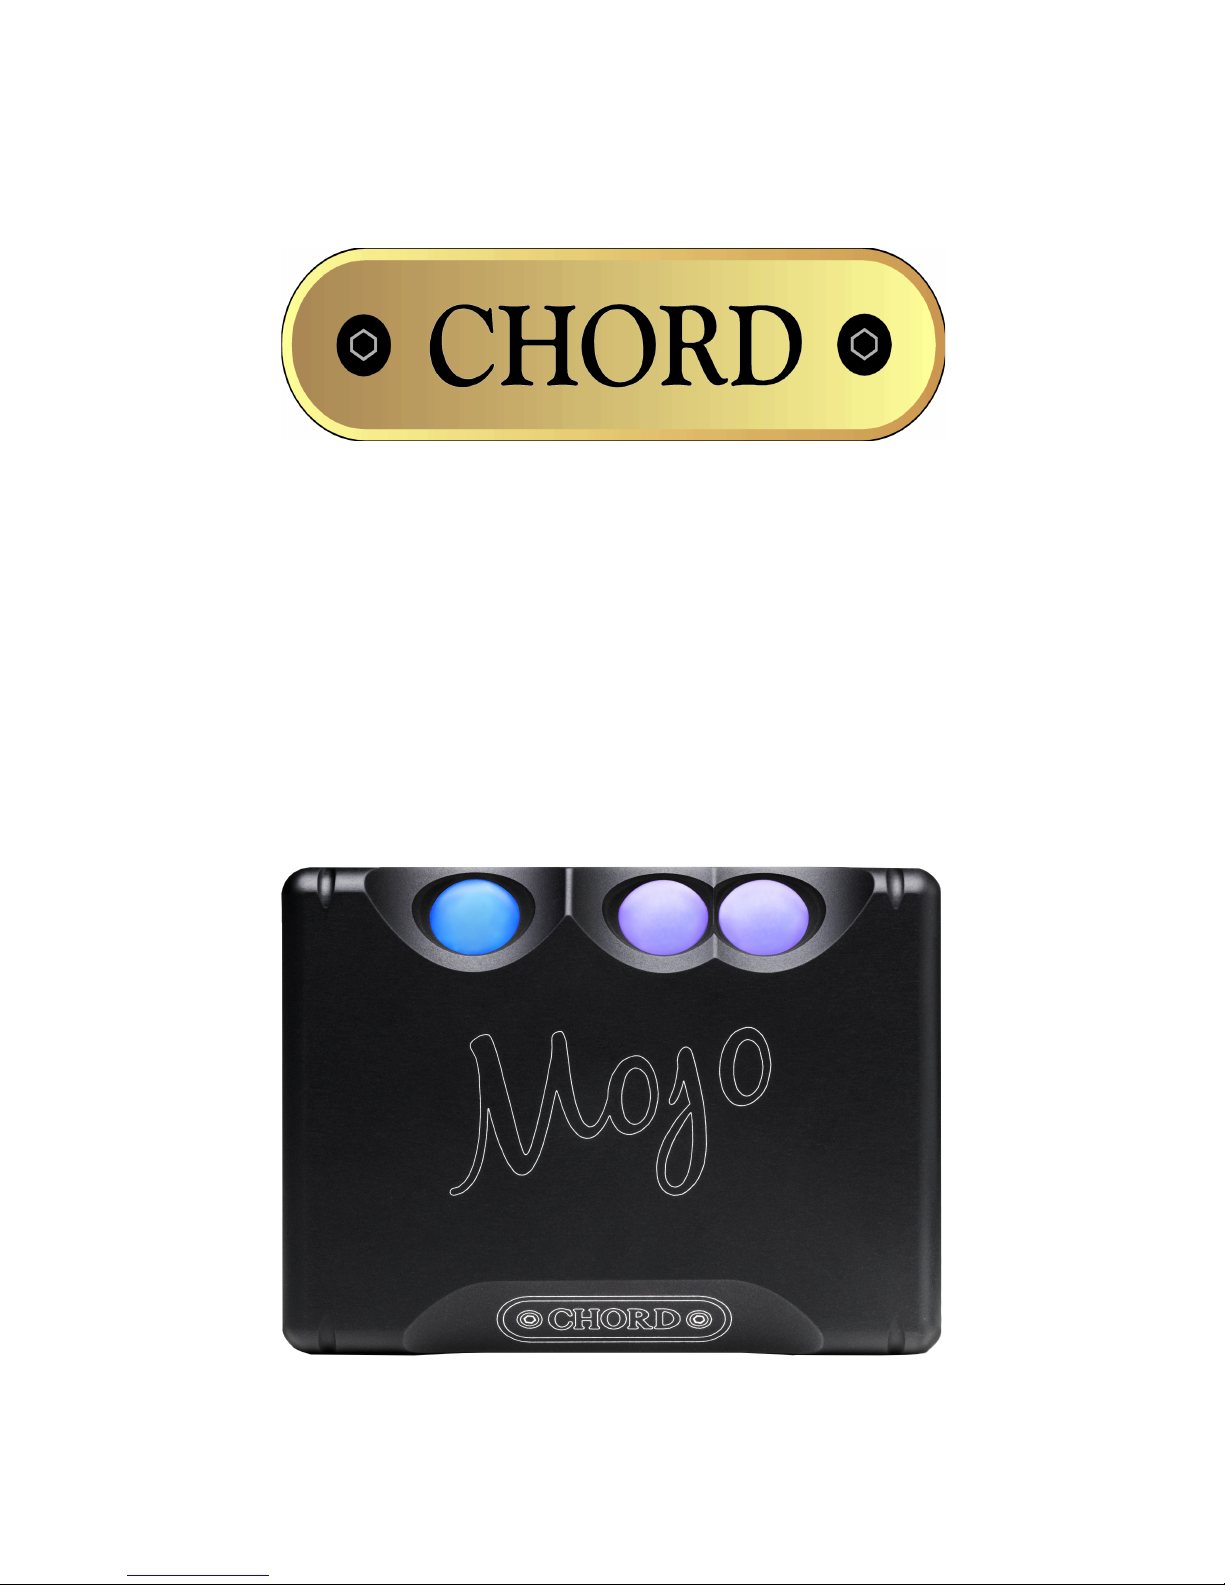
Mojo
Dac Headphone Amplifier
OPERATING INSTRUCTIONS
- ! -1
Cleaning and care instructions:
Mojo requires no special care other than common sense. Spray window cleaner (clear type) may be
used (if first sprayed onto a soft cloth) to remove surface blemishes such as finger marks from the
metal casing. Never spray directly onto the converter and never use abrasive cleaning, use only a lint
free soft cloth.
There are no user serviceable parts in Mojo. It should be serviced only by Chord Electronics Limited or
their expressly approved service agents.
Warranty:
Mojo comes with a comprehensive 12 month warranty (conditions apply) please register online.
Should you need to make a claim under warranty you must contact the retailer or distributor to arrange
collection.
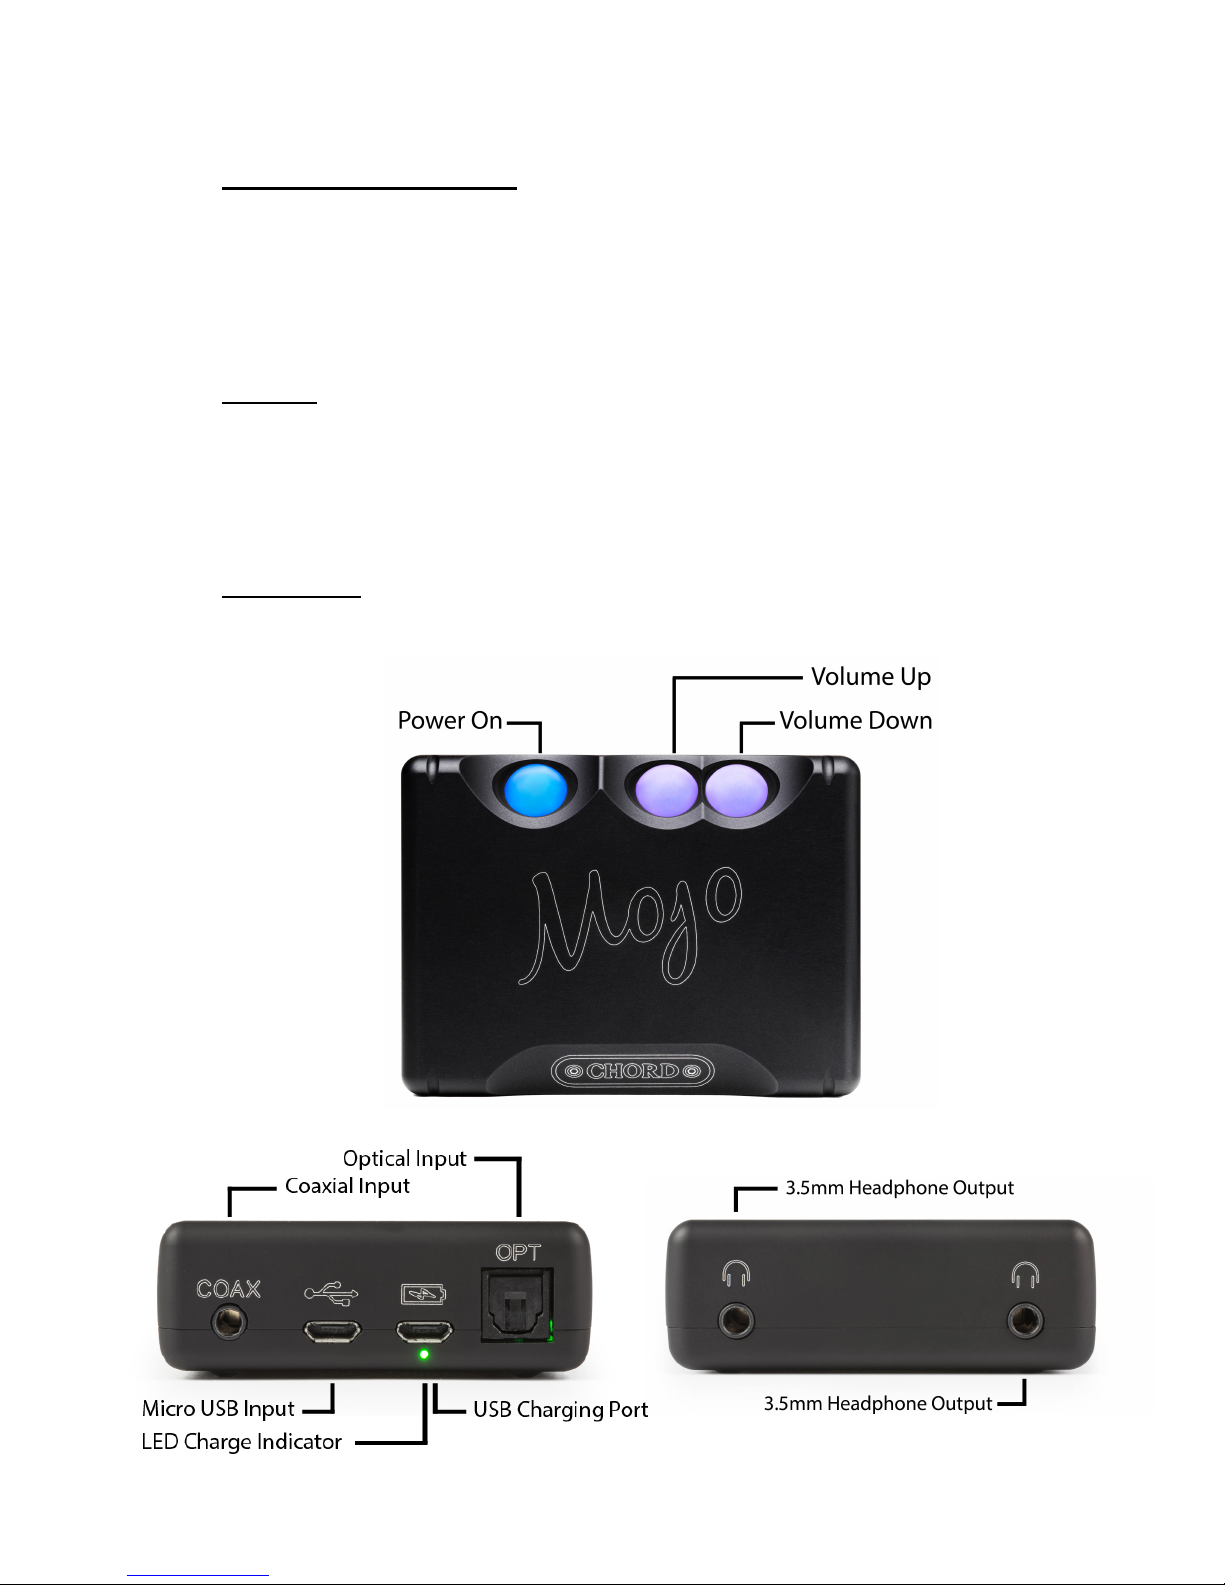
Mojo diagram:
- ! -2
Mojo Operating Instructions
Charging:
Mojo can be charged from any 1 Amp USB port using the cable supplied or any other USB A to micro
USB B type cable. Just plug the cable into the connector with the battery symbol.
Please note that the USB charger or computer port must be capable of supplying at least 1A
current.
Charging is indicated by a white light under the charging port. When Mojo is fully charged
(approximately 4 hours) the light will switch off.
We recommend charging with Mojo switched off.
Charging with Mojo switched on and playing is possible, but the time taken to fully charge will be
considerably longer and depending on volume level and headphone load the battery. It is possible that,
when using headphones of high load, the battery may take extremely long to fully charge.
It is normal for Mojo to become warm when charging especially if switched on and playing at the same
time.
Switching On/ Off
Press and hold down the power button for 2 seconds to switch Mojo on or off.
Please note you must wait 5 seconds between switching on or off before the power button will
respond again.
Volume Indication
The + and – volume balls are illuminated to indicate the volume setting. The standard range is from
brown to white for maximum volume.
At both minimum volume and maximum volume the range has been extended and the balls illuminate
specially to indicate this.
At minimum volume the + ball will remain brown whilst the – ball will continue to change colour
through the range from white back down to brown again. This allows for finer volume adjustment
when using in ear monitors.
At maximum volume the – ball will remain on white whilst the + ball will change through the colours
from red to white at maximum volume. This gives a finer adjustment at very high volume.
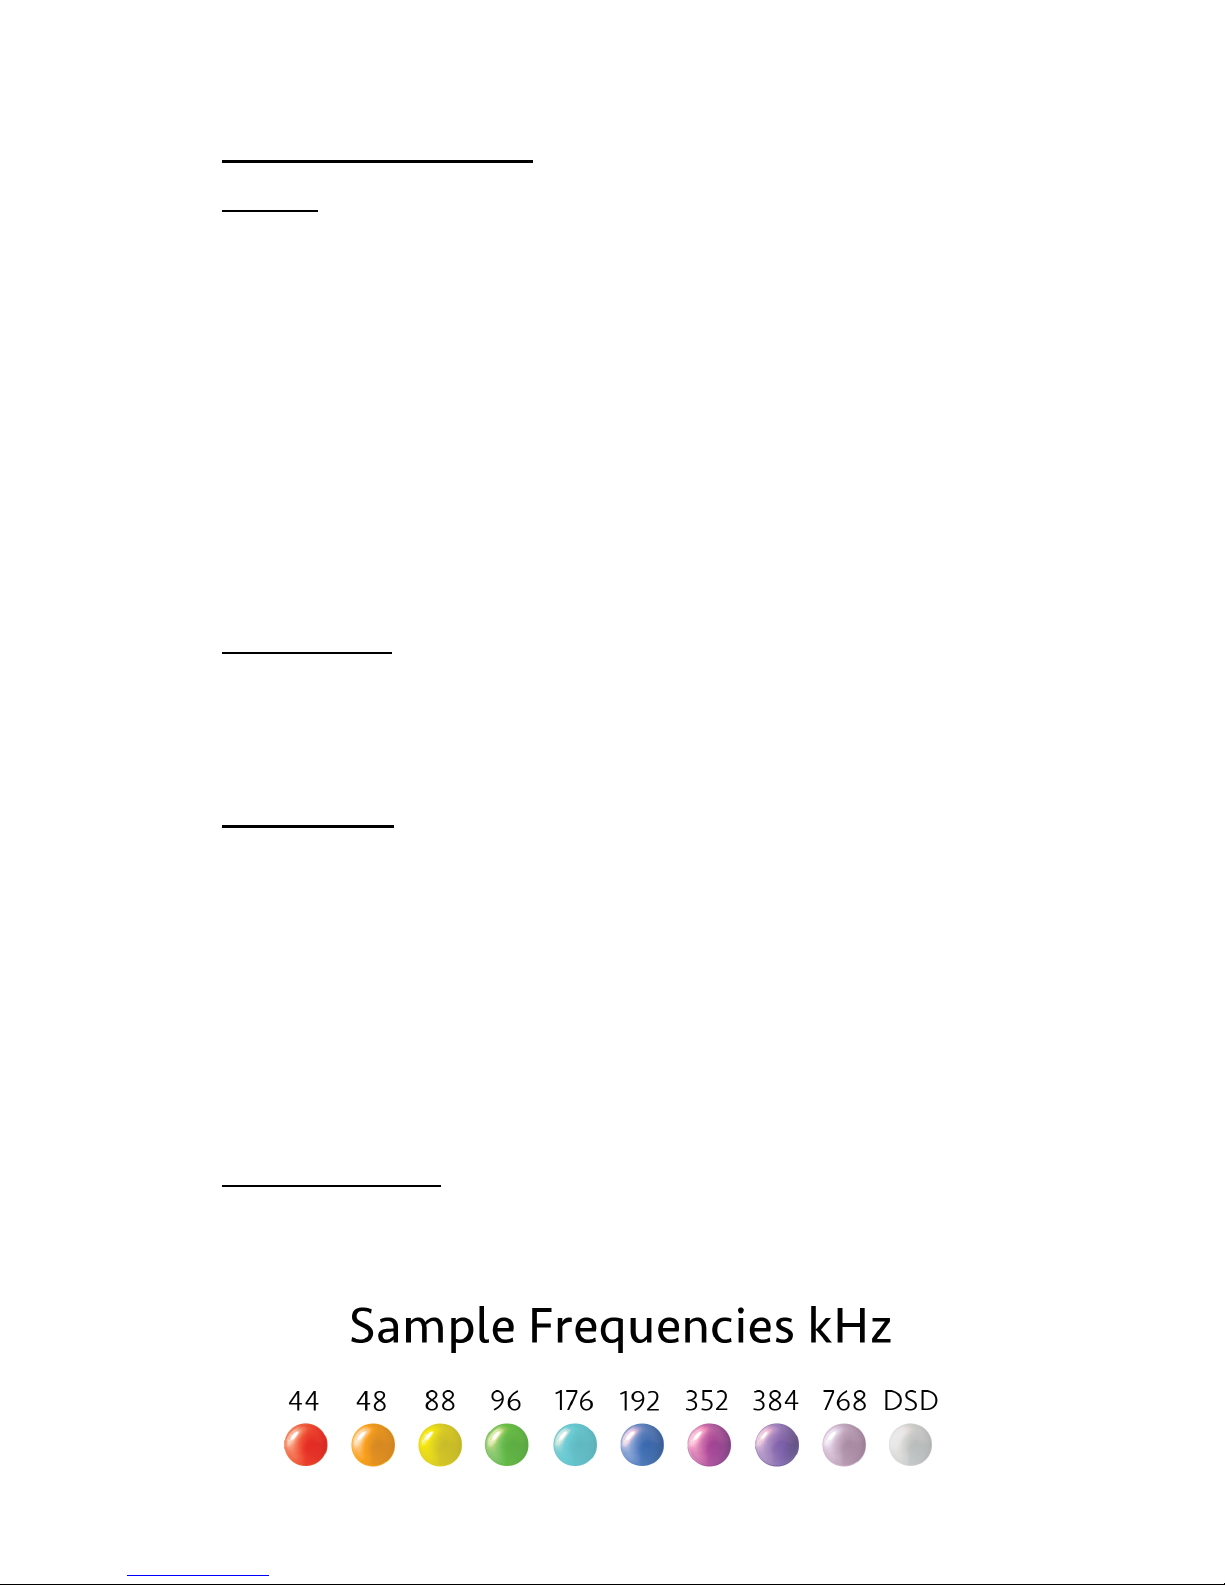
Sample Rate Indication
The power ball will illuminate when a digital signal is connected and show the sample rate detected.
The table below shows the colours and the corresponding sample rate.
- ! -3
 Loading...