

Chief PAC526FWP4, PAC526FW-KIT Installation Guide
I N S T A LLA T I O N I N S T R U C T I O N S
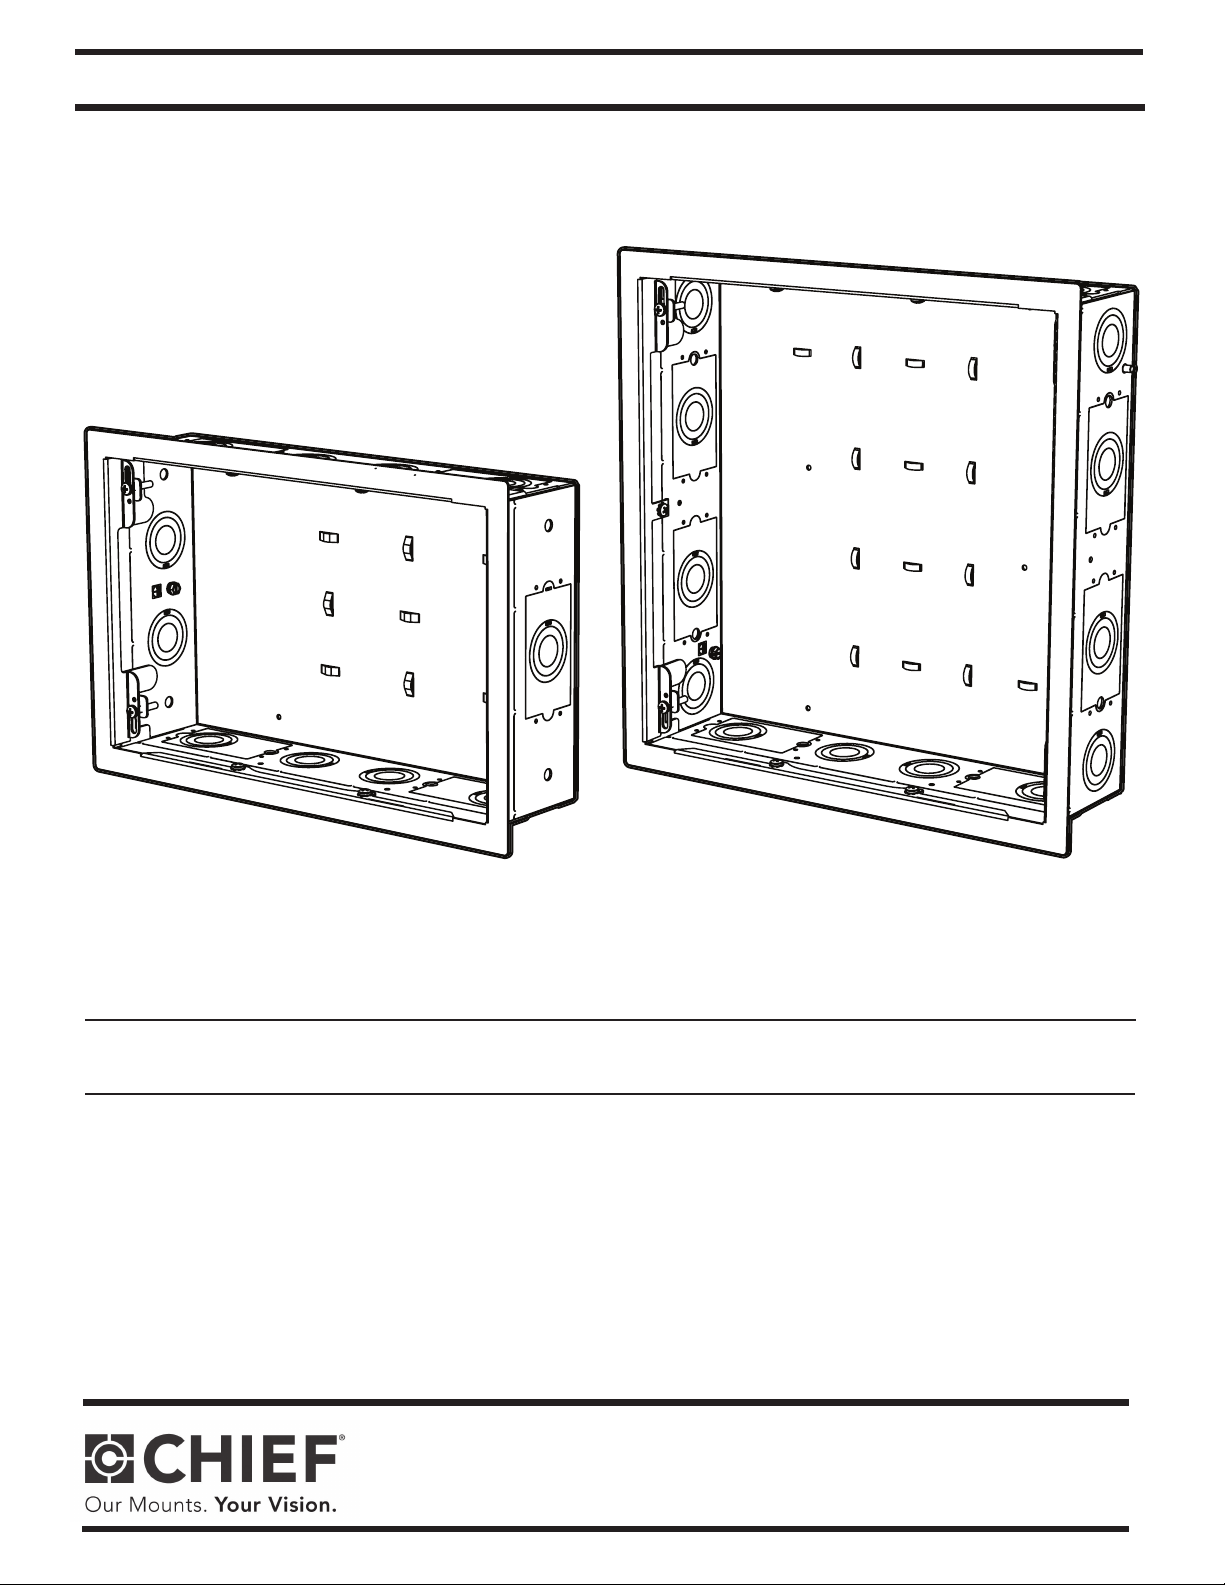
PAC525
PAC526
In-Wall Accessory Boxes
PAC525/526
PAC525/526
Installation Instructions
DISCLAIMER
Milestone AV Technologies and its affiliated corporations and
subsidiaries (collectively “Milestone”), intend to make this
manual accurate and complete. However, Milestone makes no
claim that the information contained herein covers all details,
conditions or variations, nor does it provide for every possible
contingency in connection with the installation or use of this
product. The information contained in this document is subject
to change without notice or obligation of any kind. Milestone
makes no representation of warranty, expressed or implied,
regarding the information contained herein. Milestone assumes
no responsibility for accuracy, completeness or sufficiency of
the information contained in this document.
Chief® is a registered trademark of Milestone AV Technologies.
All rights reserved.
IMPORTANT SAFETY INSTRUCTIONS
WARNING: A WARNING alerts you to the possibility of
serious injury or death if you do not follow the instructions.
CAUTION: A CAUTION alerts you to the possibility of
damage or destruction of equipment if you do not follow the
corresponding instructions.
IMPORTANT ! : The PAC525/526 mounts are designed to
be mounted to a 2” x 4” wood stud wall 16” on center, a 2” x 4”
-25ga (minimum) steel studs wall, or to a 1/2” minimum
thickness drywall surface.
NOTE: Spacings - Minimum spacings between the 120 Vac
power components and the A/V components shall be maintained for safe operation of the equipment when installed in
accordance with the National Electric Code, ANSI/NFPA 70.
NOTE: When selecting a Listed 120 Vac Receptacle for use as
the main power source for the PAC Series boxes (to power the
A/V equipment), make sure that AC Receptacle is rated at least
15A and it is used in the building's AC branch circuit that is
connected to a circuit breaker rated at least 15A. Do not
connect more than 12A from the Receptacle.
In the U.S., the equipment shall be installed per the applicable
requirements of the National Electrical Code, ANSI/NFPA 70.
In Canada, the equipment shall be installed per the applicable
requirements of the Canadian Electrical Code, CSA C22.1.
NOTE: It is the installer’s responsibility to ensure that the
enclosure is bonded to the ground in the switch box, in
accordance with the National Electric Code, ANSI/NFPA 70
or Canadian Electrical Code, CSA C22.1. A green grounding
screw is provided in the enclosure for the purpose, if required.
--SAVE THESE INSTRUCTIONS--
WARNING: Failure to read, thoroughly understand, and
follow all instructions can result in serious personal injury,
damage to equipment, or voiding of factory warranty! It is the
installer’s responsibility to make sure all components are
properly assembled and installed using the instructions
provided.
WARNING: Failure to provide adequate structural strength
for this accessory can result in serious personal injury or
damage to equipment! It is the installer’s responsibility to
make sure the structure to which this accessory is attached
can support five times the combined weight of all equipment.
WARNING: Exceeding the weight capacity can result in
serious personal injury or damage to equipment! It is the
installer’s responsibility to make sure the combined weight of
all components located in the accessory does not exceed
10 lbs (4.5 kg).
WARNING: Use this mounting system only for its intended
use as described in these instructions. Do not use
attachments not recommended by the manufacturer.
WARNING: For indoor use only.
2

Installation Instructions
DIMENSIONS
PAC525/526
PAC525
1.72
[43.7]
4.50
114.3
14.25
362
10.93
277.6
3.00
76.2
1.13
2.57
1.36
65.2
[21.8]
0.87
1.38
34.9
.38
9.5
7.00
177.8
3.00
76.2
4.75
120.7
15.40
391.1
3.73
94.9
9X .75 X .25
ZIP TIE ANCHOR HOOKS
[34.5]
2.57
65.2
28.6
3.88
98.4
4.50
114.3
10.26
260.7
2.57
65.2
7.00
177.8
9.00
228.6
PAC526
P
1.72
[43.7]
ZIP TIE ANCHOR HOOKS
2.57
65.2
1.82
46.2
.82
20.8
14X .75 X .25
1.36
[34.5]
0.87
[21.8]
14.25
362
11.75
298.5
5.00
127
1.13
28.6
3.88
7.13
181
3.73
94.9
15.51
394.1
98.4
2.57
65.2
14.25
15.40
391.1
4.75
120.7
362
3.00
76.2
10.93
277.6
.38
9.5
1.38
34.9
3
PAC525/526
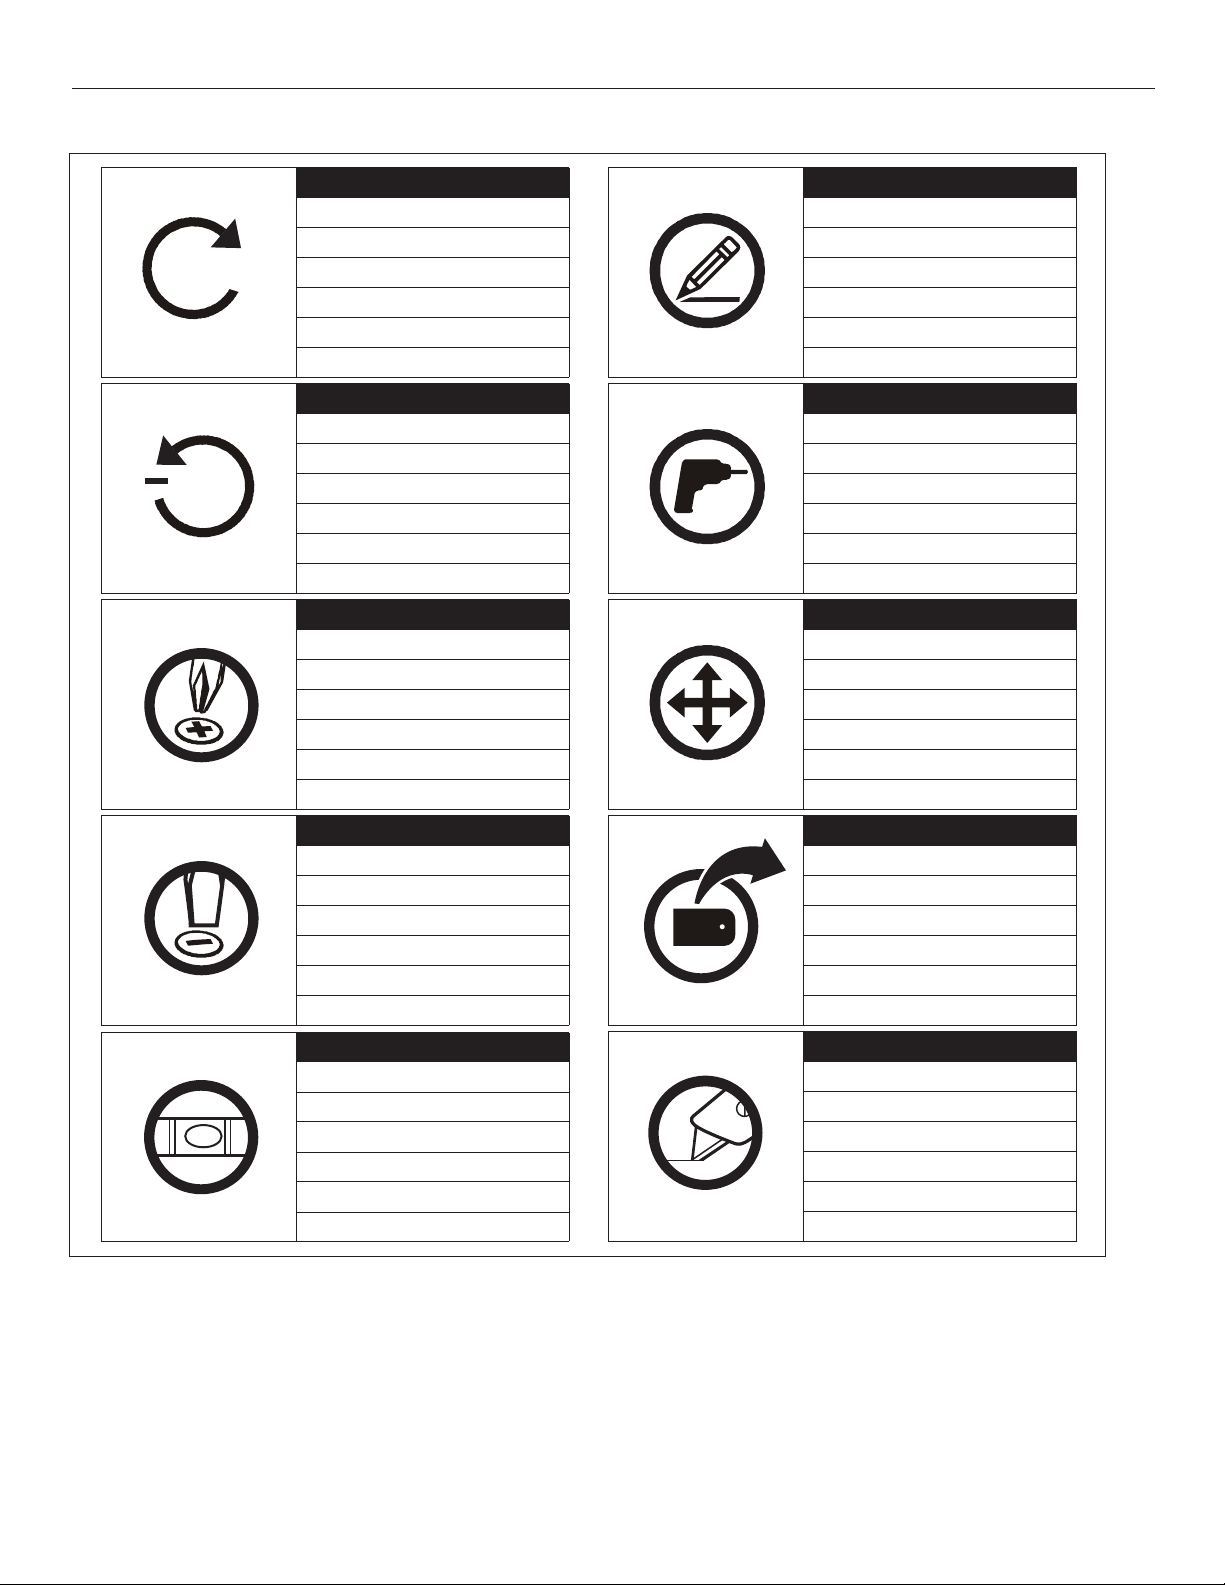
LEGEND
Installation Instructions
+
Tighten Fastener
Apretar elemento de fijación
Befestigungsteil festziehen
Apertar fixador
Serrare il fissaggio
Bevestiging vastdraaien
Serrez les fixations
Loosen Fastener
Aflojar elemento de fijación
Befestigungsteil lösen
Desapertar fixador
Allentare il fissaggio
Bevestiging losdraaien
Desserrez les fixations
Phillips Screwdriver
Destornillador Phillips
Kreuzschlitzschraubendreher
Chave de fendas Phillips
Cacciavite a stella
Kruiskopschroevendraaier
Tournevis à pointe cruciforme
Pencil Mark
Marcar con lápiz
Stiftmarkierung
Marcar com lápis
Segno a matita
Potloodmerkteken
Marquage au crayon
Drill Hole
Perforar
Bohrloch
Fazer furo
Praticare un foro
Gat boren
Percez un trou
Adjust
Ajustar
Einstellen
Ajustar
Regolare
Afstellen
Ajuster
Flathead Screwdriver
Mark level line
Remove
Quitar
Entfernen
Remover
Rimuovere
Verwijderen
Retirez
Precision hand cut surface
4
 Loading...