

Page 1

Page 2
SAFETY OPERATION MAINTENANCESETUP
.........................................................
....................................................
..............................................
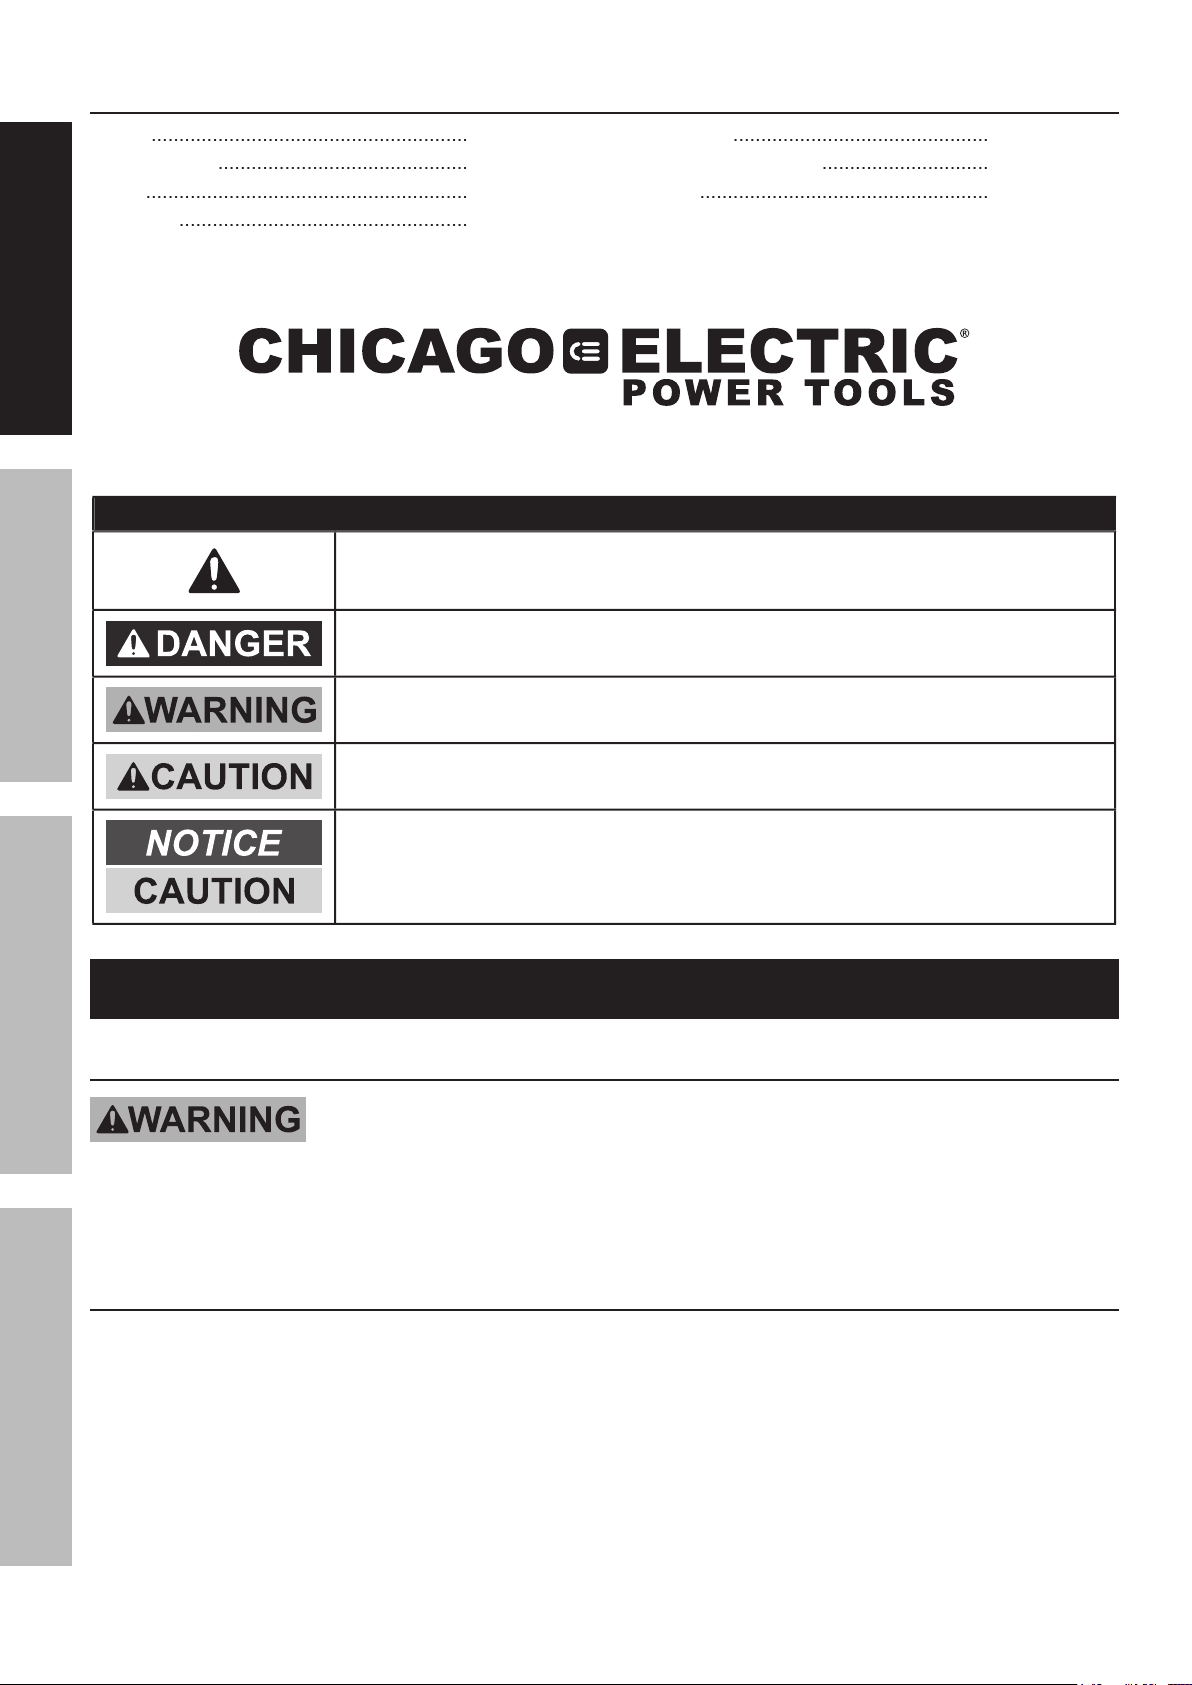
follow this symbol to avoid possible injury or death.
will result in death or serious injury.
Addresses practices not related to personal injury.
Warnings
power tool.
Work area safety
WARNING SYMBOLS AND DEFINITIONS
IMPORTANT SAFETY INFORMATION
Page 3

SAFETYOPERATIONMAINTENANCE SETUP
Unmodified plugs and matching
Avoid body contact with grounded surfaces
Water entering a power tool
When operating a power tool outdoors,
Use of a cord suitable for outdoor
A
Always
wear eye protection.
Safety
A
wrench
rotating part
This enables better control
jewelry. Keep your hair, clothing and gloves
Loose clothes, jewelry
parts.
protection
ANSI
Page 4

SAFETY OPERATION MAINTENANCESETUP
power tool will do the job better and
Any
power
preventive safety measures reduce the
with the power tool or these instructions
Power tools are
Many accidents
Properly
Use of the
power tool for operations different from those
Avoid unintentional starting.
it is plugged
before leaving.
locked
– it
dust created by power sanding,
contain
chemicals known [to the State
Your risk from these exposures varies, depending
Page 5

SAFETYOPERATIONMAINTENANCE SETUP
A) which can be toxic
from material removing processes) can result in
which cannot be built into this product,
Vibration Safety
Anyone using vibrating tools regularly or for
women or people who have impaired blood
feel
when there is a
SAVE THESE INSTRU
Page 6

SAFETY OPERATION MAINTENANCESETUP
SHO
WIRE
C
P
from the user, reducing the risk of electric
P
P
with all codes and ordinances. The plug and outlet
P
Association, and the National Electrical Code.
Grounding
Page 7

SAFETYOPERATIONMAINTENANCE SETUP
C
tools require a three wire
tools can use either
As the distance from the supply outlet increases,
A.)
A.)
wire size required.
A.)
A.)
ABLE
A:
VOLT)
V
Volts
Alternating Current
A
Amperes
xxxx/min.
ANSI
flammable objects away.
Page 8

SAFETY OPERATION MAINTENANCESETUP
/
Y
INFORMATION
section at the beginning of this
FROM A
is in the off
For additional information regarding the parts listed in the
For additional information regarding the parts listed in the
following
on page
Assembly -
Attaching the Dust Bag (29)
Specifications
Setup - Before Use:
Page 9

Operating Instructions
Y
INFORMATION
section at the beginning of this
FROM A
Attaching Sandpaper to the Backing
inward on
After wrapping the overlapped edges of
front and rear of the sander. The sandpaper
Workpiece and Work Area Set Up
plug in the tool
Always run the Sander for a few seconds
All sanders leave sanding marks on
wear, or fraying. Replace if necessary.
after use. Clean, then store the
SAFETYOPERATIONMAINTENANCE SETUP
Page 10

SAFETY OPERATION MAINTENANCESETUP
P
FROM A
FROM TOOL FAILURE:
inspect the general
AFTER USE,
wipe external surfaces
WARNING! If the supply cord of this
wear. (Carbon
Allow tool to work at its own rate.
for its length and load. See
Allow tool to work at its own rate.
for its length and load. See
Maintenance and Servicing
Page 11

Parts List and Diagram
If product has no serial number, record month and year of purchase instead.
If product has no serial number, record month and year of purchase instead.
Some parts are listed and shown for illustration purposes only,
Some parts are listed and shown for illustration purposes only,
SAFETYOPERATIONMAINTENANCE SETUP
Page 12

AREFULL
ANY PARTS OF THE PRODUCT. IN FACT, THE MANUFACTURER AND/OR DISTRIBUTOR EXPRESSLY
ARISING OUT OF HIS OR HER REPAIRS TO THE ORIGINAL PRODUCT OR REPLACEMENT PARTS
Limited 90 Day Warranty
THIS WARRANTY IS EXPRESSLY IN LIEU OF ALL OTHER
from causes not within the scope of our warranty, then you must bear the cost of returning the product.
 Loading...