

Page 1
OPERATION MANUAL
COLOUR TELEVISION
CHASSIS NO
Features
Surround/Mono/Nicam/Stereo
S-Video/Earphone Terminals
Multilingual OSD
Multi System
Mold/Power source
CRT (FS/SF/PF)
Designs are subject to change without notice.
CH-20
Optional
√ ×
Please read this manual carefully before operation.
051022
Page 2
BEFORE OPERATION
Dear Customer:
Congratulations! You have purchased one of the finest Color TV's on the market!
This manual will help you use the many exciting and useful features to make your TV viewing more enjoyable than ever
before.
Before operating your TV set, please read all these safety and operating instructions completely and then retain for future
reference.
Customer's Record
You will find the model number and chassis number on the back of your TV set.
Record these numbers in the spaces provided below.
Refer to them whenever you call upon your dealer regarding this product.
Model Number:
Chassis Number:
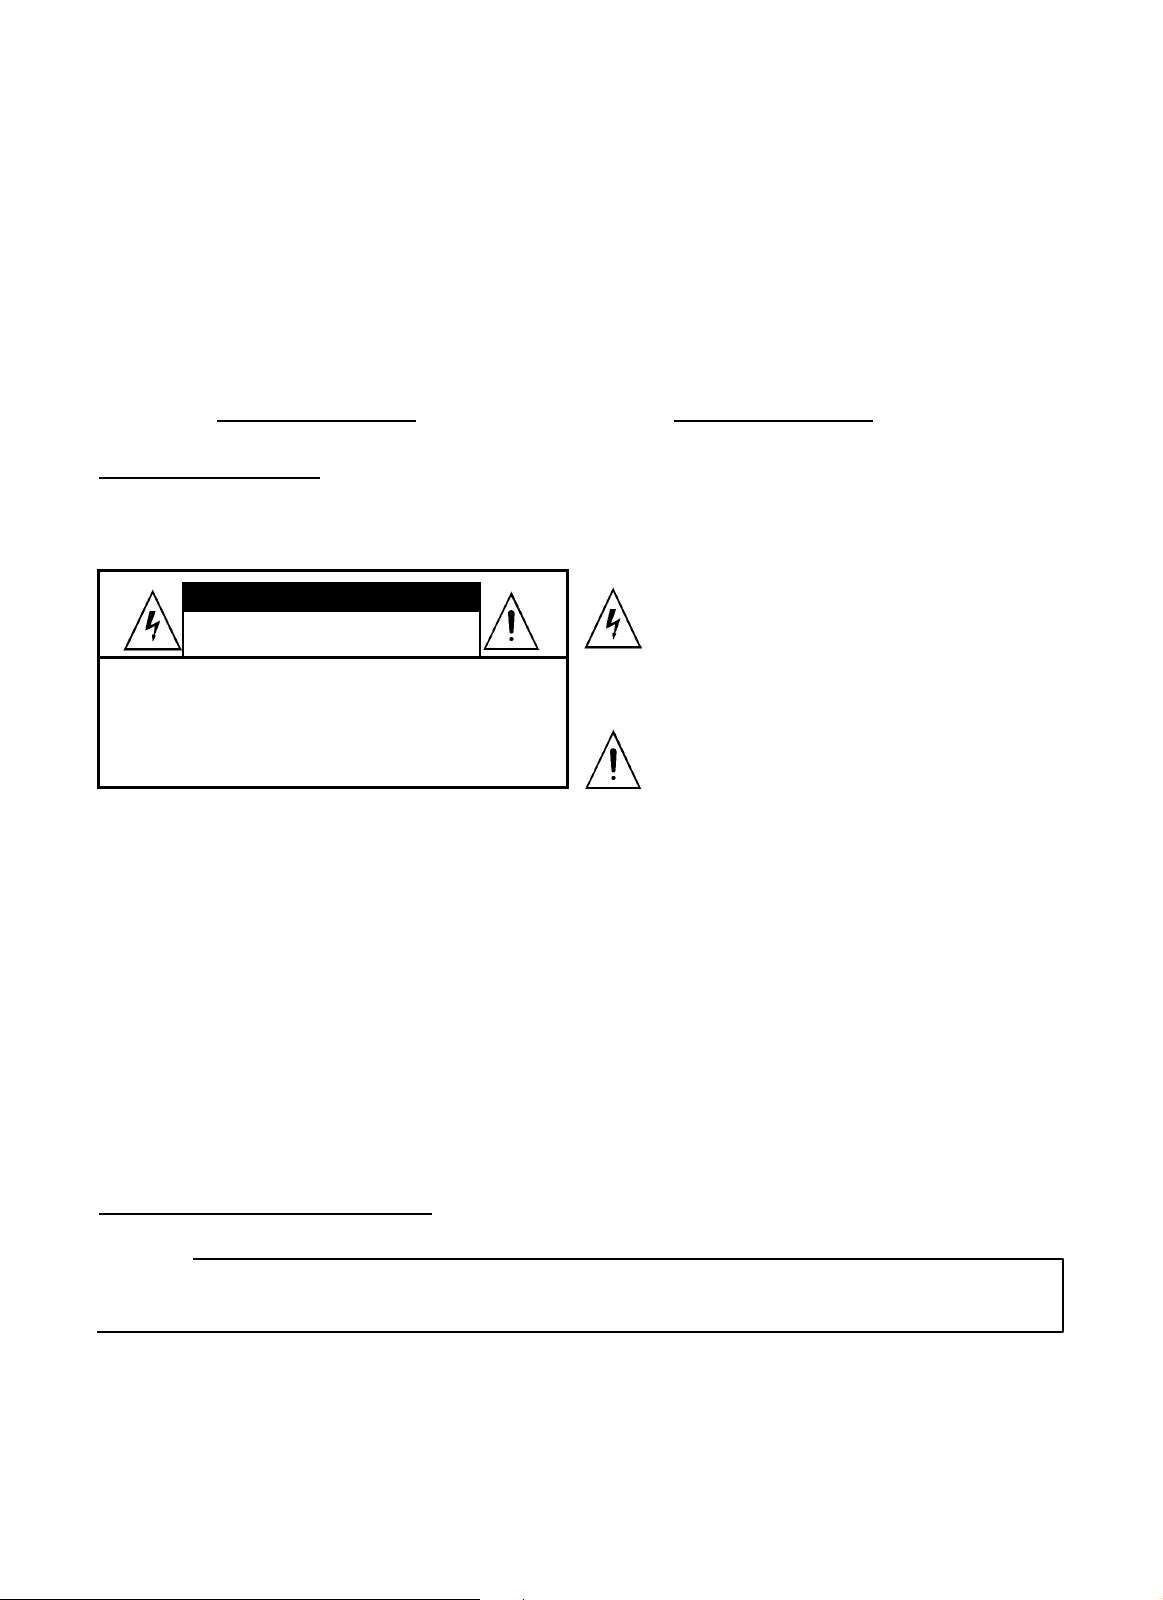
Safety Precautions
WARNING: TO REDUCE THE RISK OF FIRE OR ELECTRIC SHOCK, DO NOT EXPOSE THIS APPLIANCE TO RAIN OR
MOISTURE.
RISK OF ELECTRIC SHOCK.
CAUTION: TO REDUCE THE RISK OF
ELECTRIC SHOCK, DO NOT REMOVE
COVER(OR BACK). NO USER SERVICEABLE
PARTS INSIDE. REFER SERVICING TO
QUALIFIED SERVICE PERSONNEL.
CAUTION
DO NOT OPEN.
The lightning symbol in the triangle tells you that the
voltage inside this product may be strong enough to
cause an electric shock.
DO NOT TRY TO SERVICE OR CHANGE THIS
PRODUCT YOURSELF.
The exclamation point in the triangle tells you that
important operating and maintenance instructions
follow this symbol.
CAUTIONS:
TO PREVENT ELECTRIC SHOCK, DO NOT USE THIS POLARIZED PLUG WITH AN EXTENSION CORD RECEPTACLE
OR OTHER OUTLET UNLESS THE PRONGS CAN BE FULLY INSERTED INTO THE OUTLET TO PREVENT ANY
EXPOSURE OF THE PRONGS ON THE POLARIZED PLUG.
Warning-This TV set should only be serviced by an authorized and properly trained technician. Opening the cover or
other attempts by the user to service this TV set may result in serious injury or death from electrical shock, and may
increase the risk of fire.
Avoid displaying stationary images on your TV screen for extended periods of time. Stationary patterns generated by computer
displays, video games, stock market reports, etc. can become permanently engrained on the picture tube. This damage is not
protected by your warranty as it is the result of misuse. Should you wish to use your Television to display still images, it is
always advisable to reduce brightness and contrast settings. Never leave a video game or computer display unattended.
NOTE TO CABLE INSTALLER:
The cable ground shall be connected to the grounding system of the building, as close to the point of cable entry as practical.
Important Safety Instructions
CAUTION
PLEASE READ THESE INSTRUCTIONS, KEEP THESE INSTRUCTIONS AND HEED ALL WARNINGS.
FOLLOW ALL INSTRUCTIONS.
Electrical energy can perform many useful functions. This TV set has been engineered and manufactured to assure your
personal safety. However improper use can result in potential electrical shock or fire hazards. In order not to defeat the safe
guards incorporated in this TV set, observe the following basic rules for antenna/TV installation, use and servicing. All
operating and use instructions should be followed.
Do not remove the cabinet cover. This may expose you to dangerous voltages. Refer all servicing to qualified service
personnel.
I
CH-20
Page 3

BEFORE OPERATION (continued)
Precautions
Power Sources-The TV set should be operated only from the type of power source indicated on the TV set or as indicated in
the Operation Manual. If you are not sure of the type of power supply in your home,consult your sales person or your local
power company. For TV sets designed to operate from battery power, or other sources, refer to the operating instructions.
Grounding or Polarization-Do not defeat the safety purpose of the polarized or grounding-type plug. A polarized plug has two
blades with one wider than the other. A grounding-type plug has two blades and a third grounding prong. The wide blade or the
third prong is provided for your safety. If the provided plug does not fit into your outlet, consult an electrician for replacement of
the obsolete outlet.
Alternate Warnings-This plug will only fit into a grounding-type power outlet. This is a safety feature. If you are unable to
insert the plug into the outlet, contact your electrician to have a suitable outlet installed. Do not defeat the safety purpose of
the grounding plug.
Water and Moisture Warnings-Do not use the TV set near water-for example, near a bath tub, wash bowl, kitchen sink, or
laundry tub; in a wet basement; or near a swimming pool; and the like. The TV set shall not be exposed to dripping or
splashing and no objects filled with liquids, such as vases, shall be placed on the TV set.
Ventilation-Slots and openings in the cabinet are provided for ventilation and to ensure reliable operation of the TV set and to
protect it from overheating, and these openings must not be blocked or covered. The openings should never be blocked by
placing the TV set on a bed, sofa, rug, or other similar surface. This TV set should not be placed in a built-in installation such
as a bookcase or rack unless proper ventilation is provided or the manufacturer's instructions have been adhered to.
Heat-Do not install near any heat sources such as radiators, heat registers, stoves, or other apparatus (including amplifiers)
that produce heat.
Power-Cord Protection-Protect the power cord from being walked on or pinched particularly at plugs, convenience
receptacles, and the point where they exit from the apparatus.
Accessories-Do not place the TV set on an unstable cart, stand, tripod, bracket, or table. The TV set may fall, causing serious
injury to a child or adult, and serious damage to the TV set. Use only with a cart, stand, tripod, bracket, or table recommended
by the manufacturer, or accessory recommended by the manufacturer, or sold with the TV set and should use a mounting
accessory recommended by the manufacturer.
A product and cart combination should be moved with care. Quick stops, excessive force, and uneven surfaces may cause the
TV set and cart combination to overturn.
Overloading-Do not overload wall outlets, extension cords or integral convenience receptacles as this can result in fire or
electric shock.
Lightning-For added protection for this TV set during a lightning storm, or when it is left unattended and unused for long
periods of time, unplug it from the wall outlet and disconnect the antenna or cable system. This will prevent damage to the
product due to lightning and power-line surges.
Object and Liquid Entry-Never push objects of any kind into the TV set through openings as they may touch dangerous
voltage points or short-out parts that could result in a fire or electric shock. Never spill liquid of any kind on the TV set.
II
CH-20
Page 4

BEFORE OPERATION (continued)
Precautions
Cleaning-Unplug the TV set from the wall outlet before cleaning or polishing it. Do not use liquid cleaners or aerosol cleaners.
Use a dry cloth for cleaning the exterior of the TV set.
Attachments-Do not use attachments not recommended by the product manufacturer as they may cause hazards or electric
shock.
If a snapping or popping sound from a TV set is heard continuously or frequently while the TV set is operated, unplug the TV
set and consult your dealer or service technician. It is normal for some TV sets to make occasional snapping or popping
sounds, particularly when being turned on or off.
Damage Requiring Service-Unplug the TV set from the wall outlet and refer servicing to qualified service personnel under the
following conditions:
a. If the power cord or plug is damaged or frayed.
b. If liquid has been spilled or objects have fallen into the TV set.
c. If the TV set has been exposed to rain or water.
d. If the TV set has been subject to excessive shock by being dropped, or the cabinet has been damaged.
e. If the TV set does not operate normally by following the operating instructions. Adjust only those controls that are covered
by the operating instructions as an improper adjustment of other controls may result in damage and will often require
extensive work by a qualified technician to restore the TV set to its normal operation.
f. When the TV set exhibits a distinct change in performance-this indicates a need for service.
Servicing-Do not attempt to service the TV set yourself as opening or removing covers may expose you to dangerous voltage
or other hazards. Refer all servicing to qualified service personnel.
Replacement Parts-When replacement parts are required, be sure the service technician has used replacement parts
specified by the manufacturer or have the same characteristics as the original parts. Unauthorized substitutions may result in
fire, electric shock, or other hazards.
Safety Check-Upon completion of any service or repairs to the TV set, ask the service technician to perform routine safety
checks to determine that the TV set is in proper operating condition.
When the TV set reaches the end of its useful life, improper disposal could result in a picture tube implosion. Ask a qualified
service technician to dispose of the TV set.
ANTENNA
Outdoor Antenna Grounding-if an outdoor antenna is installed, follow the precautions below.
An outdoor antenna system should not be located in the vicinity of overhead power lines or other electric light or power circuits,
or where it can come in contact with such power lines or circuits.
WHEN INSTALLING AN OUTDOOR ANTENNA SYSTEM, EXTREME CARE SHOULD BE TAKEN TO KEEP FROM
CONTACTING SUCH POWER LINES OR CIRCUITS AS CONTACT WITH THEM IS ALMOST INVARIABLY FATAL
Be sure the antenna system is grounded so as to provide some protection against voltage surges and built-up static charges.
(continued)
III
CH-20
Page 5

CONTENTS
INTRODUCTION
Front/Rear Panels...................................................... 2
Remote Control Keys................................................. 3
INSTALLATION
To Connect the Antenna............................................. 4
Installing the Remote Control Batteries ..................... 4
Connecting to the Audio/Video Inputs/Outputs.......... 5
BASIC FUNCTIONS
Power On/Off ............................................................. 6
Picture Menu .............................................................. 6
Notes:
1) The OSD and illustration in this manual may be somewhat different from the actual situation. Please take the TV as the
standard.
2) Designs are subject to change without notice.
1
CH-20
Sound Menu................................................................. 6
Setup Menu.................................................................. 7
Timer Menu .................................................................. 7
Parental CONT Menu................................................... 7
Install Menu.................................................................. 8
Auto Store .................................................................... 8
Search Menu................................................................ 8
Sort Menu..................................................................... 8
Name Menu.................................................................. 8
Teletext ......................................................................... 9
TROUBLESHOOTING .....................................................9
Page 6

Page 7

INTRODUCTION (continued)
Remote Control Keys
1. Standby – To let you place the TV set on standby. To turn on the TV, press .
2. Number keys – Direct access to the programs. For a 2 digit program, enter
the 2nd digit before the dash disappears.
3. Menu – To call up or exit the menus.
4. Cursor – These 4 keys are used to move around the menus.
5. Program selection – To access the next or previous program. The number,
(name) are displayed for a few moments.
Volume adjust – To adjust the sound level.
6. Pre-set image – Used to access a series of stored settings: Soft, Natural,
Rich and return to Personal.
7. Recall – To return to the last channel viewed.
8. Pre-set sound – Used to access a series of stored settings: Speech, Theater,
Music and return to Personal.
9. TV/Video – To toggle between TV and different Video modes.
10.Mute – To mute or restore the sound.
11.Sleep – To select an automatic standby after a preset time (from 0 to 240
minutes).
12.Screen information – To display/clear the program number, name (if any),
time, etc. This key is also used to exit from the menu. When there is no signal
received, “No signal”will be displayed on the screen.
13.Zoom – Press this key repeatedly to switch the TV among the 16:9, Zoom
and 4:3 modes.
14.Sound mode – (Only available on certain versions)
Used to force programmes in Stereo to Mono or, for bilingual programs, to
choose between Dual I or Dual II. For TV sets equipped for Nicam reception,
depending on the programmes, you can force the Nicam Stereo sound to
Mono or select between Nicam Dual I, Nicam Dual II and Mono. In the Video
mode, “Stereo” is default setting, and pressing this key can force Stereo to
Left or Right.
15.Surround – (Only available on certain versions) To activate/disable the
incredible surround feature. In mono, a pseudo spatial stereo effect is obtained.
In stereo, the speakers appear further apart.
(Only available on certain versions) To select Mono/Surround in the TV mode
and select Stereo/Surround in the Video mode.
16.Teletext (P9)
Notes:
1) When in operation, please point your remote control directly to the infrared sensor. If the sensor receives remote signal,
the power indicator blinks.
2) Do not expose the remote control to impacts, water or disassemble it.
3
CH-20
Page 8

INSTALLATION
·Please read the safety instructions in this manual completely before installation.
·Install your TV in an area where direct sunlight will not fall upon the screen.
·Soft, indirect light is best for television viewing.
·Allow enough space (at least 4 inch) between the TV and any walls or enclosures for proper ventilation.
·Optimum television viewing distance is 3-5 times the screen's vertical length.
Auto-Degaussing
Colour television can be easily affected by magnetism, which shows as colour distortion on the screen. If your TV is affected
by nearby magnetic components or appliances, turn it off for a few minutes. The built-in auto-degaussing circuit will eliminate
the magnetic interference.
To Connect the Antenna
Notes:
1) It is recommended that a 75 ohm coaxial cable be used in order to eliminate interference and noise which may occur due
to nearby radio transmissions.
2) The antenna cable should not be tied together with other wiring.
3) Set up a lightning rod and check it regularly when an outdoor antenna is used.
Installing the Remote Control Batteries
1. Remove the battery compartment lid.
2. Insert two AAA batteries. Make sure the positive (+) and negative (-) polarities are correctly aligned.
3. Reattach the battery lid.
Notes:
1) Alkaline batteries are recommended for longer life.
2) Always replace both batteries at the same time.
3) Do not expose batteries to fire or break them open.
4) To avoid battery leakage, remove batteries from the remote control when it is not being used for a long period of time.
4
CH-20
Page 9

INSTALLATION (continued)
Connecting to the Audio/Video Inputs/Outputs
The following are optional connections. Please refer to operation manuals of external audio/video equipment for details.
Before connection, do power off your TV and external equipment.
Rear (or Side) of TV
Connecting earphones/headphones
·You can connect a set of earphones/headphones to your television if you wish to watch a television program without
disturbing the other people in the room.
·When earphones/headphones are connected, the sound on the TV set will be cut. The VOL-/+ keys are used to adjust the
volume level.
·Prolonged use of earphones/headphones at a high volume may damage your hearing.
AV cable
SCART cable
Audio cable
S-Video cable
Audio cable
Video cable
Audio cable
(Only available on certain versions)
DVD/VCR combo
Video game device
Music center
Camcorder
Satellite receiver
Headphone
The television has 2 external sockets situated at the back of the set (AV1 and AV2).
·The AV1 socket has audio, CVBS/RGB inputs and audio, CVBS outputs.
·The AV2 socket has audio, CVBS/S-Video inputs and audio, CVBS outputs.
Notes:
1) The Audio/Video (or S-Video) connectors on the TV set are used for equipment, such as camcorders, certain DVD/VCR
combo, certain video game devices, satellite receivers, etc.
2) To connect to music center, use an audio connection cable and connect the “L” and “R” outputs on the rear of the TV set
to the “AUDIO IN” “L” and “R” inputs on your music center.
3) To receive signals from external equipment, please select the relevant AV mode. Press
to select AV1, AV2
(S-Video2) (S-Video2 signals from the AV2 socket) and AV3 (S-Video) (on the side panel). With signals input to
S-Video2, press
to select the S-Video2 mode.
5
CH-20
Page 10

BASIC FUNCTIONS
p
Power On/Off
1. Power on
Plug in the supply socket, and press the MAIN POWER SWITCH key on the TV. The power indicator lights. You may press
any of the STANDBY( ), Program Number(0-9)and PRO-/+ keys on the remote control (or any key on the TV) to turn on
the TV. The power indicator becomes dimmer.
2. Power off
To switch back to the Standby mode, press . You can also power off the TV directly by pressing the MAIN POWER
SWITCH key.
Auto off without signal received
When there is no signal received (for example, the program of a certain channel is over), the TV will switch to the Standby
mode if no key is pressed within 15 minutes. If you have set “Off Time” and the remaining time is less than 15 minutes, Off
Time will be carried out prior to AUTO OFF.
In the AV mode, this function doesn’t work.
Menus
Many operations get started from menu selection. To adjust a menu, press the MENU key to select
it. Then press the↑/↓keys to highlight an item to be adjusted, and the ←/→ keys to adjust it.
Pressing the MENU key returns to the previous menu or exits.
Note: In the following function introduction, only the item to be adjusted in a menu will be displayed
for the convenience of users, while others are omitted.
Main Menu
Picture Brightness
Sound Colour
Setup Contrast
Install Sharpness
Colour Tem
Picture Menu
To set desired picture quality
Item
← →
Press
Brightness Dimmer Brighter
Colour Less colour More colour
Contrast Less contrast More contrast
Sharpness Less sharpness More sharpness
Tint More purplish More greenish
Colour Temp Normal(balanced), Cool(bluer), Warm(redder)
Picture
Brightness 50
Colour 50
Contrast 50
Sharpness 50
Tint 0
Colour Temp Normal
The adjusted picture level is stored to the Personal position and remains unchanged until next adjustment.
Sound Menu
To set desired sound quality
Item
← →
Press
Bass Less bass More bass
Treble Less treble More treble
Balance Left dominance Right dominance
Sound
Bass 50
Treble 50
Balance 0
The adjusted sound level is stored to the Personal position and remains unchanged until next adjustment.
6
CH-20
Page 11

BASIC FUNCTIONS (continued)
Setup Menu
Child Lock
With Child Lock On, the keys on the TV
don’t function.
DNR (Dynamic Noise Reduction)
If the received signal is inferior, activate
the noise reducer to improve the picture.
In normal condition, it is recommended to
set DNR Off in case of adverse affecting
Item
Timer Access the Timer Menu
Parental
Access the Parental CONT
CONT
Child Lock Off, On
DNR Off, On
Press
← →
Menu
picture definition.
Timer Menu
Time
This feature allows you to set the clock on the TV.
On Time
This feature allows you to preset a time when the TV set turns on.
Off Time
This feature allows you to preset a time when the TV set turns off.
Program No.
This feature allows you to preset the program on display when the On Time is activated. Use ←/→ or 0-9 keys to enter
Program No.
Sleep
This feature allows you to select among the following Sleep Off minutes: 15→30→45→60→90→120→180→240→Off
(Unit: Minute). The TV will automatically enter the Standby mode when the preset Sleep time is up. “ TV will turn off soon! ” will
be displayed on the screen one minute before the Sleep timer runs out.
Parental CONT Menu
6688 is the factory default password. The initial password will be replaced when the new one is used. Please contact the
service center in case you forget the password.
Program
Press ←/→ keys to select the
associated program number.
Program Lock (Off, On)
Program Lock On will block the
Parental CONT
Password - - - -
Enter Password
Parental CONT
Program 1
Program Lock Off
Clear All
Lock All
Change Password
current program from being viewed.
Program Lock Off will disable the program lock.
Clear All
Press ←/→ keys to highlight “OK ”. The TV will clear all lock function.
Lock All
Press ←/→ keys to highlight “OK ”. The TV will block all programs.
Change Password
This feature allows you to change the password. Press ←/→ keys to access Change Password Menu. “New Password ” will
appear on the screen reminding you of entering a new password. The confirmed new password will cover the old one.
Setup
Timer
Parental CONT
Child Lock Off
DNR Off
Timer
Time - - : - On Time - - : - Off Time - - : - Program No. 1
Sleep Off
Change Password
New Password - - - -
Confirm - - - -
Enter Password
7
CH-20
Page 12

BASIC FUNCTIONS (continued)
Install Menu
Enter the password to access the Install Menu. (If a program is
locked, it’s required to enter password before accessing the Install
Menu.)
Language Select
Install
Password - - - -
Enter Password
Install
Language English
Auto Store
Search
Sort
Name
Auto Store
Press the → key, and the Auto Store begins from Program No. 1.
During Auto Store, press the MENU key to stop Auto Store.
Search Menu
Auto Store
Program 4
TV 128 MHz
Press the ←/→ keys to access the Search Menu.
Sound
This feature allows you to select a sound system among East Europe (DK), West Europe (BG) ,
UK (I) and France (L/L’)
Manual Store
Press the ←/→ keys to activate manual store.
Search
Sound West Europe
Manual Store 49MHz
Program No. 1
Fine Tune
Skip Off
:
Program No.
Press the ←/→ or 0-9 keys to set program No. The program manually searched will be stored on the set No.
Fine Tune
Press and hold down the ←/→ keys until you get the best sound and picture effect.
Skip (Off, On)
This feature allows you to access or skip the current program.
Sort Menu
Press the ← / → keys to access
the Sort Menu. This feature allows
you to set programs to the specific
program numbers as desired for
convenience of memory and
Sort
Program 1 1
Program 2 1
Swap
Sort
Program 1 1
Program 2 6
Swap
Sort
Program 1 6
Program 2 1
Swap OK
selection.
Press ←/→ or 0-9 keys to set the Program 1 and Program 2 to the related program number. Press the ←/→ keys to set
Swap OK, and the program number of Program 1 will swap with that of Program 2.
Pressing the MENU key can return to the previous menu.
Name Menu
Program
Press the ←/→ or 0-9 keys to set the current program No. to
Name
Program 1
Name - - - - -
Name
Program 1
Name NEWS1
name or rename.
Name
Press the ↑/↓ keys to move around the name display area (5 characters) and the ←/→ keys to enter one of the letters
(A-Z) or one of numbers (0-9).
Pressing the MENU key can return to the previous menu. The name is stored.
8
CH-20
Page 13

BASIC FUNCTIONS (continued)
Teletext
The TV can receive various Teletext signals, including news, weather forecast and stock market quotation, which is convenient
for your operation.
Teletext call - This is used to call teletext, change to transparent mode and then exit. The summary appears with a list of
items that can be accessed. Each item has a corresponding 3 digit page number.
If the channel selected does not broadcast teletext, the indication 100 will be displayed and the screen will remain blank
(in this case, exit teletext and select another channel).
Selecting a page - Enter the number of the page required using the 0 to 9 or ↑/↓ keys. Example: page 120, enter
1, 2, 0. The number is displayed on top left, the counter turns and then the page is displayed. Repeat this operation to
view another page.
If the counter continues to search, this means that the page is not transmitted. Select another number.
Direct access to the items - Coloured areas are displayed at the bottom of the screen. The 4 coloured keys are used to
access the items or corresponding pages.
The coloured areas flash when the item or the page is not yet available.
Contents - This returns you to the contents page (usually page 100).
Temporary stop - This is used to temporarily disable or activate the teletext display.
Enlarge a page - This allows you to display the top or bottom part of the page and then return to normal size.
Stop sub-page acquisition - Certain pages contain sub-pages which are automatically displayed successively. This key
is used to stop or resume sub-page acquisition.
Hidden information - To display or hide the concealed information (games solutions).
TROUBLESHOOTING
Symptoms
Picture Sound
1. Make sure the power cord is plugged in.
No picture No sound
2. Check if the MAIN POWER SWITCH is pressed or not.
3. Check if the levels of CONTRAST, BRIGHTNESS and VOLUME are
set to minimum.
Normal No sound
Normal
No colour
With noise
With stripes With noise
With snow With noise
1. Check if the TV set is in the MUTE mode or the volume is minimum.
2. Check if the sound system is correct.
1. Check if the colour is set to minimum.
2. Check if the colour system is correct.
1. Check if the sound system is correct.
2. Check if the colour system is correct.
The TV set may be interfered by electric waves from automobiles,
motors, neon lights, etc.
1. Check if the antenna cable is broken or disconnected.
2. Check if the antenna direction has changed.
Ghost picture Normal Check if the antenna direction has changed.
Unclear picture Normal or weak Auto store again.
With spots Normal
1. The TV set may be moved with power on.
2. Check if magnetic objects are put near the TV set.
The remote control doesn’t work. The batteries may be exhausted or improperly installed.
When you switch the TV set on it remains in Standby mode and the
Standby
indication Locked is displayed when you use the keys on the TV set?
The Child Lock function is switched On.
Checks and Adjustments
9
CH-20
Page 14

 Loading...